
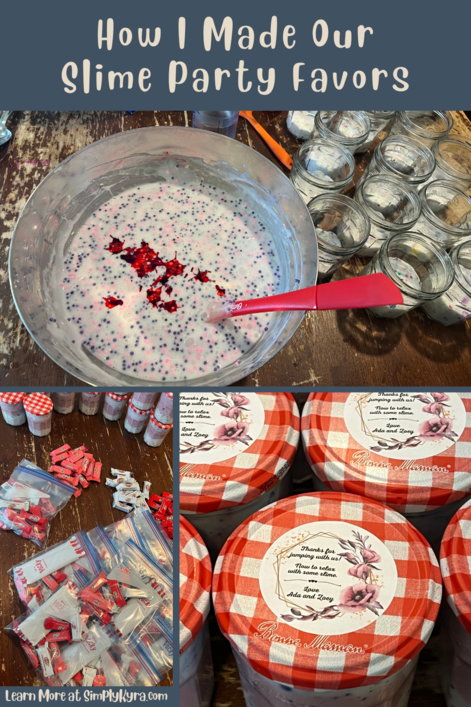
How I Made Our Slime Party Favors

We had a long distance move this summer and as such, leading to the girls' party, I'd been going through our stuff and deciding what we should off-load and what's worth moving with us. This culmination of the girls' party, loot bags, and moving resulted in the idea to use up my stockpile of slime ingredients and Bonne Maman jam jars to make these adorable slime party favors.
At the time of their party, with our long distance move approaching and attempting to downsize our stuff, I especially didn't want to buy small plastic toys for the girls' favor bags just to see the toys being ignored but still be packed for our move. In the past we've often defaulted to playdough for the bags as it's simple and fun without causing too much of a mess for the parents. I considered doing the same here but then came across my stockpile of slime ingredients and jam jars got an idea!
Past Party Favors
In case you'd prefer one of my past ideas I figured I'd quickly go over them along with links to learn more.
Years ago I figured out my perfect playdough recipe that my girls absolutely adored. Over the subsequent years I've added different elements to the playdough (link to the playdough topic) to keep it fun and exciting along with using it, often, as part of the girls' party favors. For instance Ada's science themed party had a color mixing theme so I made playdough in each of the three primary colors (red, blue, and yellow) and bought test tubes to keep their favorite dessert snacks on theme. Zoey, that year, chose an orange LEGO® theme so I made different orange hued playdough, repacked it in leftover Play-Doh containers, and combined it with brick shaped candy, orange goldfish crackers, and homemade LEGO® shaped crayons.
During the shelter-in-place year we hosted Zoom birthday parties where the girls had a special costumed princess attend. Between the special theme and the fact the kids were distanced I attempted to make the favor bags stay on theme, included a dessert, and passed them out before the party so the favor bags could be opened earlier and help make the party funner and more cohesive. These bags were more themed than previous years with either Frozen (Princess Anna) or superhero (Wonder Woman) elements.
The next year we kept the parties small and sweet at home so I went a bit larger with the favor bags by first splitting up the LEGO® cupcakes (#41926) set and combining it with pumpkin scented playdough for Zoey's party and then, for the next party, limiting it to a $10 LEGO® set Ada thought would perfectly fit each guest's tastes.
Last year the favor bags were a bit more random as I first shopped through the toys and food I had on hand. Zoey's favor bags included playdough, pre-packaged chalk, bubbles and bubble pipes, fruit roll-ups, and Star Wars themed goldfish crackers. For Ada we used her love of eraser toppers and combined that idea with pencil crayons and pencils we already had on hand along with individually wrapped Costco oreos. Both girls loved it!
Slime
Quick aside: I snapped these photos as I made the slime but didn't have any specific plan as I went. For your ease I'm going to go over how the slime is made before going over the types I made so the images may seem to jump around in the first section.
How Slime Is Normally Made
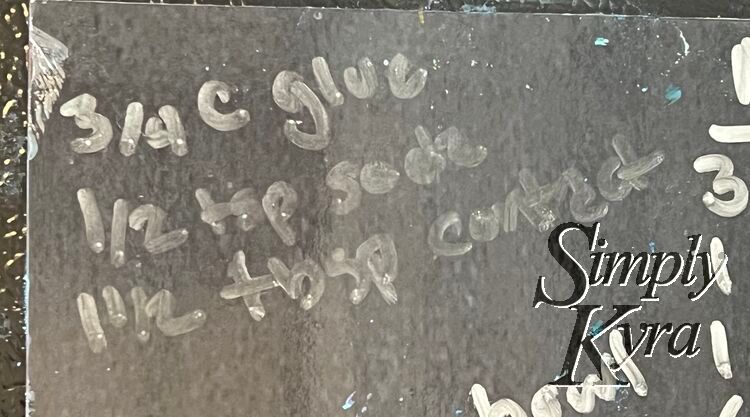
A while back I jotted down the ingredients to a quick slime recipe on our fridge so whenever we made slime I could easily remember the ratios and help each kid make their own. Our recipe, can't remember where it's originally from, starts out by combining 3/4 cups of glue and a 1/2 tsp of baking soda together. Once mixed you then add 1 1/2 tablespoons of contact lens solution. Since slime is mostly only made when having a playdate I go around the table dishing out the 3/4 cup of liquid glue, tablespoon of baking soda, and optional add-ons like food dye, glitter, foam balls, and other little items. While the kids wait to choose and get each item they're mixing the contents in their bowl. Then, when ready, I squirt the contact lens solution in on demand so it can be both mixed between applications and each kid gets the independence of choosing the amount they want without getting slime on my bottle. Once they're happy with their slime I put away the ingredients while they play. I considered doing something similar this time around, just dramatically increasing the ingredient amounts, but instead decided to look online first.
Recipe Used
I looked online for a larger slime recipe than I normally use and came across Laura's post Make a Big Batch of Slime for a Party or Classroom With This Easy Recipe from The No Pressure Life. I'm so glad I came across it and, other than needing less contact lens solution than called for (used about a half to three quarters of it), the recipe was perfect! Overall I made three batches of it (two single batches and one doubled) and it fit the fourteen Bonne Maman jam jars perfectly.
According to The No Pressure Life you'll need:
- 1-quart (32 ounce) Elmer’s Washable School Glue
- 4 tablespoons baking soda
- 8 tablespoons contact lens solution (I used 4 to 6 tablespoons for mine)
How It Was Made Today
I had originally chosen to make slime for the party as I had several gallon (128 ounce) sized liquid glue jugs around along with some Costco-sized baking soda and contact lens solution. I also had leftover slime supplies on hand from a kit I bought back in 2018 and shared about with the floam (slime with foam balls) post. Between that and the bulk liquid food dye I wasn't quite sure if I should move (spoiler they came with) I had all the needed add-in ingredients too.
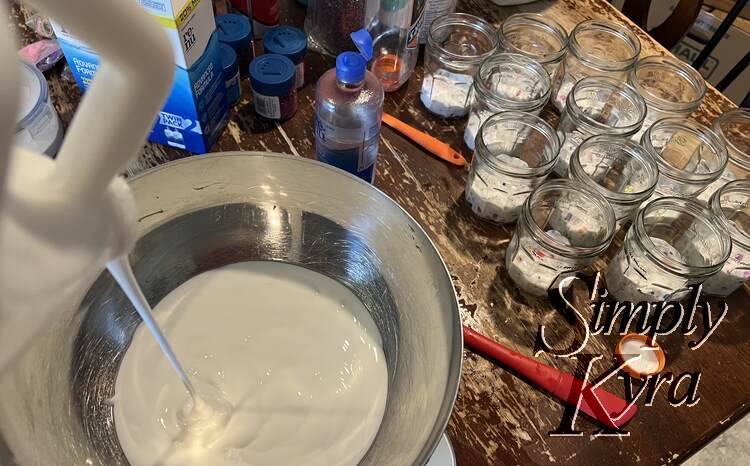
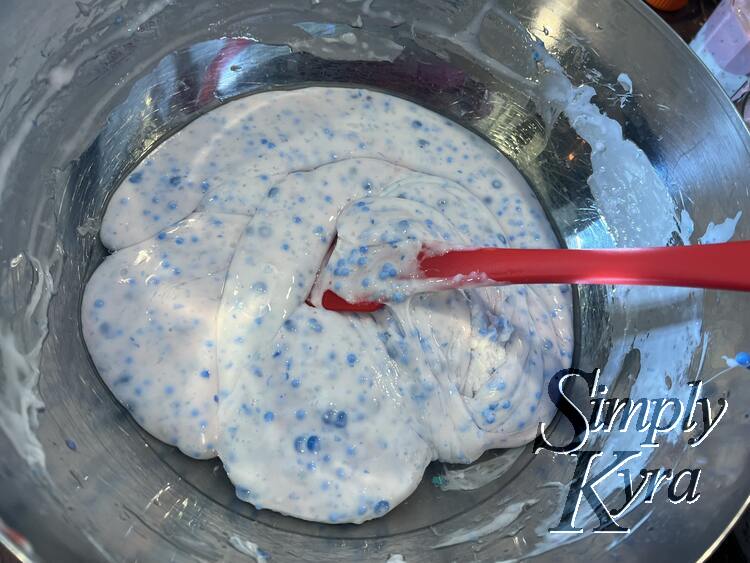
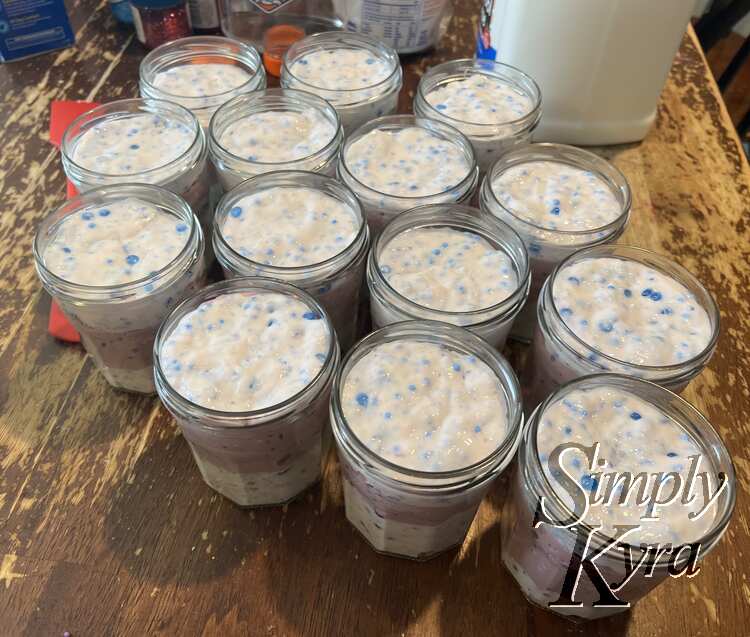
The recipe itself calls for a quart (32 ounce) of white glue so I started out by putting my large metal bowl on a weigh scale, tared it to zero, and then poured the glue until it hit the 32 ounce mark. I then removed the scale so it wouldn't get messy and measured out the baking soda before mixing it up. Now comes the add-on time. For each batch I added some small mix-ins and, for two of them, some food dye. Once all this was mixed in I added the contact lens solution and mixed and folded the mixture until a slime started to form. At this point I had excess contact lens solution in the bowl so I carefully removed the slime leaving behind the liquid and started kneeding and stretching the slime out on the table. Once the slime looked slime-like enough I divided it equally between the jars. For the next batches I used less contact lens solution so I had less excess at the end.


Types Made
All the slime batches were made with the same recipe from The No Pressure Life using white liquid Elmer's glue for the base. They then deviated from one another with the different food dyes and add-on materials. The add-ons used where leftover from a slime kit I bought in 2018 and consisted of foam balls, crystalline plastic fishbowl beads, pom poms, and glitter flakes. I decided to keep the fine glitter out for the parents' sake so it would be, hopefully, easier to clean up.
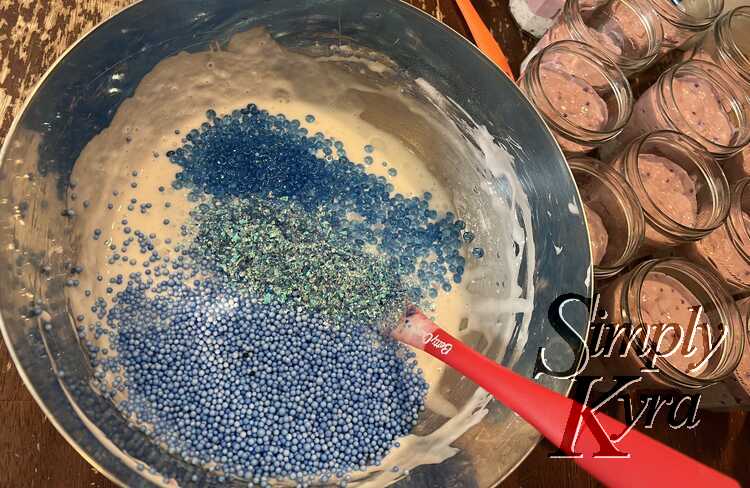
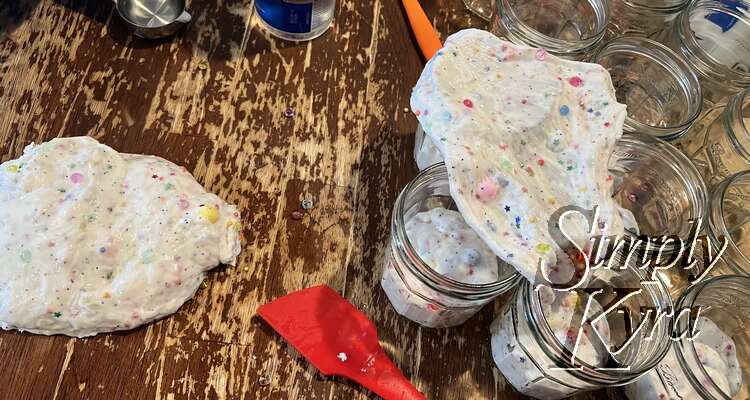
Going in I wasn't sure how much slime the recipe made so I started out with a single batch and tried to make it the best. As Zoey's favorite color is rainbow I chose to add all the rainbow items left in the kit and kept the base white by leaving out the food dye allowing the rainbow items to shine. This included, I think, all the add-in options listed above ranging from star glitter to soft pom poms. I love how it turned out but quickly realized it didn't make near as much as I wanted.
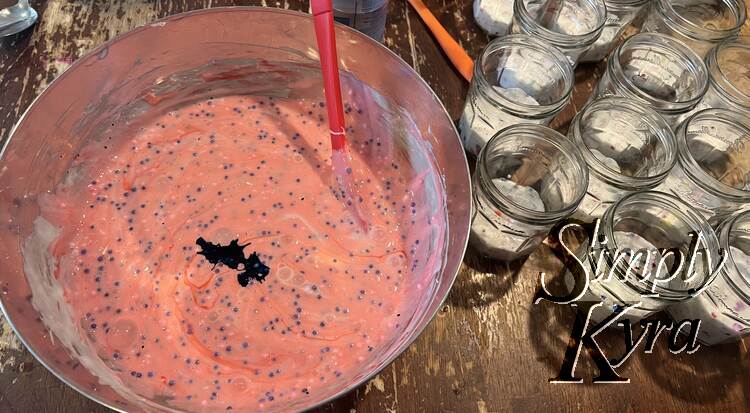
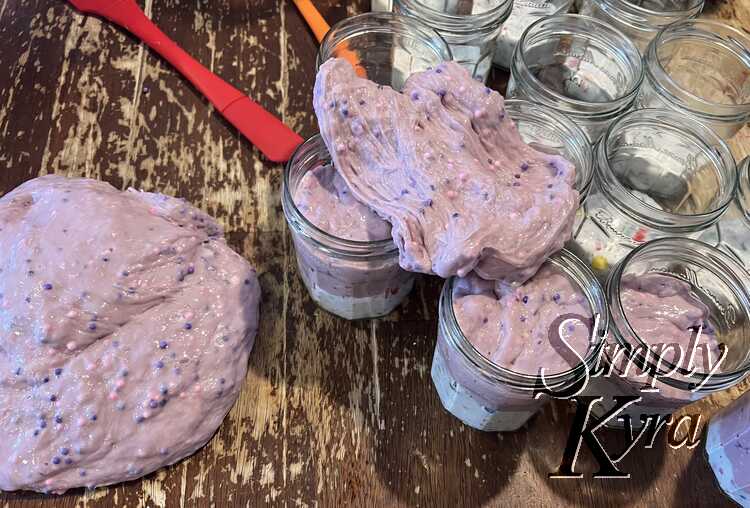
Based on the amount I had from the first batch I decided to double the next one. This time around I added all the pink items, realized I didn't have enough, and then added all the purple ones too. I didn't get a good photo but i think these were only, or at least mainly, foam beads. I wanted this layer to differentiate itself from the first so I decided to make it pink, added what seemed like too much red dye, and then added a couple drops of blue to tone it down making the slime match the purple add-ins more than the pink ones.
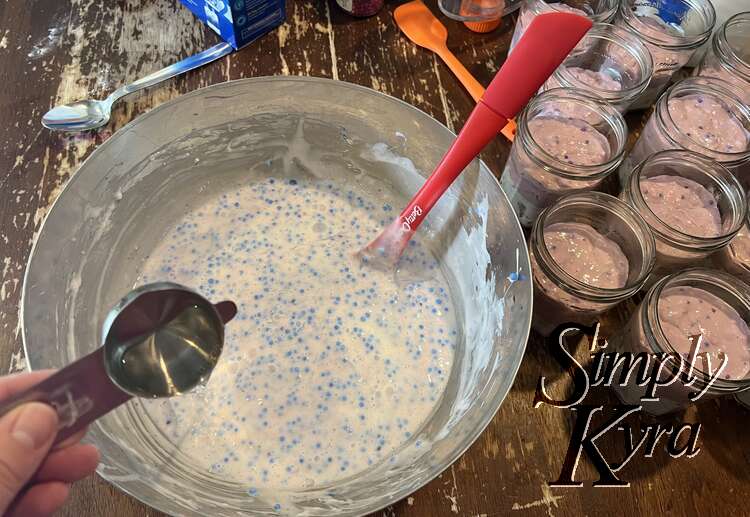
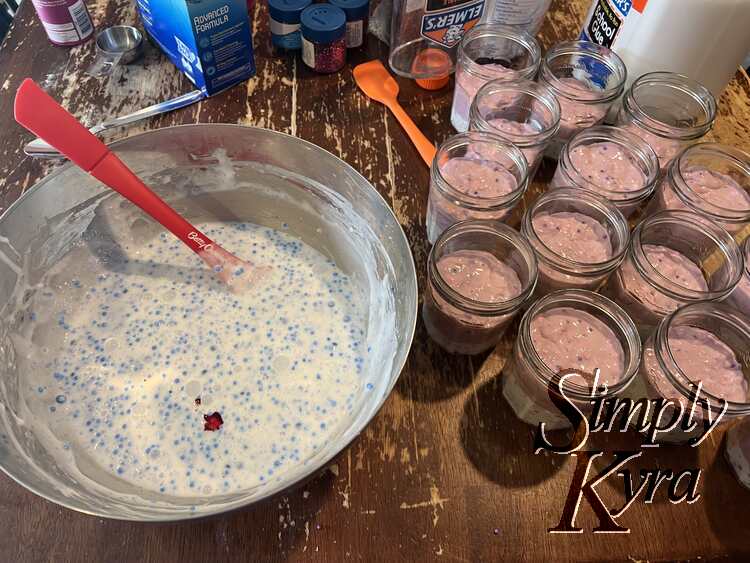
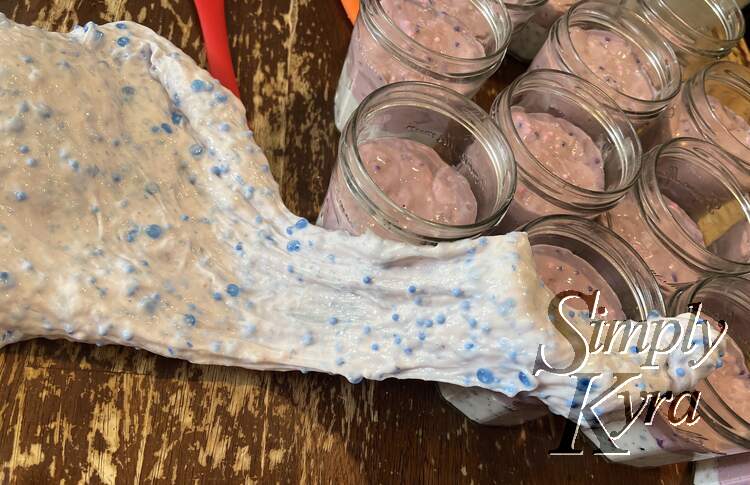
With the single and doubled batch made there was still a bit more room in the jars so I decided to make one more, single-sized, batch. This time I added all the blue add-ins which included the foam beads, crystalline plastic fishbowl beads, and glitter flakes. I wanted a bit more bang so I added some red food dye. Looking back I didn't add enough dye, as I was worried about overdoing it, so the slime almost looked like another white layer but still looked great.
Packaging
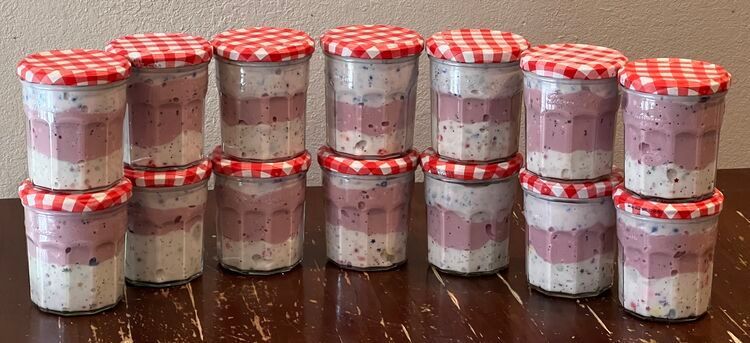
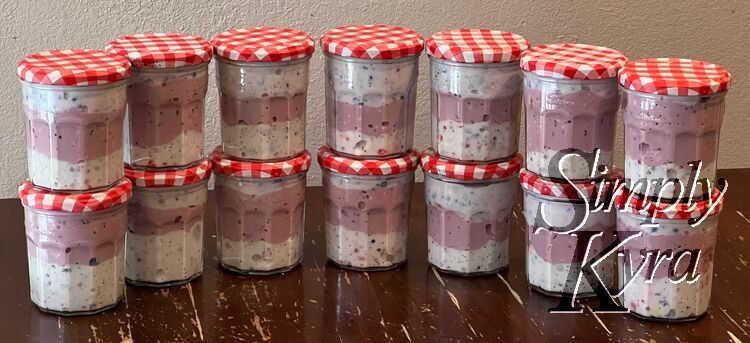
When I made the first batch I wasn't sure how much slime the recipe made. As such I started out with a single batch and quickly realized it didn't make enough for all fourteen jars. I considered, briefly, filling as many jars as I could with each batch one by one but I didn't want the kids arguing over which person got which color so I settled on filling each jar equally so everyone mostly got the same (the layer heights were slightly different). This resulted in each of the jars having three layers of slime in them.
Past Slimes
If you want other types of slime years ago I used to add the foam beads after the contact lens solution to make a floam-like slime shared here. You can also use other add-ons like shaving cream to make a fluffy slime or Instant Snow.
Finishing It Up
Topping the Jar Off
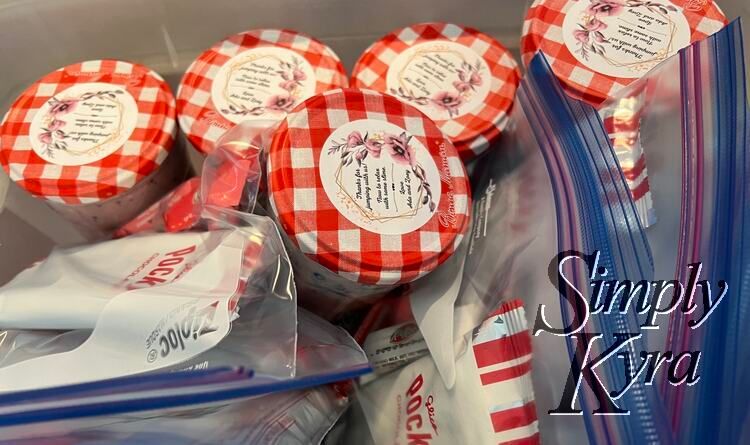
When I decided to make slime in glass jam jars I realized right away that I needed to make it obvious that they were glass and that the contents weren't edible. At first I was going to buy favor bags but realized just how weak the bags online seemed and I didn't want the jars slipping and cracking on the ground. I considered paying more for sturdier bags but then realized I could simply buy a custom sticker for the jar itself thus letting the guests know what it is and convey our thanks for coming message. I hopped onto Etsy and after looking at many great but not perfect for my case stickers I came across these more general ones, through SunshineCustomLabels, that I could customize fully. I went with the stickers and made sure it told the guests thanks for coming along with what was in each the jar.
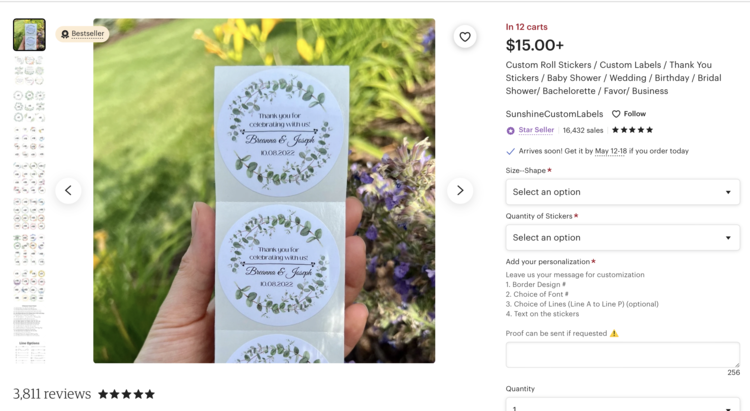
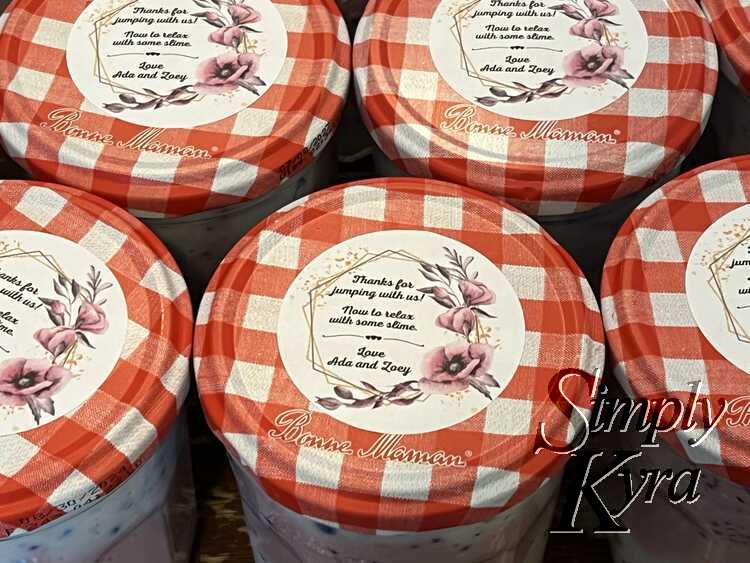
In case there's an element of the stickers you like I ordered this style, from SunshineCustomLabels, on May 9th, 2023 and, at that time, chose the following customizations: the #37 border design, font style #11, line option H and the text:
Thanks for jumping with us!
Now to relax with some slime.
---- (line)
Love Ada and Zoey
Anyway, at first I decided to just leave the favor as the slime since the message was on the sticker but then I overanalyzed and decided to add some treats... which led to...
Finishing the Favors Off
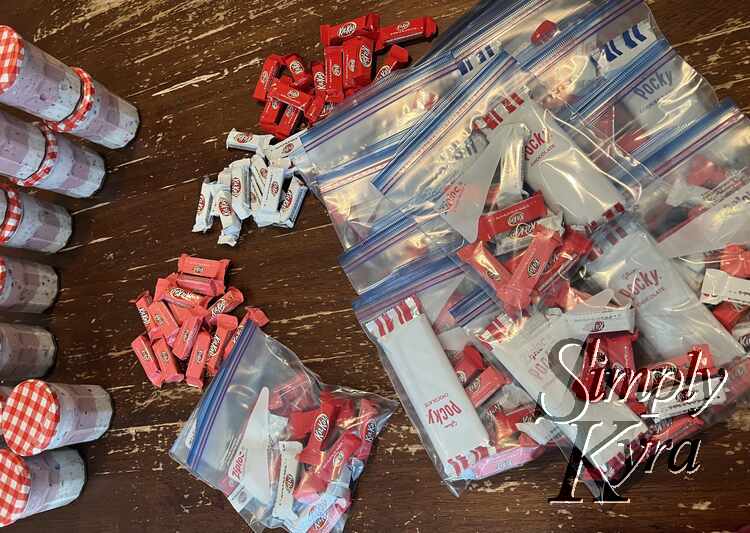
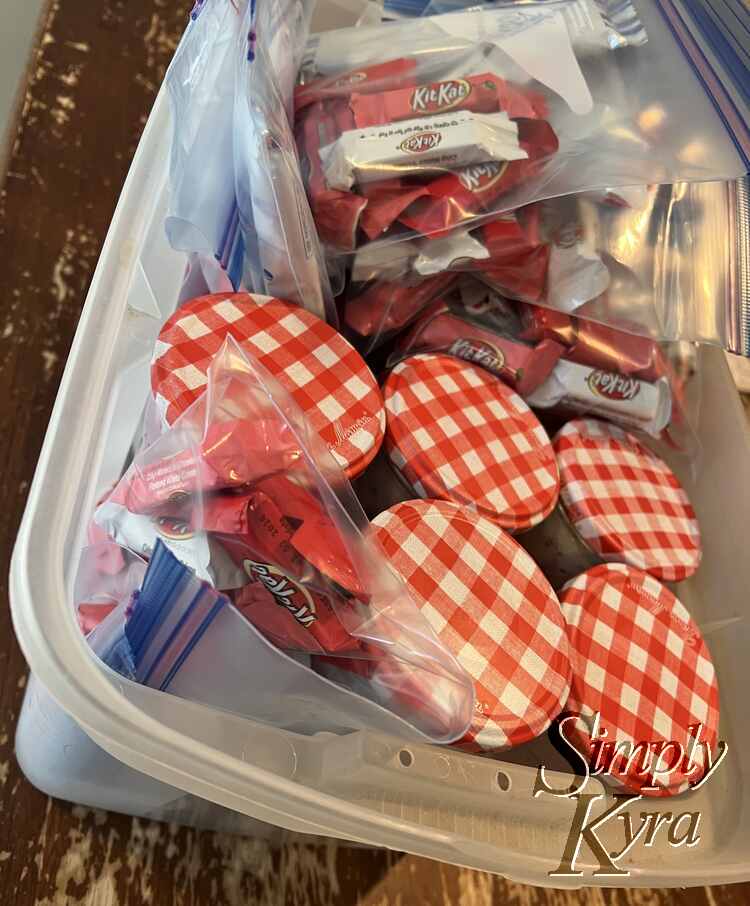
At first I was only going to have the slime with the simple sticker saying what it was and thanking the guest for coming. Then I debated adding a single item, pocky sticks, which then led to even more. As, at this time, I didn't want to order bags that may not come in time (I was already waiting on edge for the stickers), I briefly considered tying the dessert to the jar, then momentarily considered hot glue (chocolate may melt), debated driving to a store for gift bags after all, and then took the lazier way and grabbed some freezer bags that would work to hold all the desserts. I had bought snack-sized KitKats originally for the party but figured having them after the event would be better. This solution was a bit more cumbersome that simply using bags but still worked.
And that was our slime party favors. It was simple to make, used items I had previously bought, and made it just a bit easier to move. The girls loved the favors and, for that matter, their party too.
I'd love to hear from you in the comments below if any of this helped you out or if you have any tips for someone else that may do something similar.
Hope you’re having a great day.
If you’re interested in getting any of my future blog updates I normally share them to my Facebook page and Instagram account. You’re also more than welcome to join my email list located right under the search bar or underneath this post.
Did this save you time?