
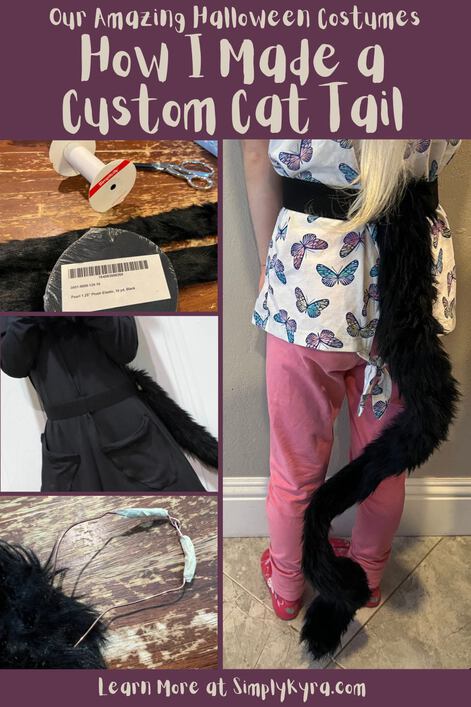
Our Amazing Halloween Costumes: How I Made a Custom Cat Tail

Last year, while browsing on Joann’s website for Zoey’s black cat Halloween costume, I came across a spool of two inch fur trim. I knew it would make a perfect cat tail so I purchased it and trusted I’d figure out how to make it into a tail once it arrived. Although I put off making it I’m so glad I bought it and forced myself to make the tail as I absolutely adore how it all turned out!
Materials Used
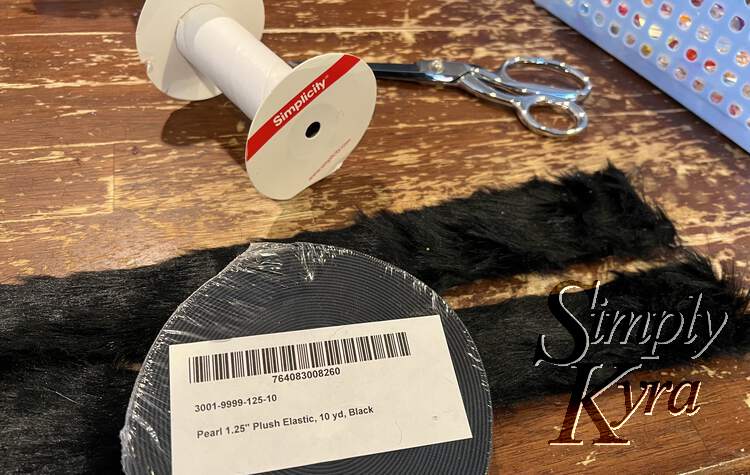
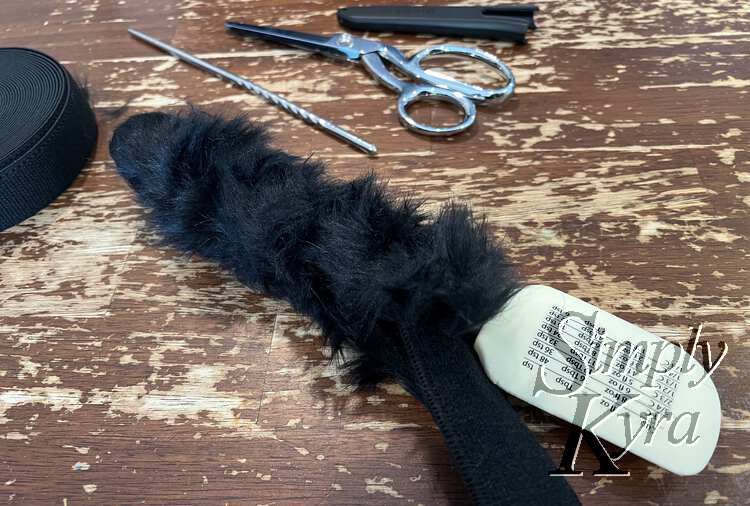
- Two inch wide fur trim
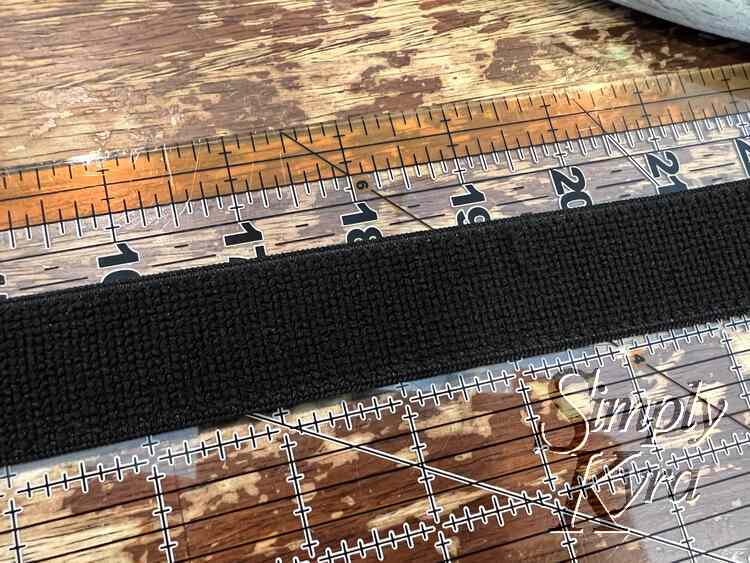
- Plush elastic: 1.25 inches wide
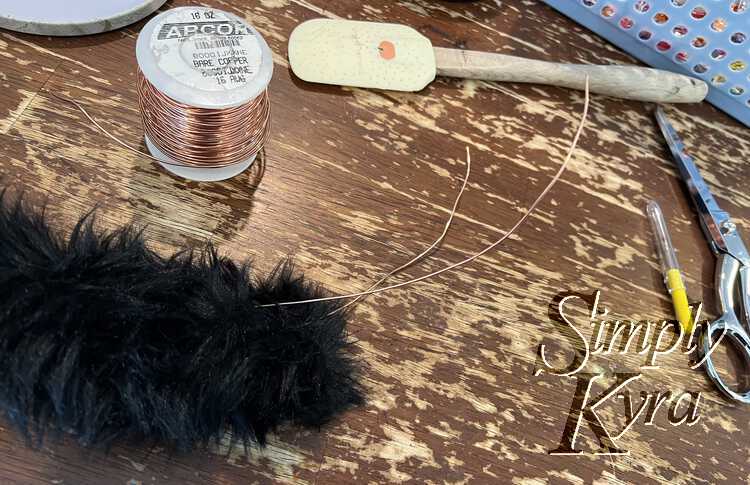
- Copper wire: I could see using floral wire… anything that keeps it’s shape as this is to make the tail bendable and shapeable
- Masking tape
- Serger
- Thread and sewing needle
How I Made It
I didn’t go into this with an exact plan so I started by laying out all of my material and giving it a good look over to help decide exactly what I wanted to do. I did know that I wanted the tail to be long but I also wanted it to be easy to get on and off. I especially wanted the tail to grow with my kids so if either of them needed a black tail in the future we could easily repurpose this one with minimal trouble.
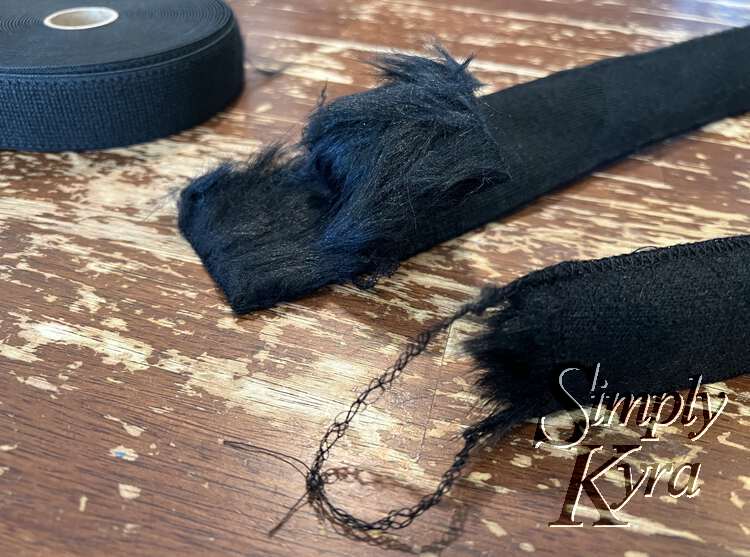
In the end I chose to use some plush elastic as a belt that can be pulled on and off over Zoey’s head. I didn’t want to sew the elastic directly to the tail so I can easily replace it in the future whether the elastic breaks or my kids outgrow it. As such I decided to leave one end of the tail unsewn so I could create an opening, or a loop, to thread the elastic through.
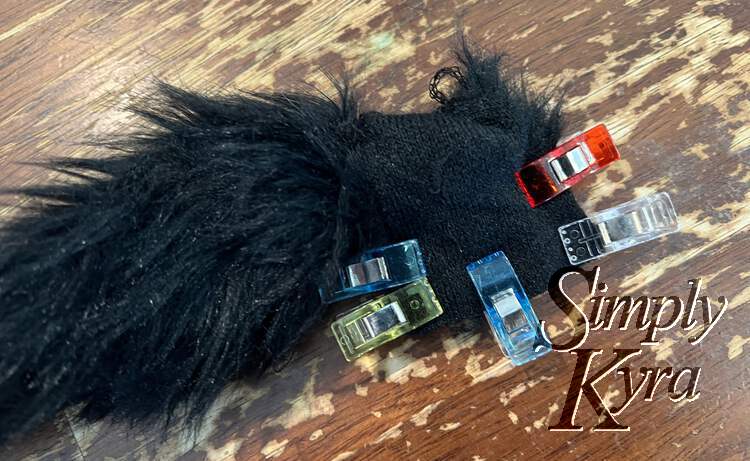
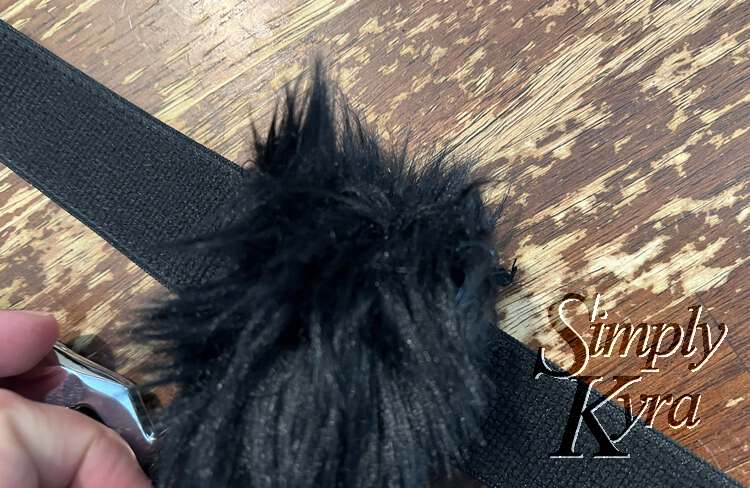
With that decided it was time to create the tail itself. To make it I considered just folding the fur trim in half but quickly realized that the fur would then be going in two different directions. Instead I found the midway point and cut it in half so I could take the one half and flip it around so both sides of the tail would have its fur going down towards the tail tip. I then faced the two pieces together so their fur touched, lined up their edges, confirmed the fur was tucked safely inside, and clipped them in place with my sewing clips. With that done it was now time to take it to my serger where I used a three thread narrow stitch and was careful not to trim the edge too much with the blade so the tail could be as wide as it could be. Once the sides were serged I took the end of the tail, tucked the fur inside, flattened it, folded it in again, and then serged this end closed too. This became the tail tip. I then went over the entire tail finding all the serger tails, unravelling them, and then tied them off so the seams would be secure.
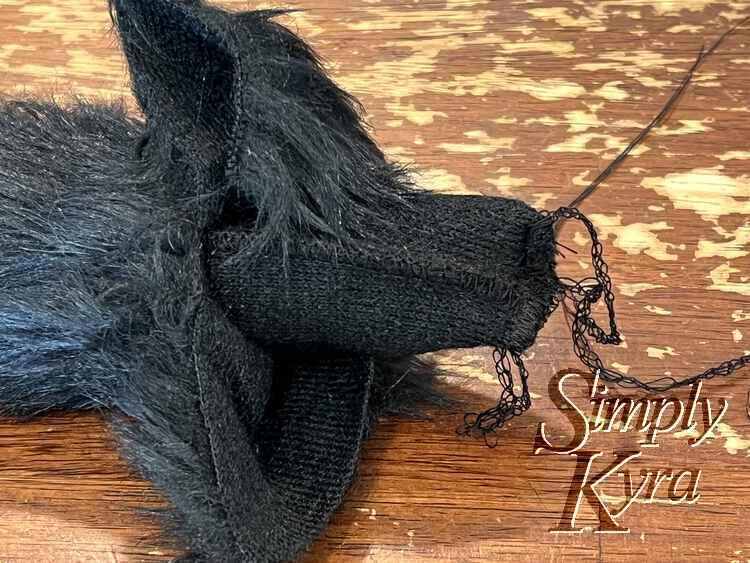
With the tail mostly sewn closed it was now time to turn it right side out. I started with the open end and then worked my way down until it got stuck. I then pivoted and switched to the tip of the tail where I pushed the tip in and then used the wooden handle of my spatula to push it further in until it reached the other side.
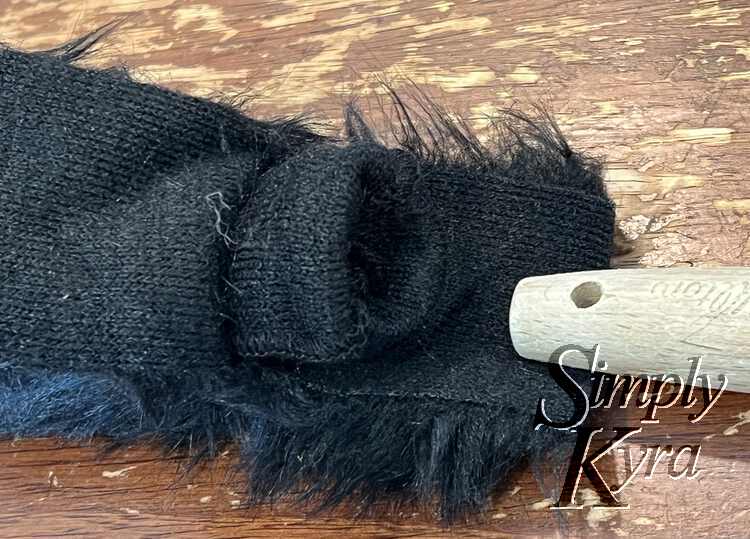
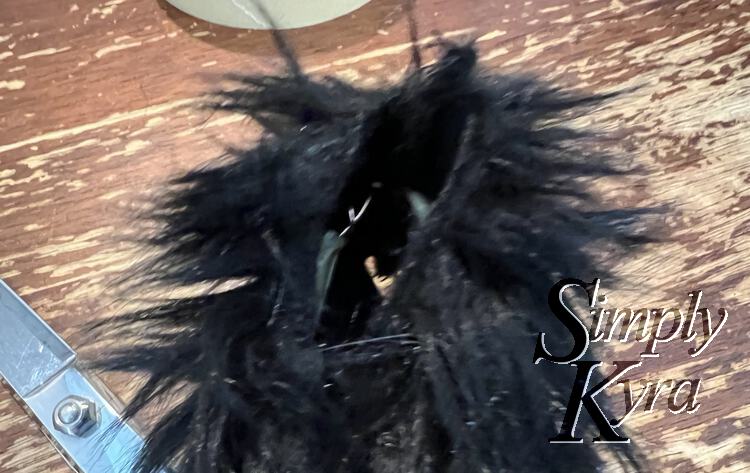
With the tail turned completely right side out it was now time to create the loop to thread the elastic belt through. Here I basically had two rectangular flaps at the end of the tail so I flipped one over and tilted both to the side so I could clip their ends together with the fur side facing. Once it was clipped into place I took it back to my serger and finished the end. This created a loop at the start of the tail showing the unfinished side of the fur trim. I left this as-is as the fur trim didn’t look like it would unravel, but if you were concerned I could see finishing the sides before sewing the end closed.
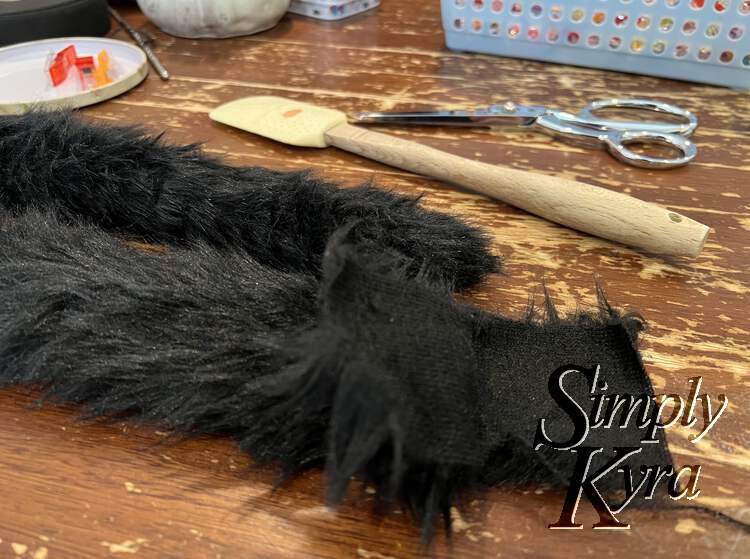
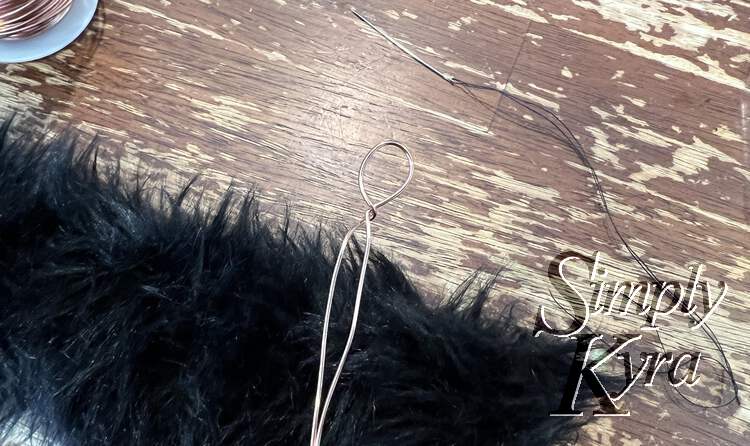
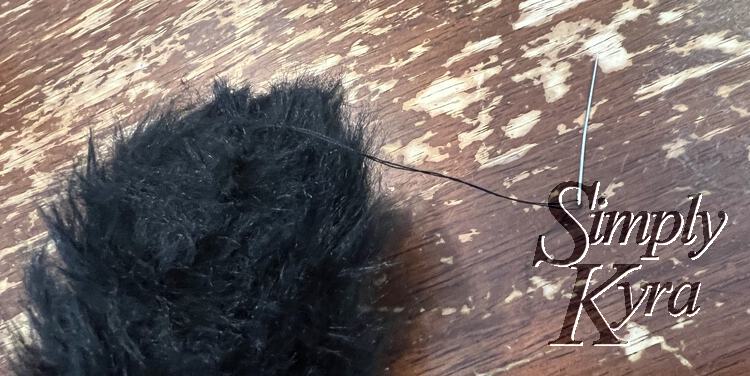
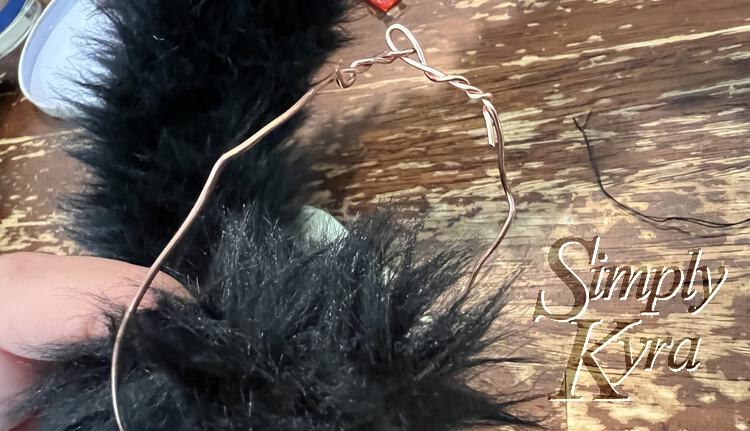
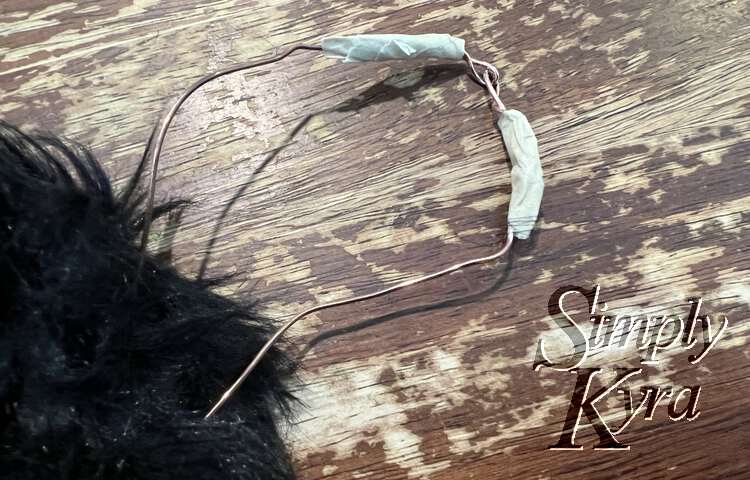
With that the tail was completely finished… but before adding the elastic belt I wanted to make it a bit better. I did this by including wire in the tail so we could shape the tail depending how we felt. When I first thought of this I pictured using floral wire from years ago (previously used on hairstyles to attach a Dinosaur toy and later a mermaid toy to my child’s head) but I couldn’t find it so I ended up using a spool of copper wire my husband had on hand. This turned out perfectly. I measured out the wire twice as long as my tail before folding it in half, twisting the folded end to create a loop, and pushed it all the way through the tail to its tip. Once there I handstitched the wire loop to the tail tip using some black thread. I then twisted the two open ends together creating another loop, protected it with masking tape, tucked it into the newly created fur tail loop, and stitched it into place.
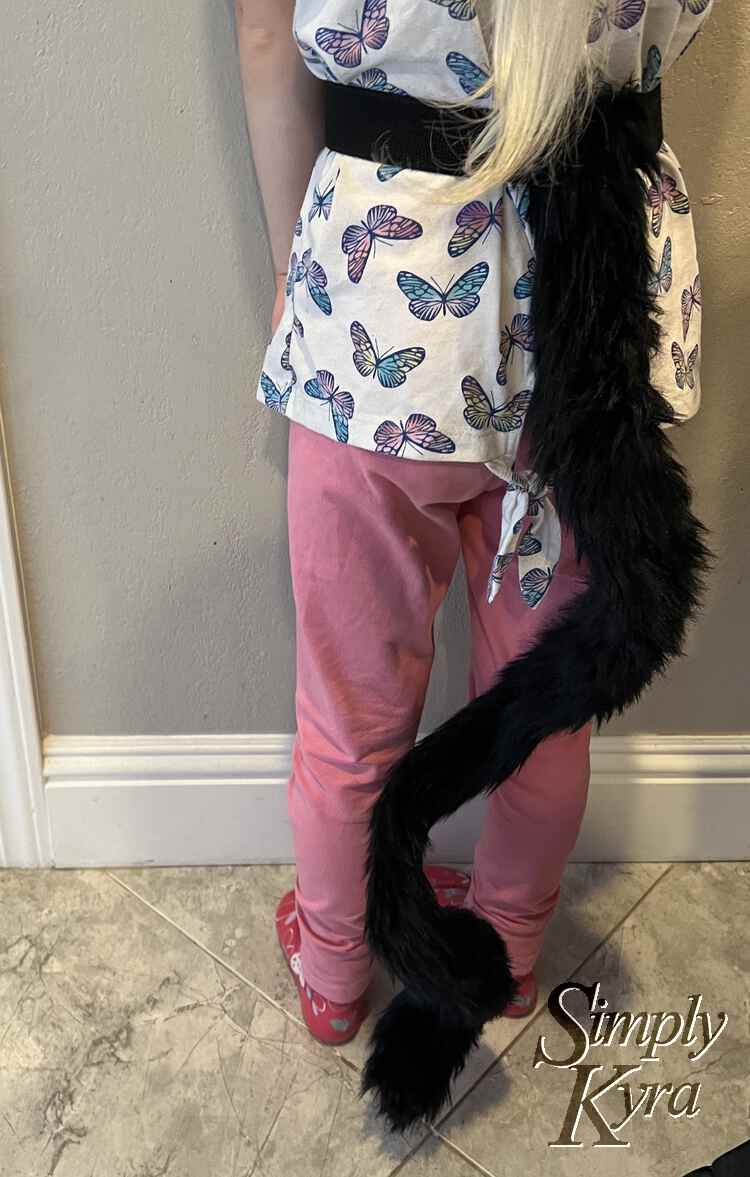
With the wire fully secured to the tail it was now complete and all that was left was to fashion the belt. At this point Zoey was either in bed or at school so I checked her waist measurements and cut the plush elastic one inch longer than marked. I then threaded the tail onto the elastic before sewing the elastic closed making a belt that would need to be pulled on to wear.
I had planned to overlap the elastic ends and sew them together but my sewing machine was threaded with red and I was lazy. Instead I put the ends wrong sides together and took the elastic to my serger where I stitched them together. This ended up turning out and there were no complaints about the seam.
The Final Tail
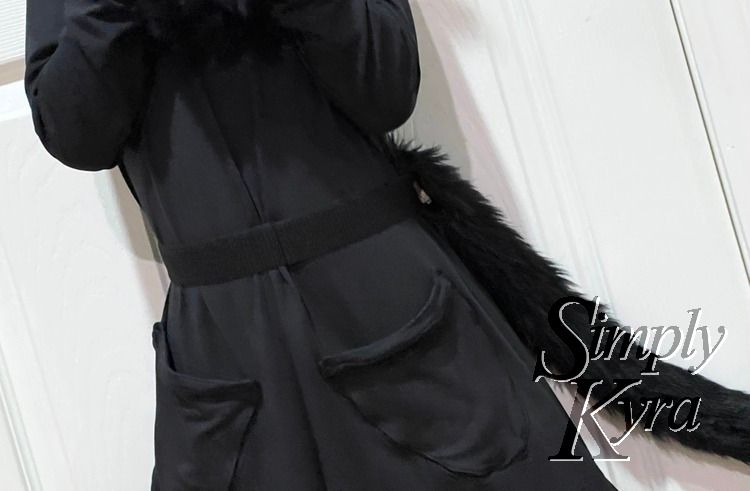
And with that the tail was done and looked awesome. It ended up being adult-sized so I shaped the tail into a spiral so it wouldn’t drag on the floor. Zoey didn’t like that as she preferred it dragging so that ended up becoming its default position. Overall I’m so glad I made this! It was epic and even looked great on me.

Zoey absolutely loved the tail and I’m so glad I made it… I guess we’ll see if it survives future years and, potentially, other costumes. Such a simple project that delivers a big bang to the overall costume.
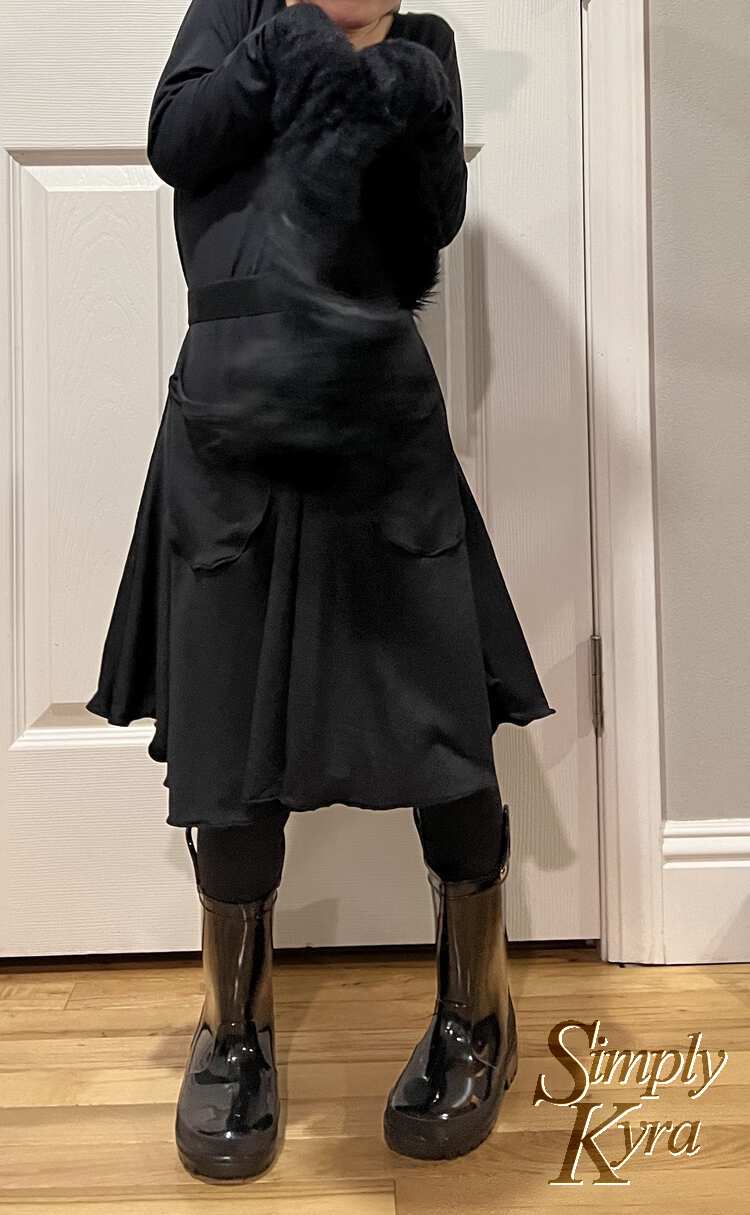
Check out the rest of the costume here!
Have a great day! And if you make your own tail I’d love to hear about it in the comments below.
If you’re interested in getting any of my future blog updates you can join my email list located right under the search bar or underneath this post.
Did this save you time?