
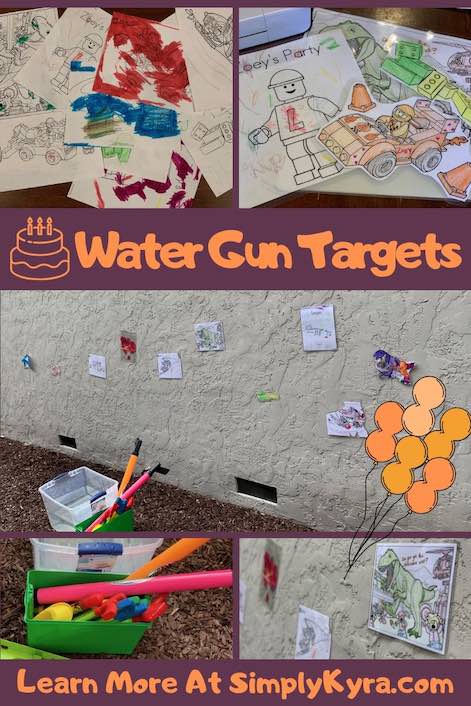
Water Gun Targets

Several weeks ago I went to my friends house where she had two double-barreled water blasters that she bought from the local Dollar Tree. I loved how the kids had to manually fill them with water (stick the tip in water while pulling back on the barrel) and manually move the barrel back to shoot the water. Perfect for teaching cause and effect along with muscle development. Since then I hadn’t made it a priority to go to Dollar Tree but while we were Costco found two adult sized single-barreled shooters that the kids insisted they were capable of using but were too cumbersome and large when we got home. I was worried the squirt guns would disappear from the local Dollar Tree and since I seem to justify buying more items there if it’s for a party (looking at you dinosaur footprints playdough, all terrain vehicle zoom, and sink or float sensory bins) I decided to incorporate the squirt guns into Zoey’s birthday party. This is how I did it. And Zoey was super excited picking out which double (and single) barreled water blasters we should buy when we went shopping together.
Preparation In Advance Of The Party
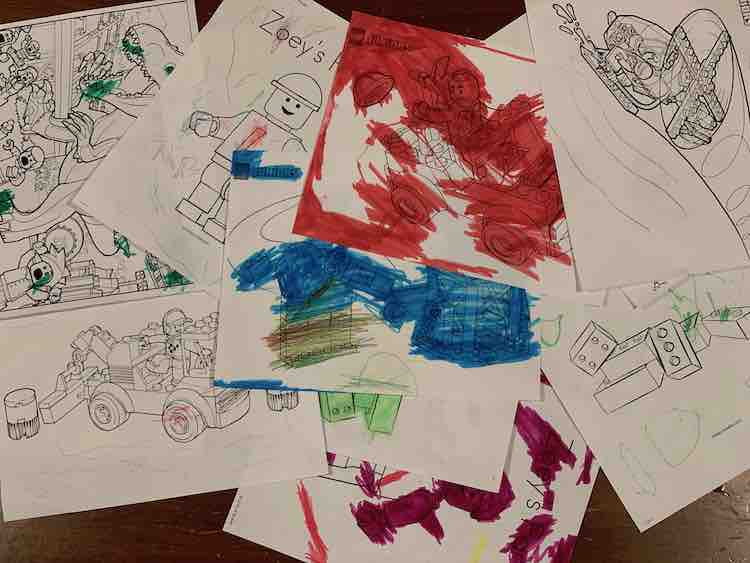
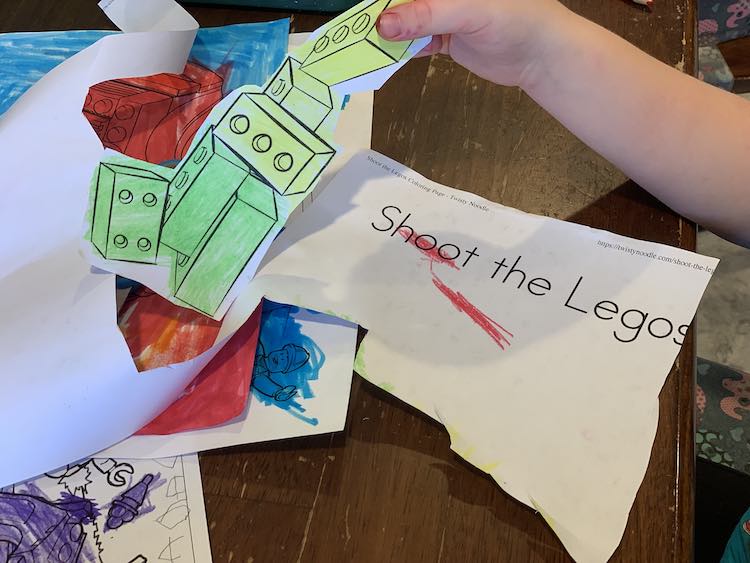
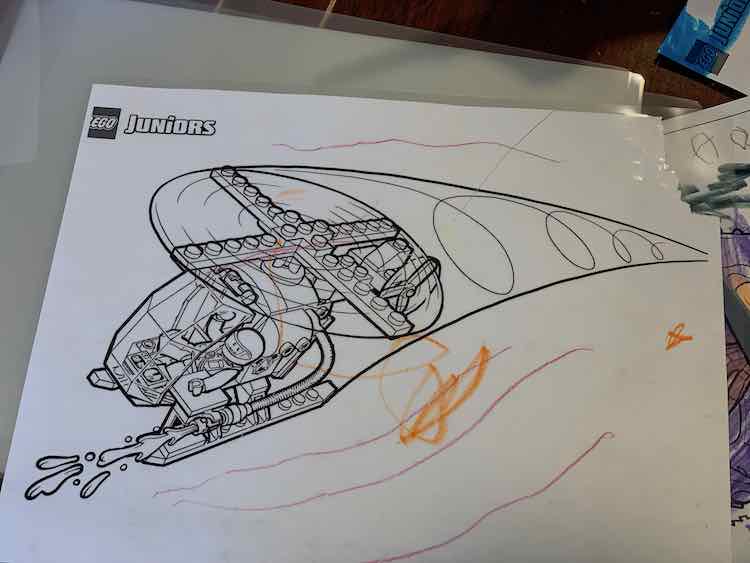
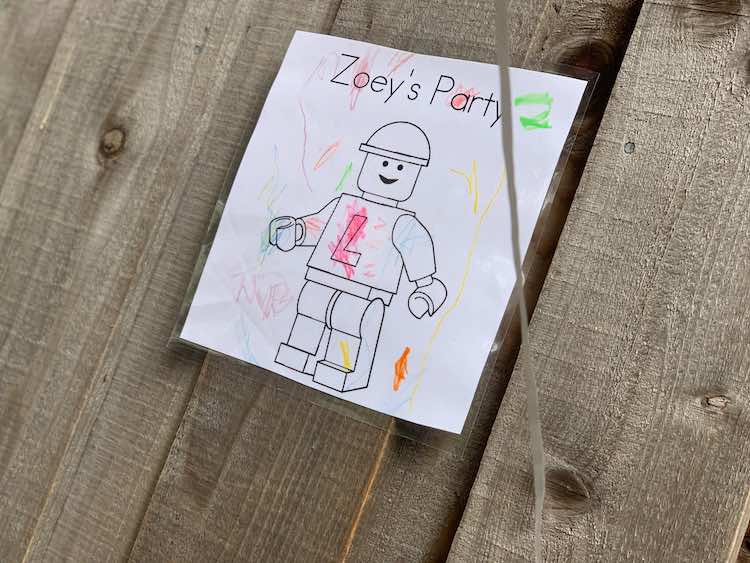
After buying the water guns my next step was looking for LEGO®-themed coloring pages online that I could print off. If you don’t have a printer you could use printing services at your local library or cut out pages from a coloring book. I came across Twisty Noodle who had two customizable coloring sheets I ended up using. The first was of a pile of bricks and the second was a LEGO® figure that I changed the text to read “Zoey’s Party”. I next went to the LEGO® Juniors coloring pages but found the images weren’t downloadable anymore (linked the website in case it works in the future) so the rest of my print outs came from the selection of coloring pages I had previously downloaded to my computer when making Ada and Zoey their LEGO® outfits (linked post includes the coloring page sources if interested). After printing them off Ada, Zoey, and I had a coloring session.
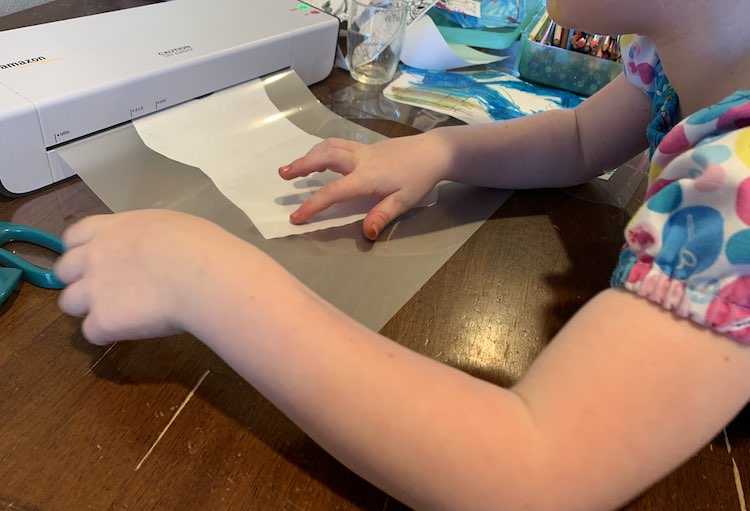
I gave the kids a couple days, so they’d have time to add to the pages, before pulling out my thermal laminator so the paper would be protected from the water at the party. If you don’t have a laminator you can hang up an unprotected sheet of paper and let the disintegrating paper show your kids’ marksmanship. A word of warning, if you color your paper with a marker, it could stain your wall once water is applied. Maybe limiting coloring to stain-proof items like washable markers or pencil crayons would help.
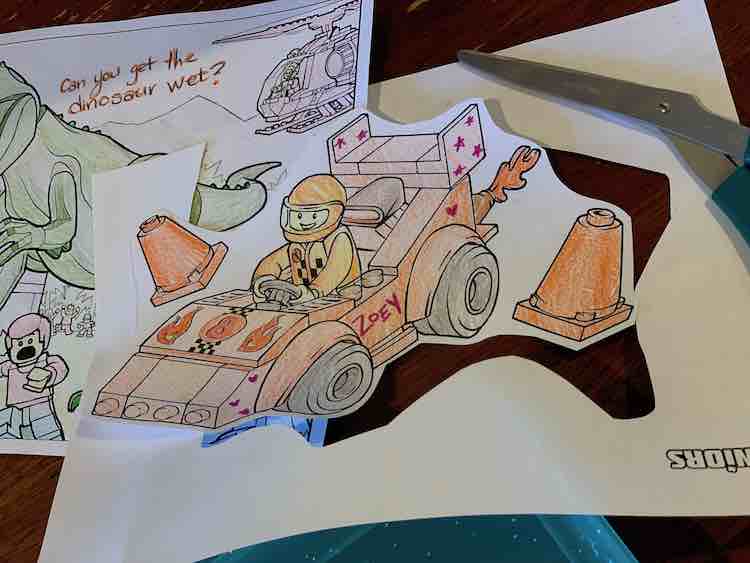
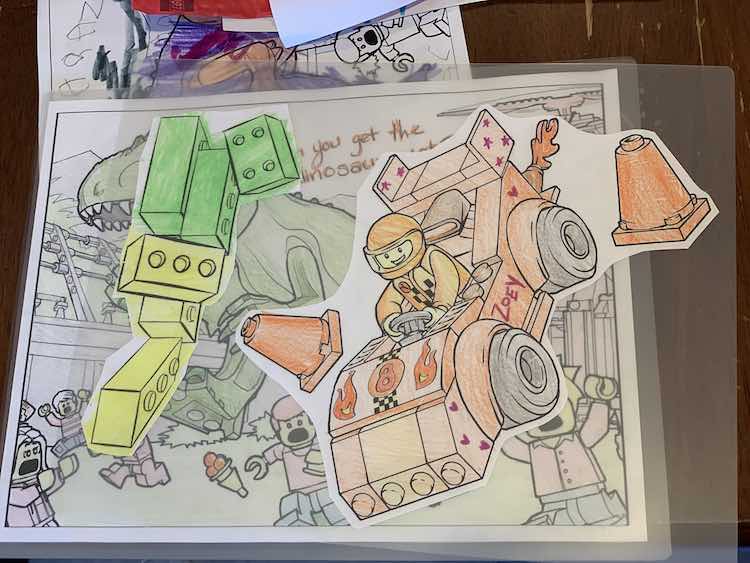
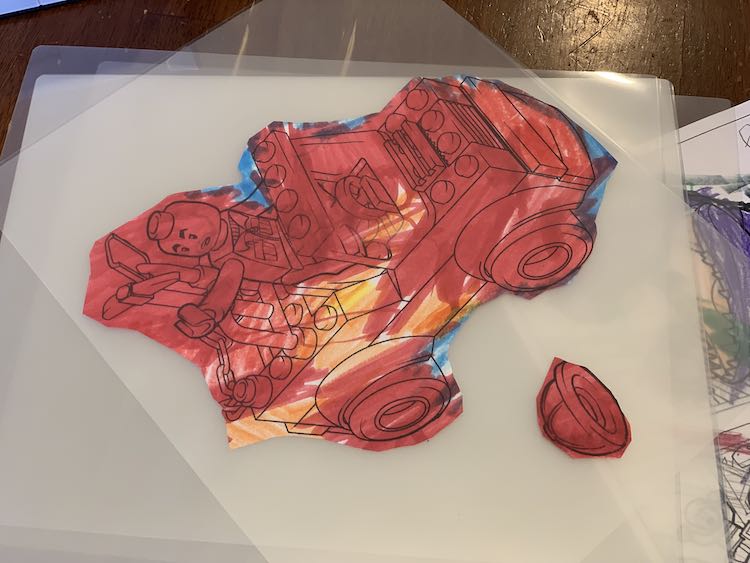
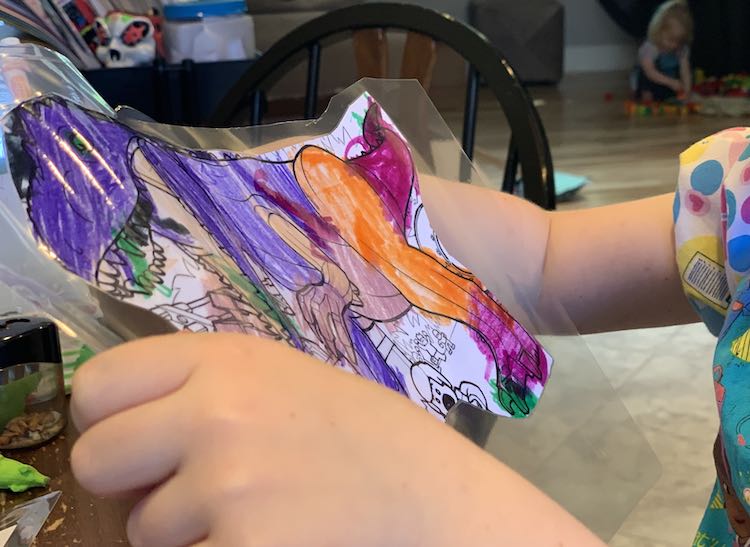
While the laminator was heating up I used the two pages I had previously colored to show that a large page could go within a laminator sheet (my dinosaur) as is or you could cut the coloring page smaller first before laminating (my race car).
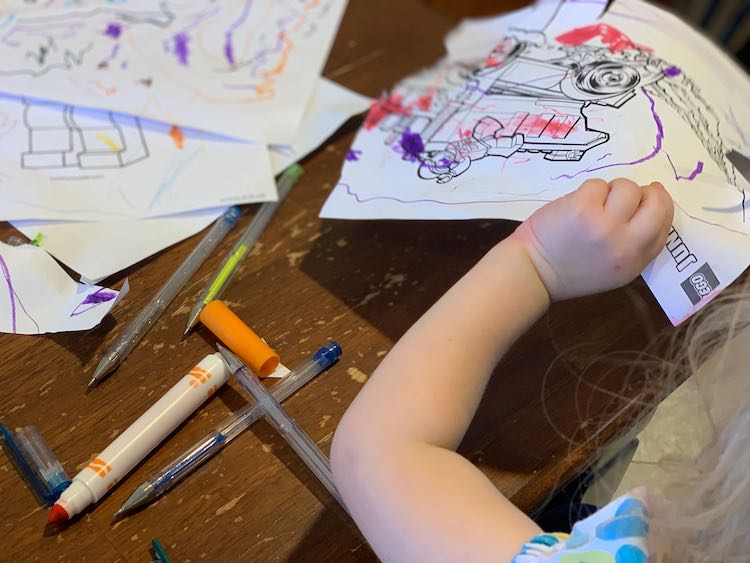
Ada (almost five) got right into it and cut out some of her pieces both before and after they were laminated. She also loved putting the paper into the laminator sheet (after I told her you needed to leave a margin around the paper so it seals properly) and, under supervision, she fed the paper into the laminator. When I pulled out the laminator I also pulled out the markers in case the kids wanted to add anything to their sheets. Zoey (three) started out by coloring and then wanted in on the scissor action, once Ada started, so she cut into her coloring pages before she gave me permission to laminate them.
If you cut out your coloring pages you could combine some of your would-be targets within a single laminator sheet. Just be sure to leave a large enough margin between the two so you can cut them apart, if you want, afterwards.
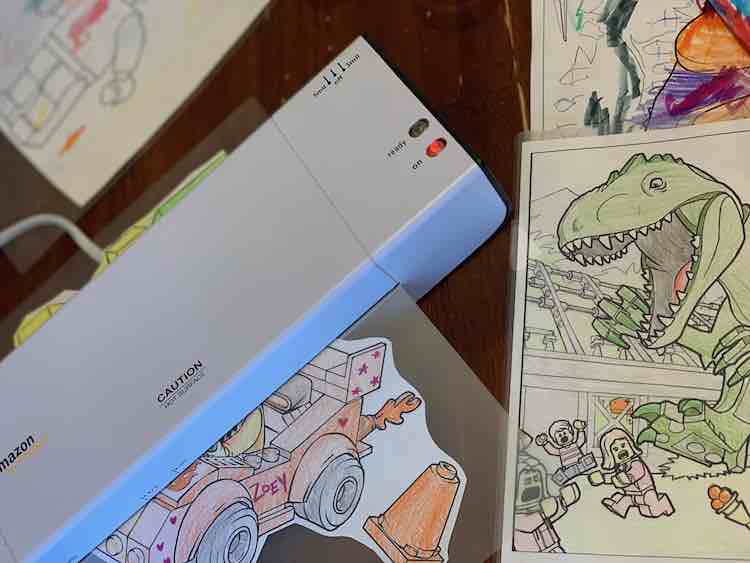
Once the pages are laminated and cooled, you can trim off any excess laminator sheet around your coloring page. Just make sure you don’t cut into the paper as you want it fully sealed from any water gun blasts.
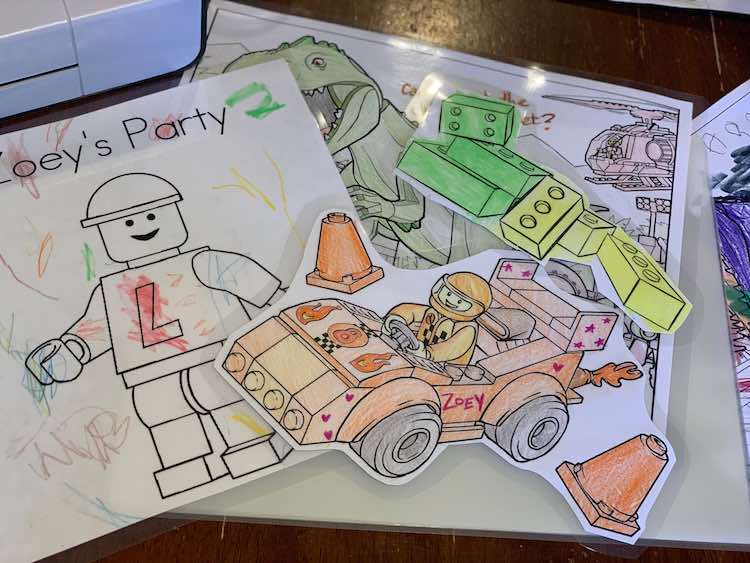
I love their creativity. Ada colored the complete page for the LEGO® jeep and once she understood the cutting and laminating process she decided to cut out the jeep and the man’s hat. When she put the paper into the laminator sheet she decided to have the lost hat under the jeep rather than behind it. The only thing I had to change was moving the jeep over a bit so there was enough margin around it. Once it was finished being laminated she insisted it not be cut and be hung as is.
Cutting the laminated paper also allows for a change from the normal paper cutting as the laminator sheet is much thicker and firmer.
The day before the birthday party I emptied a large plastic bin and assembled the water guns. You could also hang up the targets but I ended up doing that the morning of.
Morning Before The Party
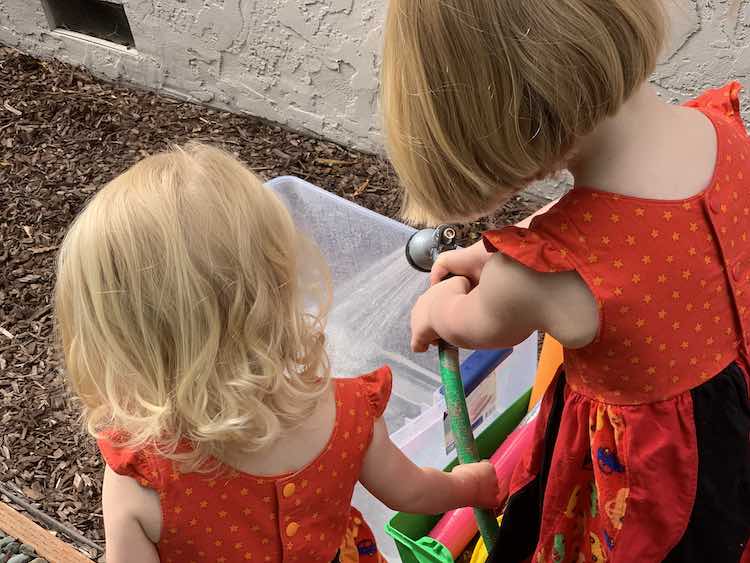
The morning before the birthday party I moved the garden hose over and had the kids fill up the bin with water. Before we moved I used to half fill the bin in the kitchen (our faucet extended out to spray) before putting the lid on so I could more easily carry it to our deck so this was much easier and ended up fuller than before.
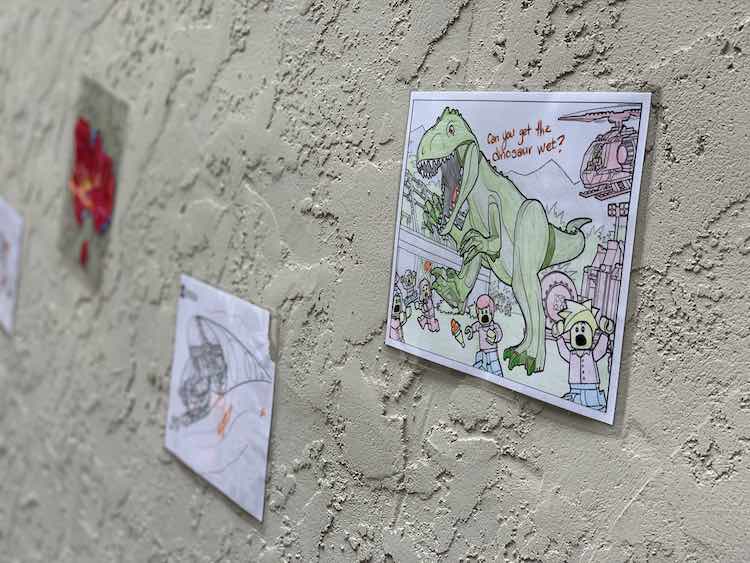
While the bin was filling I tore off small pieces of masking tape and rolled it up to make double-sided tape and hung the targets on the wall.
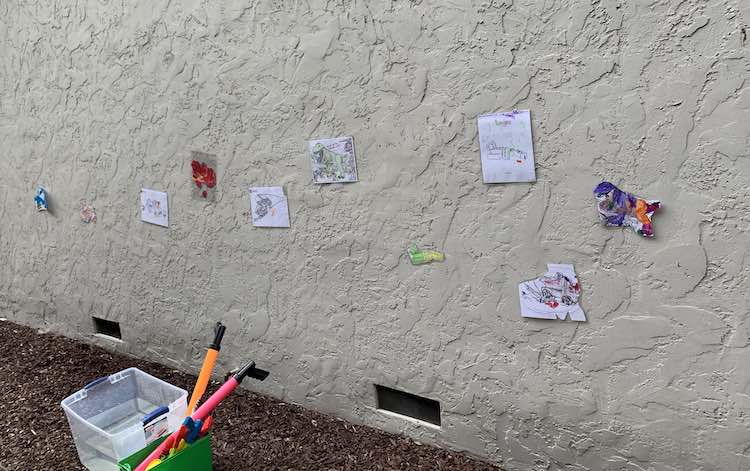

I kept one of the ‘targets’ back so I could hang it in the front alongside a helium-filled balloon proudly declaring it was Zoey’s birthday party.
Change It Up If It’s Hot Out
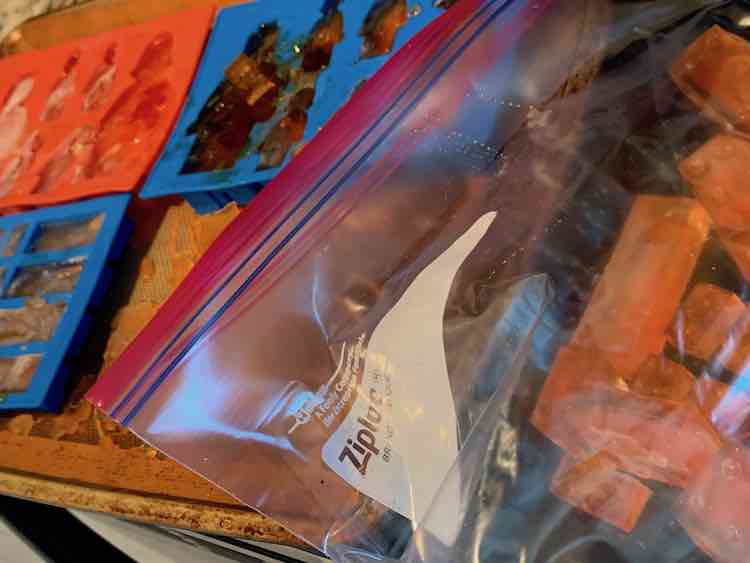
The week leading up to the birthday party we had a heat wave so when preparing I used my LEGO® inspired silicone moulds to create orange tinted ice cubes. The plan was to add them to the bin of water so the kids could enjoy seeing them before they melted and to color the water orange a bit. The morning of the birthday party was just cold enough that I decided against pulling them out. The kids don’t know I made them and they’re still waiting in the freezer, stored in a freezer bag, to be used.
I hope this helps you out. I love how these targets could work for any theme of birthday party since it completely depends on what pages you use. For older kids I could see people creating their own pages before going outside for target practice. There could also be more rules concerning where they stand to shoot. If you have a favorite book that’s falling apart and about to be thrown out I could see recycling the pages if you want the images for target practice.
Are you going to do this? How are you changing it to fit your theme? Let me know in the comments below, on my Facebook page, or through Instagram. Hope you have a great time and stay cool.