

Dinosaur Footprints Sensory Bin

We’ve had a plastic jar of small dinosaurs we bought for $3 from Target awhile ago that I used to distract Ada with while Zoey was napping. She’s since gotten bored of them so they were moved to the living room for sensory play. One day when I was trying to make supper and Zoey wanted to play with playdough I decided to pull out some of the plastic dinosaurs. This worked perfectly as I didn’t want to clean up all the playdough toys when the food was ready and this offered a perfect opporunity for Zoey to play with a new to her toy while Ada was distracted elsewhere.
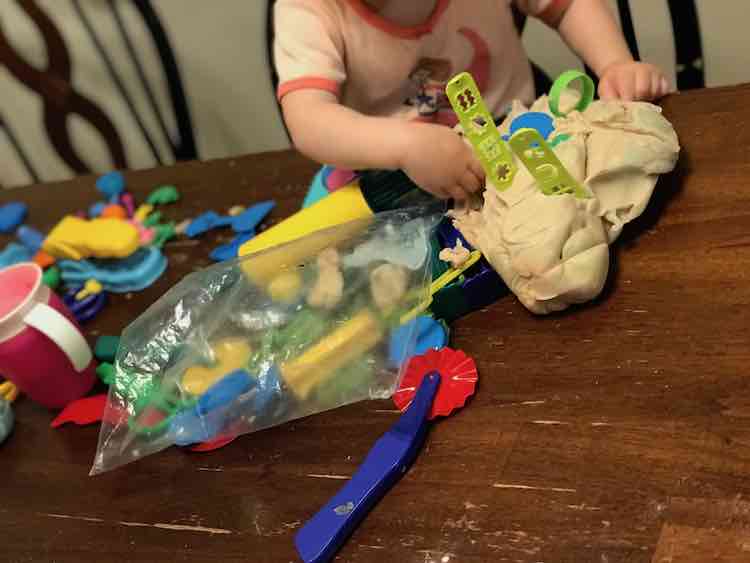
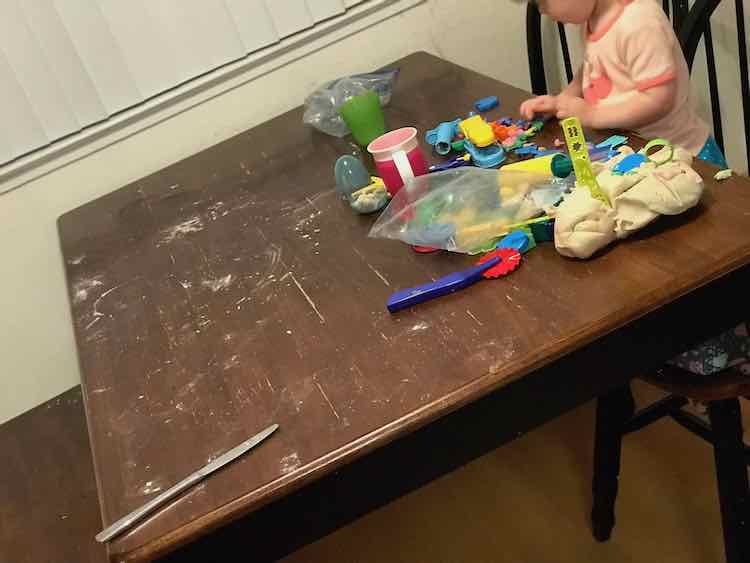
When Zoey’s birthday party got closer and I asked her what she wanted to do she kept telling me ‘playdough’. Originally, I planned on having an indoor playdough station by turning the bench at our table into a standing table for the toddlers and unleashing all the plastic dinosaurs on it. Once we visited the local Dollar Tree Zoey kept finding larger dinosaurs for the outdoor sensory bins so I ended up deciding to make the playdough idea larger and bring it outside instead.

Materials Used
- Used the recipe from my earlier “Make Your Own Playdough” post. Between the older and newer batches I ended up with a total of five batches of playdough for the birthday party. If you have all the ingredients except for the food dye to color the playdough and you’re not worried about anyone sampling the playdough you could use kids paint to dye the playdough instead. I experimented with this in my “Playdough Coloring Alternatives” post.
- Some kind of animal or other toy to make tracks in the playdough or inhabit your scenes. I used the dinosaurs we bought from the local Dollar Tree. This could be any waterproof toys you want to use. For years Ada used a metal car that worked great other than getting playdough stuck inside the cab.
- Bin if you want to try to contain the playdough though you could do this at the table too. If it’s a hot day you may want a lid when it’s not in use so the top doesn’t harden with the sun.
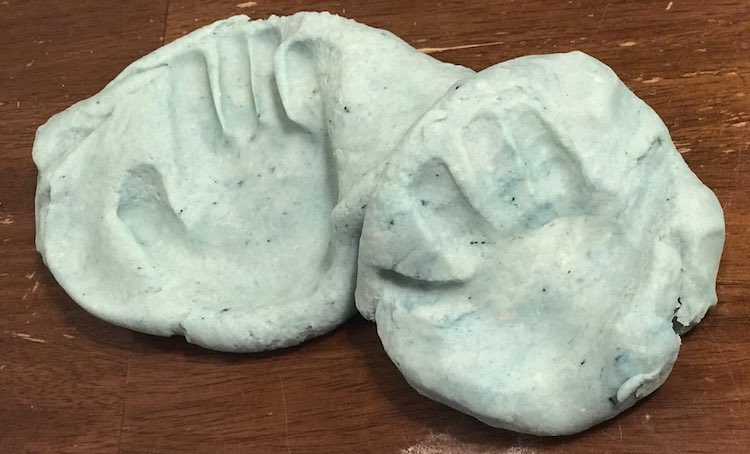
I started by mixing up a single batch of blue playdough so the kids would have water for the dinosaurs to drink. This could easily make a lake, ocean, or waterfall too. I added the blue food dye to the playdough before mixing it together. It wasn’t dark enough so I added more dye before kneading the playdough together. If it’s too sticky you may want to add more flour as you knead it. If you don’t want to get food dye on your hands you can wear gloves or use a spoon to break up the dye enough before kneading it together.
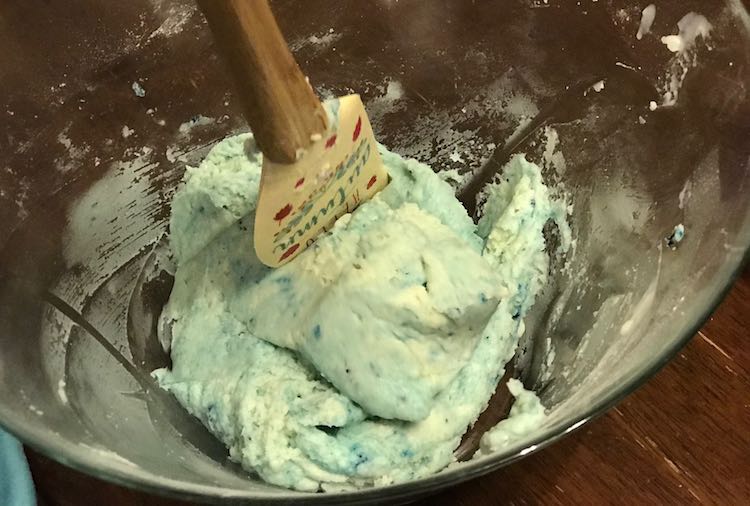
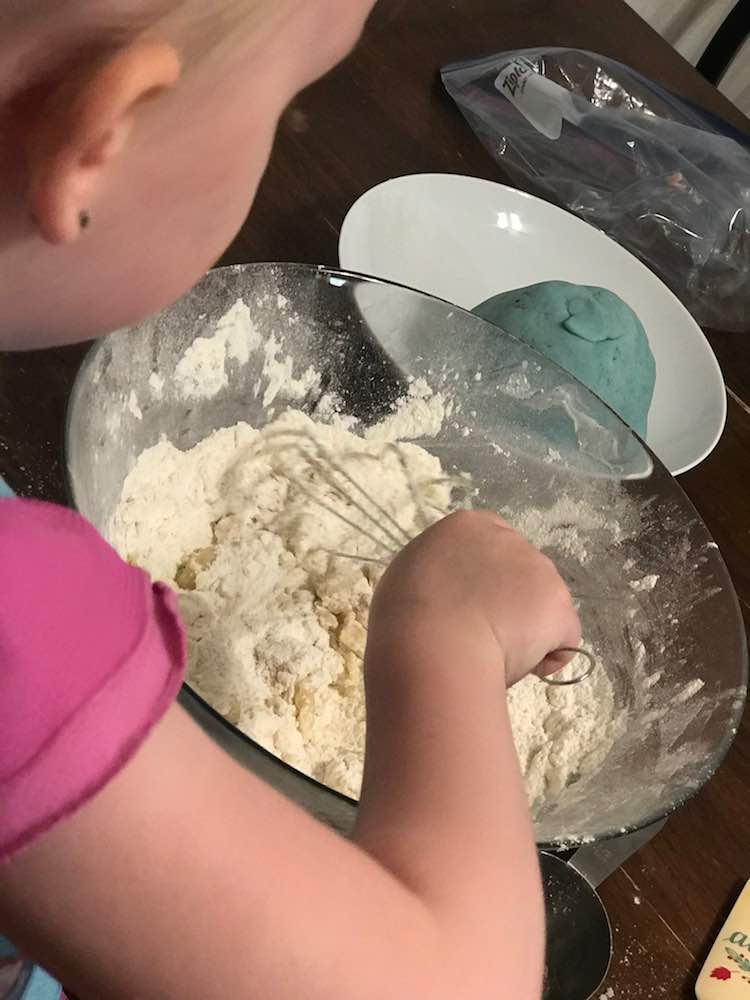
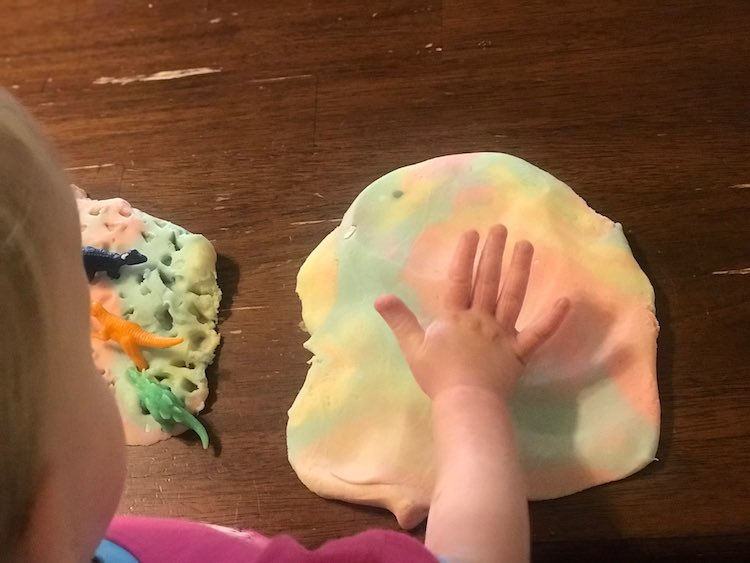
Ada wanted in on making the playdough while Zoey was happy playing with the older playdough and toys. Once the blue playdough was ready Zoey wanted to feel it too so I let her make a handprint in some before giving her a small piece to go with the rest of the playdough.

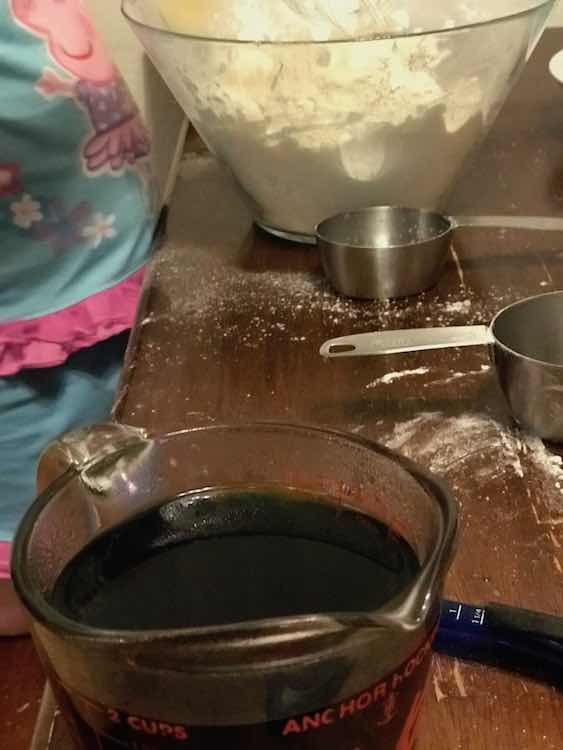
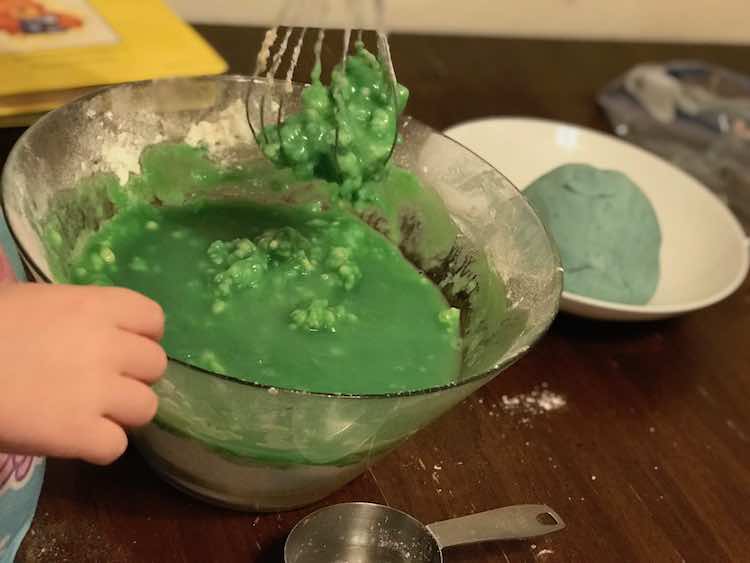
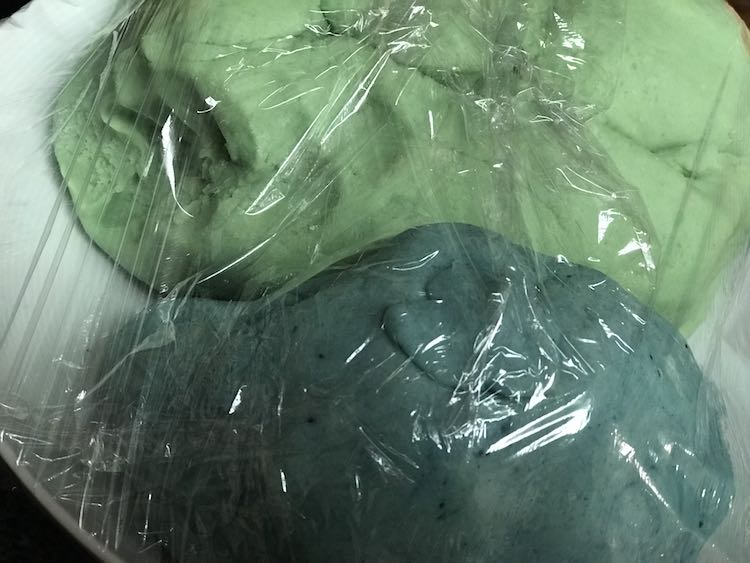
After the blue playdough was ready we went on to make a double batch of green playdough so the dinosaurs will have grass, trees, and bushes. This time Ada wanted to mix the dry ingredients together for longer than the last time so I premixed the blue and yellow food dye in the boiling water before adding it since I was forced to wait. Once the dyed water is added to the dry ingredients you can mix and knead it together until it’s perfect to play with. Instead of playing we wrapped it up so to save it for the birthday party.
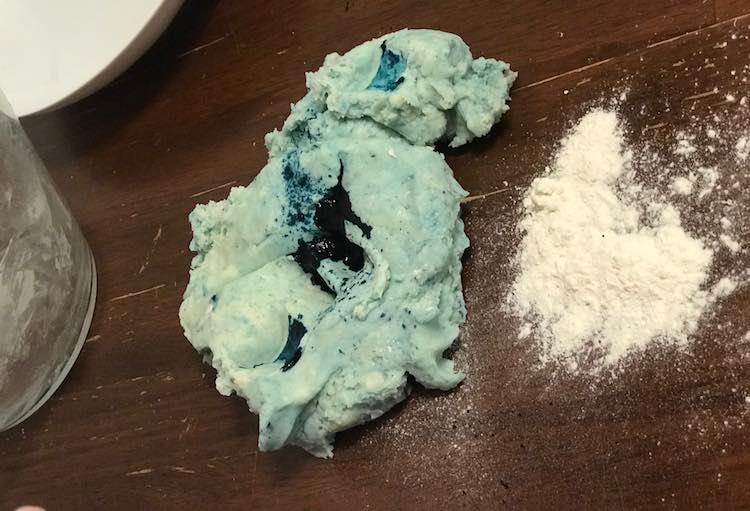
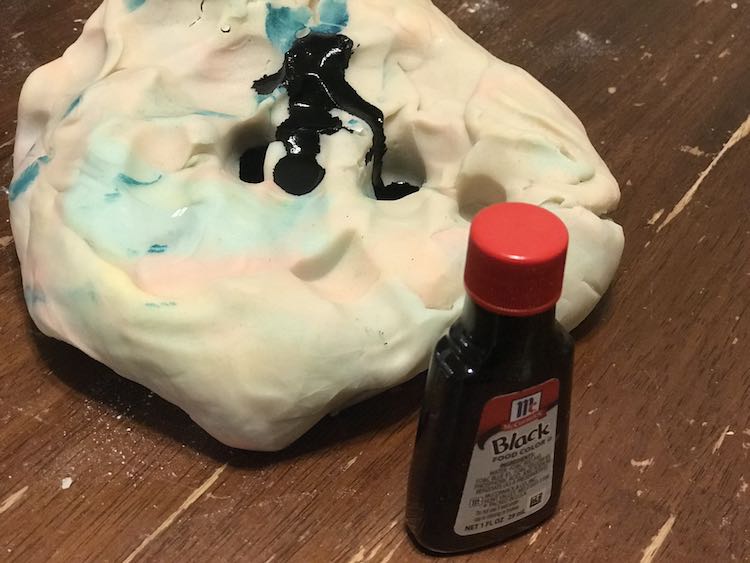
Once Zoey was done playing with the playdough I decided to go on to dye the older playdough with my black food dye so the dinosaurs would have dirt and mud to play in. All I did was push down a divot in the playdough, add some black food dye, and then knead it all together. The first time it wasn’t dark enough so I added more and kneaded it together again. I originally wanted brown playdough but as I had black food dye I figured this would be simpler. Once all the playdough was ready all that was left to do was wrap them up and save them for the birthday party.
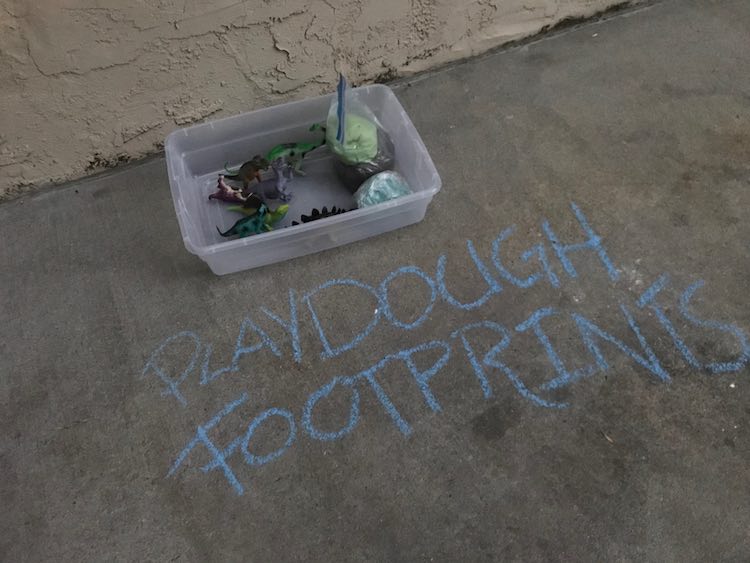
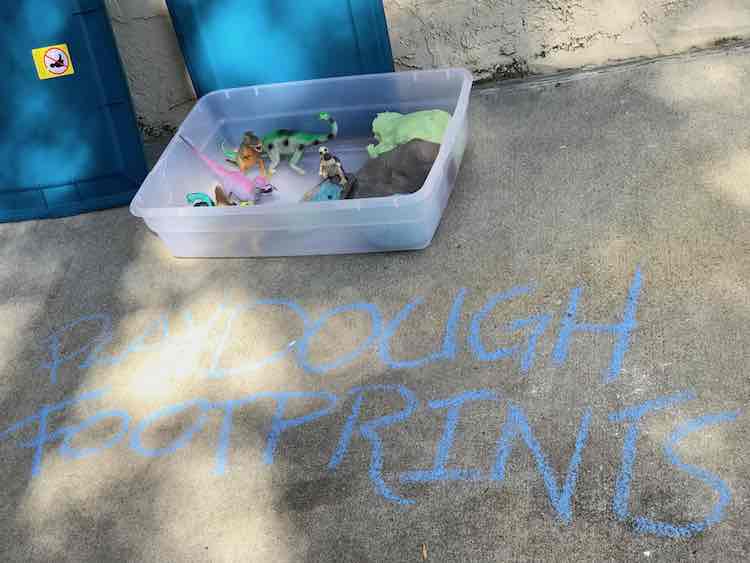
The day before the birthday party I collected all the dinosaurs into a bin and added the wrapped up playdough so it would be simpler the morning of the party. I used sidewalk chalk to label the sensory bin and then added a lid to the bin.
Right before the birthday party commenced I opened the playdough and quickly made a small scene for the smaller dinosaur. I then put the lid back on the bin and once we took the party outside I was able to quickly remove the lid. After the kids went inside I forgot to put the lid back on the playdough so it hardened a bit in the direct sunshine. Ada decided it was sunburnt, but it was easily mixed together and still usable.
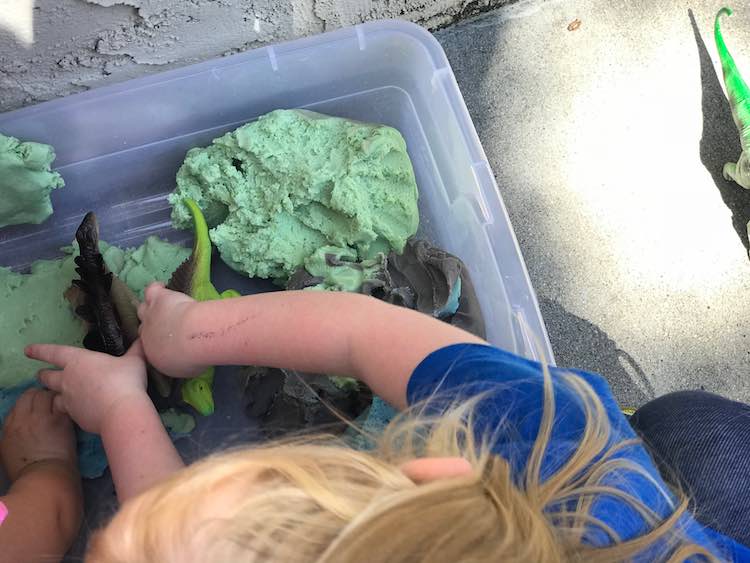
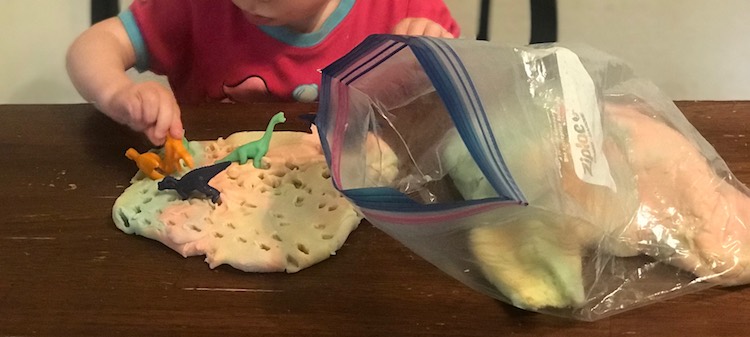
Overall this sensory bin idea can be as simple or as complicated as you want. Zoey had fun with the few dinosaurs and a small sampling of our mixed together playdough. With Zoey individually that time I ended up taking a small amount of playdough, flattened it, and then marched each dinosaur across the playdough for Zoey leaving each one at the end. I then flattened another piece of playdough and left it to Zoey to play with.
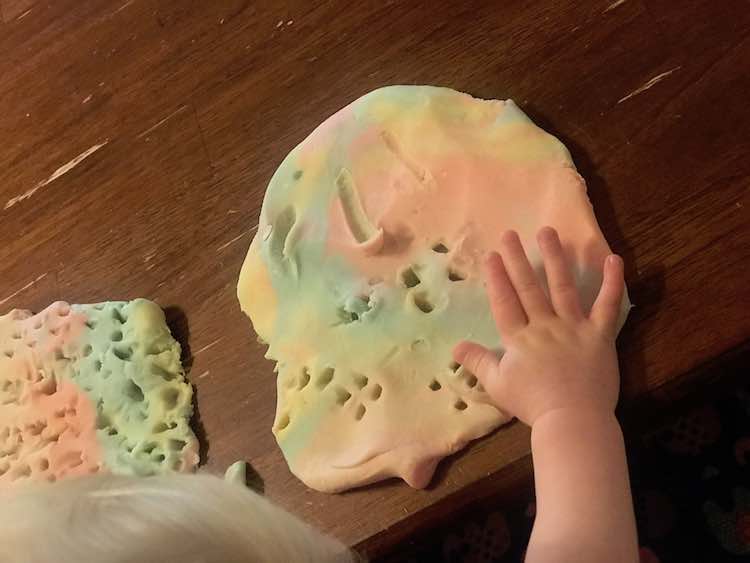
We loved stomping the dinosaurs through the playdough. If you have older kids I could see making a detailed scene for each dinosaur to stomp… or lightly trod through. If you want more information on how to make your own playdough you can check out my recipe and accompanying video in my earlier post. I’ve also experimented using kids paint to dye my playdough instead of using food dye.
I’d love to see what your kids create. Feel free to share with me in the comments below, on my Facebook page, or through Instagram. Have a great day creating!
Did this save you time?