

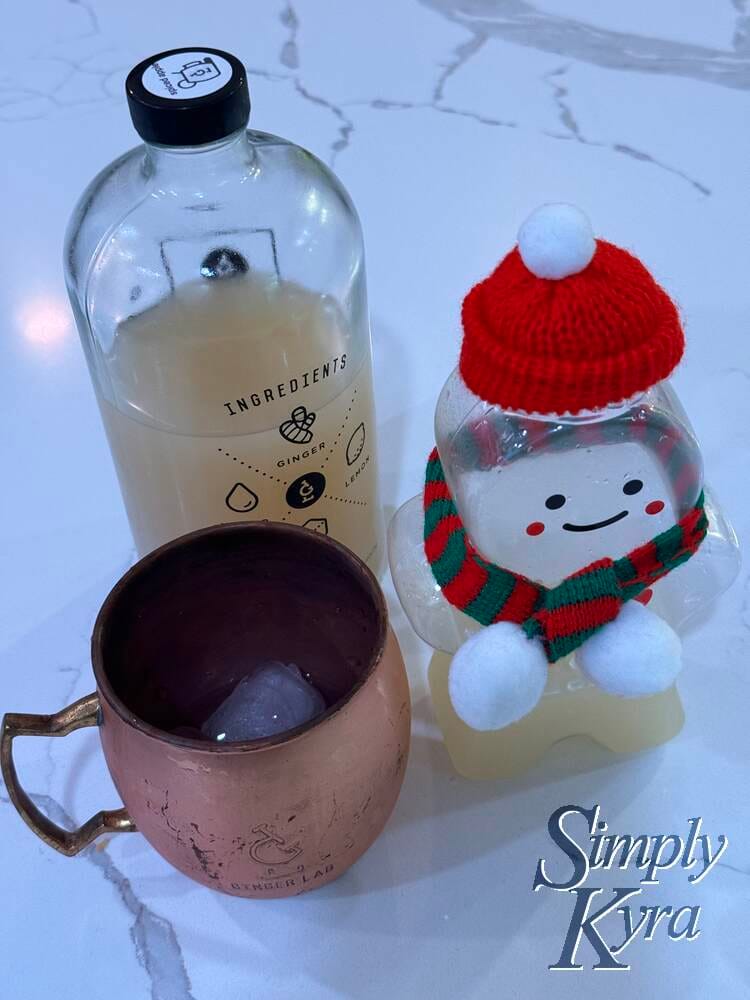
Creating “Ginger” Our Ginger Beer Bottle

Since moving away from California the product I've been missing the most is the ginger beer from Ginger Lab. I still follow them on social media so when they added a limited run of these adorable gingerpeople bottles I actually awww'ed. I can't recreate the walk over to the farmer's market but when they opened these bottles up to shipping I jumped at buying it! Since this bottle was smaller than their main growler I only bought one of her and included three of the larger growlers thus filling a shipping box and getting to drink each of the four available flavors. And that is how Ginger came into our home.

The Bottle
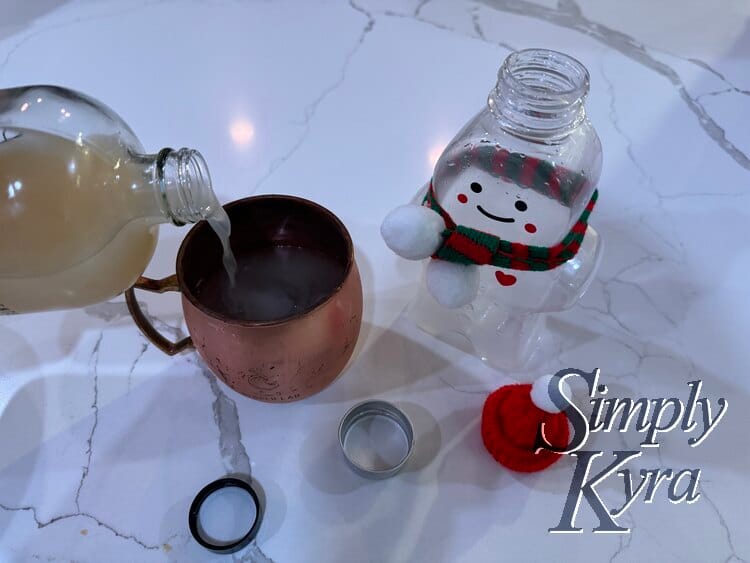
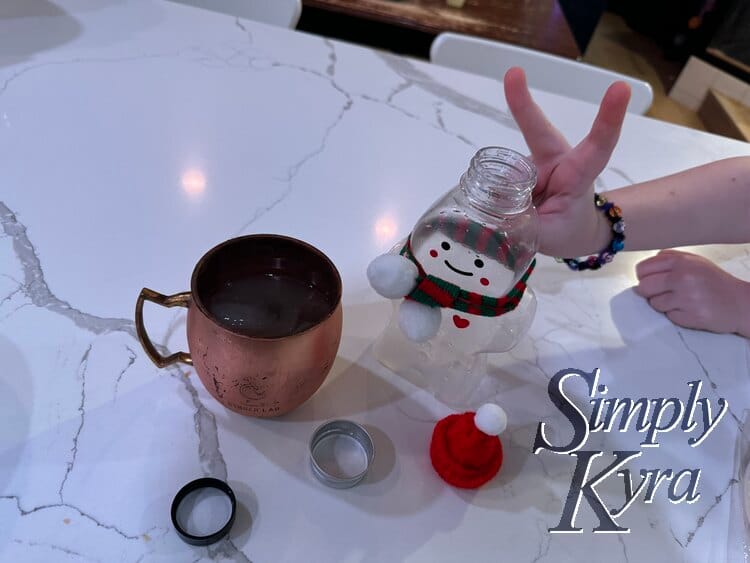
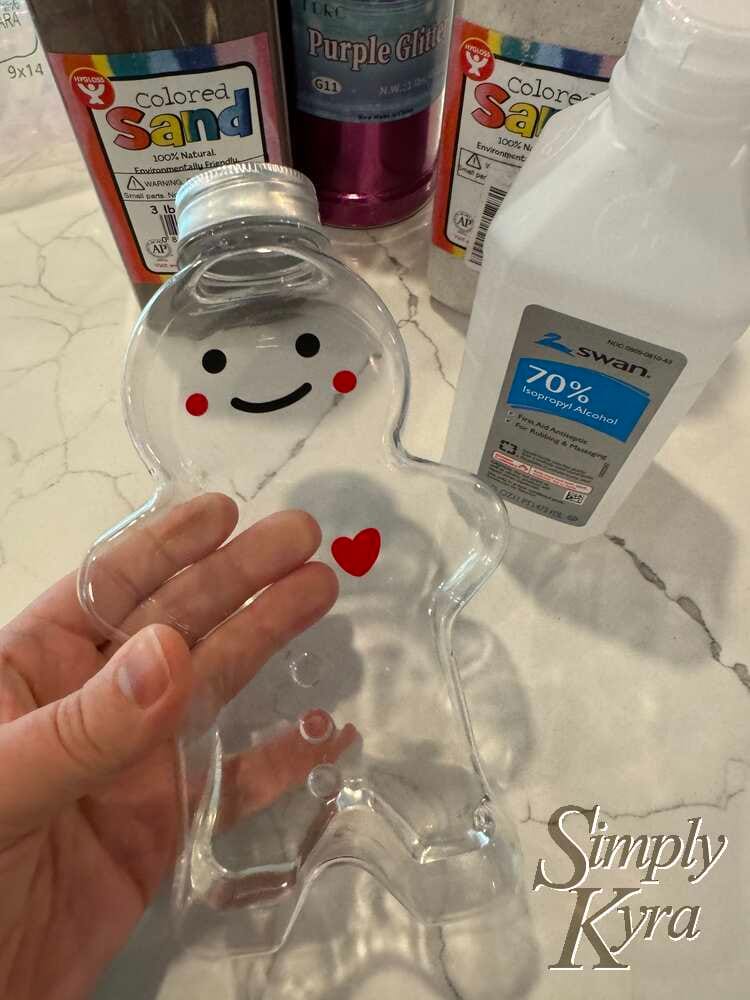
I somehow didn't expect the bottle to actually come with its little adorable hat and scarf so that was an amazing surprise... which Ada attempted but failed to steal for her dolls. After enjoying and sharing the ginger beer inside the bottle I cleaned it up, waited for it to dry, and set it up on display with the other Christmas decorations.
The Plan
I had a vague idea that I wanted to fill the bottle up with sand to add some color; yet, I was also worried the act of filling it up would scratch the bottle and we couldn't go back to an empty one. So I kept putting off deciding... until one night I couldn't sleep and apparently had snow people stuck in my head. After looking around on Amazon I purchased white Hygloss Colored Craft Sand and two colors of TORC Fine Glitter in champagne and purple. I pictured using the two colors of glitter to make the white sand look snow sparkly.
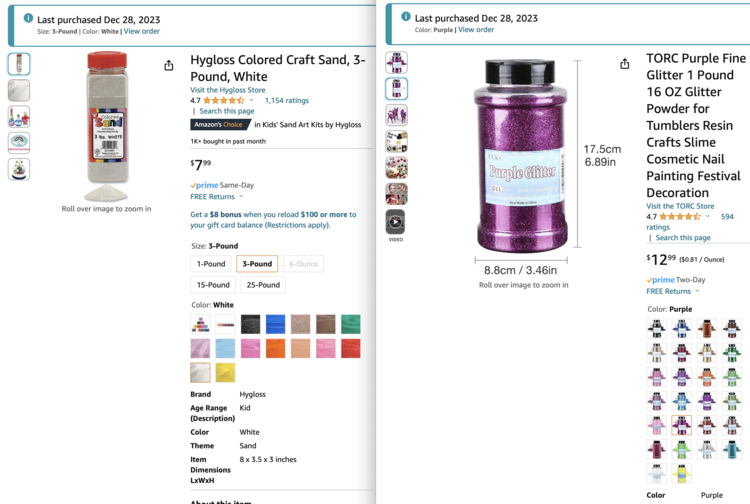
The next day while telling Matt he looked at me confused as a gingerbread person is not a snow person and I realized what I did. I pivoted and bought a second container of Hygloss Colored Craft Sand in a dark brown this time and figured I could use the white sand to lighten it up along with my glitter idea to add sparkles.
I was excited to get the project started and was pleasantly surprised when the sand arrived and already seemed to glitter a bit. Unfortunately, the champagne colored glitter kept not shipping and I kept waiting. Finally I was able to cancel it and I knew I now had all of my supplies… which I put off a bit longer until I couldn’t anymore and decided to craft this during some Zoey and me time.
Cleaning It Out
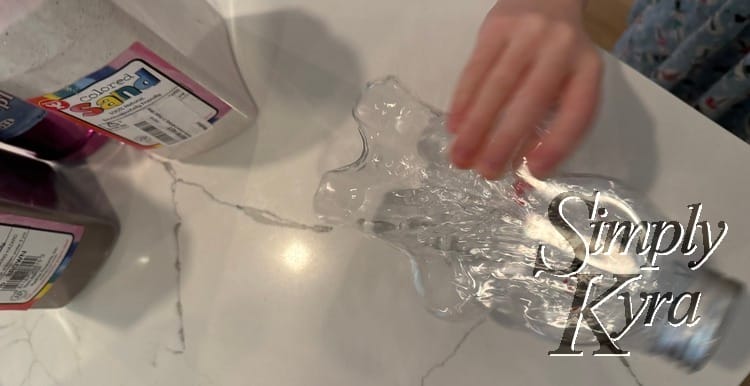
When the bottle was first emptied I had cleaned it out in the sink with soapy water and let it fully dry before going back out as a display item. After Christmas I packed away her scarf and hat but knew I wanted to do something with her so I left her out. Once I had the plan down and was ready to get going I realized I should clean the bottle out a bit better as there were the odd marks and residue left inside. This time around, as it will definitely not hold food, I poured some isopropyl alcohol in, put the lid back on, and both Zoey and I gave it a good shake to clean. I then removed the lid, dumped it out, and laid it out on the drying rack to fully dry.
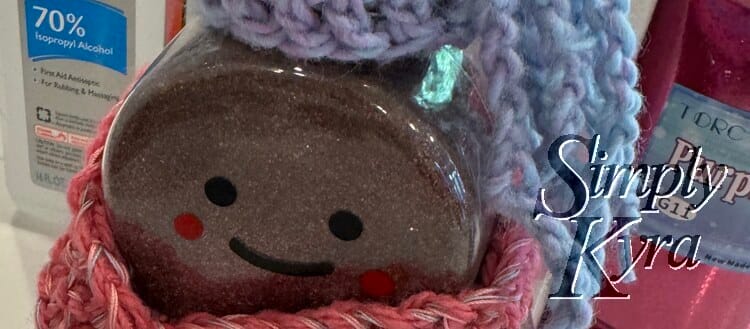
Now we just needed to let it dry out fully. Using the alcohol rather than water sped this up but you still have to wait a bit. Here I took a break to make her outfit and have lunch before going on to filling it up with sand. Here's a quick peek at the finished look. Will post the how to for the outfit later (and update this bit with a direct link).
Fill It Up With Color
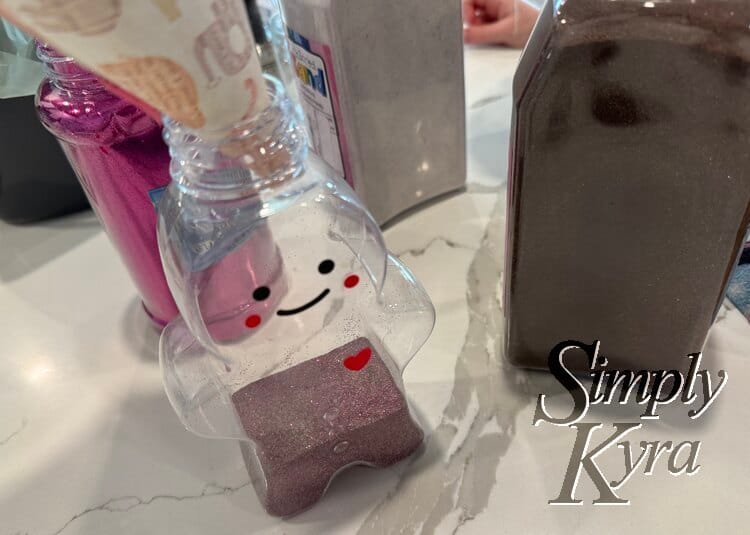
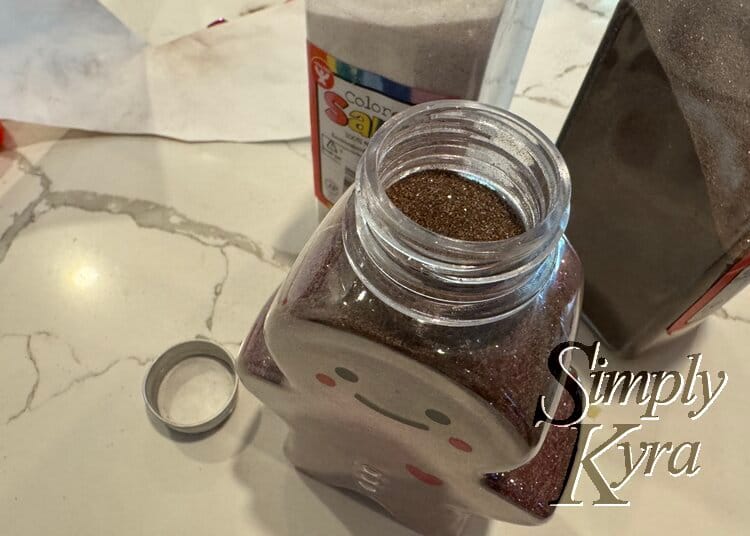
With the bottle dried and her outfit ready it was time to use the sand and glitter! I had wanted to premix the sand and glitter together to get the perfect shade but figured it would be easier to pour the layers, shake it up, analyze the shade, and change the ratios when you add in more instead. I then repeated this process until the bottle was mostly filled up. That said, I had originally planned to fill the bottle up to the very top, maybe this was when I had layers planned, so the sand would stay in place but instead decided to leave a bit of room in case it later needed additional space to allow me to actually shake and mix it.
I wanted to make pouring the sand and glitter easy but also didn't want to use any of my food funnels so I instead made a quick one out of a piece of scrap paper. I didn't cut it to shape and simply rolled it up to create a funnel shape with a large enough hole at the bottom and used some tape to hold it in place. When I was done I tossed it out as it was coated in craft sand and glitter. Mine was a quick and precarious job but here's a WikiHow article if you want a more legit funnel for youself.
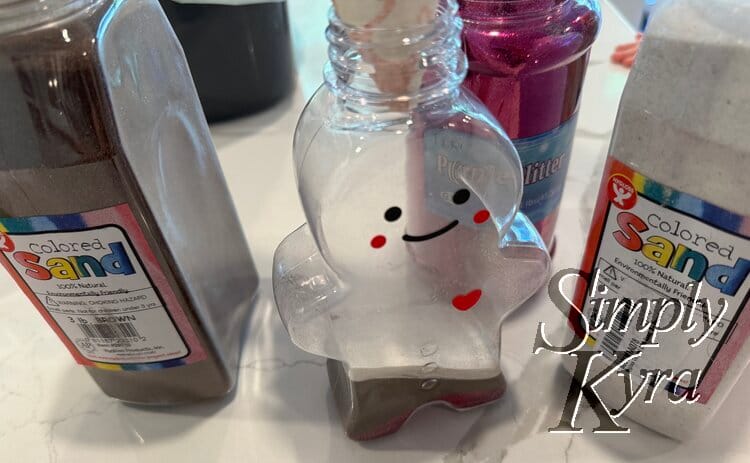
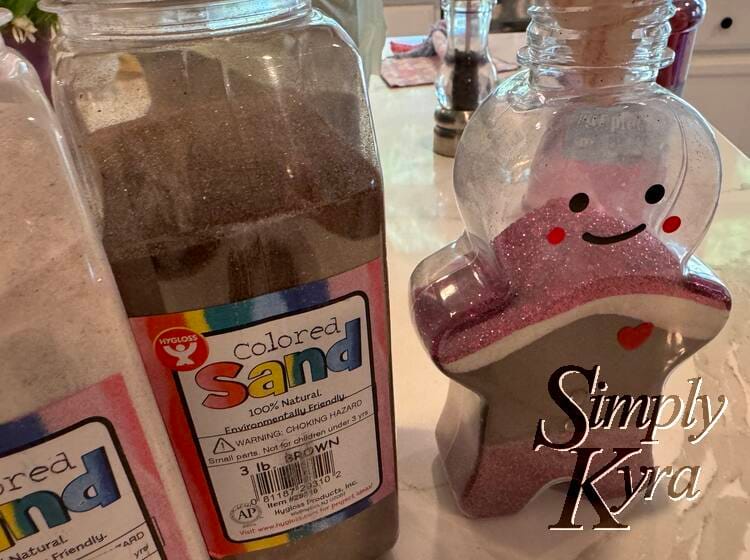

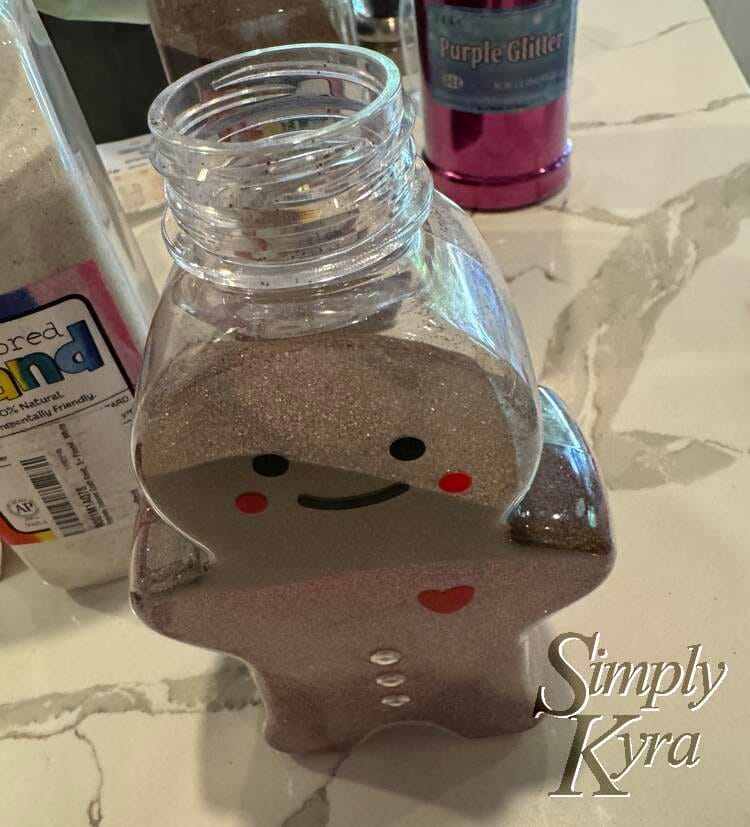
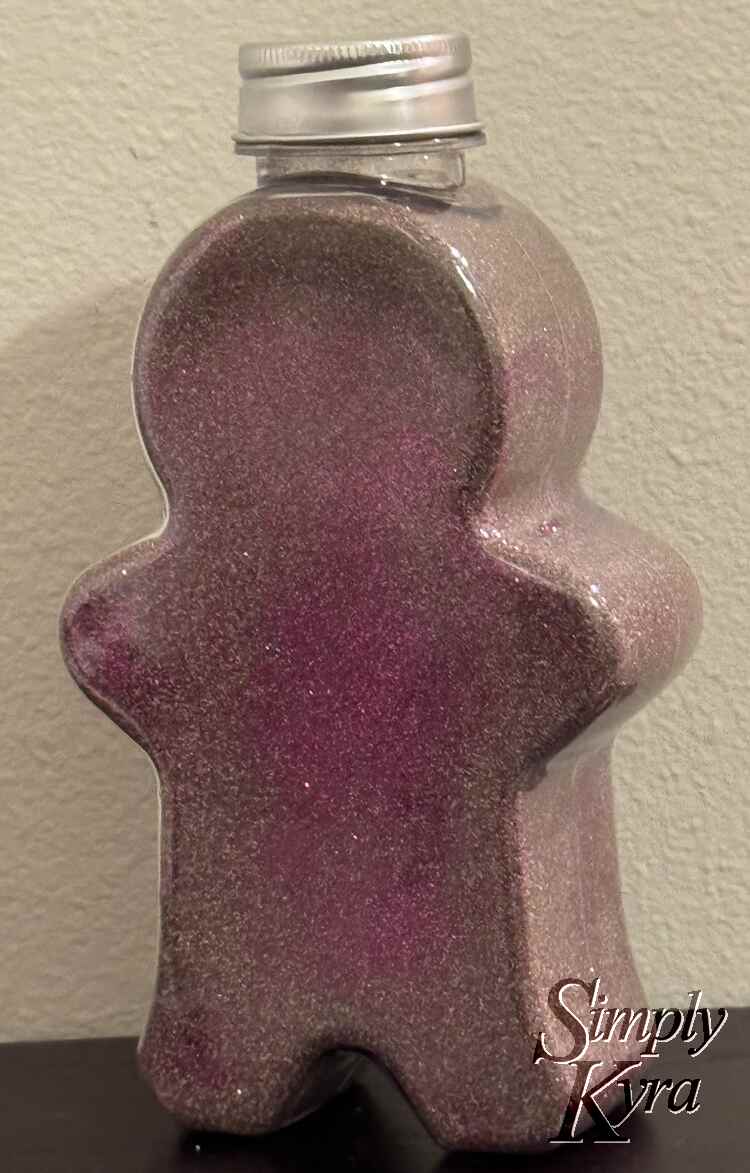
And with that the sand and glitter step was done. I noticed the purple glitter stuck to the bottle in places, mainly to the center front and back, causing purple splotching. Not sure if that would've still happened if I premixed it in advance. I could see in the future dumping it out and trying with pre-mixed sand or creating layers like one of my old sand art kit bottles but for now I'll leave it as is.
Introducing Ginger
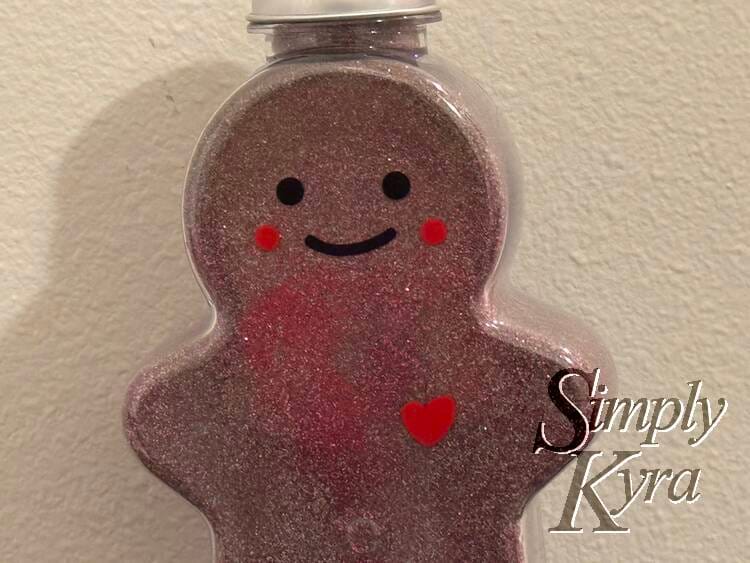
And here is the finished gingerbread girl Ginger!
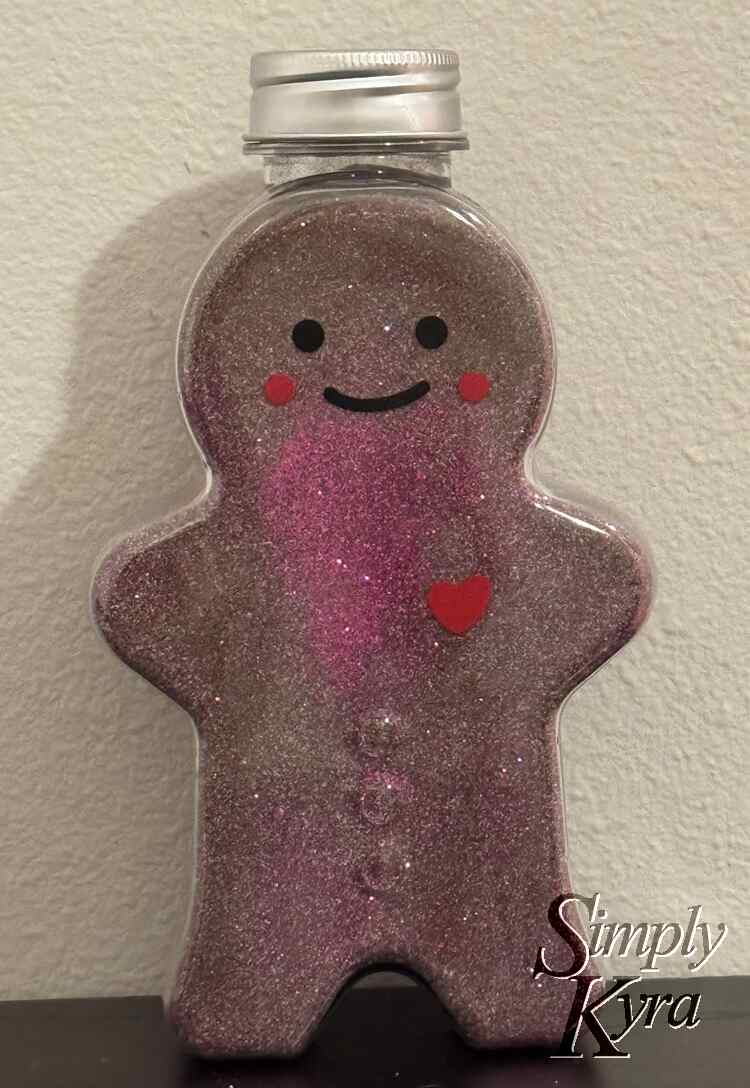
And with that we had our epic Ginger decoration! You'll have to let me know if you do something similar and if so what you used to make it in the comments below.
Regardless, I hope you’re having a great day.
If you’re interested in getting any of my future blog updates I normally share them to my Facebook page and Instagram account. You’re also more than welcome to join my email list located right under the search bar or underneath this post.
Did this save you time?