
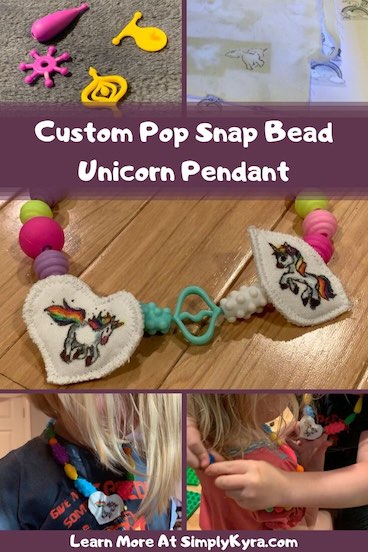
Custom Pop Snap Bead Unicorn Pendants

Before Ada’s fifth birthday I sat down with her to decide what we should do for her party. As we were going over the activities and food she randomly came up with wanting to have a “birthday wish unicorn necklace” where the unicorn has a white body, a rainbow horn, and rainbow hair. She reiterated the specifications including that it be a necklace while I frantically tried to jot it down in the notepad app on my phone. After talking more I discovered she wanted it for the day of her birthday and not on the party… which gave me an extra week. Later on after forgetting about this necklace request, ordering her birthday presents, remembering again, and looking at the selection on Amazon I decided to just make her a unicorn necklace… and this was born.
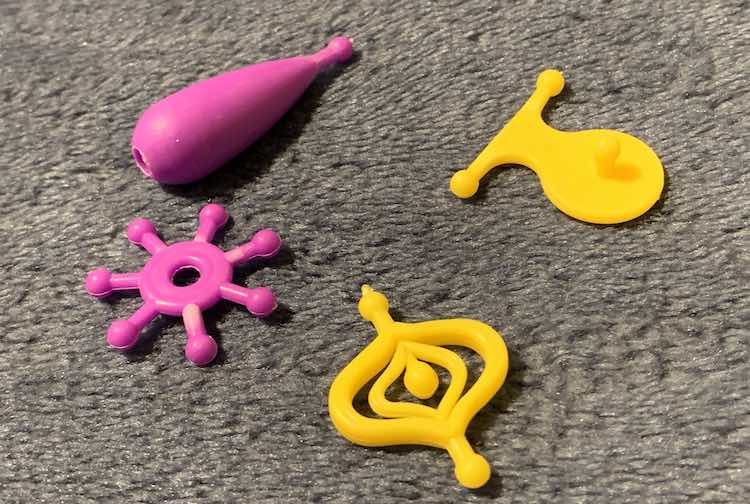
I wanted the unicorn necklace to be a surprise so I had to wait until Ada was busy before going through her pop snap beads to find any pieces that could work as a base for her new unicorn pendant.
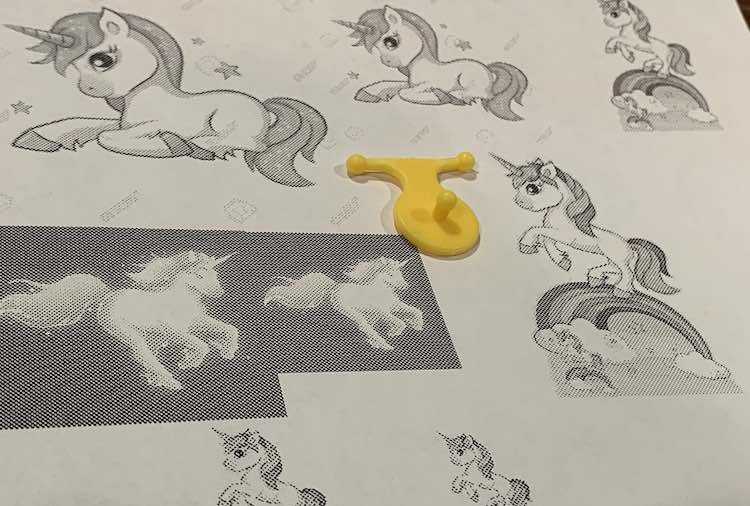
With the potential bases figured out and set aside the next step was figuring out the unicorn itself. I started by looking for rainbow unicorn images online. I picked three colored images that were later printed in grayscale and then narrowed down to two. If you want simpler images to trace that exclude the mid-tone colors and only show black and white you could specifically look for coloring pages instead of general images. Also you could find an image that’s close to what you want (in this example a horse) and then add or change features (adding a horn) to make your specific item.
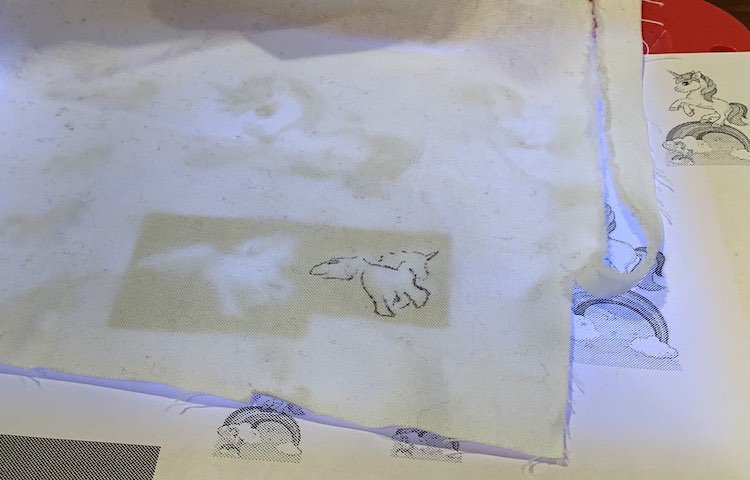
Once I found my potential images I opened gimp (free and open source image editor), created a new 8 by 11 by inch document (U.S. paper size), and added each of the images as a new layer. I then duplicated each image layer several times so I could individually resize the layer (including that image) and move it around so none of the images overlapped. This way I had one sheet filled with many different sizes of the same three potential images I wanted to trace. Since I made the document the same size as my printer paper I was able to easily print it out and use it to, later, trace the images onto the fabric.
I then decided which pendant base I should use and laid it over the printed sheet so I could more easily decide which unicorn to trace and, most importantly, which size I should use. If all the unicorns had been too large I would’ve gone back into my gimp document and resized the images to make them all smaller before printing it off once again.
I then took out my light box, white woven fabric, and a fine tipped black fabric marker. After deciding which unicorn I wanted to trace I then placed the paper on the light table before overlapping it with the fabric; making sure to leave enough space around the unicorn as I wasn’t a hundred percent sure just what I was going to do afterwards.
Once I was happy with how much I traced I removed the fabric and, while comparing my fabric to the original image, tried to add more details. Once I was done with the black I let it dry before using my iron to set the ink in place as I didn’t want the black to bleed into the colors in the next step.
While tracing the unicorn I wasn’t sure if I liked it or not so I chose another unicorn as a backup plan and also traced it out. I figured I’d work on both of them and, once colored, decide which one I liked and only chose that one to continue with. Instead I decided to make two unicorn pendants which worked out great.
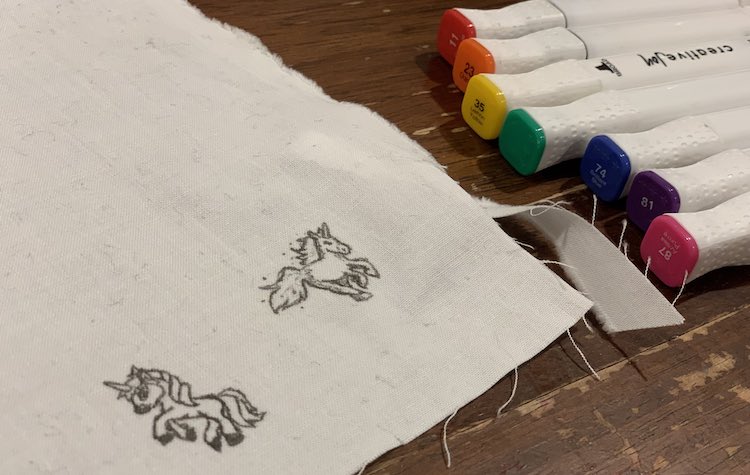
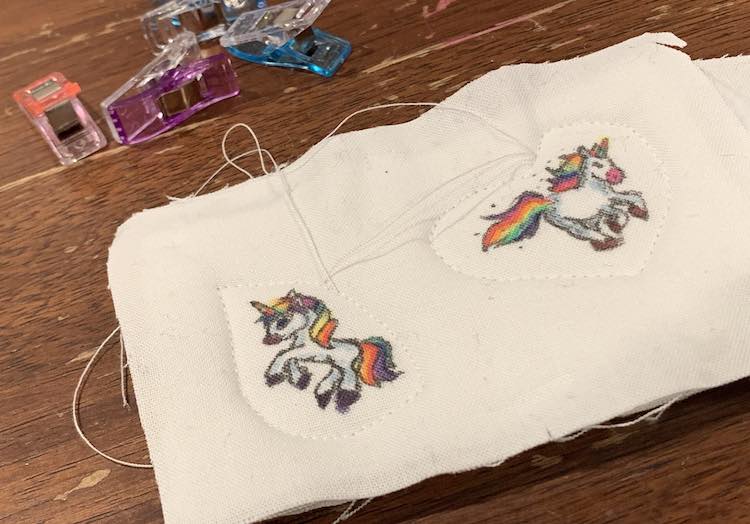
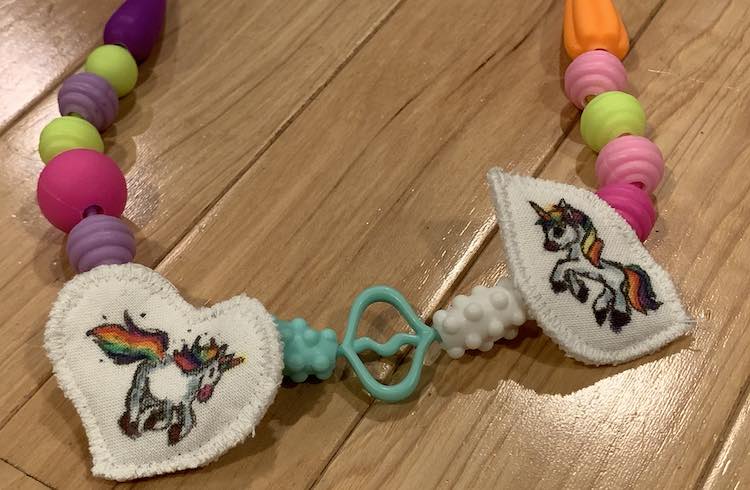
Since Ada wanted a white unicorn with rainbow hair and horn I decided to only use the colors found in the rainbow. I started by going through the colors, one by one, and with each I added a line of color to each of the unicorn’s mane, tail, and horn. Once I had used each color I went back to the first marker and started over again. After I was done the hair and horn I decided I wanted to add some more depth to the white unicorns’ body so I took a light blue and a gray and added shadows and contouring. Once I liked how the unicorns looked I set it aside to dry for ten minutes while I went to look for interfacing. I wanted the pendant to look rounded so I decided to add a thicker interfacing to both the front (unicorn) fabric and the back (plain) fabric so the pendant would have two layers of interfacing sandwiched between the outer layers. I then set the ink with my iron while also attaching the interfacing to the back of the fabric. Since the pendants were so small this was a perfect way to scrapbust your interfacing scraps.

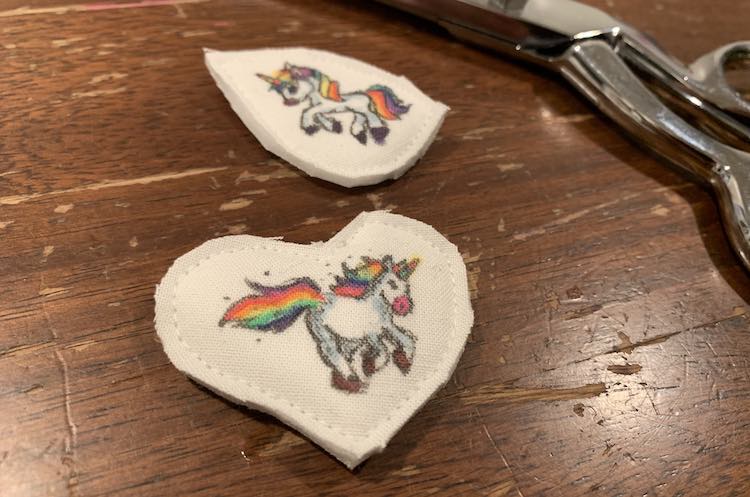
Since the pendants were too small to justify turning right side out, especially when you factor in the thickness of the interfacing and that the woven fabric might start unraveling with stress, I decided to sew them wrong sides together. I wanted to turn the running unicorn into a heart while the other unicorn, standing on it’s back feet, was to be a teardrop shape. To make this easier I sewed around them the first time with a normal straight stitch. I then used my scissors to cut out the unicorns being sure to stay close to the stitches but not to cut through them. I then went back to my sewing machine and went along the edge with a zigzag stitch. Both times I used white thread to help blend with the background of the main fabric.
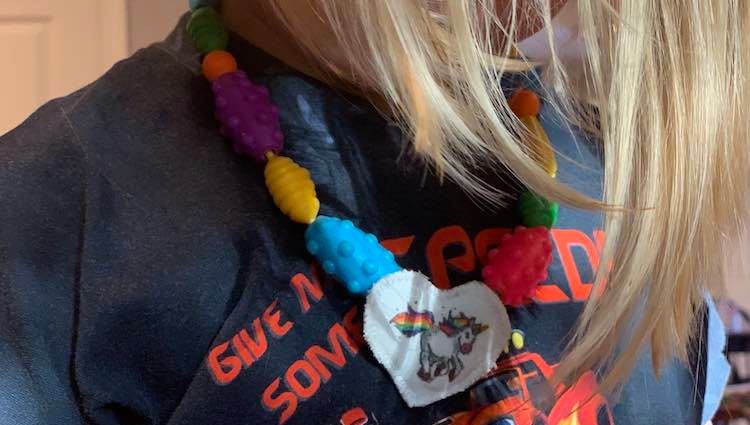
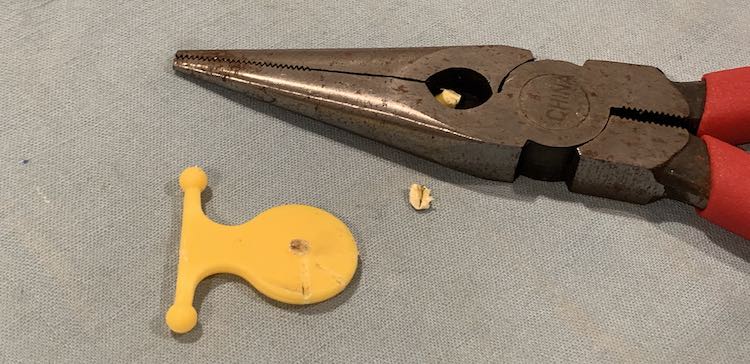
With the fabric part of the pendants done all that was left to do was attach them to the snap pop bead base. I wanted to use a flat bead so there would be a larger surface area available to hot glue the fabric onto. I also wanted the connection point far enough away from the center that it would still be easy for the kids to connect and disconnect the pendant to the other beads. My favorite of the beads had a nubbin in the way so I grabbed cutting pliers and cut the nubbin off close to the base. All that was left to do now was hot glue the fabric pendant to the snap bead base. I made sure to use a lot of glue and squished the two together, making sure not burn my fingers too badly, and swiped the excess glue away.

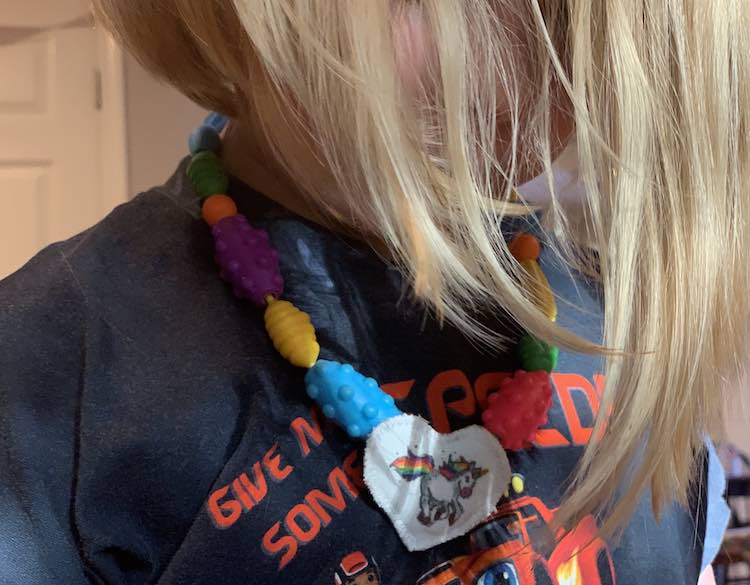
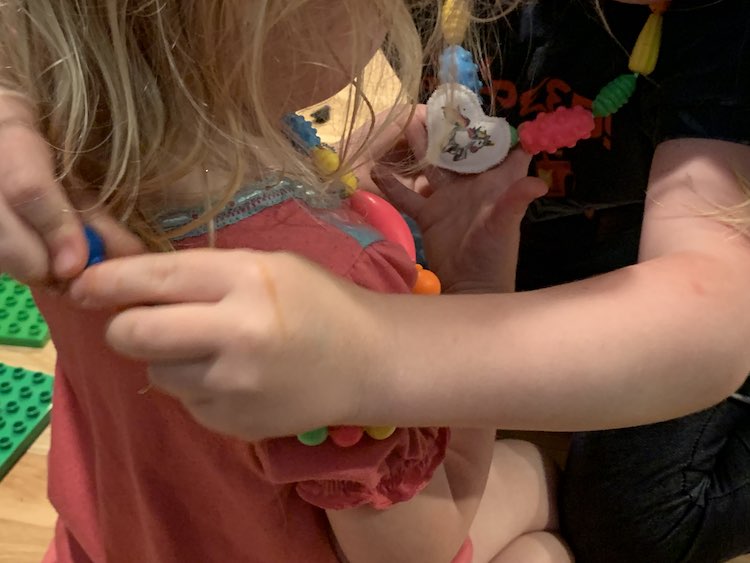
And the custom unicorn pop snap beads were done. Zoey hadn’t cleaned up her pastel snap beads before going to bed so I was able to quickly whip up a sample necklace to take a picture of before hiding the beads away for Ada’s birthday. I love how they turned out.
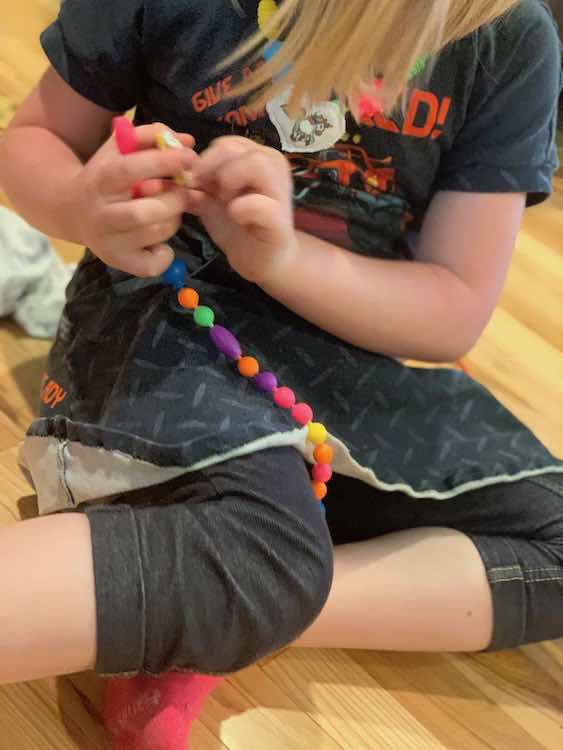
On the day of Ada’s birthday she didn’t really make a big reaction when she first opened the gift so I wasn’t sure if she liked it or not. Later on though she picked it up again and excitedly told me that “it kind of makes [her] want to make a bracelet for Zoey and me. And a ring for Zoey and me.” After that she made herself a necklace with the heart shaped unicorn and then went on to make the another one into a necklace for Zoey. Over the next week or so she made sure to put it on whenever she was at home. It was adorable. Now the beads sit forgotten until the next time she rediscovers them but I’m still glad I made them for her.
I love how these new custom beads reinvented the kids pop snap beads allowing them to create some new necklaces. Creating custom pendants allows you to make your child’s favorite items even if they aren’t readily available on the market. If we were do to do this again I could see having them color their own pendant, after I trace it out, although if they were older it could also be a great project they could do by themselves. I hope this helps you out. I’d love to know if you’re considering making your own custom pendant. If you are then what are you considering making? If you already have I’d love to see it so feel free to share in the comments below, on my Facebook page, or through Instagram. I hope your week is going great.
Did this save you time?