
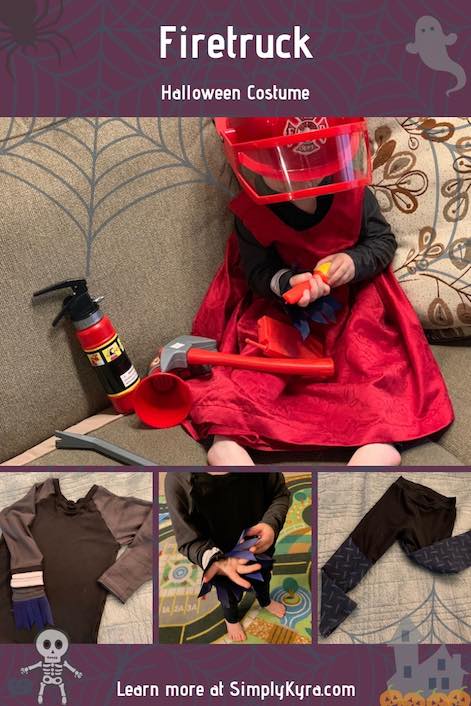
Firetruck Halloween Costume

We started our Halloween costume shopping when we came across costumes at the local Costco. Ada immediately chose a firefighter costume and Zoey wanted to be a firetruck. I was all for the idea as I don’t know how long they’re going to want themed costumes. When I started looking for firetruck costumes I mostly found ideas that involved a box which may get in the way in crowds and might be a bit cumbersome for my two-year-old to enjoy. I also found a couple tutus on Etsy but they mainly seemed to be aimed at the firefighters themselves instead of the truck. Before diving completely into figuring out the costume, we went to Kid to Kid to see if we could find anything that would work and I ended up walking out with a red dress as a starting point… since as Ada kept reminding me… firetrucks have to be red.
Materials
- Shirt
- Pattern – Unisex Raglan from Ellie and Mac
- Fabric – Black, grey, and a bit of white thin knit fabric from our stash
- Blue ‘water’
- Leftover blue ribbons
- Lighter – melt the raw edges of the ribbons so it wouldn’t unravel – depends on the ribbons
- Wash away sewing tape – to attach the ribbons before sewing
- Fabric markers
- Leggings
- Pattern – Ariel Leggings from Stitch Upon a Time
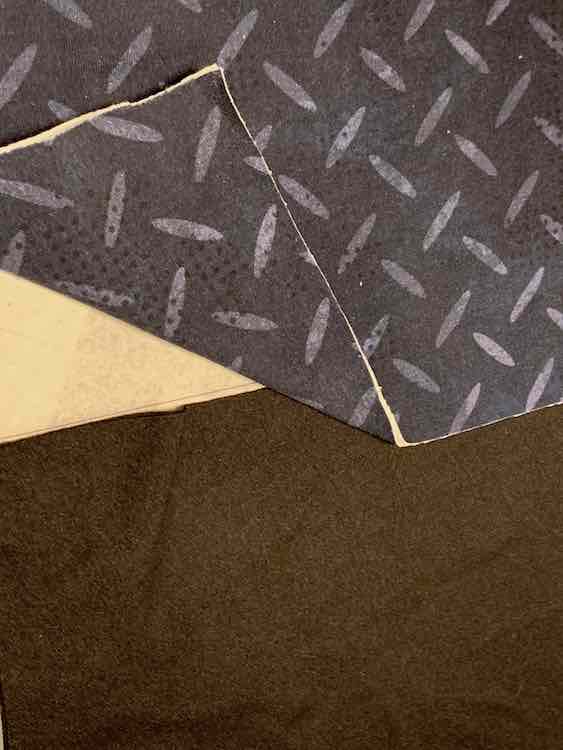
- Fabric – Tire tread fabric came from a monster truck rapport bought through Whimsy Baby Customs. After making Ada a monster truck dress I didn’t have enough for all of Zoey’s pants so I colorblocked it with some black knit I had in my stash.
- Red dress to go over top bought from my local Kid to Kid
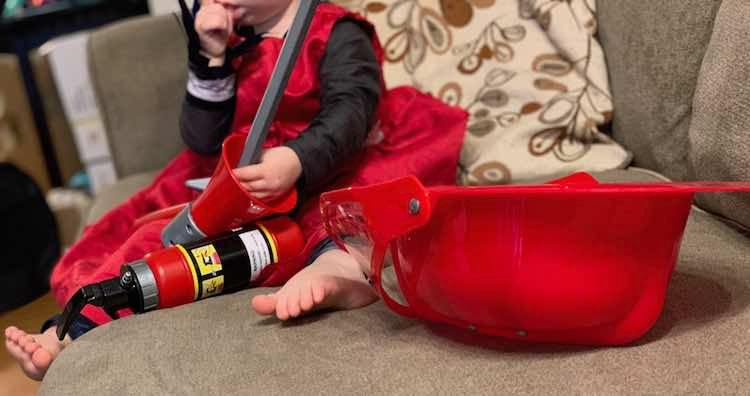
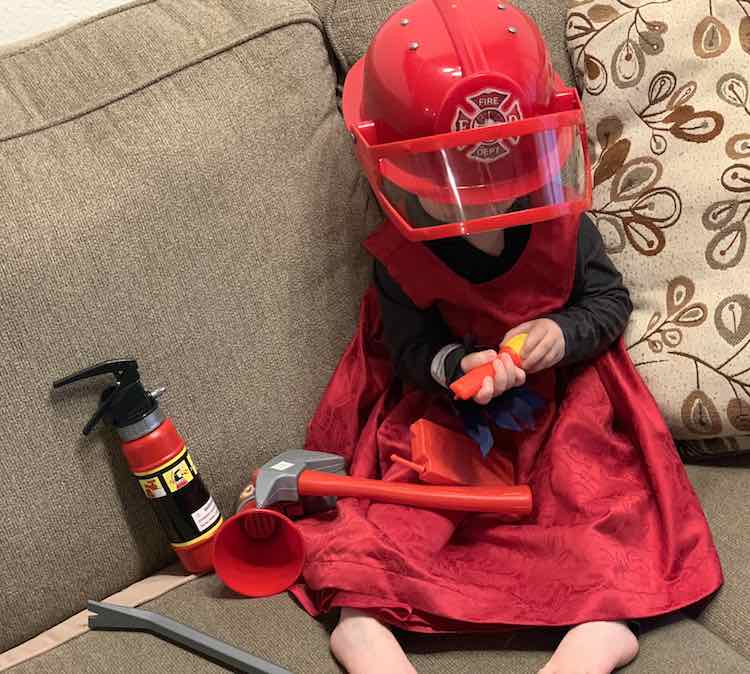
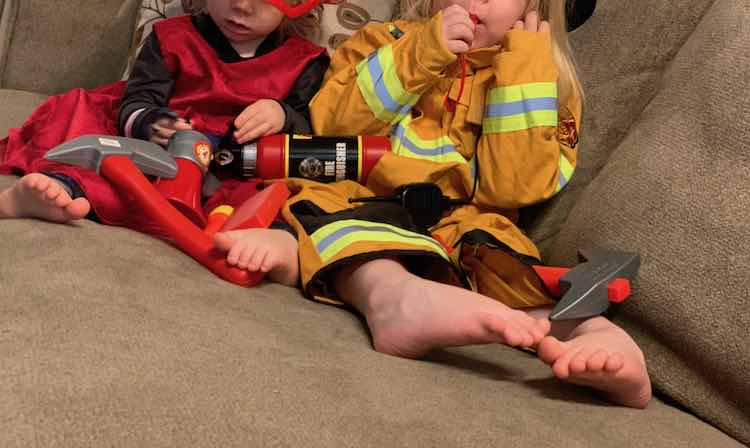
- Complemented the costume with firefighter costume gear from Amazon. The plastic ‘walkie-talkie’ top came broken but overall I’m happy as I wanted a red hat and loved the idea of a fire extinguisher as they seemed more truck-like.
Leggings
I knew going into the costume that I wanted to use the leftover tire fabric from Ada’s monster truck dress (preorder through Whimsy Baby Customs). Leading into making the costume Stitch Upon a Time had a sew along for the Ariel leggings so which made the decision simple on which pattern I was going to use. During the sew along I made both girls a wearable muslin out of fabric I had in my stash so I was reasonably assured on the fit of the pattern before starting the costume.
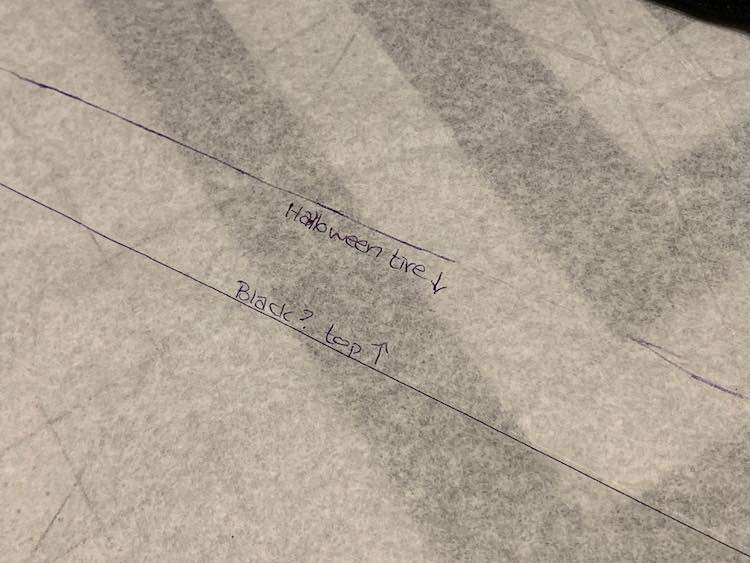
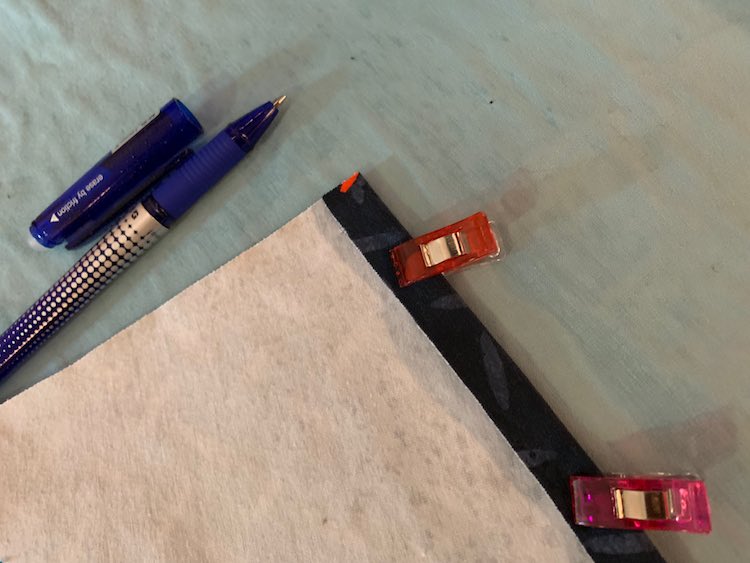
As I didn’t have enough of the tire tread fabric I laid it out against the pattern piece and marked a straight diagonal line where the fabric would end. As the seam allowance for the Ariel leggings are half an inch I marked a second line an inch over so I’d be able to sew both fabrics together making the original pattern piece. After cutting out the pieces I lined it up on the pattern piece and confirmed it worked.
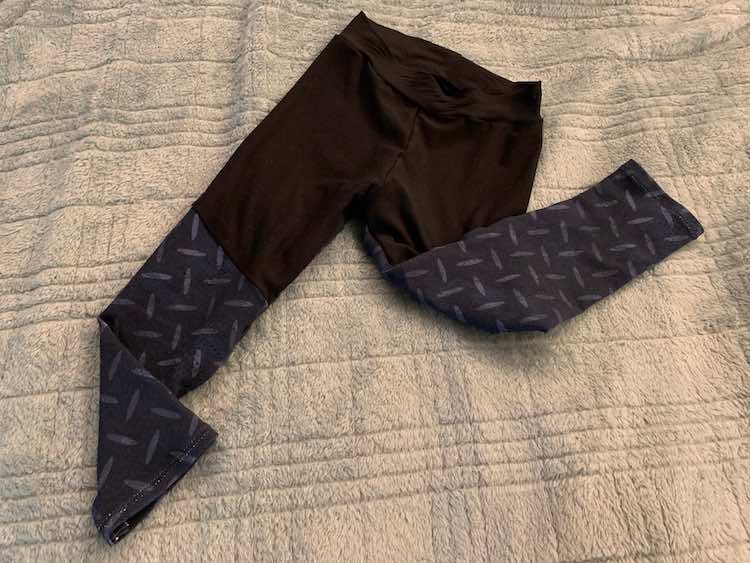
I love how the finished pants ended up looking, although, next time I can see matching the type of fabric as the bottom of the pants (cotton lycra tire treads) are thicker and heavier than the the top (mystery black knit in my stash).
The Ariel Leggings pattern also comes with a skirt add-on which I could see adding if we hadn’t already bought the red dress.
Shirt
Zoey found the red dress uncomfortable while trying it on so I decided I wanted to make a more comfortable top to go underneath. We ended up going with the Unisex Raglan from Ellie and Mac since I’d used it many times before (including for our swimming rash guards). Talking with the kids we determined that a fire truck needed tires (solved by the leggings above), a water hose, a ladder, and a siren (skipping) so I figured the sleeves would be perfect to add a ladder and fire hose to the Zoey firetruck. Though, disclaimer, apparently firetrucks (having ladders) and fire engines (pump water) are different but they haven’t discovered that difference yet.
Ladder
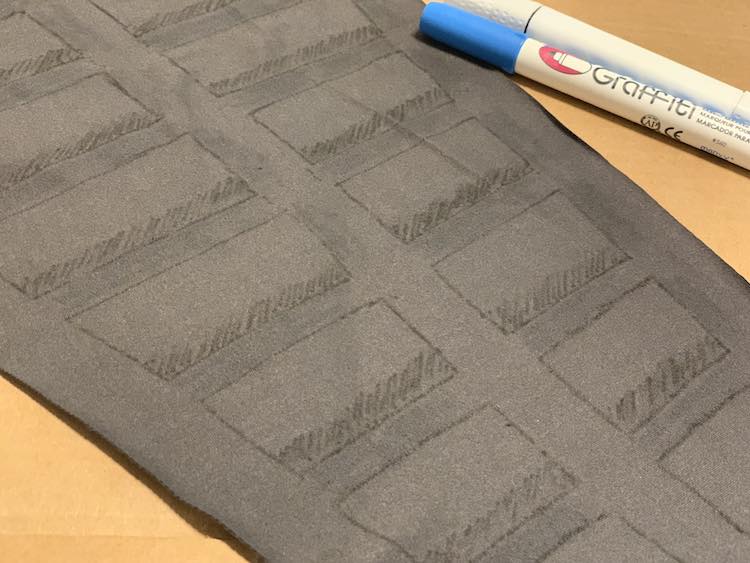
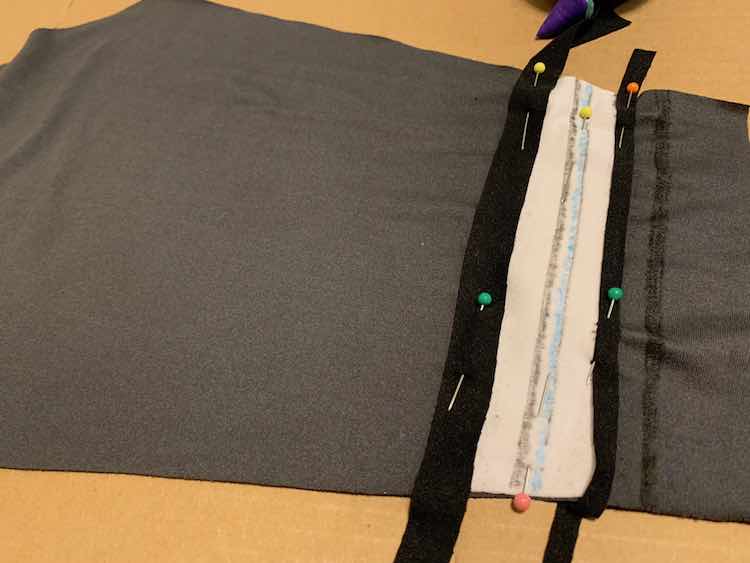
I started by marking the side rails of the ladder. The outside of the pattern piece was going to lose about a 1/2 an inch on either side with the seam allowance while the center would cover the other side of the ladder when worn. I ended up marking an inch over from both the left and right sides of the sleeve and 1 1/2 inches of space in the center (marking 3/4″ from the center fold on either side). After marking the side rails I next used a ruler to mark the rungs. I made sure not to draw into the side rail space and marked each rung with a similar height. I ended up spacing my rungs by using the width of my ruler so there were less calculations. Finally I drew in the side rails and extended the rungs to meet them.


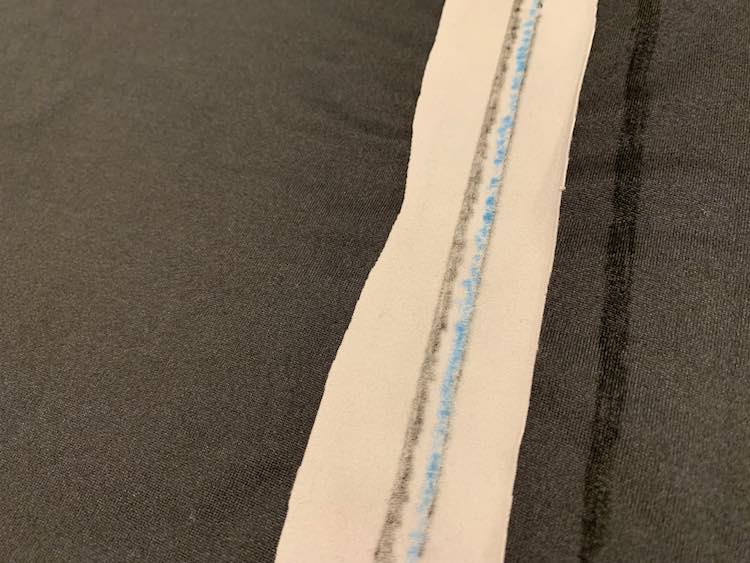
Next was making the ladder look more realistic. I used more black to add the top of the rungs before using a blue fabric marker to highlight the rungs and side rails.
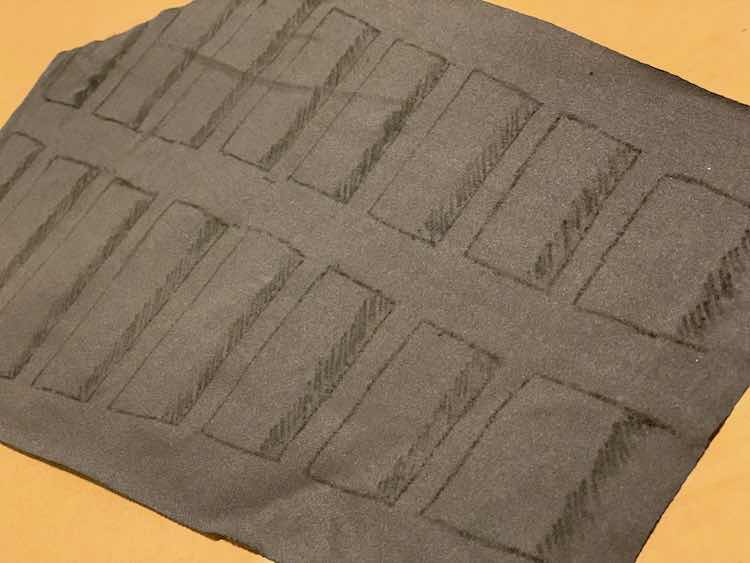
Once it had time to dry I used my iron to set the color. Looking back I wish the ladder showed up better on the sleeve but I’m still glad I went with grey fabric as I wanted it to appear metallic. I could see going with white knit so the ladder pops more next time. I had originally debated adding a knit grid over my original fabric but I wasn’t sure how that would affect the fit and drape of the final garment.
Fire Hose
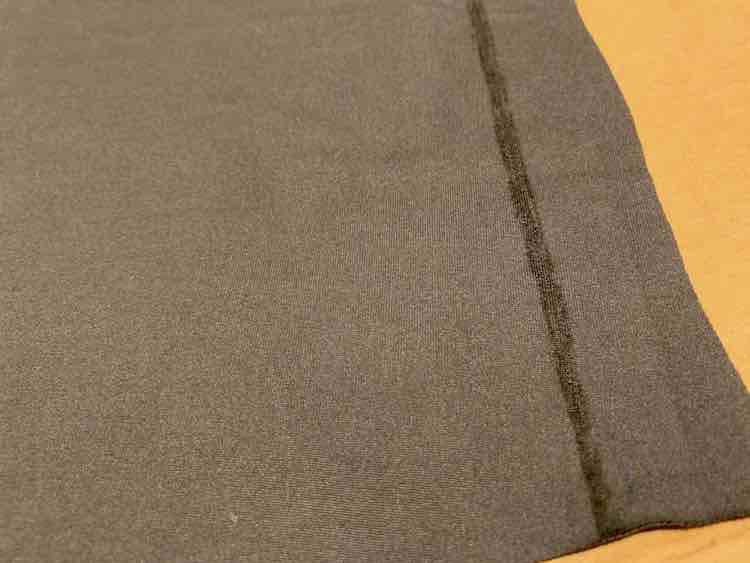
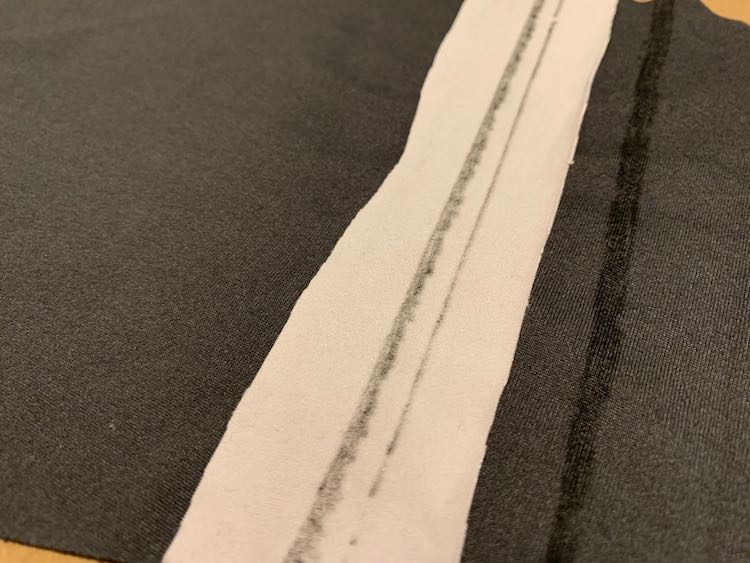
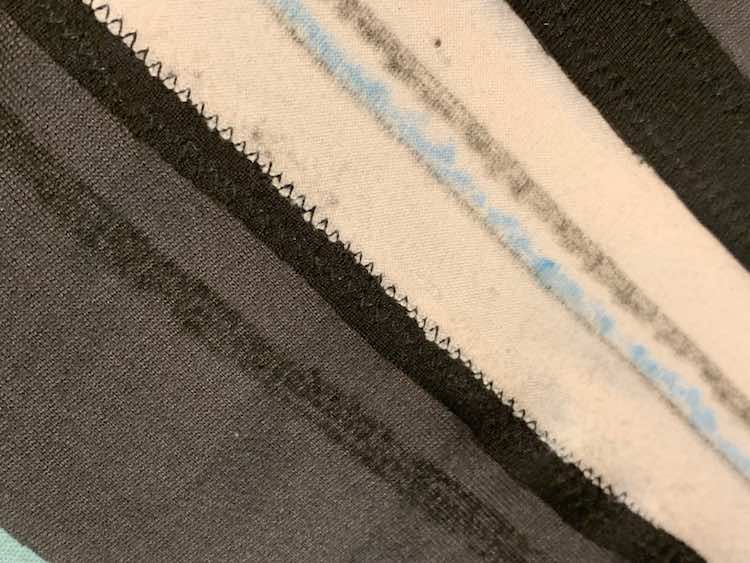
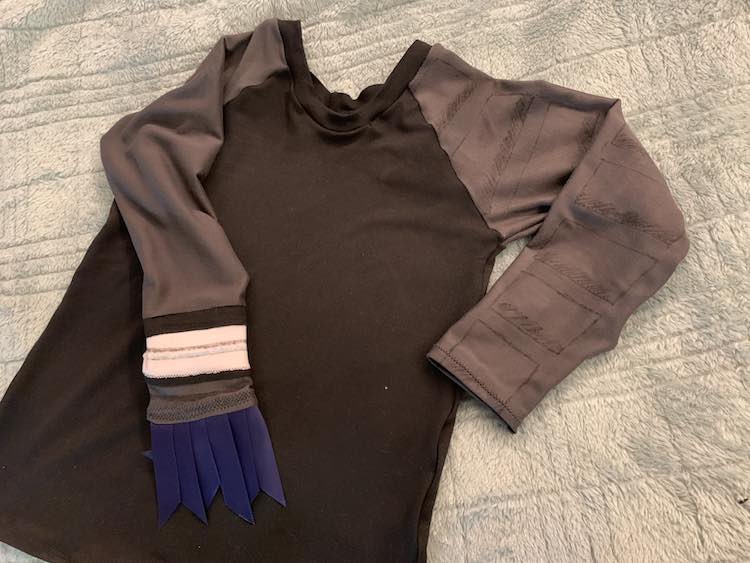
I wanted to add lines near the end of the sleeve to indicate the metallic rings on the water hose. I didn’t want the fabric marker to disappear in the sleeve’s hem so I started the sleeve rings about one and a quarter to a half inches up from the end of the sleeve. I wanted it to pop more than the ladder I just made so I took some excess white cotton lycra and some black knit to add more details. and have the ‘water hose’ stand out. I figured a bit of added fabric shouldn’t make too much of a difference.
Once I was happy with the layout I sewed down the white and black knit before ironing the sleeve to set the ink.

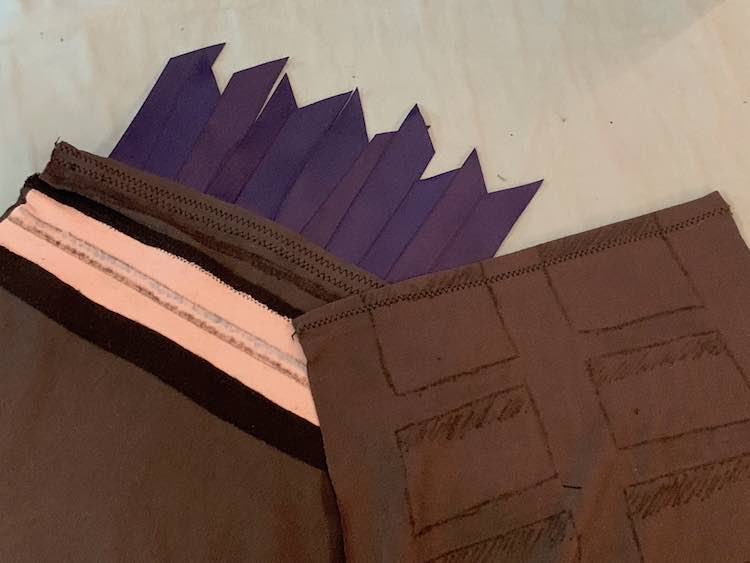
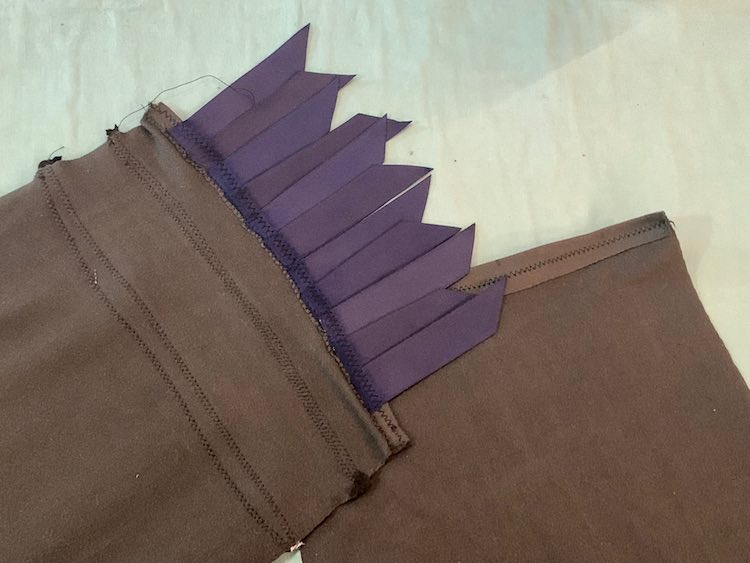
I looked through my drawer for something I could use for the water coming out of the hose and found some leftover ribbons I had saved from our wedding invitations. They were all cut at an angle already so I took a lighter to melt the flat end so it wouldn’t unravel later on. After folding over and pressing my sleeve hem I took some wash away sewing tape to easily fix the ribbon to the sleeve. While attaching the ribbons to the sleeve I made sure to leave room for the seam allowance.


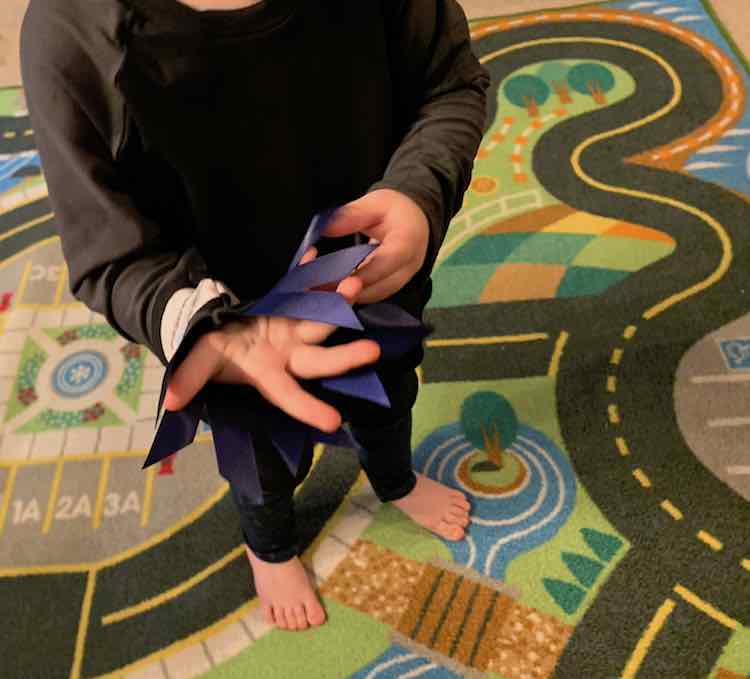
Once I was happy with the layout I sewed the hem down while also sewing through the ribbons. One of the ribbons didn’t catch in my seam so I went over it once more making sure it was secure. This reordering of steps made it simpler to sew my hem down like when you reorder steps for your bands. I did notice afterwards that the ribbons, perhaps because they were overlapped, ended up taking away some of the stretch on my sleeve; luckily Zoey’s hand fit through although I was worried it wouldn’t.
Finishing Up
I kept the main bodice of the shirt black as the only red I had in my stash was a thicker fabric. I wanted to keep the shirt thin as I was going to add the dress over top and didn’t want it to be too warm for California. I could see making the main part of the shirt red and decorating it more like a firetruck if this is the entire garment. This could also be a great way to alter a hoodie pattern too if you want a warmer costume.
And the costume was done. I can see this being a fun day outfit once Halloween is over and I don’t have to worry about stains.

Red Dress Overlay
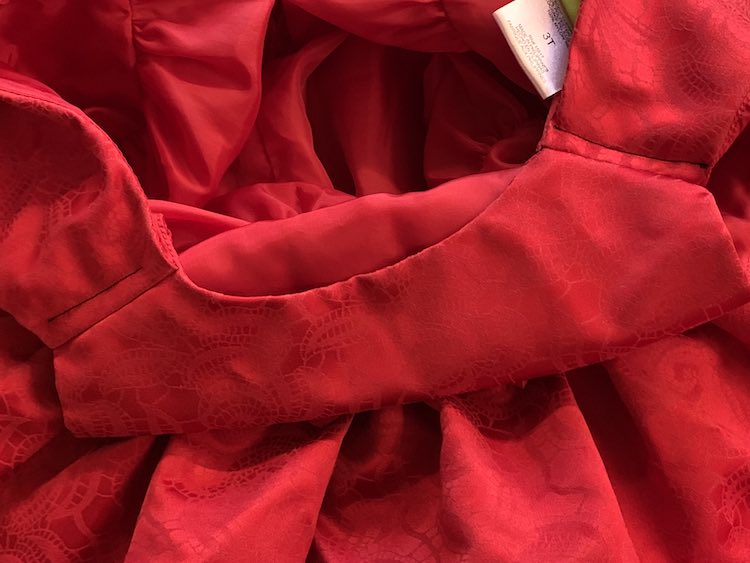
For the red dress I ended up lifting it a bit by taking up some space above the shoulders.

Firefighter
Ada’s choice of Halloween costume only came in a size 5/6 which was too big for her. I ended up hemming the pants by pinching in the fabric between the two patches, folding it down so it wouldn’t get in the way of her putting them on, and straight stitching the hem in place. I’m hoping this will hold for play yet still be simple enough to let out in the future if needed.

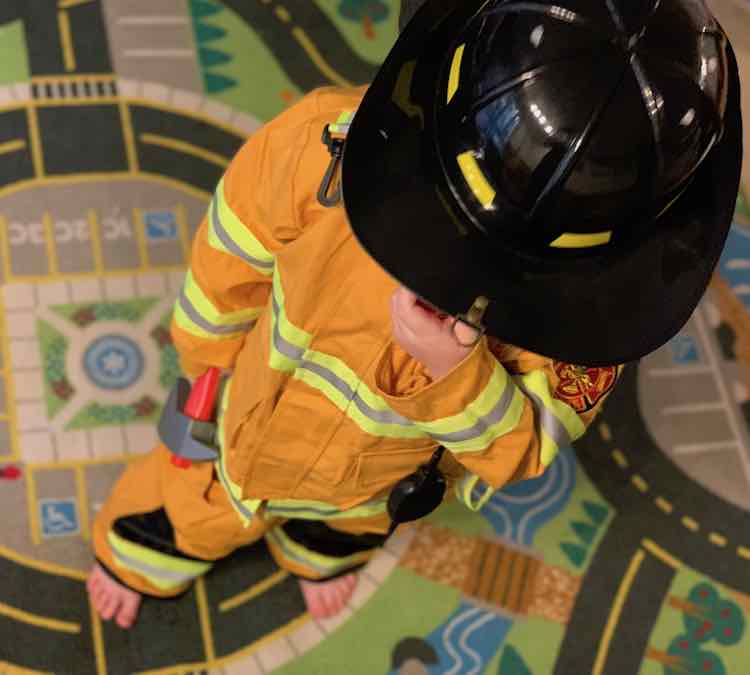

I hope this helps you with your costume. You can make a firetruck in so many different ways! Last year we added a floral light to Ada’s Chuggington train costume’s hat to make it actually light up. I could have also used a light for a working firetruck hat but ended up going with the simpler red firefighter helmet off of Amazon this year. I’m loving how a Costco bought firefighter costume sparked an adorable themed costume.
If you’re looking for a simple way to create matching costume I matched Ada’s store-bought costume with Zoey last year by turning Zoey into Koko, a different character from Chuggington, by drawing with fabric markers on her onesie.
If you’re looking for anything Halloween related you can find it at my Halloween tag. This includes sensory activities, the above costumes, and decor. Hope you have a great day! I’d love to see and hear about your costumes in the comments below, on my Facebook page, or through Instagram. Happy costuming!
Did this save you time?