
Simplify Sewing Bands Onto Clothing - Sew It Flat!

A while back I read about a quick hack on Facebook that helps you more easily sew the leg bands of toddler’s underwear. I’ve since gone on to try this method on multiple garments. I’ve even chosen to use this method on the neckband of a wearable muslin I sewed up for myself and then went on to both hem the sleeves and the bottom of the shirt using this method too. Since then I’ve decided It can be harder to line up both the edge of the band and the seam when using this quick hack so decided to limit it to toddler arm (band or hem) and leg (band) holes since they’re so small and difficult to sew once the side seam is sewn in. This method was especially helpful when hemming the tiny sleeves and adding the leg bands on my daughters’ rash guards and swimming bottoms. I’ve since continued to use this method when attaching arm or leg bands to daughters’ tops, underwear, or swim bottoms.
Materials
Use whatever your pattern requires for you to sew it up. This method just requires a different ordering of your pattern’s step. I’ve used it when adding bands or hemming. Also I sew my knit garments on my sewing machine using a simple zig zag stitch so you don’t even require a serger though I assume you could do the same with one too.
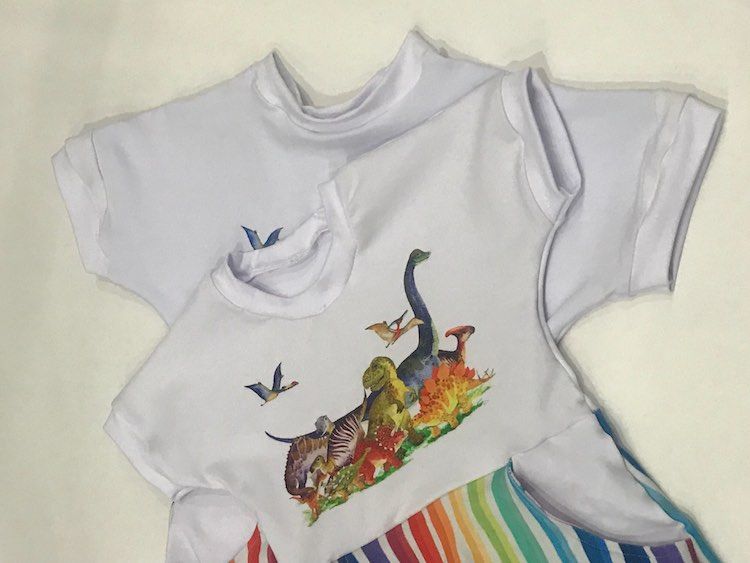
In this example I was sewing two Magnolia dresses for my daughters from Stitch Upon a Time. I’d previously sewn up this pattern for my Me-Made-May sew and have since sewn up a third version for both Ada and Zoey making this my most frequently used pattern with a total of six dresses made. The fabric used each time came from Whimsy Custom Fabrics.
When Sewing The Neckband According To The Directions
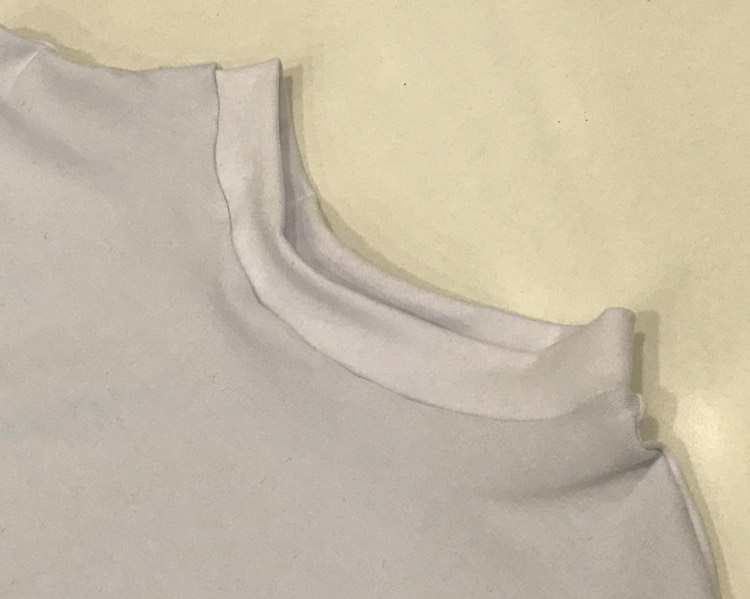
When following up this and other patterns the bands are normally sewn onto an already completed neck or arm hole. For instance with the neckline you sew up the shoulders of the bodice first so you have a completed circle for the neck. After that you take your neckband, sew the ends so you have a closed loop, fold it in half lengthwise so the wrong sides are together, clip or pin the band to your neckline, and then sew it on. This requires halving and quartering both the band and the neckline of the outfit before stretching the band on. This can be especially difficult for the smaller sizes as you’re trying to stretch your band to fit while also keeping the bodice unstretched. Pressing the finished neckline helps but if you’re willing to have neckband’s seam even with one of the shoulder seams you can easily use this method so the neckband is sewn on while the garment is flat and then you sew the neckline closed. This also makes it easier to press since you can do it before the neckband is fully enclosed and still flat.

Quick Hack To Simplify The Process
After having tried this hack on neckbands, armbands, leg bands, and the hem of both sleeves and the main bodice I’ve since gone on to mostly restricting this hack to smaller garments. For these dresses I sewed the neckbands on according to the pattern’s directions as I wanted more practice with the ‘proper’ way. After sewing the neckband on I continued by attaching the armbands using this hack so they were simpler to do and looked nicer. If you were to do the neckband sew the one shoulder seam together, sew on the neckband according to this method, press, and then close up the neckband by sewing the other shoulder seam closed. As the band’s seam is sewn by closing the garment’s seam the neckband’s seam would now be lined up with the last shoulder seam sewn. Because of this the armholes cause less of a change as I normally lined the armband’s seam with the side seam beforehand. The only difference is this time the armband’s seam isn’t hidden within the band and is instead on the inside of the sleeve.
For changing the method of sewing up the armbands with the Magnolia pattern you’d have to do the armband after sewing the shoulder seams together of the Magnolia shirt or dress and before sewing up the side seams of the garment or sewing the armband itself. Start by laying out the dress/shirt so it’s flat with the right side up. Take your armband and fold it lengthwise with the wrong sides together. You don’t have to worry about sewing the two short ends together as that will be done when you sew the side seam of the garment. If your pattern’s directions have you sew the armband closed with a larger seam allowance than the garment’s side seam then you may want to trim the band first. The Magnolia has the same seam allowance for both so it doesn’t make a difference which order you sew it in according to the final seam allowance.


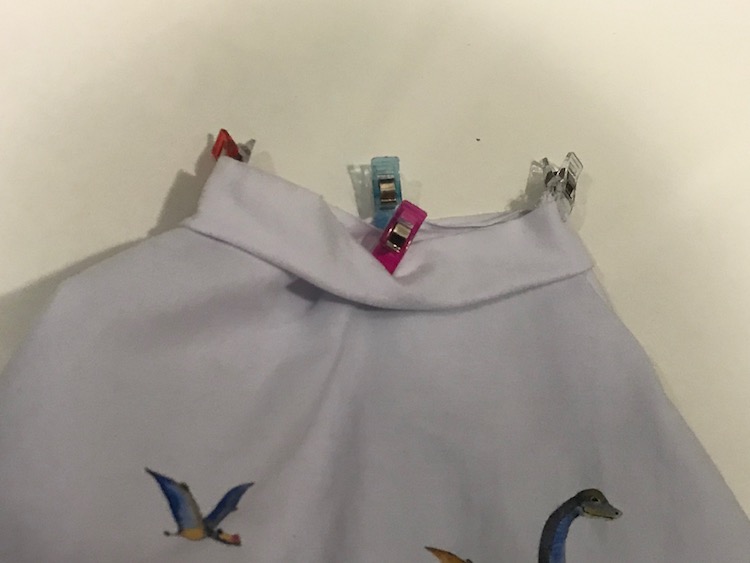
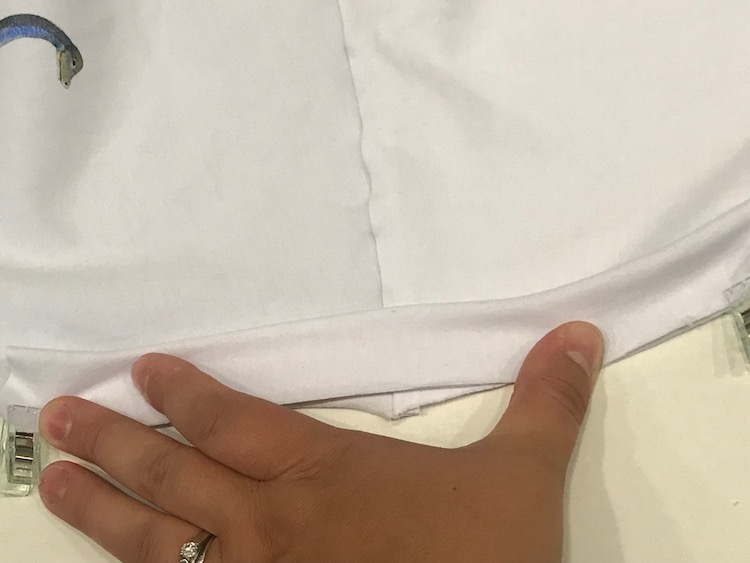
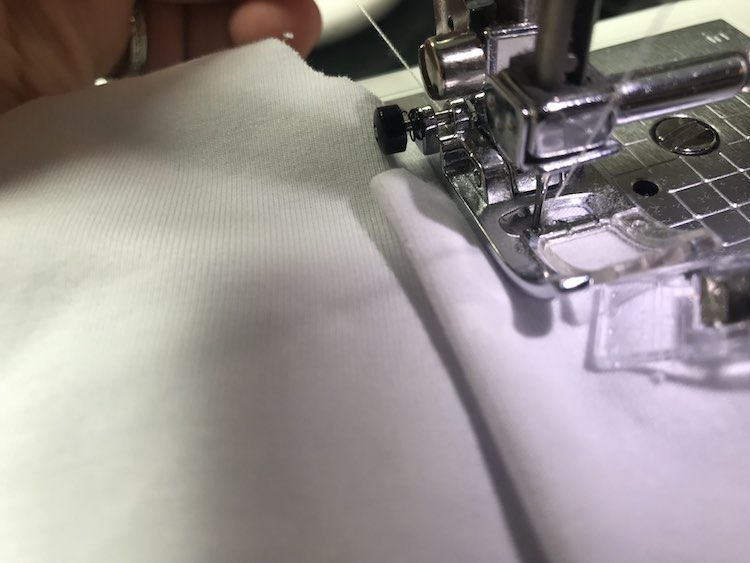
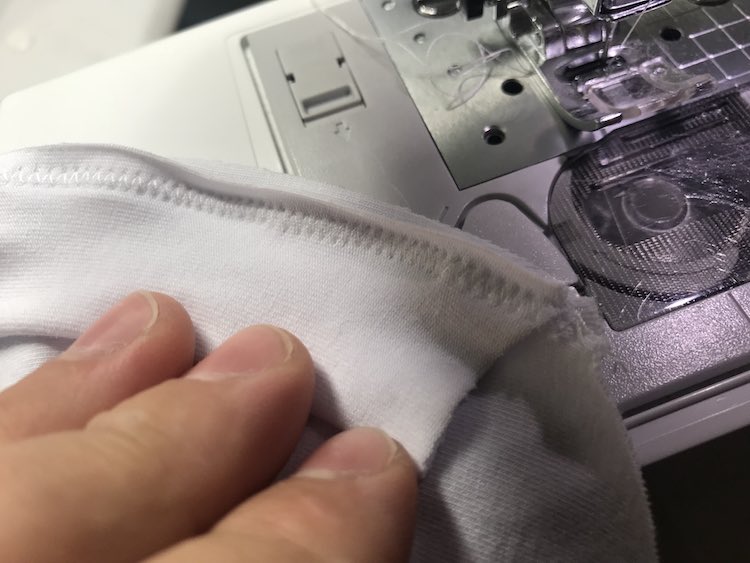
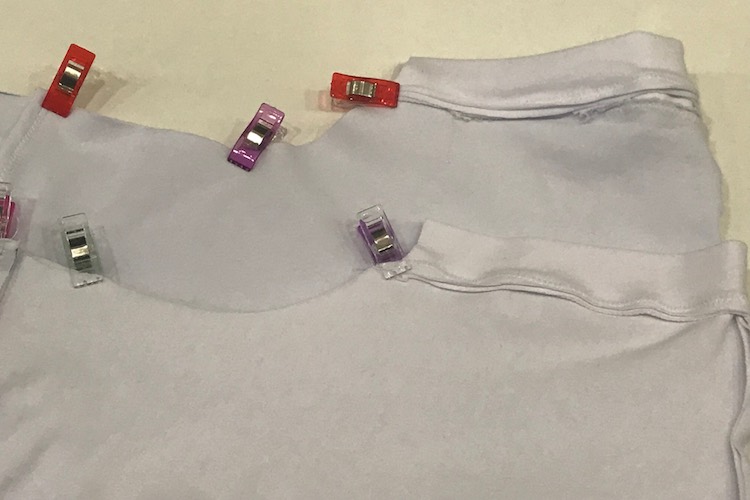
With this method I don’t mark the half or quarter sections of the armband. Instead I lay the band over the armhole, right sides together, and clip the band at either end. I then stretch out the band so it’s raw edges line up with the garment’s raw edge and clip it in place. You can add as many clips or pins as you need to feel confident. Remember you’re sewing this on a flat garment so it’s easier than the previous method.


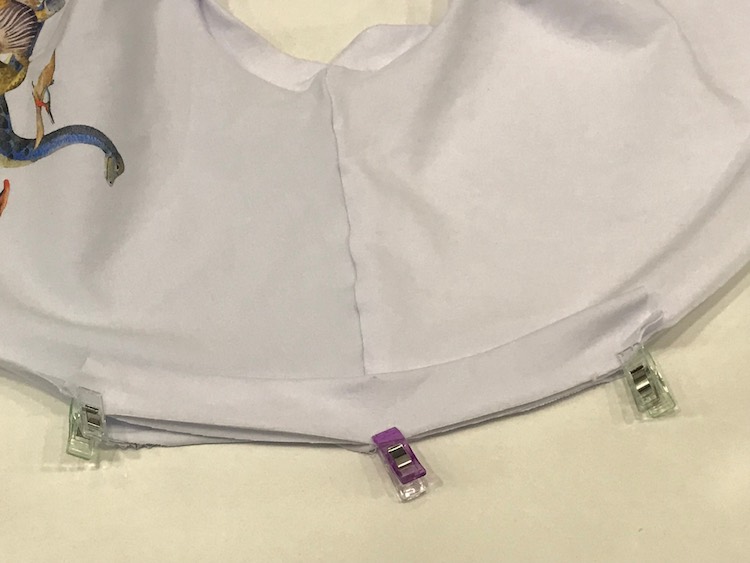
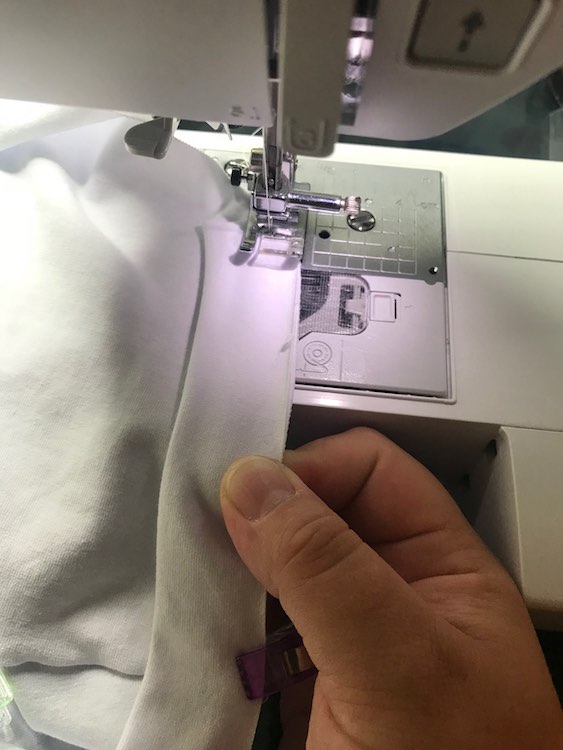
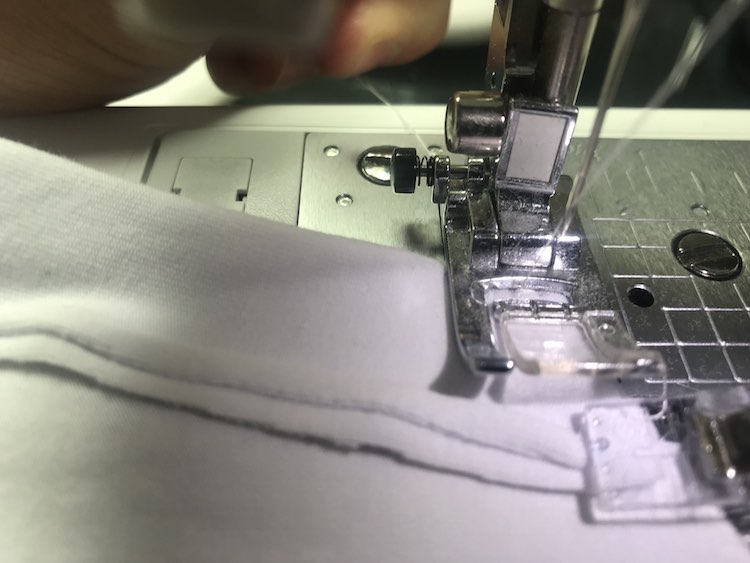
Then you sew the band onto your armhole. I find it easiest if the first clip (closest to where I’m going to start sewing) is about a centimeter in on the end and then clipping the final clip (on the other end) at a 90 degree angle so I have something to hold onto while I’m sewing the last bit.
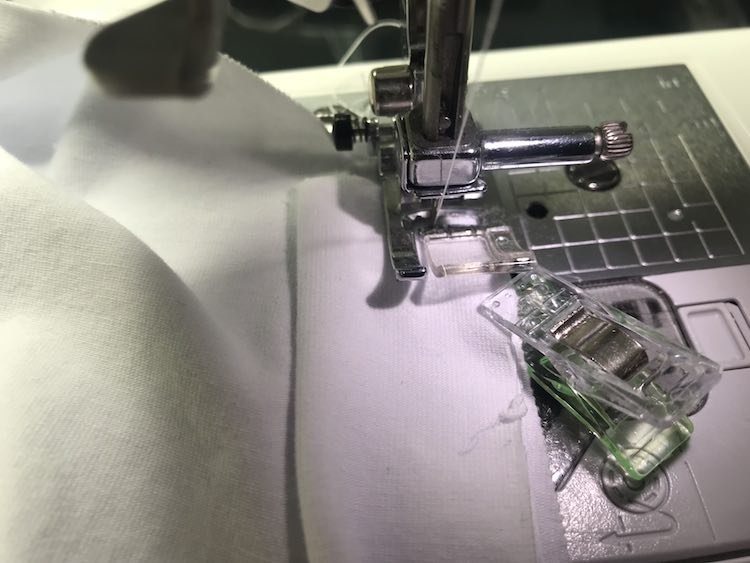

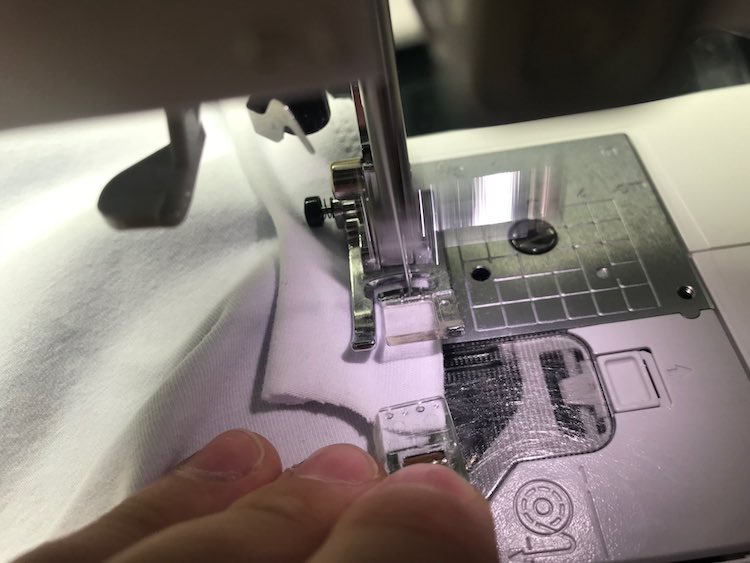

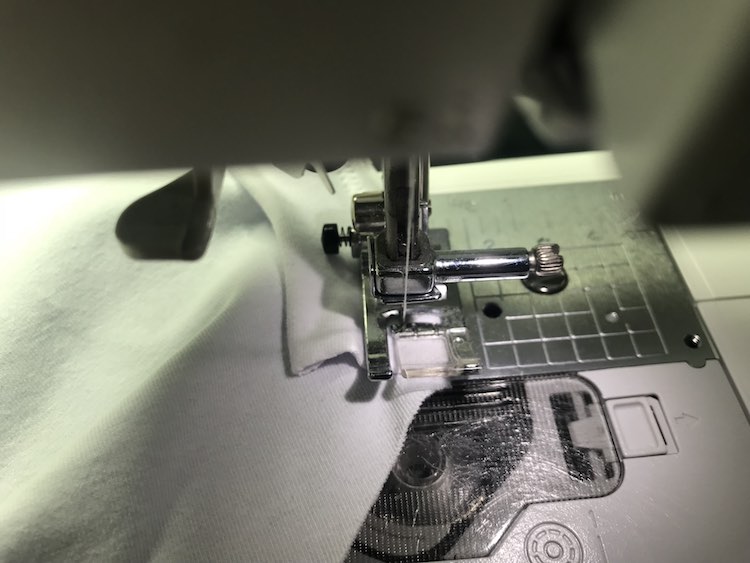
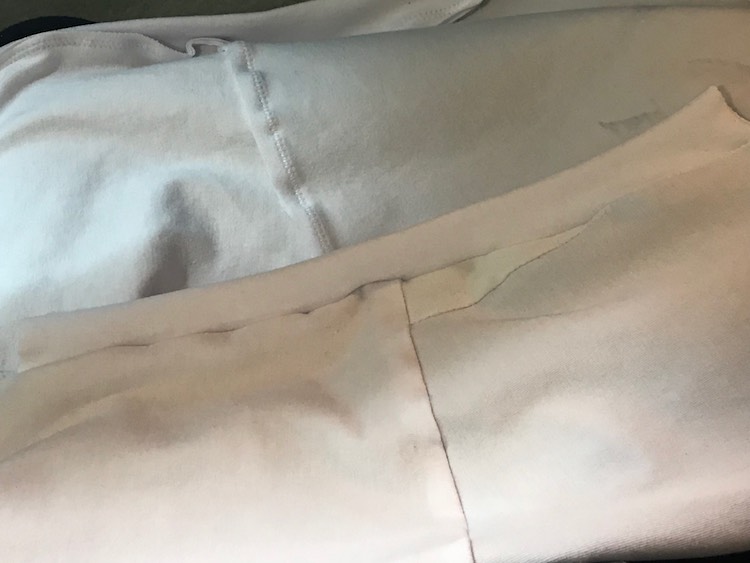
And you’re done sewing your band on. If the fabric shifted so the edge of the band doesn’t quite line up perfectly with the side of the bodice that’s ok. It only matters that the excess space is smaller than the pattern’s seam allowance so it’s hidden later and then your band will end up being just a millimeter or two wider.
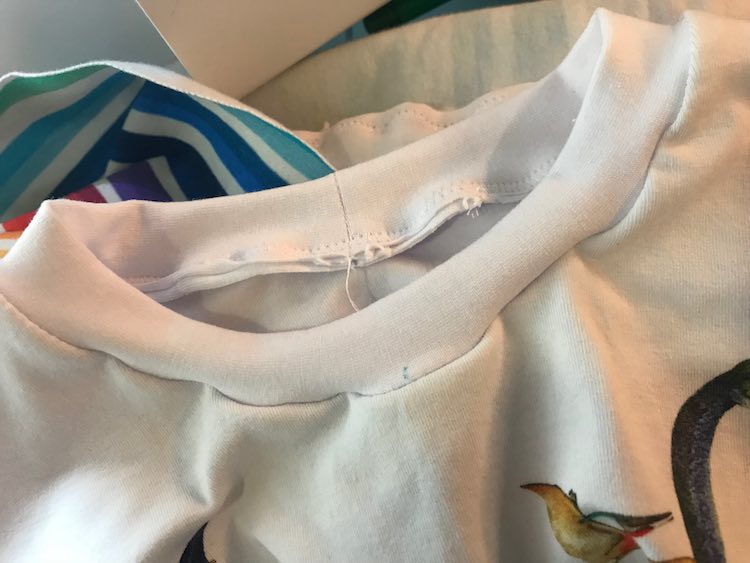
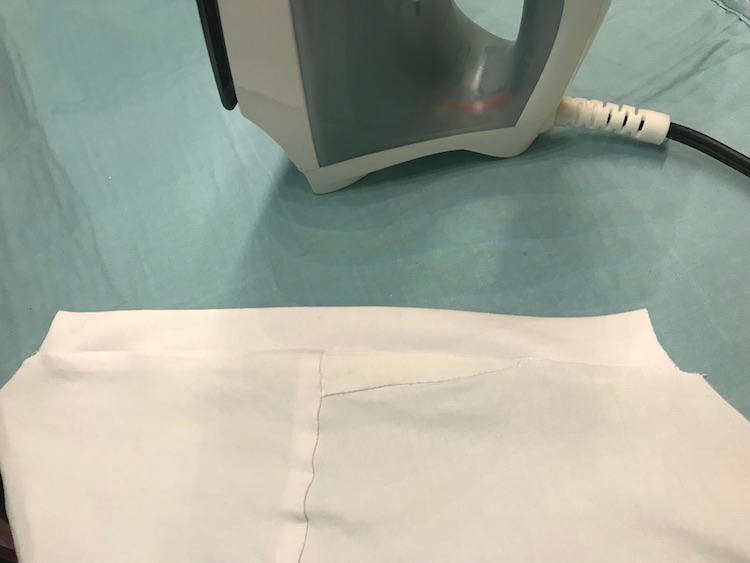
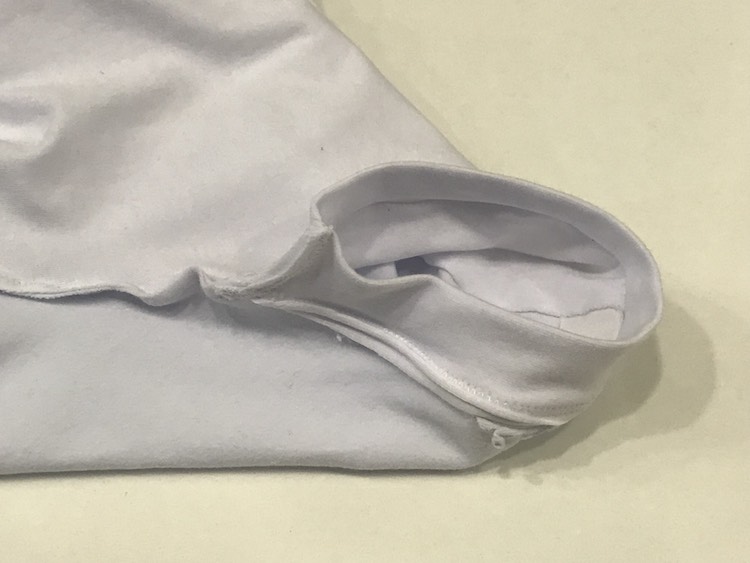
After sewing the other armband on fold both armbands out and press flat. It’s so much easier than when the band was sewn on after the side seam was sewn up.

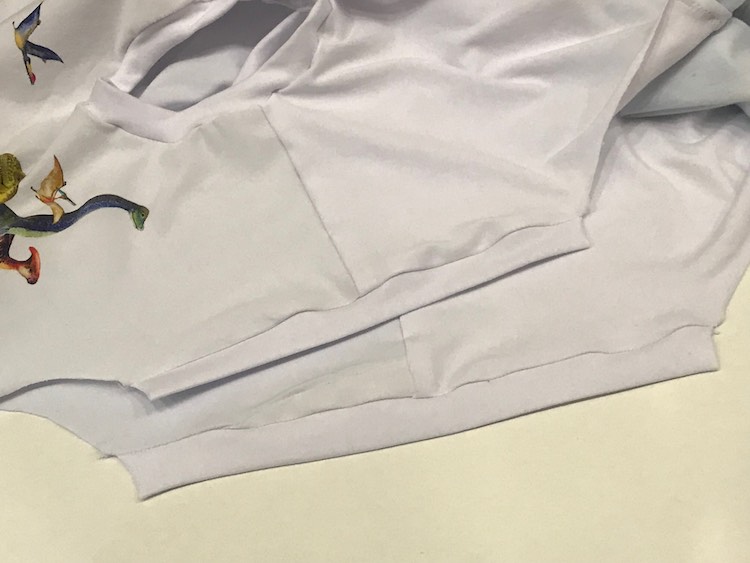
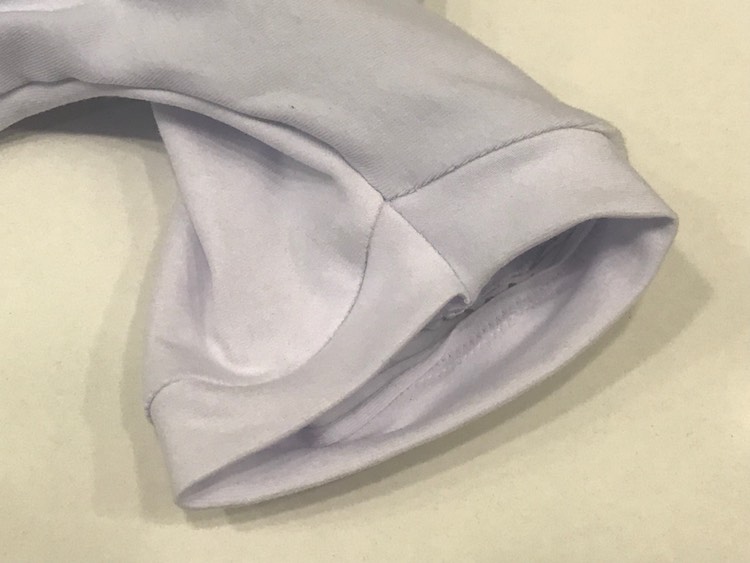
And then all that’s left to do is follow your pattern’s directions to finish the shirt or dress. In the case of Stitch Upon a Time’s Magnolia top and dress I then folded the dress right sides together and clipped the side seams before sewing them closed. I find it easiest to clip at the armband’s seam and start sewing from the armband and then down the dress so I’m able to be extra careful lining up the folded edge of the armband and the seam while sewing.
You’ll end up with the seam allowance showing at your armband instead of enclosed if you had done it the other way. You can leave it as is or hand/machine sew it down if you’d prefer.
Finished Dresses


This simpler method can work in many places when sewing up your garments. If you decide to use this method for your neckband you start by attaching one of your shoulder seams together before then attaching the neckband following the above steps on your mostly flat bodice. After you then sew the other shoulder seam and thus finishing your neckline. This would cause your neckband’s seam to be on the inside and be placed at your last sewn seam instead of enclosed in your band and centered at the back. You can also use this method when hemming your sleeves or, if you really want to (I did it once), the hem of your shirt. For hemming sleeves it would be the same order of steps as above though you’d be hemming the sleeve instead of attaching the band. This is especially handy on long-sleeved toddler garments where the bottom of the sleeve is so tiny.
This method was particularly handy when I sewed on leg bands on my daughters’ underwear, swimsuit bottoms, and swim diaper cover. For these I used the kid’s Stitch Upon a Time Scrundlewear and followed a similar process as above. Assuming the leg bands and waistband are attached using this method the steps would be:
- Sew the liner, front, and back of the underwear together according to the pattern’s directions. Don’t sew the side seams together yet.
- Attach the leg bands on either side similar to above. Now you have a flat pair of underwear only missing the waist band and side seams.
- Sew one side of the underwear together leaving the other side open.
- Attach the waistband to the underwear using this method. The underwear won’t lay completely flat as it’s still connected in the crotch and the first side seam.
- Once the waistband is attached you sew up the other side seam.
This method on the underwear will leave the leg band seams on the outer edges (with the side seams) and the waist band seam on the one side seam you sewed last.
I hope this helps you sewing your garments. I’m so glad I came across this hack and wish I could remember who shared it. If you have any questions, anything to add to this method, or any other hacks please share in the comments below, on my Facebook page, or through Instagram. I hope you have a great day and that this also simplifies your life.
Did this save you time?