

Halloween Costume Hack - Adding a Light to a Costume

I was recording a video of the actual process I went through, but somehow it disappeared so all the photos below were either taken after the hack or are simplified recreations.
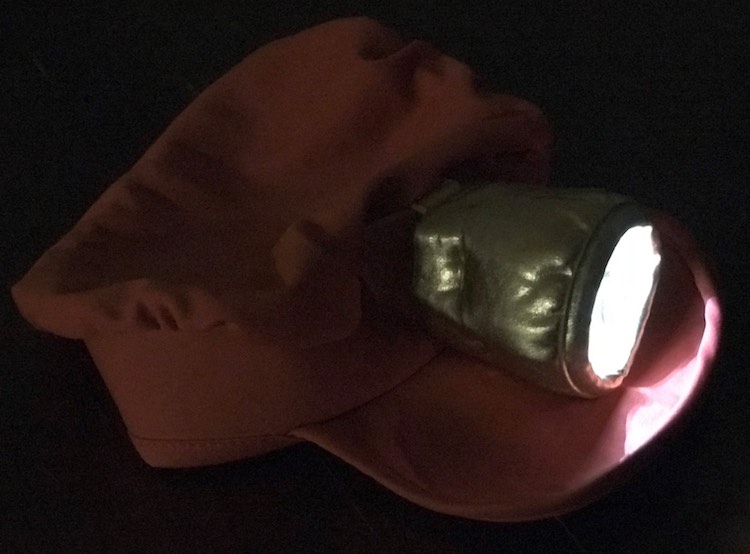
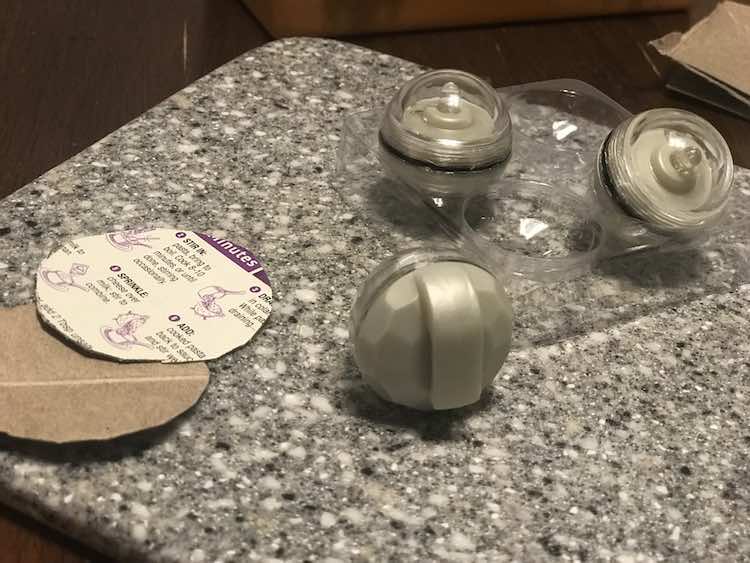
My three-year old has a Chuggington Wilson costume that she’s planning on wearing for Halloween. She’s going to be a train! I wanted to make it so the headlamp on her hat won’t collapse inward and so it can actually light up. I was going to use one of the ubiquitous battery operated lights floating around at Halloween to light up your pumpkin. I went through my Halloween stuff and found two lights.
How I Made It
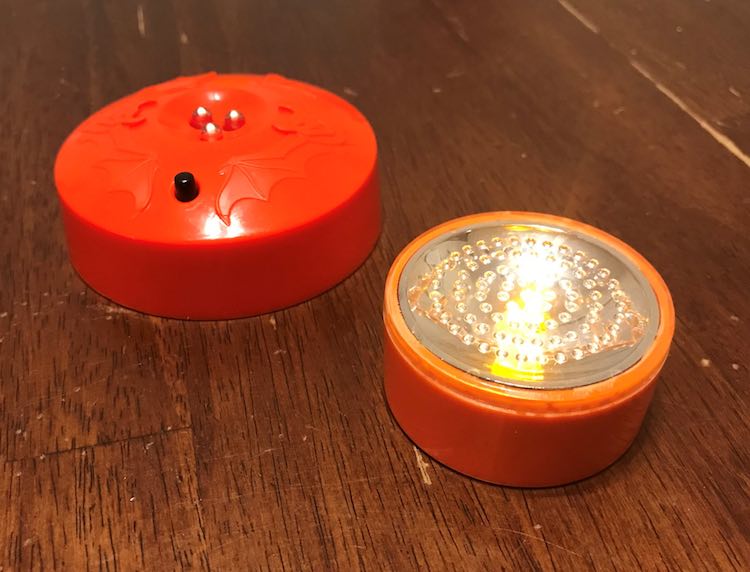
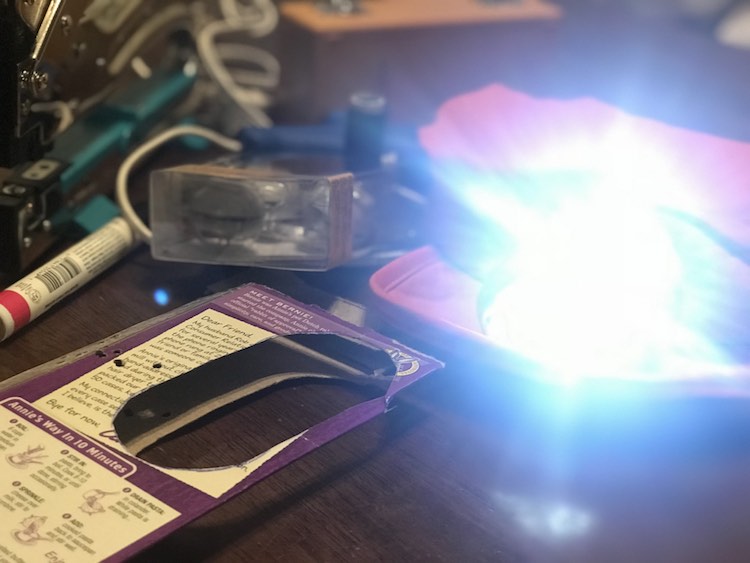
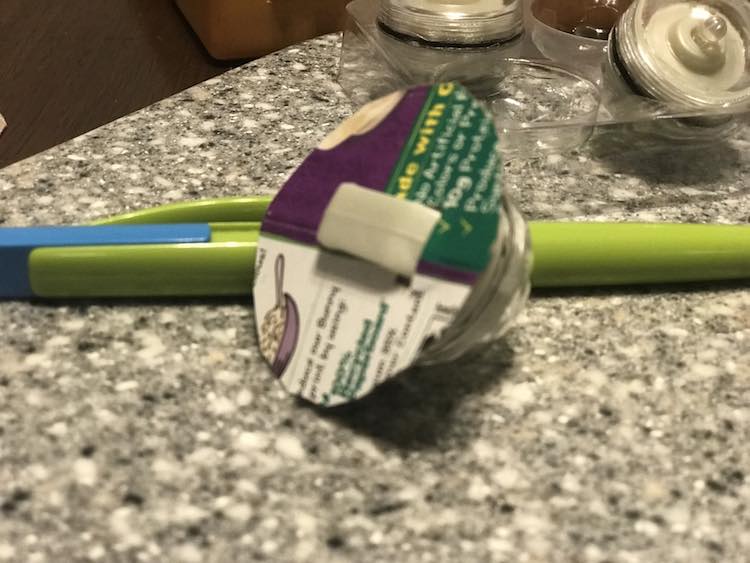
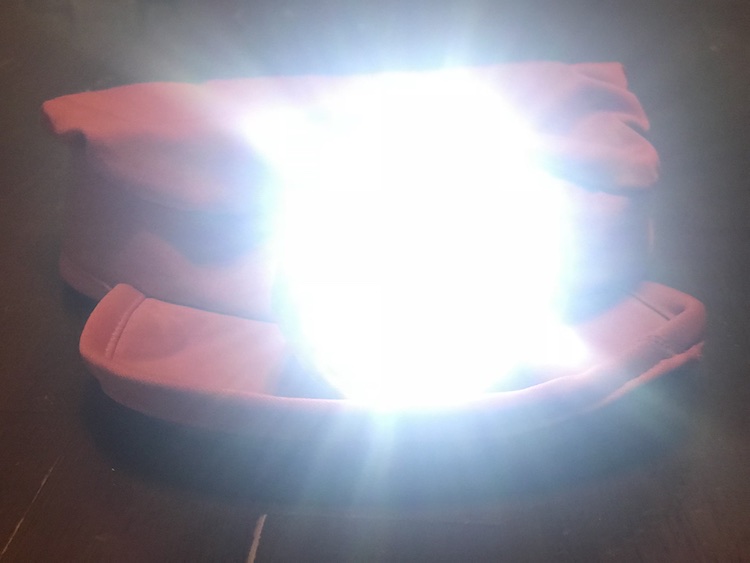
The one on the left we’ve never used, has no battery, no idea what it’s supposed to do, and most importantly it’s too big. The light on the right is, almost, perfect. It’s the perfect size to fit in the hat’s headlamp and it works; however, it strobes and I figured that would be too annoying. I went to Michael’s Arts and Crafts to find a non-strobing light and found it was too close to Halloween as they were out… actually they had a small display (of only the left light) in the lineup to pay which I found after wandering around with two kids and talking to two employees. Luckily the second employee I asked sent me to aisle 93 which contains the floral rocks, foam, and lights. Many of the lights I found there would not have worked, but I did find a four pack of submersible LED lights that would. These lights work by screwing the front tighter or looser to break the battery connection so I should be able to easily change the batteries and turn it on or off without removing it from the costume. Time will tell if it’s too bright, but it worked!


Materials I used to make this
- Empty Annie’s Mac and Cheese box. As I doubled the cardboard up you could probably use a thicker cardboard… so anything on hand
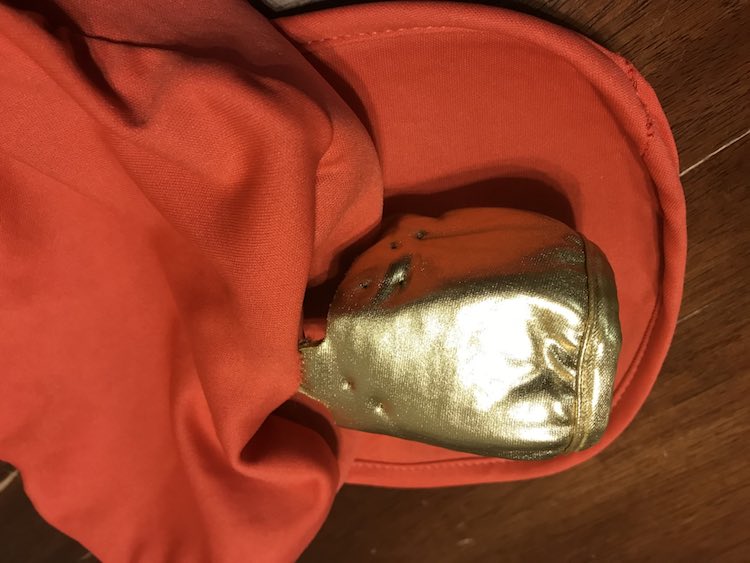
- Chuggington Wilson hat
- Submersible LED Light or any battery operated light that will fit
- Scissors to cut the cardboard
- Glue gun and glue
- Paint pen though black paint will do if you’re more patient or you could leave it unpainted
- Crop-A-Dile II or anything to punch holes in the cardboard. I ended up using a sewing needle to punch holes in the hard to reach spots.
- Needle and thread
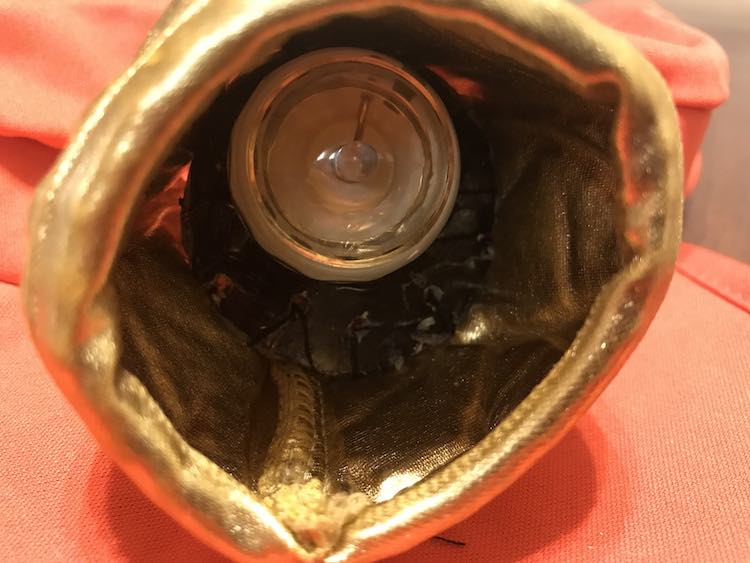
Attaching the light to the headlamp
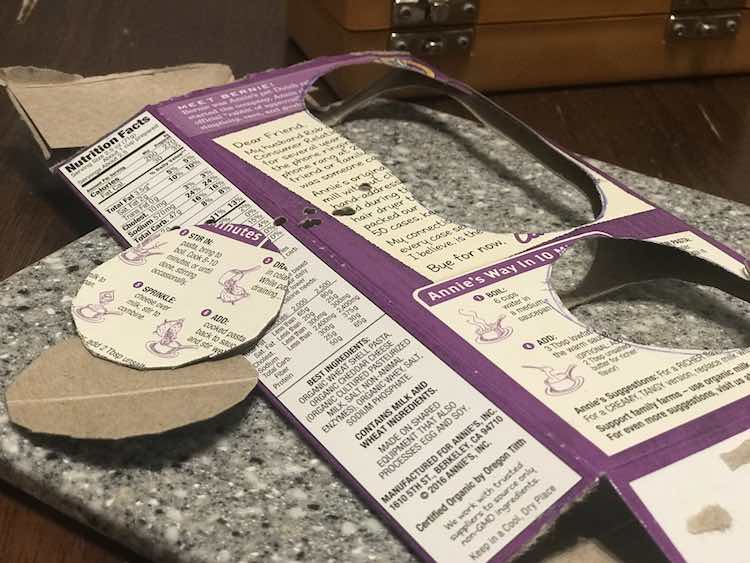
Since I knew that the strobing tealight fit the headlamp perfectly I used it to trace out two circles on an empty Annie’s Mac and Cheese box and cut them out.

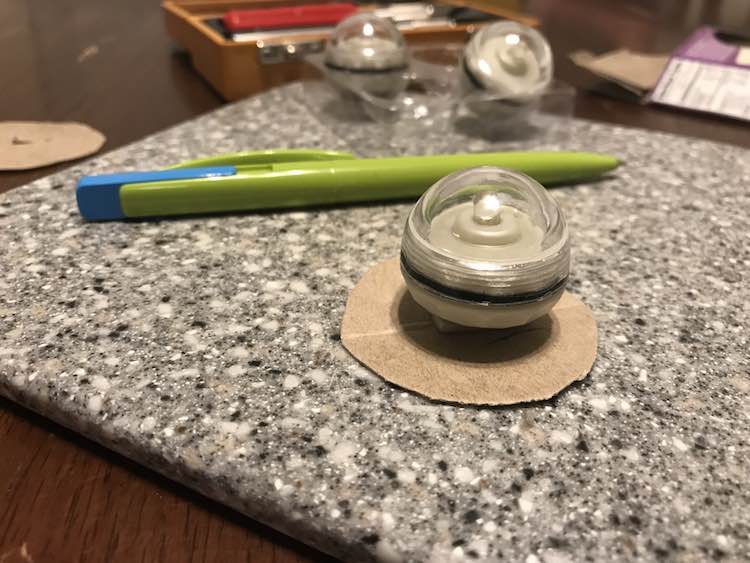
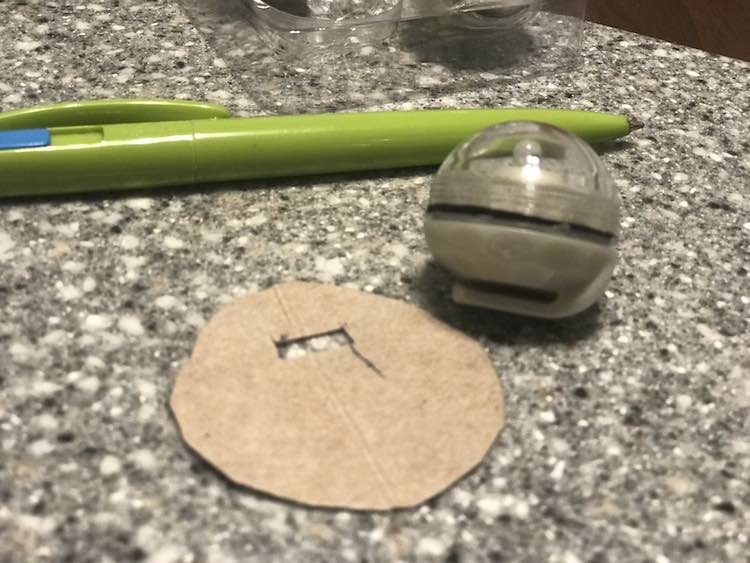
Examining the submersible LED lights made me realize I should use the hook on the back to secure it. I took two of the four circles and used my hot glue gun to glue them together. I then checked where I wanted the light on the cardboard and marked the edges of the hook so I could cut a hole to hook the light onto the circle. The first time I was hasty and cut the hole in the center of the circle. This made the light lay closer to one edge. This time around, for the photos, I ended up cutting the hole closer to a side since the light will slide over when it’s hooked.
After that I made sure it was secure by hot gluing the third and fourth circles over the hook side and gluing around the front under the light edges. The light itself is round so there was enough room to add the glue. After letting the glue dry I used a black paint pen to color the front and back of the cardboard, including the visible glue, so it would be more hidden. This doesn’t need to be perfect as it’s hidden in the shadows when the light was off and when the light’s on it’s too bright to examine closely.
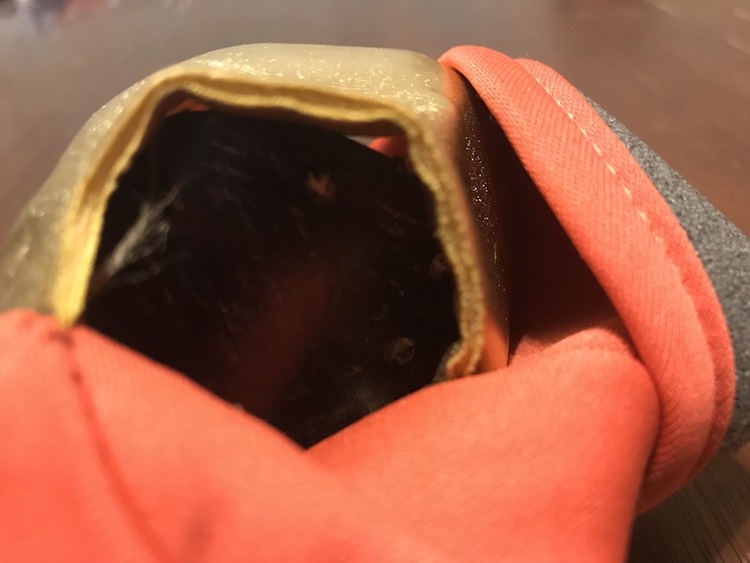
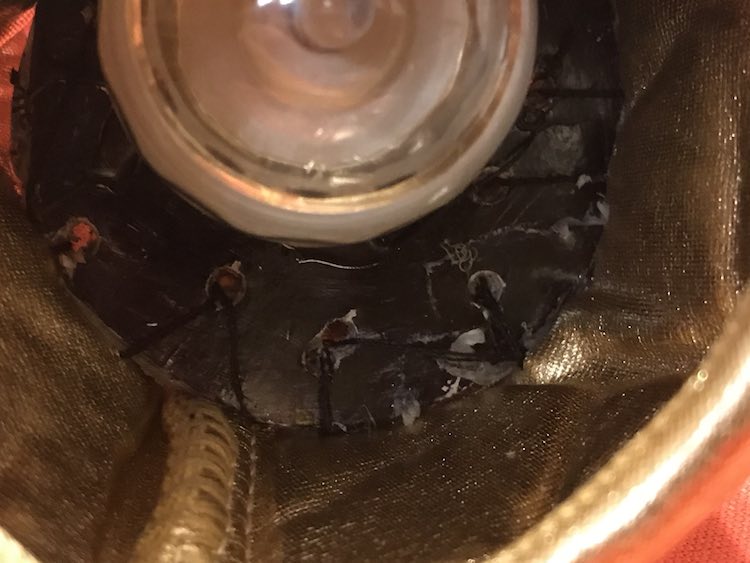
As I decided to mount the light to the hat by sewing it on I had to make the cardboard easier to sew through. I used my Crop-A-Dile to punch holes a little ways into the edge of the circle. As my LED light was offset I wasn’t able to punch all the way around the circle as there wasn’t enough room. I added more holes to sew through on the hard to access sides by pushing my sewing needle through the cardboard and wiggling it to make the hole larger. Premaking the holes in the cardboard circle made it easier to sew it on once the LED light was inside the headlamp.
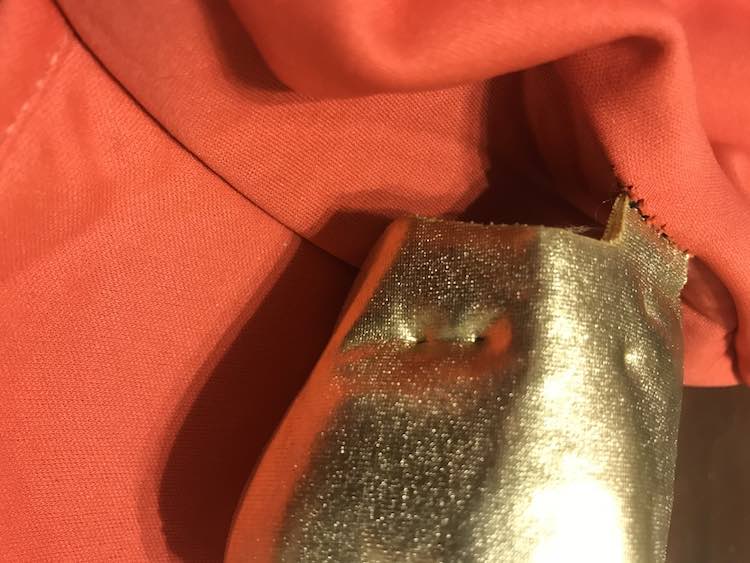
The final step was to insert the light into the headlamp area. I made this easier by sewing through the hardest hole on the circle as it was accessible, then sewing through the center top of the headlamp from the inside to out, and then pulling tight while guiding the LED light inside. I then sewed back through the headlamp, through the hole again, and back up. If it felt like the light wasn’t secure in my current area while sewing then I went through the steps again before moving on to the next hole. When switching holes in the circle I did it while the thread was inside the headlamp and not outside of it which kept the stitches on the outside to a minimum. I also used black thread so it wasn’t obvious against the black cardboard since it’s inside the back of the headlamp. If you’re more worried about the outside you could always buy matching thread; in this case gold. After sewing around the entire circle make sure it’s secure and then tie off and turn it on the light.
Notes to keep in mind
This would’ve been easier if my original light was non-strobing or if this was to go into a costume that required strobing. If that’s the case for you and you know you’re just going to surface clean the costume than you could easily use your hot glue gun to glue it in. If you’re mounting it with that type of light then you’d need to cut a hole in the cardboard large enough so you can still access the on/off switch from the back. Either way this only works for costumes that have access from the back unless you want to cut into the fabric of the costume to access it.
If I were to do this again
I would make triple sure the video was working. Other than that if I had been more careful and planned ahead a bit more I would’ve
- centered the light cardboard circle better.
- painted the cardboard instead of coloring it and made sure to get the edge of the circle.
- punched holes in the cardboard at the beginning before attaching the light to the cardboard. It may have been harder to line up the holes up as I went but it would’ve been overall easier.
Overall, I’m pretty happy with my hack. Since I had most of the supplies on hand I only had to purchase the LED lights themselves and they came in a four-pack so I have three extra. Aside from the tools and light, all you need to do this yourself is the cardboard, glue, and paint pen. Worst case if I need to do an intense clean of the costume I could cut the thread to release the light and cardboard and sew it back on afterwards.
You can connect with me through the comments below, on my Facebook page, or through Instagram. I’d love to hear what you think.
Did this save you time?