
Sew a Rash Guard Swimsuit Top Using your Favorite Raglan Pattern

When I noticed the 52 Week Sewing Challenge on Facebook included a swimsuit week I started looking into swimsuit patterns for the girls. I even bought the Girls Tropical Getaway swimsuit mix and match from Ellie and Mac’s and debated over fabric. At first I thought I’d have to sew it up before the challenge week, but then time got away from me while I was contemplating rash guards (and sewing other projects) and suddenly I realized Sunday night that swim week was upon me and I had to decide.
In pursuit of the perfect swim suit for the girls I decided I wanted them to have a rash guard so they’d have a bit more protection from the sun when their sunscreen wears off. While debating I noticed how cheap the swimming sets were at Costco and bought one for each girl but my kids’ heads are big and Ada’s preferred short-sleeved rash guard wouldn’t even go over her head. I decided to return them and started looking into rash guard sewing patterns and forgo a regular swimsuit top. With many of the rash guard sewing patterns I was worried if I’d be able to get the shirt over their heads. This led me to consider a snap closure at the top like you would find with some baby onesies. I tried to find a pattern that included that type of shoulder opening and the closest I could find were front zip rash guards. I had visions of the girls unzipping at the beach so decided not to sew up that style. After further research I was able to find a blog post through the Crazy Tailor that showed how to add a placket to a normal knit raglan shirt. I took that idea and, as I didn’t have a kids raglan pattern, bought the Unisex Raglan through Ellie and Mac to sew up with swim material for their suit. I decided to make matching swim bottoms for Ada with Stitch Upon a Time Kid’s Scrundlewear pattern as I had seen several versions of that on Facebook already.

Materials Used
- Swim suit fabric – No longer listed but I bought mine from Surge Fabric (specifically called Guard’s Red and Black Mermaid Scale) near the beginning of April
- Coordinating thread
- Sewing machine with a zigzag (stretch) stitch
- Optional for ease: rotary cutter, quilting ruler, cutting mat, sewing clips, pattern weights
- Swim Top
- Your favorite raglan sewing pattern – I hadn’t sewn one for the kids before so I bought the Ellie and Mac’s Unisex Raglan specifically for this idea
- I used a tutorial through The Crazy Tailor on how to add a snap placket to a raglan to hack my swim suit
- Pellon interfacing (style #808) as I had it on hand to give the snaps something to fasten to. Next time I’d try something else
- KAMsnaps for the shoulder opening
- Swim Bottoms
- Stitch Upon a Time Kid’s Scrundlewear (underwear) I sewed up with the swimming fabric using the leg and waist band options
After figuring out the fit by sewing the kids their own wearable muslin (I will go more into that for part two of the post next week) I went on to cut out the pattern pieces for the Unisex Raglan and the Scrundlewear. As a last minute decision (while Zoey napped) I decided to make her a matching swim diaper cover. I wasn’t sure if it would work as I only had her hip measurement (over her thick fabric diaper) to go with and these would be going over a thinner swim diaper in the end, but I estimated and went for it.
Swim Bottoms
The swim bottoms were sewn mostly according to the Scrundlewear pattern directions. I did, however, change the order I sewed it in so the bands would be easier to sew on. Specifically I followed the first part of the directions, attached both leg bands, sewed up one side of the scrundlewear, sewed the waistband on, and then sewed up the other side of the scrundlewear. This made it much easier to sew the bands on as the stretching and contorting were minimized as the band was sewn onto a flatter area. The downside is the harder to match up seams when the banded area are sewn up.
Swim Top (Rash Guard)
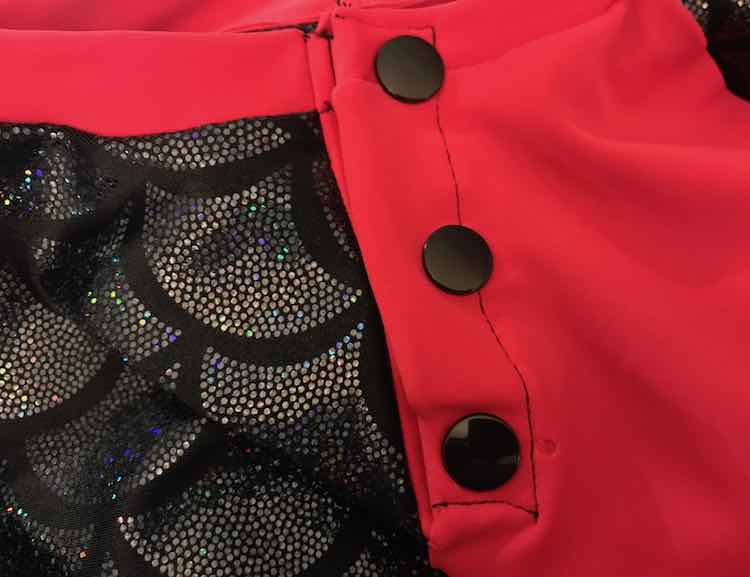
For the swim tops I jumped between the directions that came with the raglan pattern and the snap placket tutorial. I created a quick muslin of the placket so I felt comfortable forging ahead. I measured the length of the seam to see how much space I had, removed an inch-ish, and made the resulting number the length of the placket. For Ada’s (18-24 month) shirt I made the placket 4 inches long while Zoey’s (6-12 month sized) was 3 1/4 inches long. The swimming fabric made it more complicated than my placket trial run because the fabric wouldn’t hold the ironed fold (so I gave up pressing it) and the fabric kept moving around on me. If I were to do this again I might research woven fabrics and how they’d stand up on swimming suits so I could simplify the placket. I was going to use a thick interfacing for where the snaps were attached but, again, I wasn’t sure how it would hold up under water. As I knew I needed to use something to reinforce the swim fabric for the KAMsnaps I decided to go with some thin and stiff interfacing I had on hand: Pellon interfacing (style #808). The interfacing ended up making it more difficult to create the placket as it was hard to attach the interfacing to the fabric and once I started sewing it immediately started pulling away from the fabric. I ended up making it work but can still see using woven in that one spot the next time I make this. All in all it worked and as I had planned ahead by attaching the placket to the kids’ back shoulder (instead of the front raglan seam) they’ll hopefully let us take it off carefully instead of yanking the snaps open. I’m still happy with how the placket ended up considering the difficulty in sewing them up… plus other than this post who’s going to be looking too carefully at that part of the swimming suit?

After adding the placket I continued sewing the shirt mostly according to the directions. As the sleeves were so skinny I decided to hem them before sewing the two sides of the sleeve together. I was going to hem the bottom of the shirt but since it looked pretty stable and it was getting late I decided to keep the bottom of the shirts unhemmed for now, but will be keeping an eye on if I need to hem them later.
Once I was done sewing up the shirts I lined up the top and bottom of the placket over each other and punched holes with my Crop-A-Dile 2 before attaching the KAMsnaps. As Ada’s placket was longer than Zoey’s I decided to use three snaps for her and two for Zoey’s.
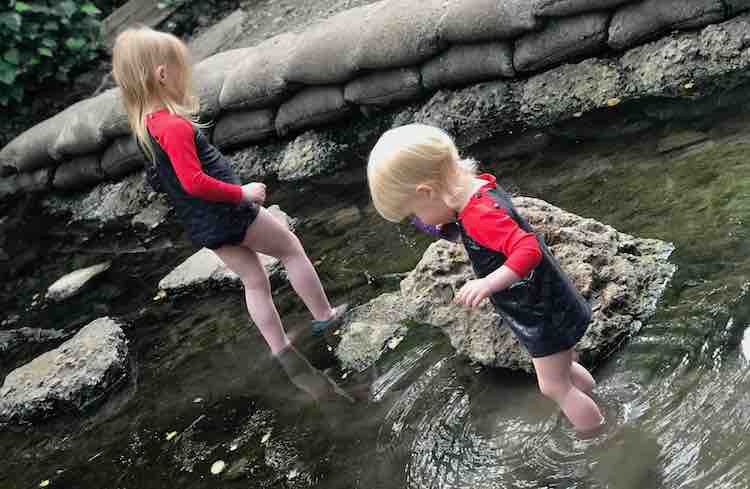
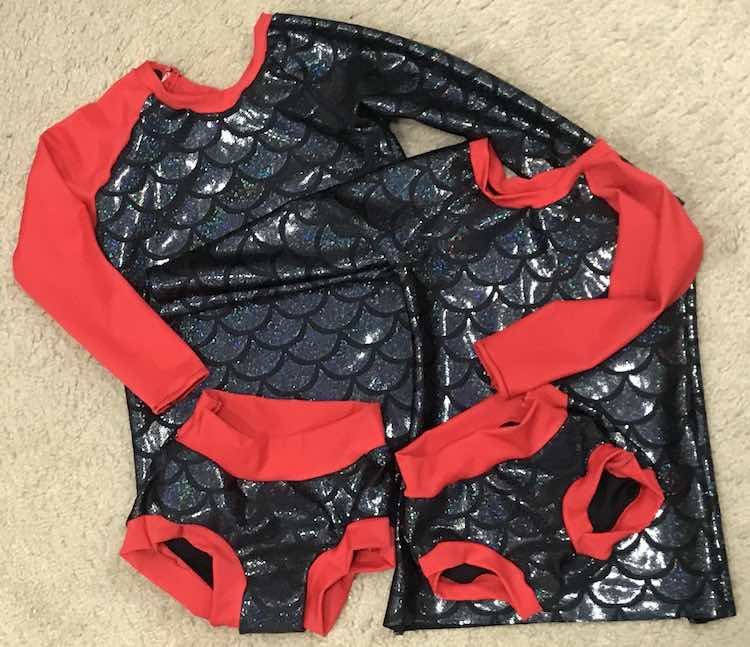
And the swimming suits were done! I absolutely love the matching outfits with the opposite red arms.
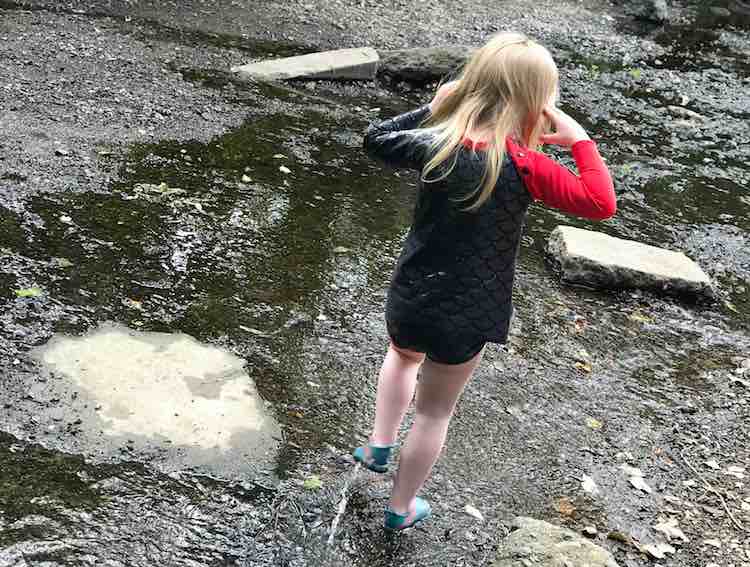
Swimming suits in movement
All that was left to do was try the swimming suits on and take them for a test drive. Of course the last several days were really warm (especially the Monday and Tuesday I was sewing these) and then the test day (Wednesday) it got really chilly again so we ended up only getting our water shoes wet and not the suits themselves. But the shirts were tested out for movement and comfiness while playing at the nearby playground. Swimming tops were only removed once the kids wanted to paint which was after we got home, had lunch, and played on the deck. No complaints were heard about how the swimming suits felt!
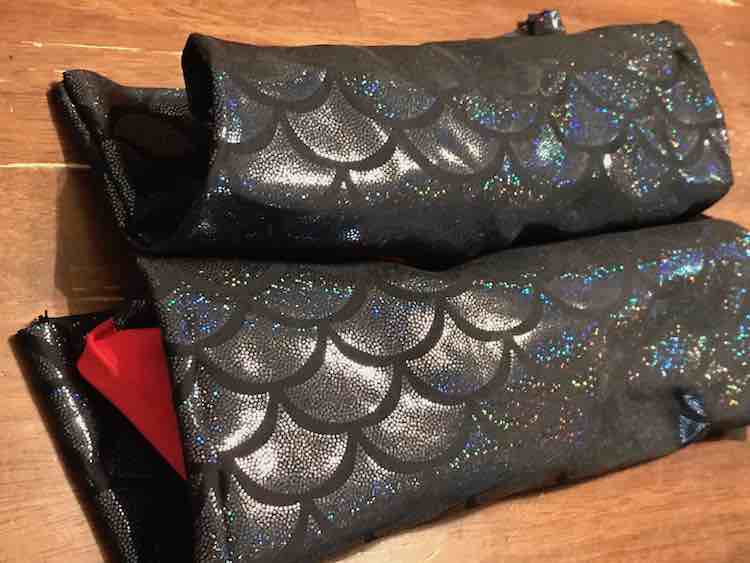
And when done I rolled up the swimming bottoms (and swim diaper) into the corresponding swimming top and they’re ready for the next time we go out.
I really hope this simple combination of patterns and a sewing hack helps with your child’s perfect swimming suit. If you want more information about what I did before cutting into the swimsuit fabric you can check out my next post: The Lead Up to Sewing My Raglan Swimsuit.
Update March 2023: While wearing these suits some of the snaps popped out of the smaller suit (hence why I upgraded to using woven fabric in the future) but the larger suit remained fine. Last summer Zoey spotted Ada's old suit in my swim bin and asked to wear it. It still looks great and is going strong this year too.
I can’t wait to hear from you through the comments below, on my Facebook page, or through Instagram. Have a great day!
Did this save you time?