

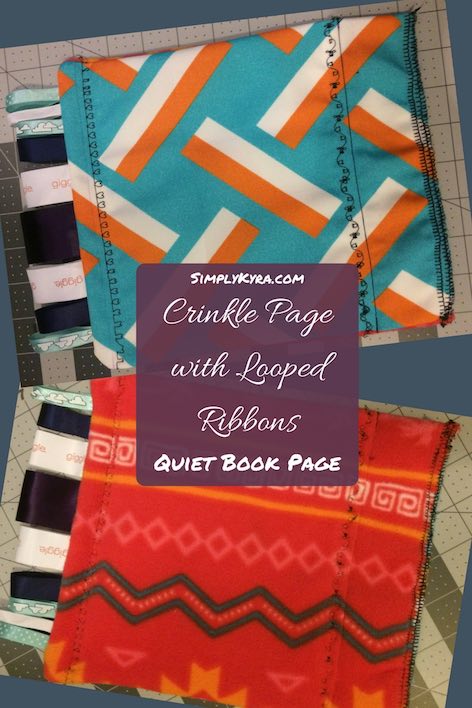
Quiet Book Page - Crinkle Page with Ribbons

While deciding what quiet book pages I should include in Zoey’s quiet book I decided to make a simple crinkle page with looped ribbons coming out the side. I wanted to keep it colorful, use a different textured fabric on either side of the page, and add ribbons for an added element to play with. I figured it would be a quick and simple quiet book page to make that would be different than the other ones but still offer a sensory play element to the book. I decided to make the book page crinkly which negated the ‘quiet book’ aspect of the page so if you need the book to be used in a quiet space you could always leave it out or add it to the book whenever you need to change it up for a louder space like a restaurant. My books ended up staying home with us so I didn’t worry.
If you want to make a crinkle page; yet don’t want to make a whole book I also have a post on how to make a Baby Crinkle Toy though you could easily make this page and add it to a binder (after adding grommets and buttonholes) or you could combine it with other pages and sew it together into a book (so no grommets or buttonholes). After I made this page I went on to sandwich another empty diaper wipes bag between my Colorful Animals and Applique Animals quiet book pages so Zoey ended up with two completed pages that crinkled in the end. As I decorated those pages before combining them they ended up being more involved than this simple page.
Materials Used
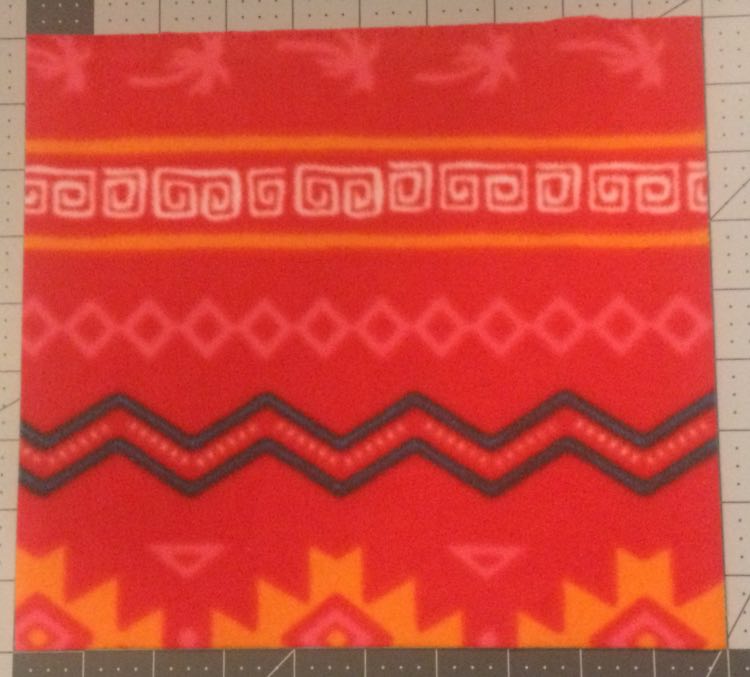
- Blue fabric swatch and fleece leftover from a Fabmo sale
- Ribbons
- Empty diaper wipes refill page though I’ve also read that you could also use an empty cereal bag
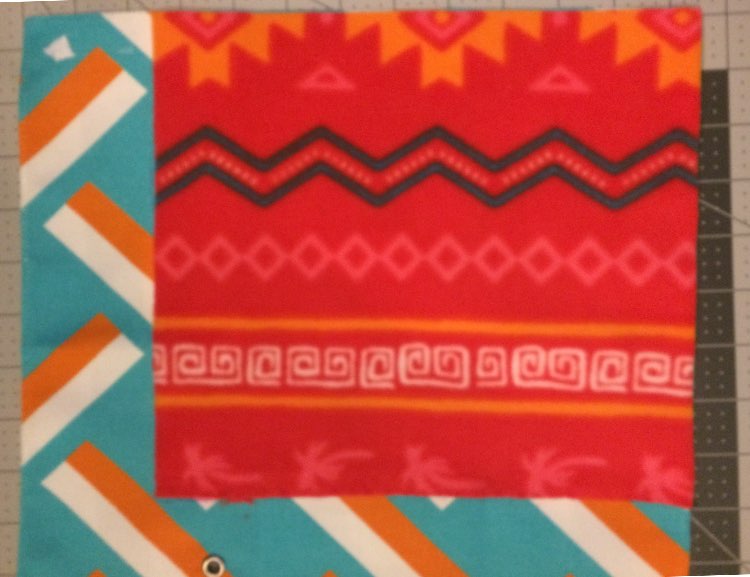
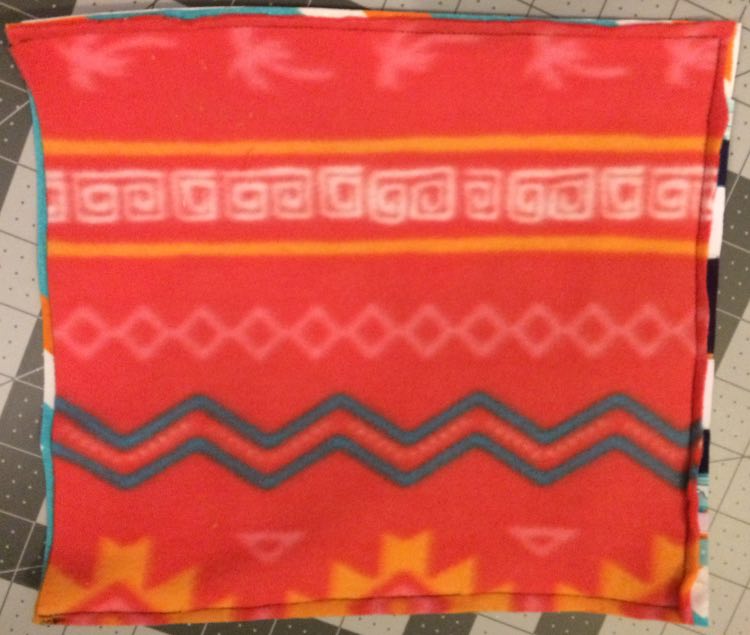
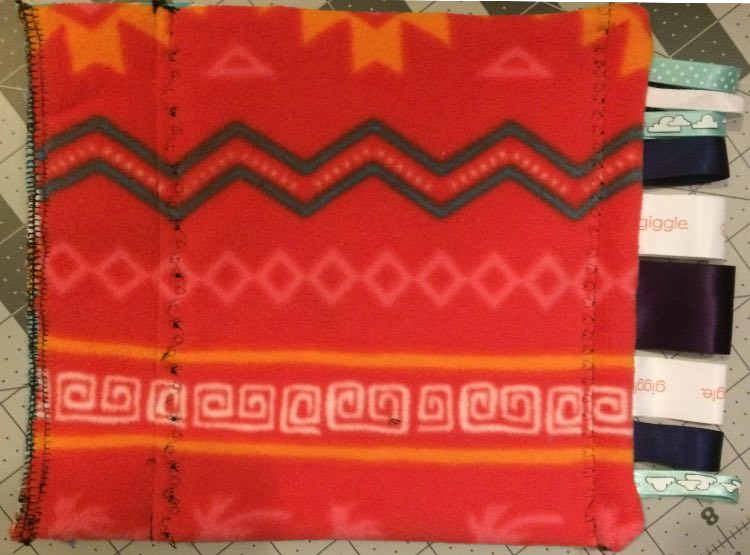
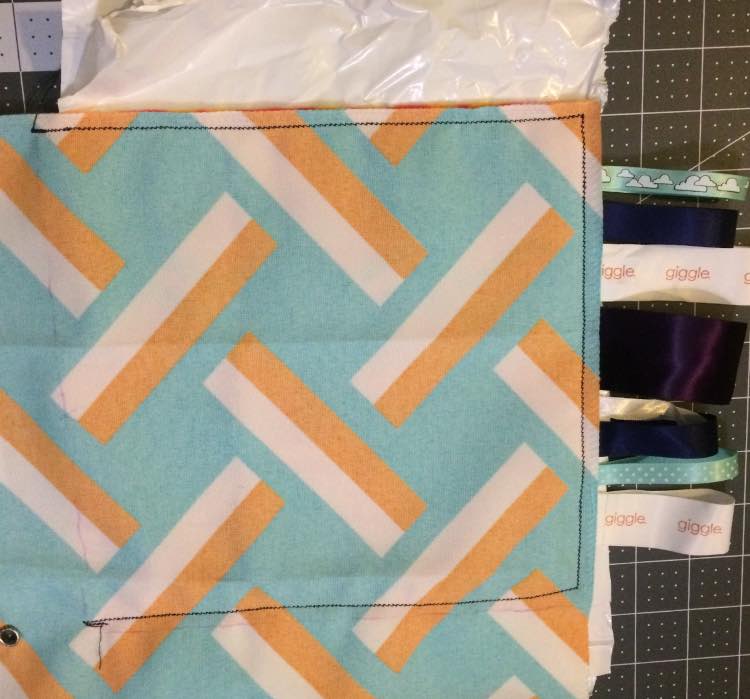
I started by choosing my fabrics. I had fuzzy fleece on hand that made a simple choice. I then went on to choose a colorful sample with a different texture to give a contrasting feel for Zoey. My other quiet book pages were 9 by 12″ with the seam allowance included. I cut my fleece a bit skinnier, by an inch or so, so I’d have room for the ribbons to stick out the side without sticking out from the book cover. As the sample fabric was small I decided to sew the fabric together, wrong sides together, and then trim it to size before putting it right side out.
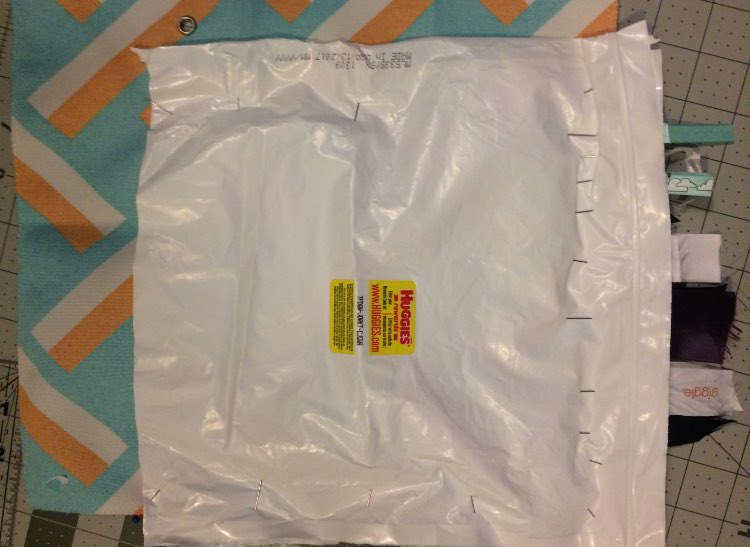
Before sewing the fabric together stack them right sides together. If you want the page to crinkle then add your empty diaper wipes refill page (or other crinkly material) to either the top or bottom of your pile so it ends up on the inside of the page when you put it right side out. If you add the ribbons you’ll want to place them between the fabric facing inwards so they end up on the outside when you put it right side out. If you want ribbon loops cut the ribbon twice as long as you want, fold it in half, put it between the fabric with the loop hidden inside and the cut ribbon edges are outside of the fabric, and then pin it in place. You could also do a variety of cut and looped ribbons like I did with the jellyfish page quiet book page.
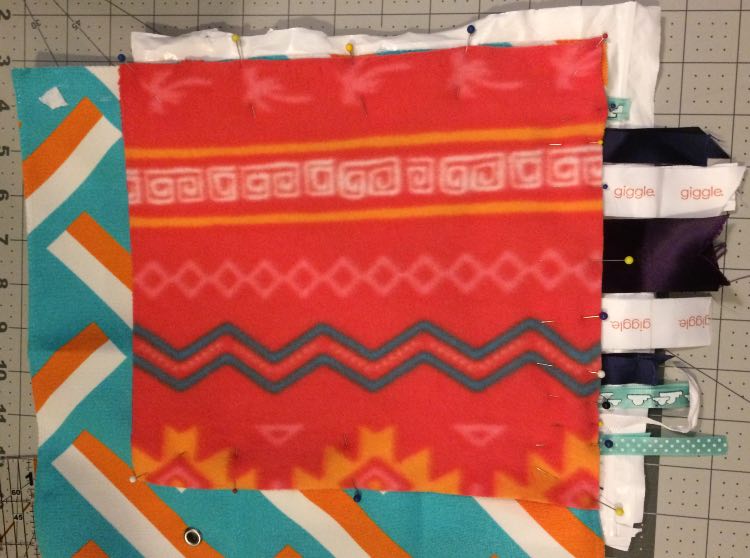
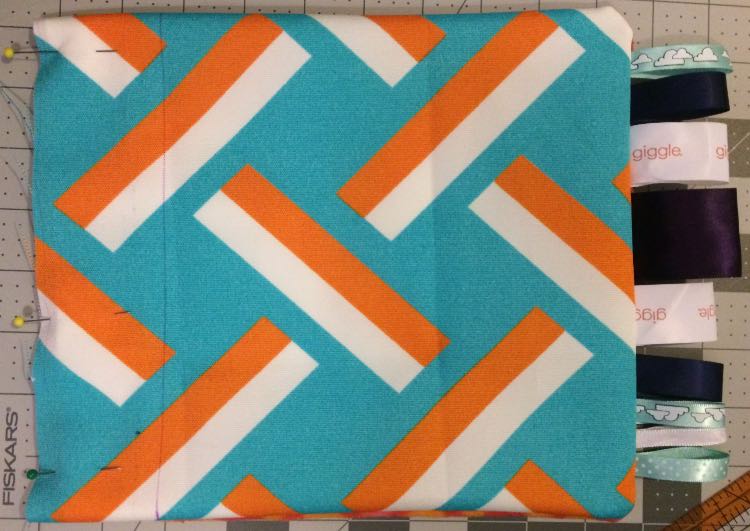
Then sew along the edges. I sewed down three sides: the top, ribboned side, and bottom. If you’d like you can sew along all four sides; just remember to leave a big enough gap to put it right side out when you’re done. I then trimmed the excess fabric and ribbon tips.
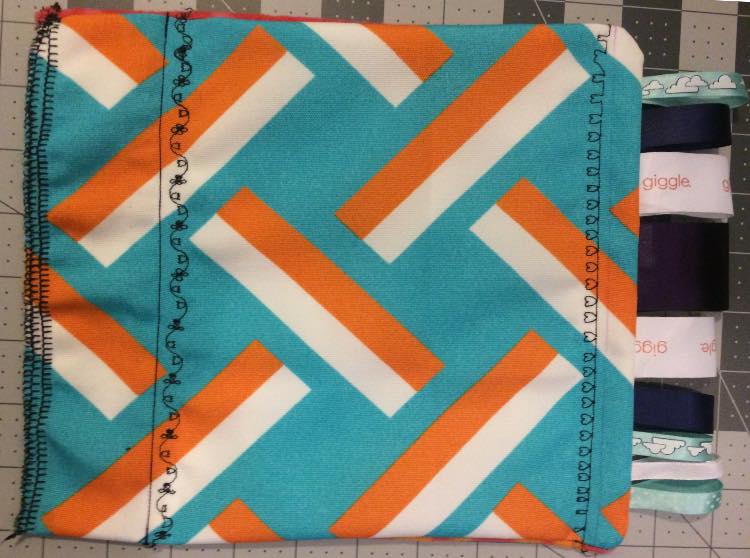
Then put it right side out, sew up your hole, and add any decorative stitching. I created a space to add the grommets by sewing an inch or so in from the side. The two sides of page tried to pull away from each other a bit so you could add decorative stitching throughout the page if you desire. I noticed the ribbon side of my page needed to be flattened so I added another row of decorative stitching there too.
If I were to do this again I would…
- Be more careful with the ribbons. The first time I wasn’t thinking and realized I sewed my ribbons in the wrong way after sewing over three sides. After seam ripping all three sides I flipped the ribbons inward and tried again.
You can check out my previous posts if you want more information on how I created my quiet book covers, how I normally join my quiet book pages together, or to see all my quiet book page designs. I can’t wait to see what you come up with! Feel free to reach out at any time in the comments below, through a post on my Facebook page, or tag me through Instagram.