

Quiet Book Cover - Part One of Four

I bought my first sewing machine several months before last Christmas and decided the best way to learn how to use it was to make my two daughters their own quiet book. By doing this I learned to use the machine, got to play with some of the different feet, play with different stitches, and as an added benefit they each got their own fun quiet book. I wanted to share what I did and the mistakes I made to help you in case you’re also researching quiet books or looking for a fun project to sew.After much research I began creating my quiet books by making a couple of pages, then designed the covers, and finally continued onto the rest of the pages.
Essentially, I will be creating the quiet book cover by taking two sheets of fabric (muslin and fusible fabric), sewing them together, and flipping them right side out. Before we can do that though we need to:
- join the muslin fabric to the fusible fabric
- create the handle straps
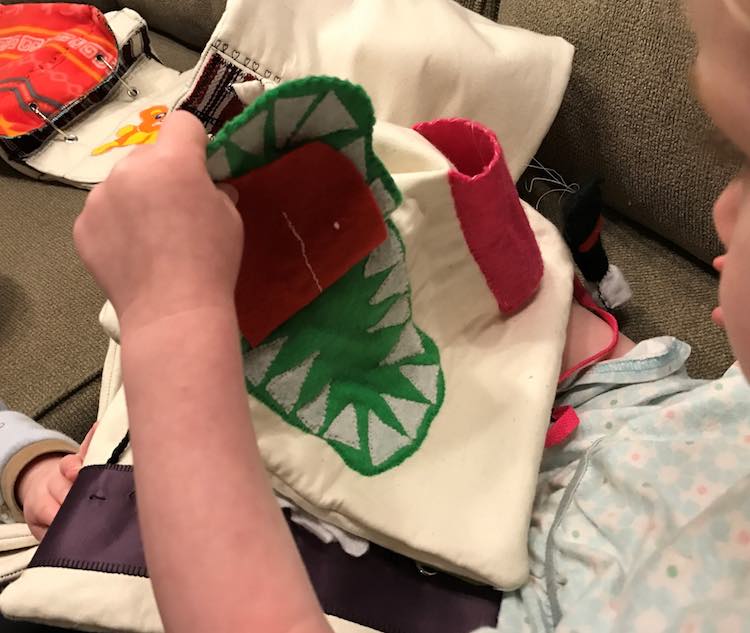
- create the closure flap
- sew down a fabric strip to attach the binder rings
- attach the Velcro
- decorate the cover
- sew it all together with the pieces all attached
To go more in-depth on how I did this I will present the information to you in four separate parts. This article will show you the overall plan, go over the required materials, how the base cover sheets were prepared, and show you some photos. The next post in the series will go over how I prepared the inner cover. In the third segment I’ll show how to make the straps to carry the book, the strap closure, and how I designed the outer cover. The final post will go over putting it all together. I can’t wait to share it with all with you and see what you create!
Planning
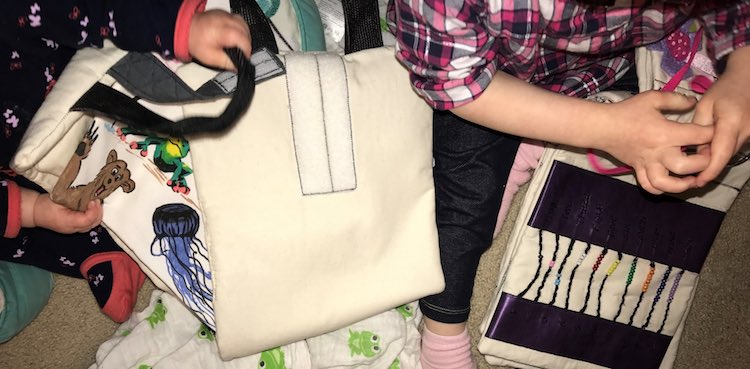
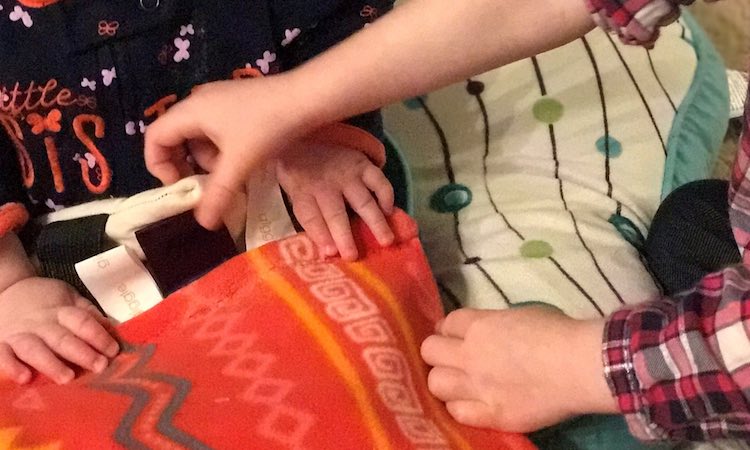
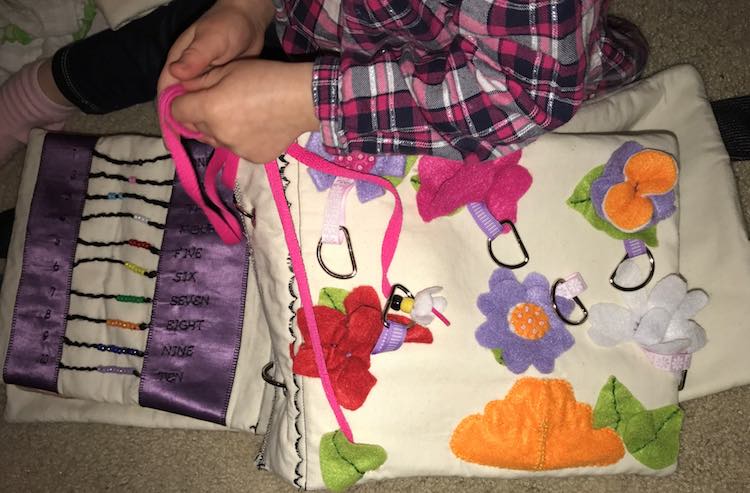
I knew right away that I wanted to make the pages of my quiet book removable so the books could be changed to keep them interesting and, more importantly, when Ada lost interest in a specific page I could pass it to Zoey’s book. To do this I added holes to the pages and use binder rings in the cover. I also wanted to make the pages large enough so there would be enough room on the pages to do interesting activities as I wanted the books to grow with my girls. Ideally, this would be something I could throw in my diaper bag if we were going to the doctor’s or somewhere that I needed to keep them entertained and mostly quiet. In reality the books I made became far too big for that. I love the finished books as they will grow with the girls, but I found they’ve stayed at home so if you want a book for the diaper bag make them much smaller. I’ve seen some designs where the pages are sewn into the spine of the cover so then they wouldn’t have needed room for the grommets. I also debated adding a pocket to the inside of the back cover for any extra loose pieces that needed to be put away quickly and get organized later; however, I decided to keep the cover simple as none of my planned pages at that point had loose pieces and I could always buy and add a zippered binder pouch to go in the book at a later date.
To close the book I considered enclosing it with a zipper to encapsulate any potential future pieces for when the book is carried around. Instead I went the easier route and closed the book with a flap and Velcro. As I planned to add my daughters’ name to the front of their book I attached the flap to the front and the other side of the Velcro to the back of the book so it wouldn’t interfere with the front cover design. I wanted the back strip of Velcro to be long so the flap could be attached closer to the edge or further in depending on how full or empty the book was. I also knew I wanted to add handles so the book could be carried easily around at any age.
After deciding on the general size of the pages I created my first quiet book pages. After creating a couple I returned to making the quiet book cover to contain the 9 by 12 inch pages. As I had already started some of the pages it was simple to decide to make the cover 9.5 inches tall so that the pages shouldn’t stick out too much and to allow for the seam allowance when sewing the cover together. I calculated the width of the cover by taking the page width (12″ * 2 for front and back) and the spine (containing a 3″ binder ring) which would make the cover 27 inches wide. I then decided to round the total cover width to 30 inches to allow additional wiggle room and to make space for, hopefully, numerous pages in the future.
Materials
For the quiet book cover you will need
- Fabric for the cover
- Interfacing to reinforce the cover
- Velcro for the closure
- (optional) Heat’n Bond for simpler appliqué
- Binder Rings
- Fabric swatches or strips to create
- two handles
- a flap to close the book
- an inner strip to hold the binder rings on
- letters (or images) to decorate the cover
Preparing the Cover Sheets
I started by cutting two sheets of muslin and two sheets of fusible fabric a bit bigger than needed which ended up being 10 by 30.5 inches. I then ironed the muslin to the fusible fabric (as per its directions) so I’d have two sheets and trimmed them so they were 9.5 by 30 inches. When done, one of these will be the outside of the cover (front and back of the book) and the other is the inside of the cover.

∞ Current: Introduction and getting started ∞
Next: Making the inner cover
Did this save you time?