

Shortening the Armhole of a Lightweight Blouse

Who knew that I’d end up doing two blog posts about making the bottom of my shirt’s armhole higher up within a couple months of each other? The first post dealt with a knit shirt where I had stretched out the bands while sewing them on. This post deals with a lightweight woven blouse. I had the good fortune of being able to test a pattern for a chiffon blouse, which unfortunately ended up with too large of holes for the arms… luckily the pattern has since been fixed, but I wanted to fix the my specific blouse so I could wear it instead of tossing it and starting over again.

Materials Used
- More of your main material – in my case some more polka-dotted black chiffon from Fabric.com
- More of whichever material you used to finish your armhole – in my case black chiffon bias tape
- Chalk or something to mark where you want the bottom of your armhole to be… I found a pen too difficult to mark the fabric especially while wearing the blouse
- Clips and/or pins – I found clips stayed attached to the chiffon better but needed a pin for each armhole at the bottom
- Sewing machine and thread you used for the rest of the blouse
While wearing the blouse I started by using chalk to mark my blouse around where I wanted my armhole to end. This was a difficult process so I ended up marking a range that I was okay with on either side. This gave me an estimate on the size of the ‘patch’ I’d need to shorten either armhole.

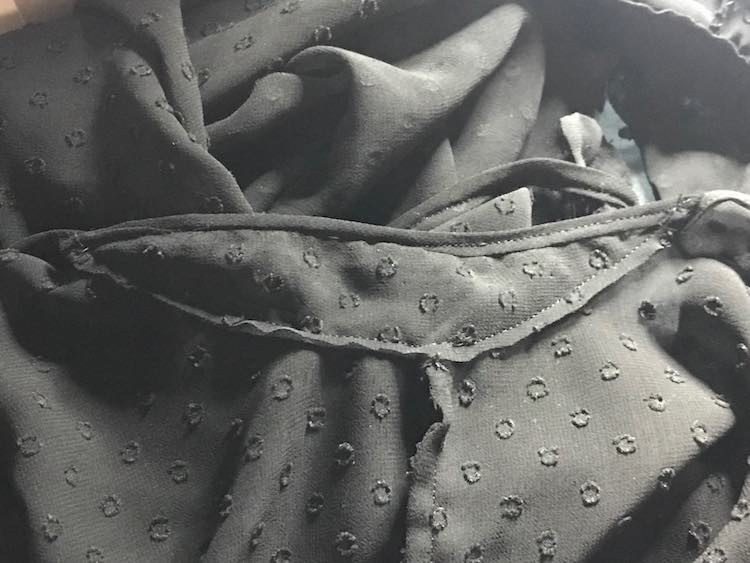
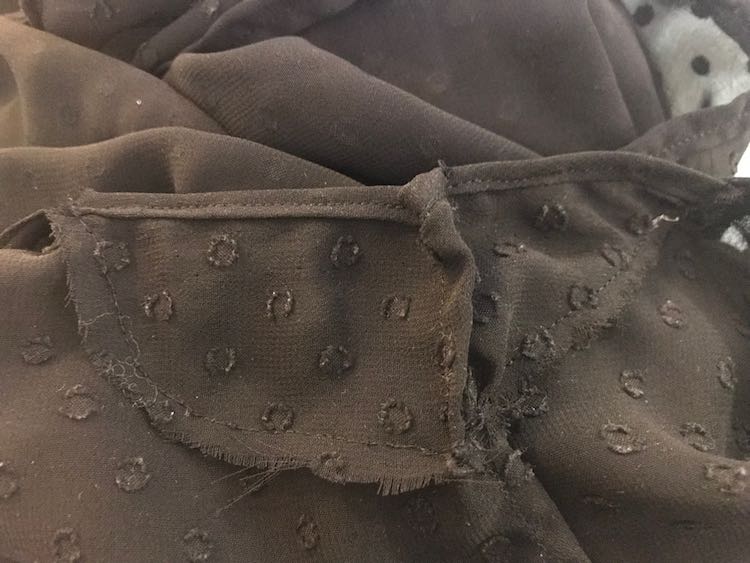
I then grabbed an extra swatch of my main chiffon that was tall enough to more than cover the area I wanted filled in. It was also wide enough to cover the width of the armhole more than twice over so I’d have enough to patch both sides. I then lined the longest edge with my bias tape as that’s how the armhole as a whole had been finished on the blouse.

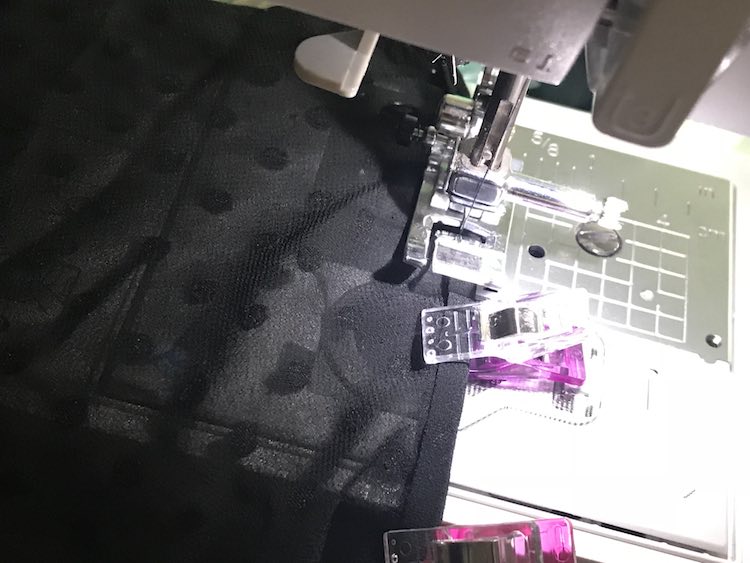
I then placed the fabric inside of my blouse and lined it up so the top (with the bias tape attached) would be along the top with the edges of the fabric hidden within the shirt. I made sure the fabric was towards the one side so I’d have enough for the second armhole while also making sure that the left and right sides looked even and both sides were within my chalk markings. I fixed the fabric in place by adding a pin to the center and a clip on either end.
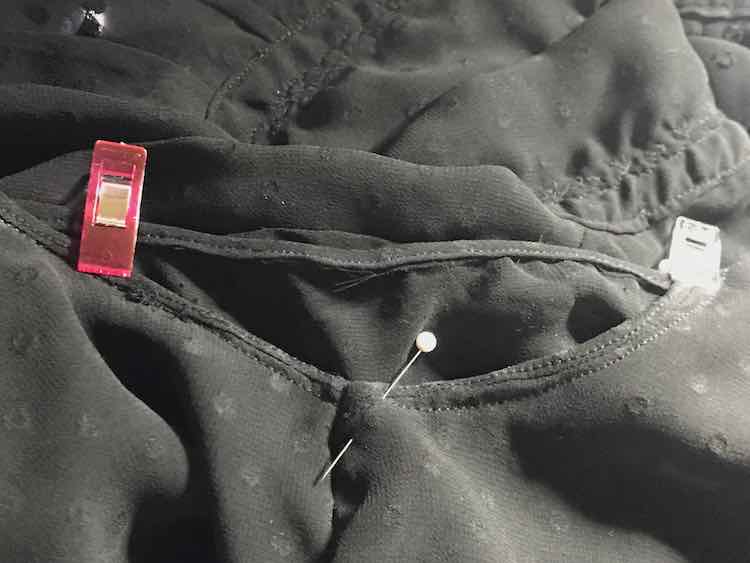
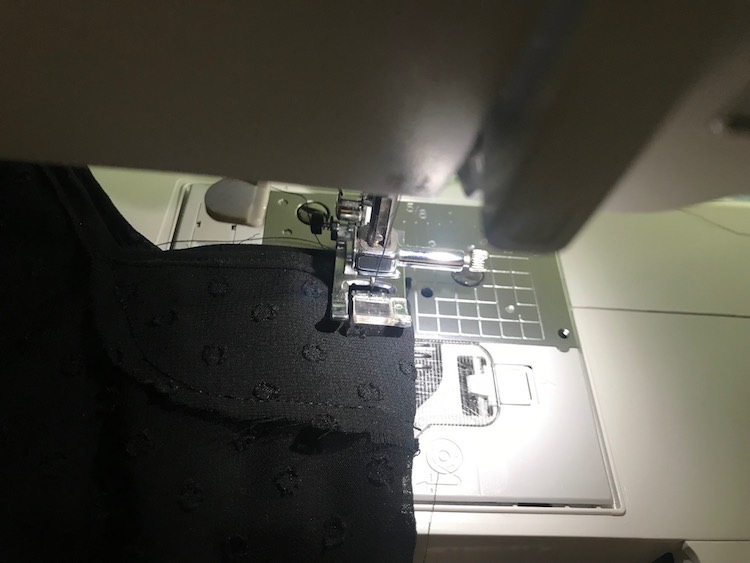
I then sewed along the one side where it was joined (where one of the clips were), along the bottom, and ended on the other side… making sure to backstitch at the start and end.
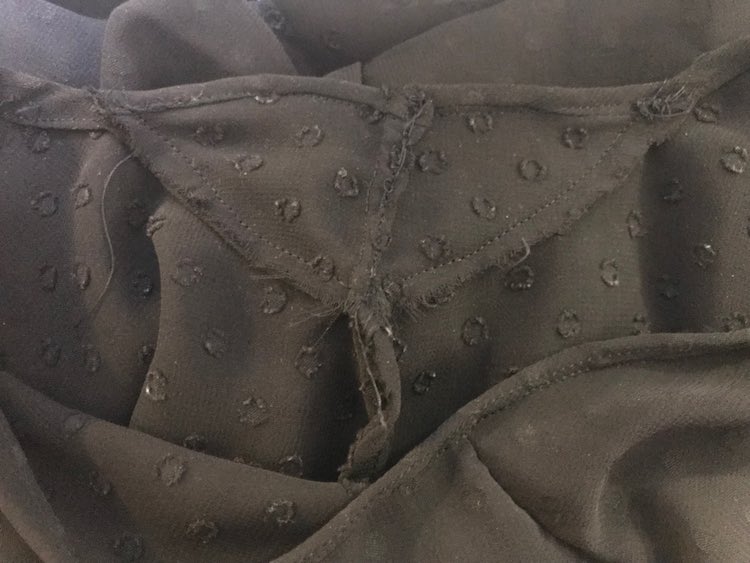
After quickly trying it on I flipped the shirt wrong side out and trimmed the excess fabric from around where I sewed. With this method the edging isn’t finished so if I was pickier I could have measuredthis out before hand and finished the edge before sewing this on.
I followed the same steps on the other side of the blouse while also comparing it to the first side so it wouldn’t look too low or high in comparison.


Troubleshooting
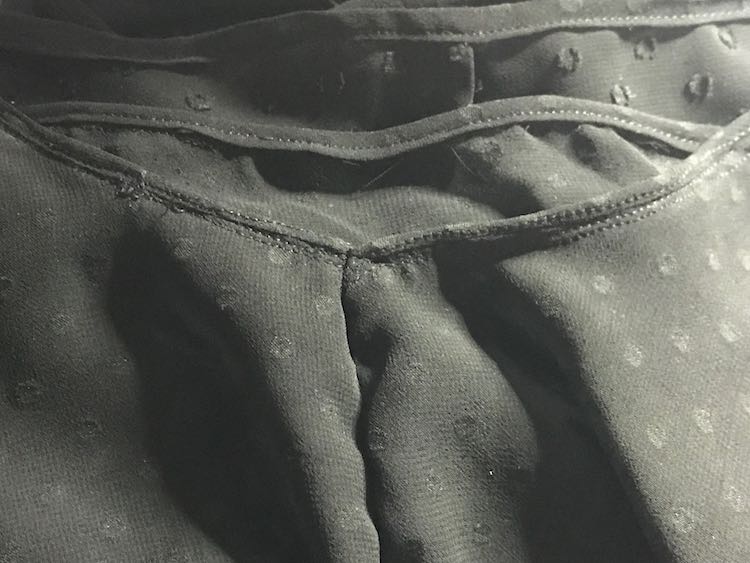
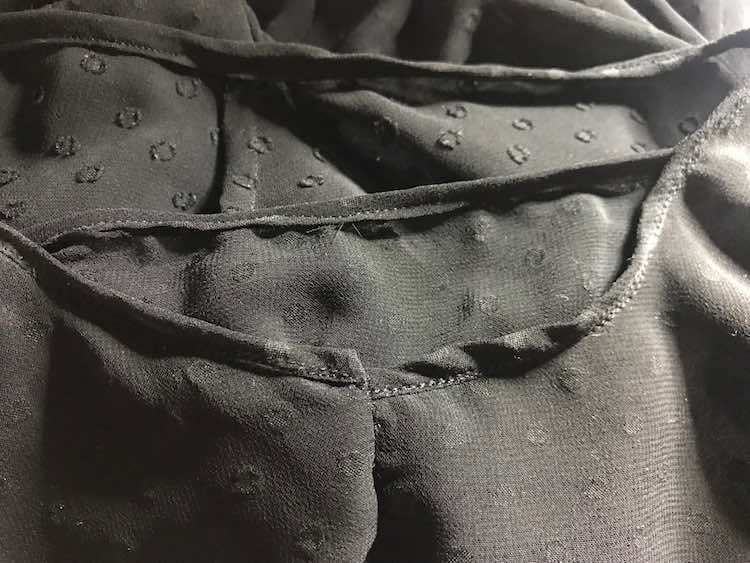
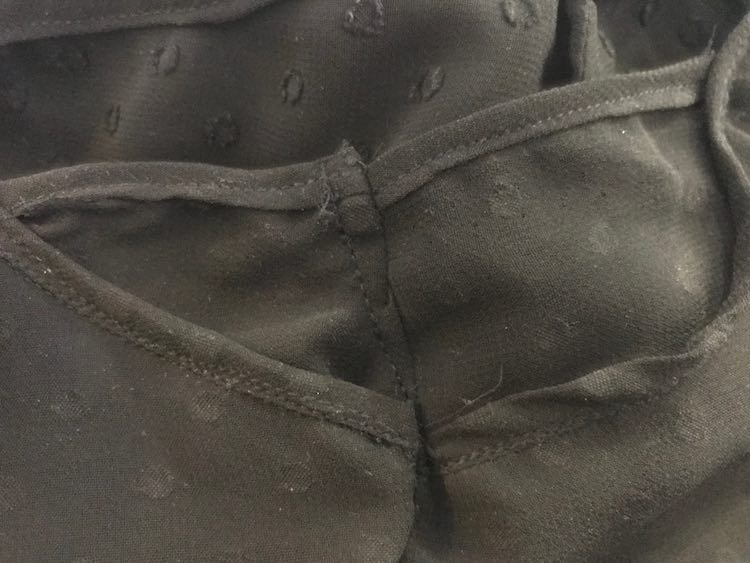
After trying on the shirt again I noticed that the one side worked perfectly while the other side bubbled out. By this point it was late and I just wanted it fixed so after figuring out how much it bubbled outward I took off the blouse, flipped it wrong side out, folded the armhole patch in half vertically, and sewed down it making sure to angle the sewing so as to meet the bottom edge seam.
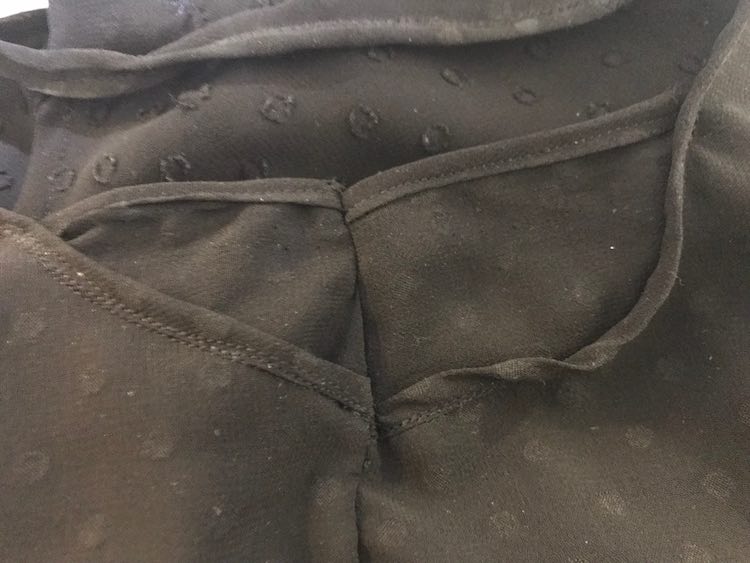
This fixed the issue with the bubbling out though now the seam allowance stuck inward so I folded the excess seam allowance over and topstitched it down.
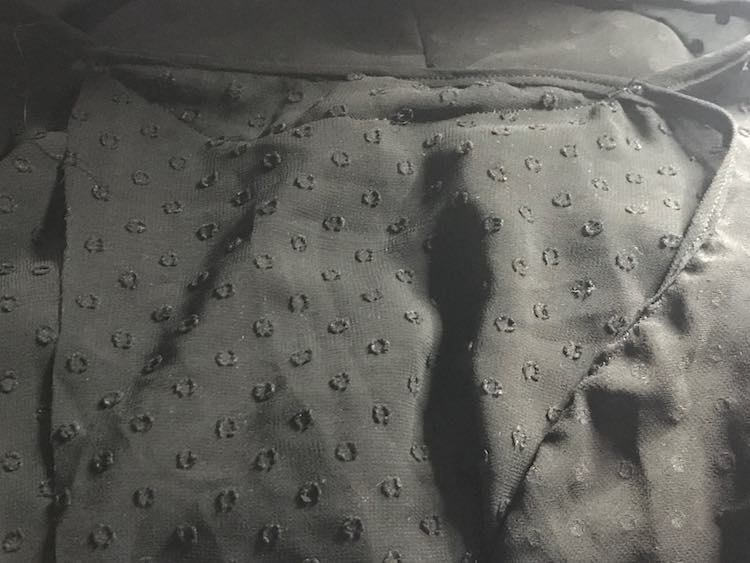
It didn’t look as pretty as I wanted but it made my finished blouse more comfortable for me to wear while I go out and about which was a win in my books. I do know this isn’t a perfect solution so I’d love to hear how you would fix this problem so I’d have a better solution if this happens to me again. For now I love how this took an imperfect blouse and made it a functional garment that looks gorgeous. Hope this helps you make a favorite shirt wearable for you. Feel free to connect with me or show me your finished garments through the comments below, on my Facebook page, or through Instagram.
Did this save you time?