
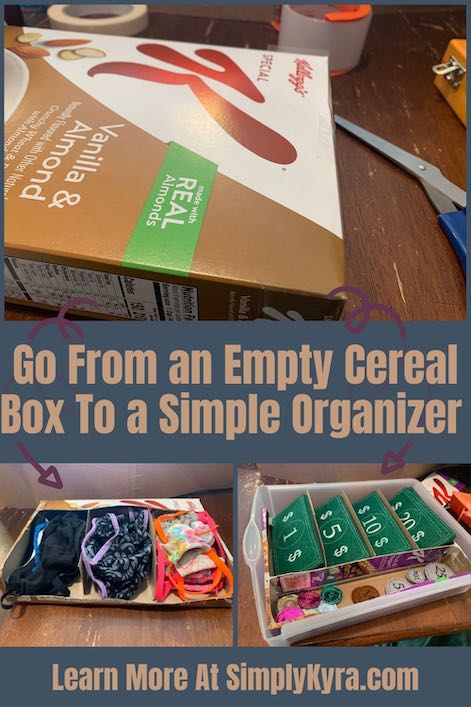
Simple Drawer Organizer Recycled From A Cereal Box

Several months ago I was looking for a way to corral all of our masks into one simple to grab spot but I wasn’t quite sure what to use to accomplish this task. I wanted the masks to be easily available at the front door, rather than stored out of the way somewhere else, so they would be simple to access whether we were grabbing a mask on the way out the door or wanting to return cleaned masks back to their spot after washing them. At this point I had just moved the masks from a pile in our office to a small cinched bag at the front door but I wasn’t happy with the bag as individual masks was hard to find and pull out of the bag when it was time to leave the house. I considered tossing all of the masks into a single basket and although Matt’s masks are all black and the kids are all small I was still worried that it might be difficult to find a specific mask in the basket if we’re rushing out the door. Apparently when I need an organizational solution I turn to recycling emptied paper boxes, to get a custom fit for cheap, and so I, again, looked to our cereal boxes and came up with this awesome short separator that is so simple to pull down whenever I’m putting away cleaned masks and incredibly easy to grab a mask from when I’m in a hurry.
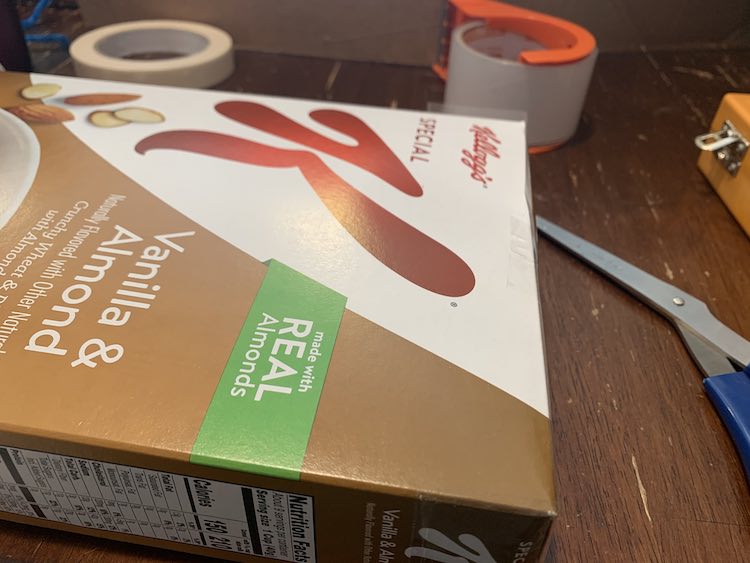
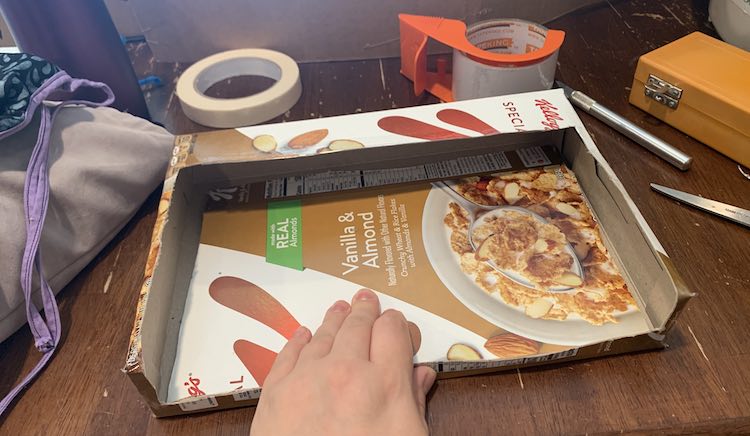
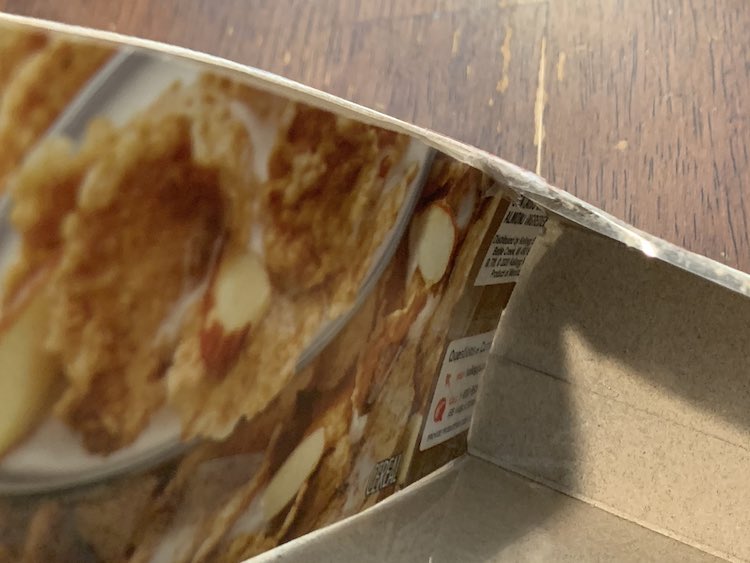
At our front door there aren’t a lot of places I could store masks so I knew going into this that I was creating a small organizer I could easily place on top of our cabinet, an Ikea Billy bookcase with a glass and paneled door, located close to our front door. I looked around our home and found a just emptied box of Kellogg’s Special K cereal that was the perfect size for what I wanted it for. I quickly grabbed my X-Acto knives, clear packing tape, masking tape, and some scissors so I could get to work.
As a quick aside. If you’re looking for an upcycled organizer but want something that looks just a bit different I’ve previously upcycled a larger sturdy cereal box into a paper organizer by opening the front and part of the top. I also created smaller cardboard ‘cups’ to organize a drawer or shelf along with some toys for the kids including a simple vehicle with a working paper plate wheel, a simple kitchen stove and oven set, and a set of shelves for a kitchen set which I’ve done twice now.
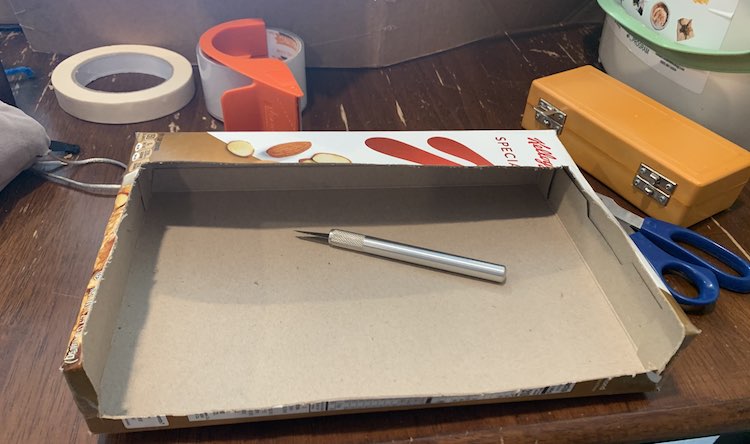
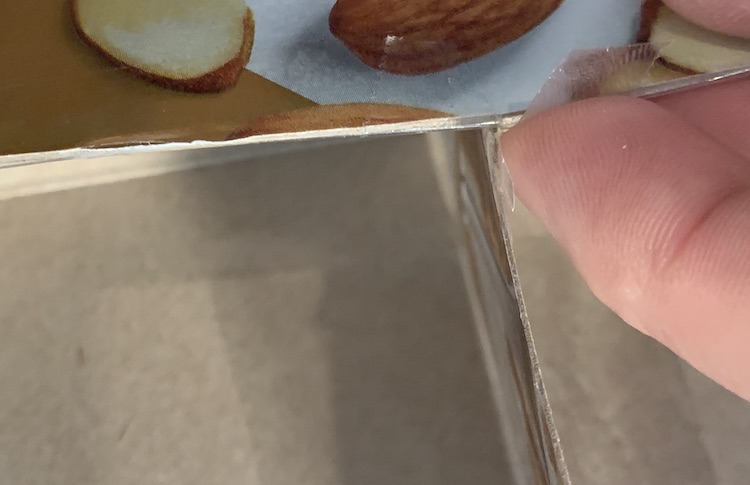
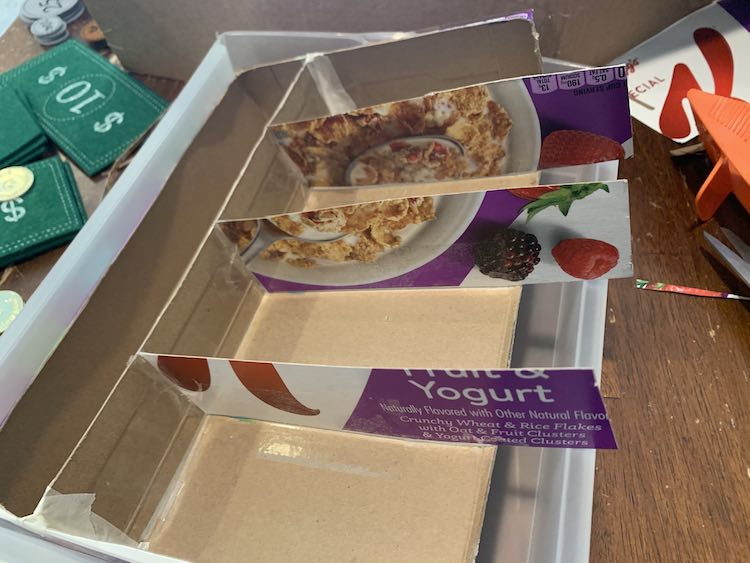
I started out by laying the cereal box on it’s side, so it was short and wide, before using small pieces of my packing tape to reinforce the back corners. I then grabbed my X-Acto knife and, leaving an inch or two in the back and a lip along the sides, started cutting the top and most of the front of the box out. I knew I’d be stacking each set of masks and thus wanted the front open so I could easily see which masks were in each pile and which were missing, so still dirty, without having to go through all the masks. I also chose to leave the very back of the top uncut so it’s larger lip on the back edge would help hold the masks down in case the piles started getting larger so the masks wouldn’t be able to fall out easily.
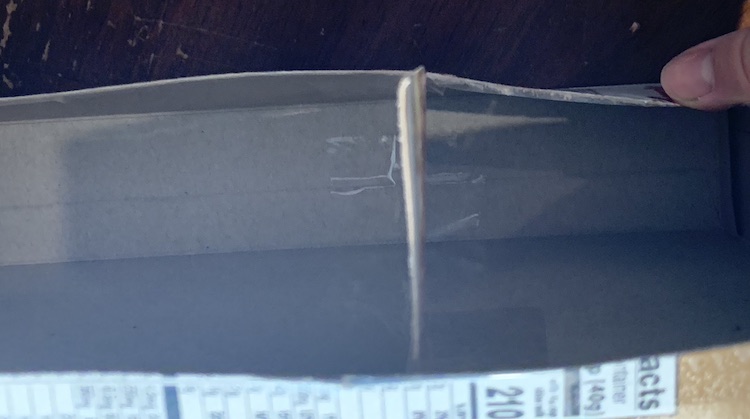
I then took the piece of cardboard I had just cut off and checked to see if it could fit within the cardboard box. It did so I next stood it up so I could see how high the main box came on it and thus what width of strips I needed to cut should be. I cut two strips, as I needed three sections, from the cardboard front and laid them in the main box to confirm that they fit.
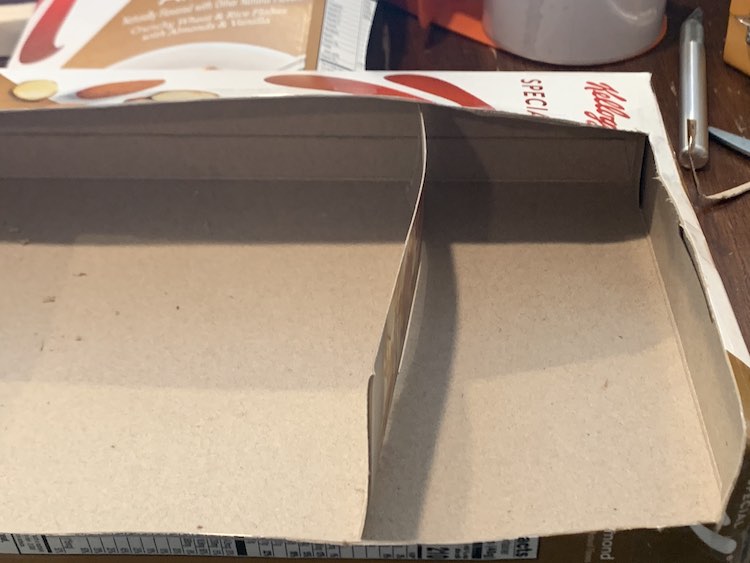
Once I was happy with the height of the two strips of cardboard the next task was to decide where they should go. I knew Matt’s masks were a bit taller, or wider when laid down, than mine and both of ours were larger than the kids. I also knew I used the same sewing pattern size for both of the kids’ masks; hence why when I realized we could only fit three piles instead of four I decided to combine the kids’ masks together. I ended up trying to make the three spaces similar widths to each other but when it came to readjusting them I preferred making the leftmost space the largest over the kids’ rightmost space.
Once I was happy with how it was laid out I next taped the strips in by laying them flat inside the box and taping the bottom down. I then flipped the strip over the taped section, so the tape is now hidden, and taped the other side of the bottom down. This made the strip, or divider, a bit floppy back and forth but I knew it was overall secured to the bottom. I then made the divider vertical and taped the back of the newly created divider to the back and top of the cardboard box making it secured.
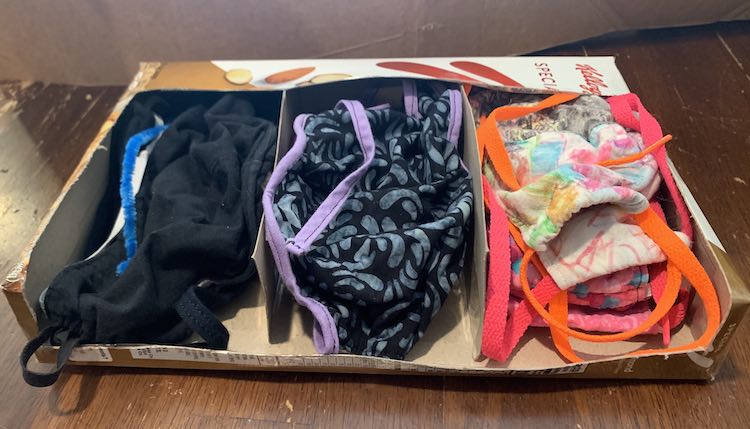
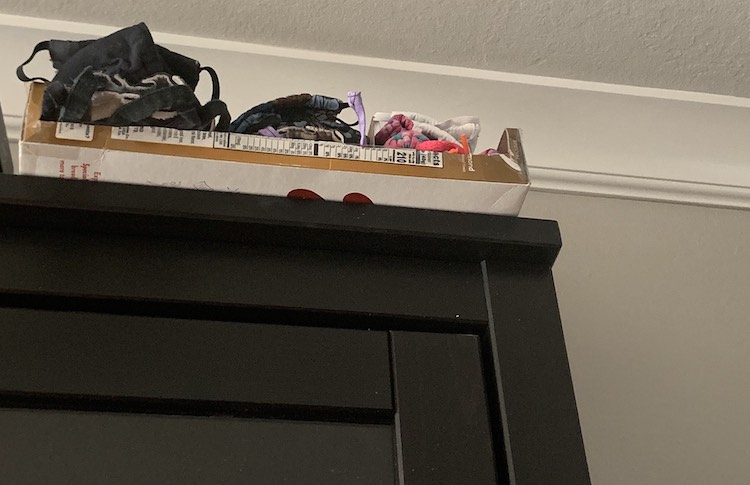
Once both strips were securely taped my mask organizer was finished. I next separated out my masks so I had a pile of Matt’s, a pile of mine, and a pile containing both of the kids’ masks. I figured I almost never left the house with only one of the kids so it didn’t matter if I combined theirs together. Each pile got it’s own slot in the organizer so they easily stay separate from each other and yet are easy to grab since you could easily see what is available from the front. I love how simple the organizer was to make and use. Once filled I carefully placed the whole organizer on the top of the cabinet near our front door for when we next needed them.
Since the above photo was taken the mask box has started to get fuller; as you can kind of see in the below photo. If I make more masks I could see leaving our favorite go-to masks in the organizer, for easy grabbing, and move our extra masks, that we don’t like as much, to a basket so we have them in case of emergencies but they don’t need to be as accessible. That way the cereal box holder wouldn’t get too overstuffed and break on me… although it would be simple enough to make again as long as I had another emptied cereal box handy.
Like all of my upcycled paper projects at this point you could go easily go decorate this in some way; although, like all the past ones, I haven’t yet and don’t see myself doing it anytime soon.
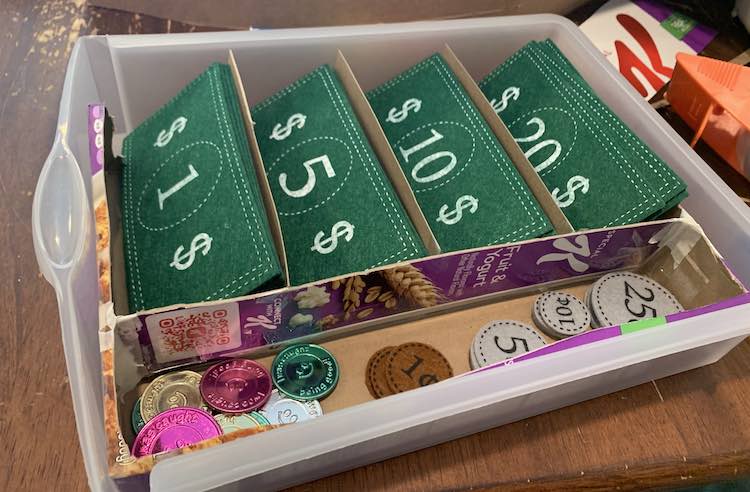
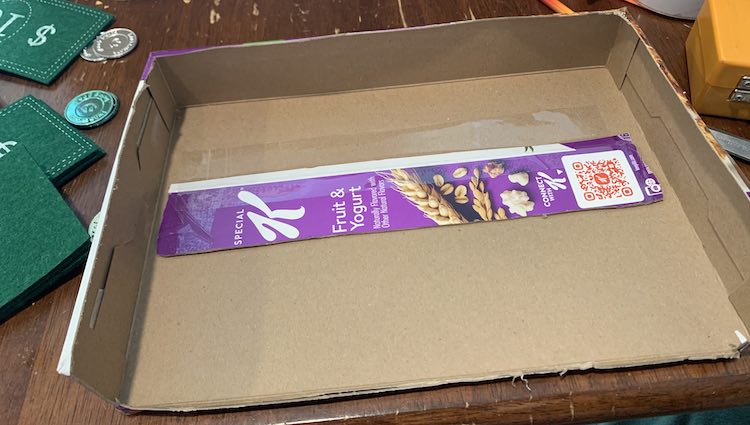
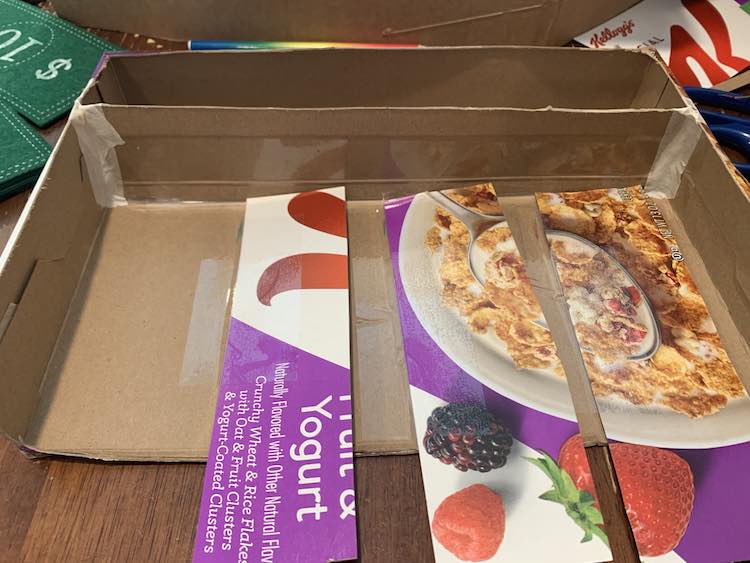
Making the mask holder was so simple and quick that I decided to turn one of the drawers in my kids’ kitchen set into a cash register for the play money I bought them from Michael’s Arts and Crafts. I quickly grabbed another box of Kellogg’s Special K cereal, originally a three pack from Costco, and removed the bag inside before then grabbing the drawer in question along with the felt play money and random ‘coins’ the kids have collected over the years. After confirming that the cereal box does in fact fit within the drawer it was time to get started. I love that I didn’t have to shorten the box to fit within the drawer.
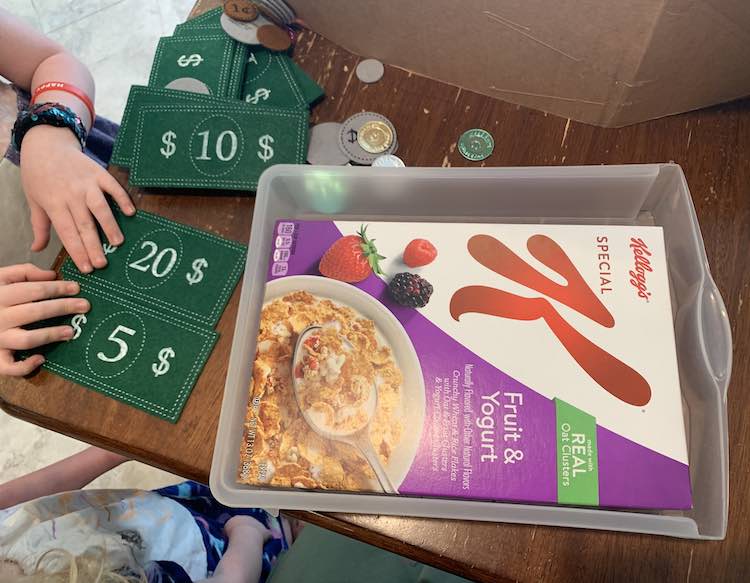
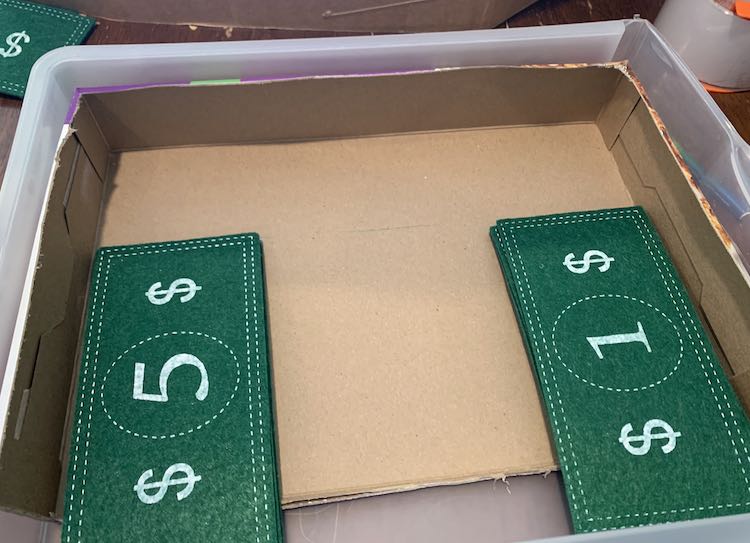
After confirming that the box, in fact, fit in the drawer it was time to figure out how to lay out my organizer to better fit the bills and coins. I wanted there to be a space for all the money to fit in the drawer yet keep each type of bill separate from the other bills so it’s easy to grab a $1, $5, $10, or $20 bill when you wanted a specific one.
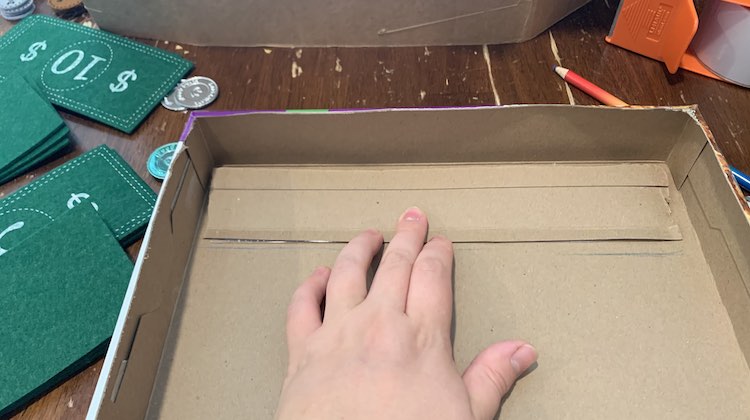
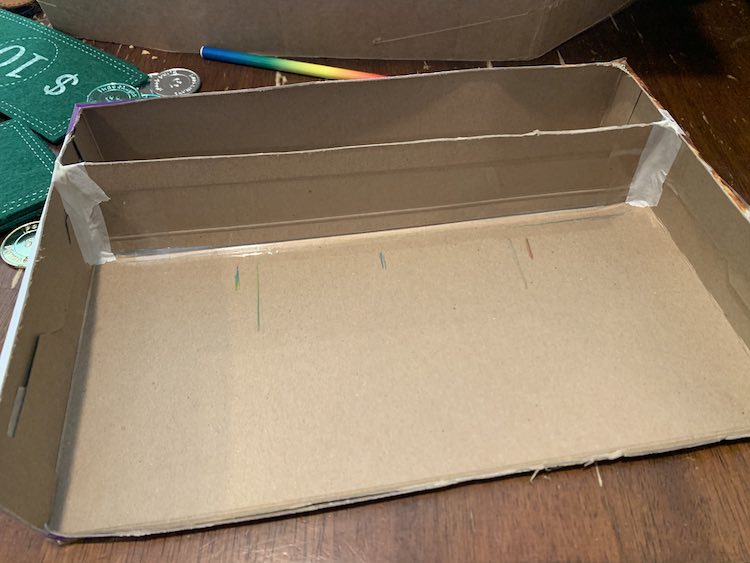
Once the best general layout was decided it was time to cut out the opening I needed in the box and figure out exactly how I needed lay out the dividers so the organizer worked how I wanted it to. Like before I cut the top and side of the box off but this time, other than a small lip to keep the box’s structural integrity in tact, I cut it all off. Once it was ready I put it back in the drawer, pushed the uncut side against the side of the drawer so there was more width to work with, and started by roughly planning what I wanted to do before marking the cereal box with a pencil to show where I wanted the divider for the coin and bill sections to be.
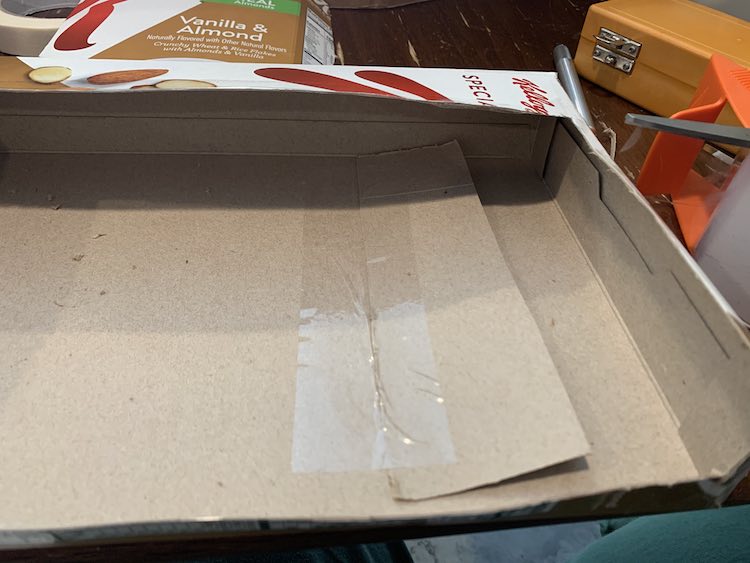
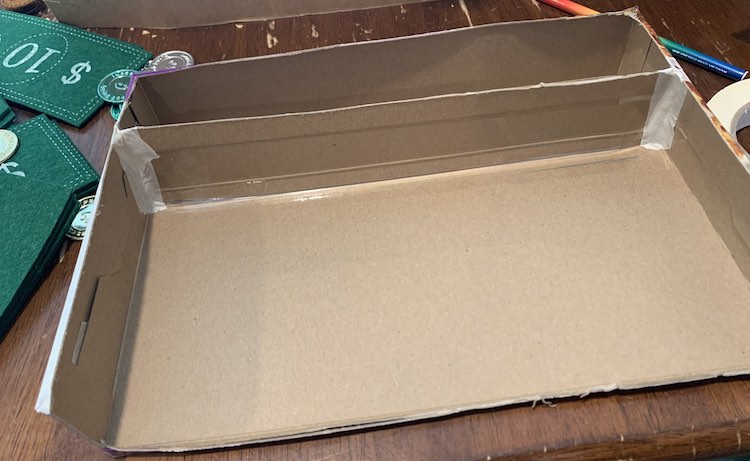
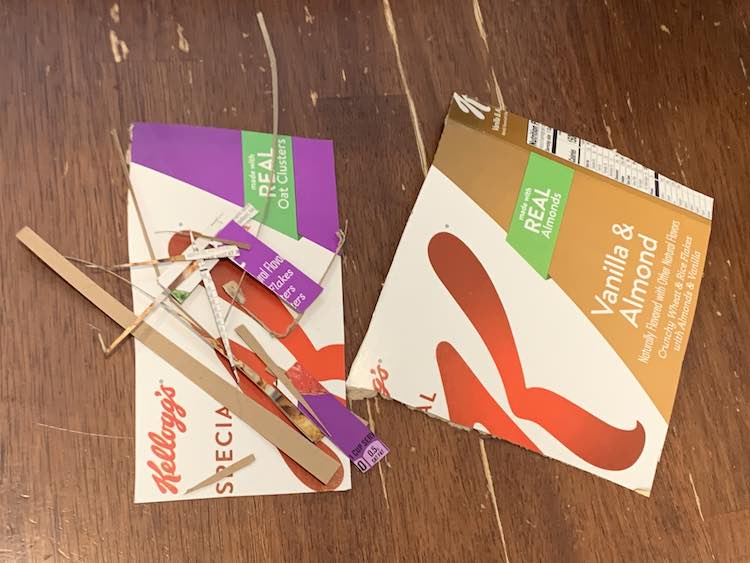
After removing the bills I cut a strip of the removed cereal box and made sure it’s height was similar to the height of the cereal box. Like with the mask organizer I laid it down, so the edge lined up with the pencil marking, and taped it before flipping it over and taping the other side down. Once it’s base was secured I next used packing tape to secure either end to the side of the cereal box. The strip ended up being shorter than what I needed so there was a bit of space between the edge of the divider and the cereal box so I next attempted to join them while making a wall with the packing tape. It didn’t feel too secure so I grabbed my masking tape and reinforced either end so I knew for sure it was secure. Just remember if you marked your cereal box you may want to erase it before applying the tape. In my case I used transparent packing tape and forgot to erase the pencil so the marks are now showing through and protected from being erased now.

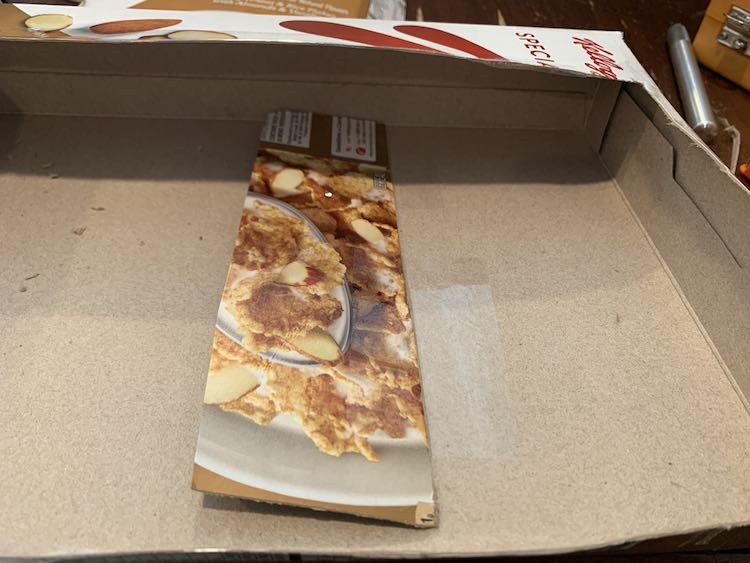
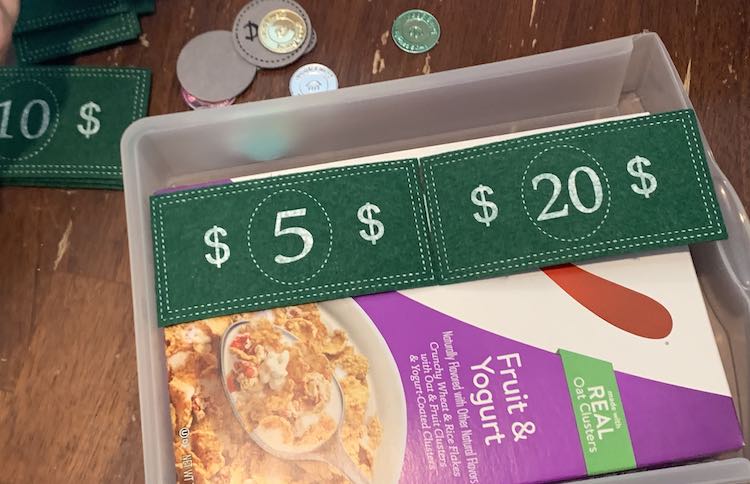
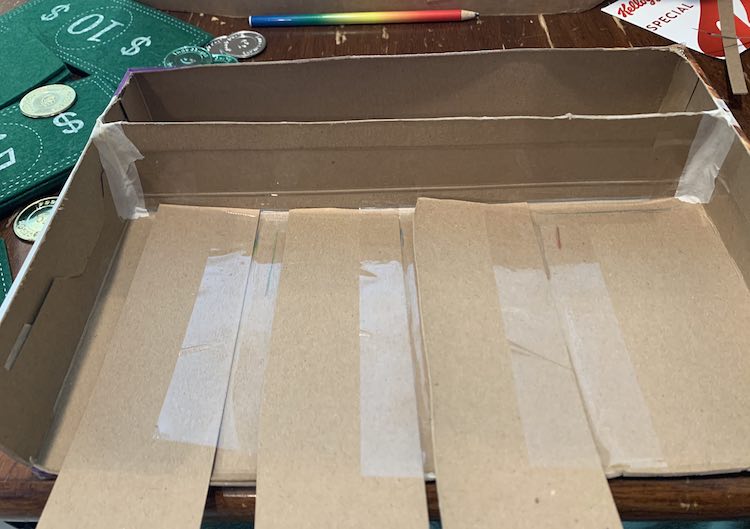
Once the main divider, for between the coins and bills, was secured it was time to figure out where to put the shorter dividers to separate the different bill types. There are four different bill types in the play money set I bought so I knew I wanted to have three dividers put in so I’d have four slots available. Like before I snagged a couple of bills and used them as placeholders so I could calculate where I wanted the new dividers placed before charging ahead. I then grabbed the excess piece of cereal box, that I had used to cut the first divider, and cut three more strips from it before taping them all down, first the one side and then flipping them over to tape the other side, so they were all secured to where I had marked them to be. After they were taped to the bottom I next taped the back of each divider to that first divider so they’d all stay upright. Before taping over the top of that junction I grabbed my scissors and trimmed the excess height from the dividers so they were all similar heights and then I secured them with more tape.
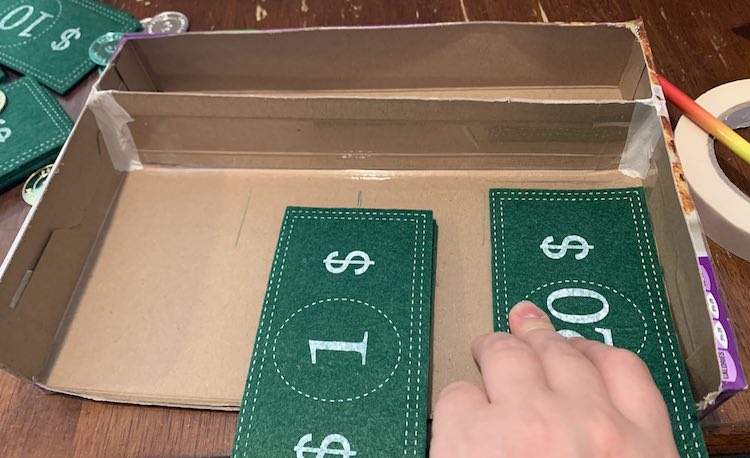
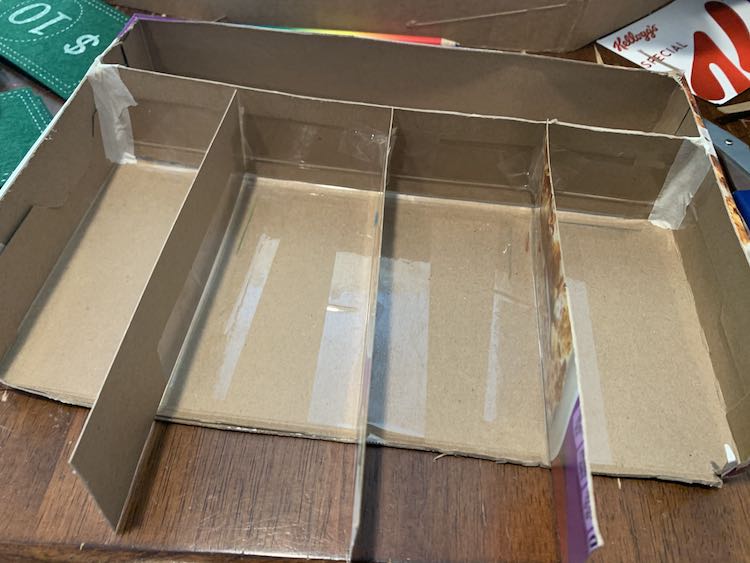
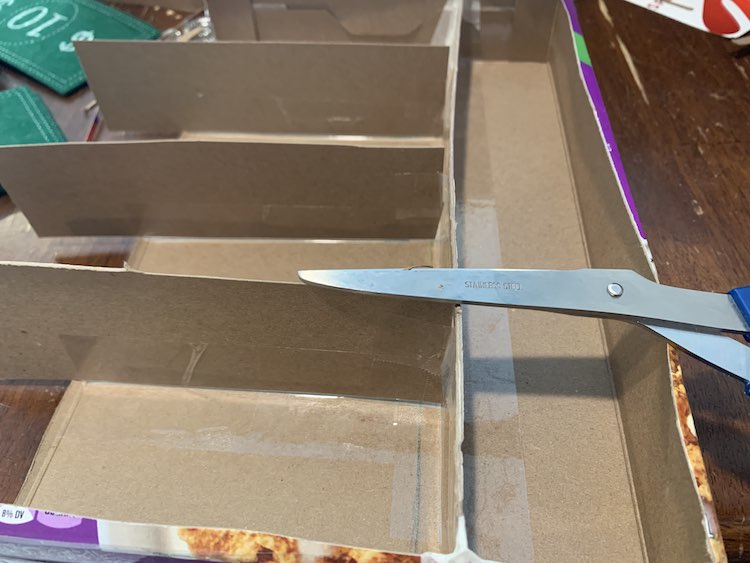
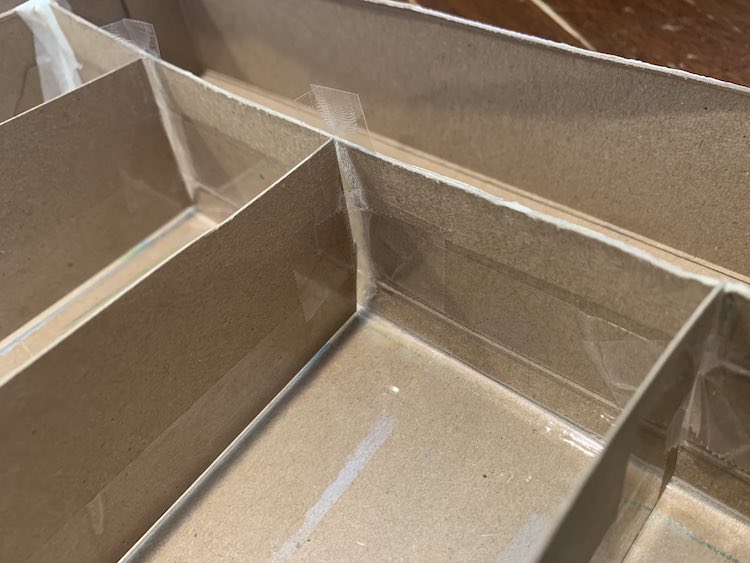
And with all the dividers taped and secure it was time to check if the organizer still fit in the drawer. I knew at this point that the dividers were too long to fit within the drawer’s width but I also knew that I wanted to wait until this point to trim them as the drawer was wider than the cereal box was and I didn’t want them to be too short. I placed the cereal box in the drawer at an angle, since it didn’t fit, and then trimmed the dividers in length until the organizer fit the drawer perfectly.
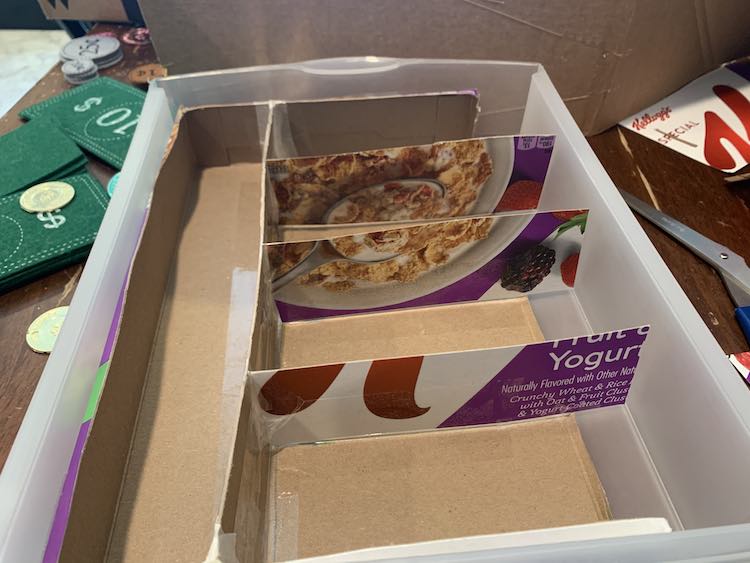
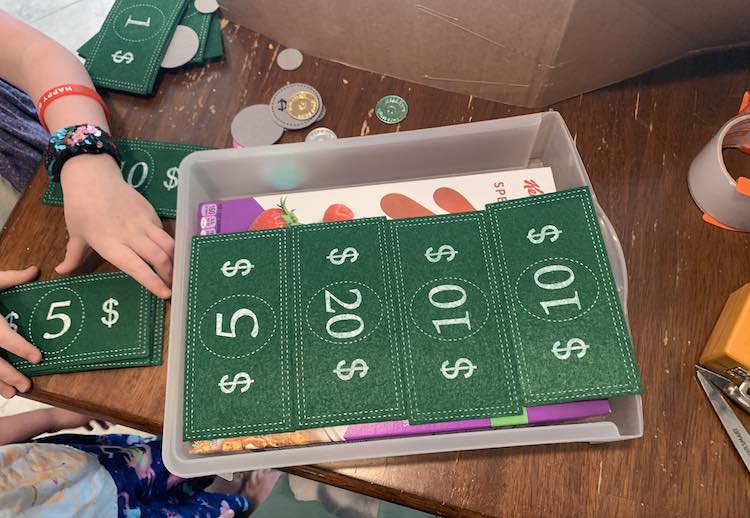
And the cash register, or upcycled cereal box organizer, was done! I placed all the coins into the larger enclosed sections, currently divided but later all mixed up, and gave each specific set of bills their own home in one of the four remaining sections. It works perfectly at an angle as it’s so easy to see each of the bill types when you pull open the plastic drawer.

And with that both upcycled cereal box organizers were complete! I’m so glad I thought of making my own custom organizer as it works amazingly on keeping my masks organized and I absolutely love how adorable the drawer looks for my kids’ kitchen set. And now the kids have easy access to their money whenever they want to sell their yummy creations.
I wanted to share these with you as, although super simple, they made my day to day life easier and I wanted you to know about them in case you were also looking for your own organizing solution for a particular section of your home. Let me know if you end up using this idea and if so what did you organize with it? I’d love to hear about it in the comments below. Hope your day is going well and you’re having a good week.
If you’re interested in getting any of my future blog updates I currently come out with a new one every Wednesday and share them to my Facebook page and Instagram account. You’re also more than welcome to join my email list located right under the search bar or underneath this post.