
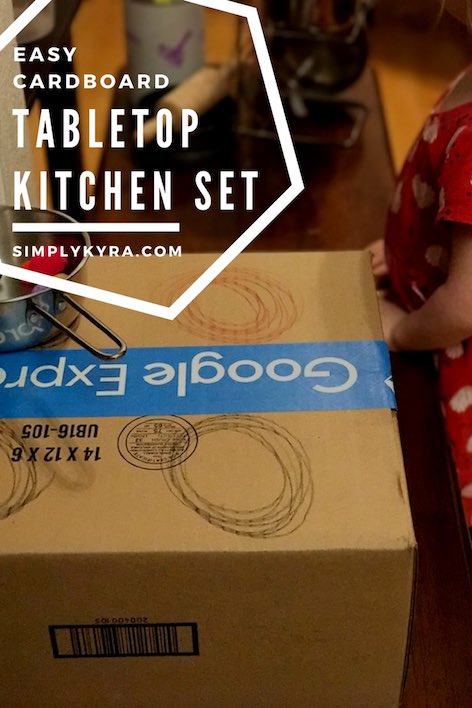
Easy Cardboard Kitchen Set

Back before I made a kitchen set out of an old side table when I was still debating on whether the kids would enjoy a kitchen set or not I came across a neat idea on Pinterest where you have a kitchen set that is completely contained within a plastic bin. You’d choose a plastic bin that’s the right size for play and storage then put all your pots, utensils, and play food inside the bin. What I really loved were the 2D burners and dials that were stuck to the lid of the bin. I don’t have the Silhouette that the people were using to cut out the stickers and I wasn’t sure how often the kitchen would be played with so I decided to hack my own with a cardboard box I had on hand.
Materials
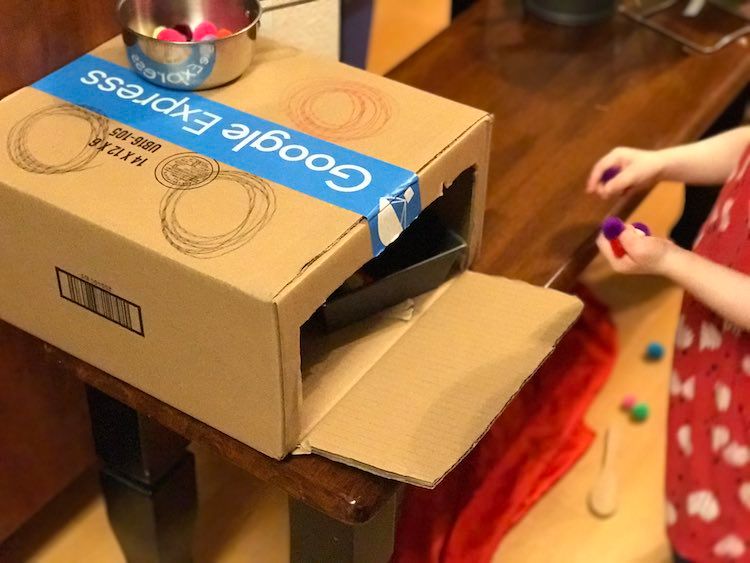
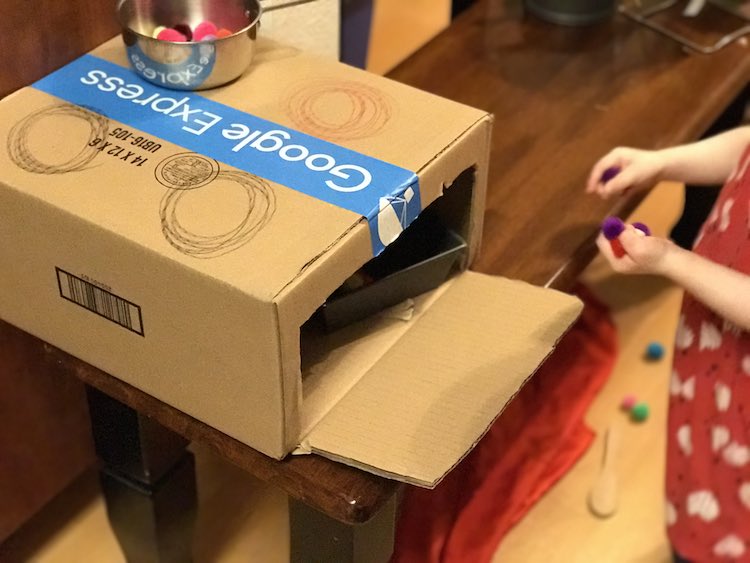
- Cardboard box – I used a short box so it would be perfect for an oven on the inside. If you have a taller box you could always add a cardboard shelf to the inside for two levels.
- Masking tape or something to close your box with
- X-acto knife or something to cut your box with for the oven door
- Sharpie, markers, or something to draw your burners and dials on with
- Kitchen play tools and food. Heres’s what we used then:
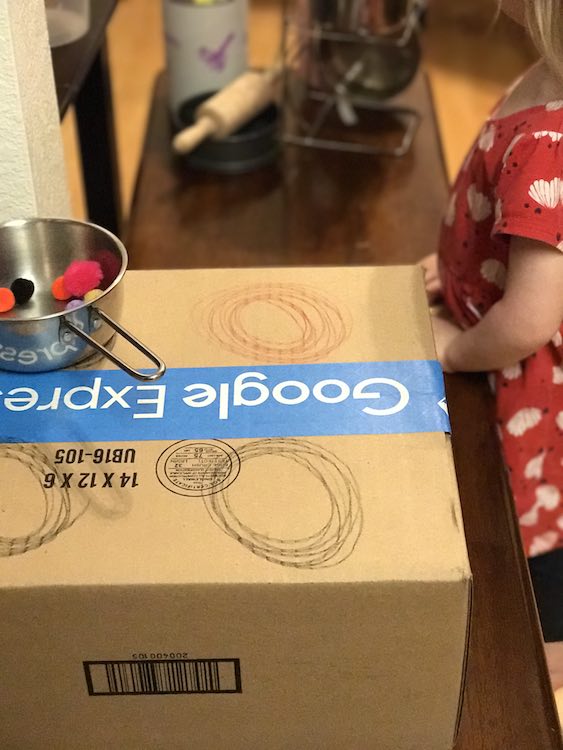
- Melissa and Doug pots and pans that came with a stand
- Set including rolling pin, loaf pan, and cake pans we got from a friend (Thanks Anna!)
- Dollar Tree plastic mixing spoons etc that I stored in an empty small oatmeal container I decorated
- Pompoms for food
I don’t have any in-progress photos of this but it’s pretty straight forward. First confirm that your pots and pans fit in your box if the lid is closed so you don’t go to all the trouble of making this and not having it be too short. I then started by taping my box closed. I decided to make the inside of the box be the oven so I cut an oven door on the front of the box by cutting three lines (top and both sides of the door) and then bending the newly created flap outwards. I then drew out my burners on the top of the box by making many circles. It doesn’t have to be perfect. I decided to use red for one of the burners and black for the others to emmulate one burner being on and the rest being off. You can also draw on a 2D handle on the oven door, decorate the door so you can see the ‘inside’ of the oven, and add dials. Your imagination is the only limit.
I can’t remember which Pinterest images I saw before I created this cardboard box oven but if you’re interested in the kitchen set in a box idea here are two website I just found that go over it.
- And Next Comes L – PACK AND PLAY STOVE {MINI DIY PORTABLE KITCHEN FOR KIDS} – They filled their plastic bin with kitchen stuff from the Dollar Tree (coming to $9.07) and then she used her Silhouette Cameo to add the 2D circle burners and dials to the bin’s lid.
- Printable Cuttable Creatables – PACK ‘N’ GO KITCHEN DIY TOY STOVE TUTORIAL + FREE SVG CUT FILES – This links to her version of the plastic bin idea. She came across this idea through someone else’s version where these bins were given away to a shelter at Christmastime so she decided to make the resulting svg files to create your own gas burners free. She also went on to create an svg file for a road/train tracks (free right now on April 23rd, 2018) and for a little town ($1.95 on April 23rd, 2018) that you can use if you want to change up the bin idea to something else.
I could see stacking several bins on a shelf with an image on the side so your kids know what inside and then they have the freedom of choosing which bin they want to play with, one at a time, based on the items inside they want: kitchen tools, vehicles, people, or whatever you choose to include.
I hope you enjoy this idea so you can take your kitchen toys to the next level. This idea is perfect if you have limited space or just want to try out the idea. Depending on how much time and effort you spend on it and your kids interest this can be a quick afternoon project or you can have the kitchen box hang around much longer to play with.
Depending on the age(s) of your kid(s) you could have them fully planing and decorating their own kitchen stove and oven. Maybe you could even pull out the paints. You can also protect the top of the stove with contact paper or packing tape… or just leave it as is so they can add to it whenever they want.
I hope you enjoy this idea and would love to see your finished version. Feel free to share in the comments below, through a post on my Facebook page, or tag me through Instagram. I hope you have an amazing day!
Did this save you time?