
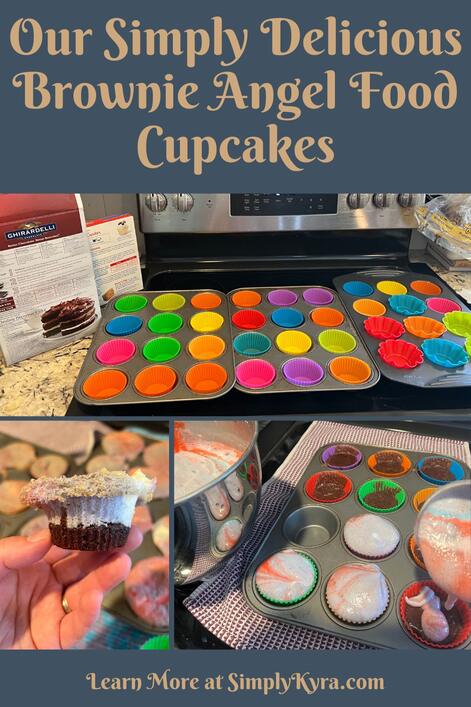
Our Simply Delicious Brownie Angel Food Cupcakes

Out of a joint birthday party this novel brownie angel food cupcake was born and they taste amazing! All you need to make this yourself are box mix brownies, box mix angel food cake, and whatever the box themselves say. In this case I also used muffin pans, cupcake liners, two eggs, oil, and water.
This year we chose to combine the girls' birthday parties together into one event. This led to a simple issue with the cupcakes as, for the past several years, Zoey has wanted angel food cupcakes while Ada's wanted brownies. I considered making both types but then pictured the chaos this might cause as kids decided which one they wanted, requested both, and/or changed their minds. I then realized I could just combine these two simple types to create a novel cupcake and this idea was born!
TLDR - How They’re Made
- Preheat oven to 325°F.
- Decide how many boxes you need for what ratio and total number of cupcakes. My final version was two boxes of brownie mix (filled a third full for each liner) and one box of angel food mix. This made three dozen cupcakes.
- Mix up the brownie mix according to the directions.
- Fill each liner a third full with the brownies.
- Bake for 10 minutes.
- While baking mix up the angel food batter according to the box. Optionally, add food dye to change its color.
- After the 10 minutes are up remove the cupcake tray from the oven and top each liner with the angel food batter.
- Put back in the oven to bake for another 30 minutes or until a cake tester comes out clean.
- Let cool. Warning: layers will come apart easier when hot
- Pack up for later or enjoy now.
- Optionally: top each with whipped cream and sprinkles.
Previous Iterations
If you're interested in the previous angel food or brownie pineapple cupcake iterations I've linked them below. That said, Zoey has had a differently dyed cupcake each of the last several years while Ada's stayed with pineapple brownies each year. Both types were always topped with freshly made whip cream using a whipped cream dispenser and then sprinkled with sprinkles right before served. Here are the links:
- Themed angel food cupcakes: Colorful and Simple LEGO® Themed Cupcakes
- Dyed angel food cupcakes: Super Simple Rainbow Colored Angel Food Cupcakes
- Brownie mix experiment with a comparison between pineapple or normal add-ins: Pineapple Brownie Cake
- Extending the previous experiment to cupcakes: Simple Halloween Themed Brownie Cupcakes
Backstory
When I first came up with this idea I did what I normally do and looked online. I didn't see any examples where box mix brownies were combined with angel food cake except for generalized 1-2-3 microwavable mug cake recipes. For the mug cake itself you'd combine angel food cake mix with a box of something else, in this case brownie mix, and store it so whenever you crave cake you only need to combine three tablespoons of the mix with two tablespoons of water in a mug, mix it up, and microwave it for one minute. Hence the 1, 2, and 3 in the title. As a quick aside I used to make this before the kids were born though I think I used chocolate cake mix combined with the angel food cake. Anyway here's a link to the recipe on The Hidden Pantry. Other than this example the only other similar recipe I came across was a from scratch chocolate angel food cake recipe (allrecipes) that included cocoa powder for the chocolate rather than using brownie mix.
I decided this was a unique idea that may work as there was that chocolate angel food cake so why not experiment and try it out. We had two boxes of angel food cake and four bags of Ghirardelli brownie mix at home so I might as well grab one of each and see how it goes. But first I took my idea to the girls and asked what they thought of it. They were immediately on board... although Ada asked about pineapple brownies and Zoey then requested pineapple angel food cake. I jumped online again and found this two-ingredient pineapple angel food cake recipe on Betty Crocker so considered making half with pineapple and half with none. Unfortunately, at the time of the experiment, I was both rushed and out of pineapple and so decided just to skip the pineapple and, without the trial, decided to leave it out for the party too. I'm still curious how it may tast with the pineapple and might try it later. That said, if you beat me, I'd love to hear how it turned out so comment below!
Cupcakes
Quick note: I made a trial version of these brownie angel food cupcakes before making the party version of them so you'll see photos from both cases combined here. The first time I made two cupcake pans and dyed the angel food cake batter purple while the second time I used three pans and attempted to dye it rainbow which became brownish-is when over mixed and then, when I added more red dye, pink-ish.
Planning
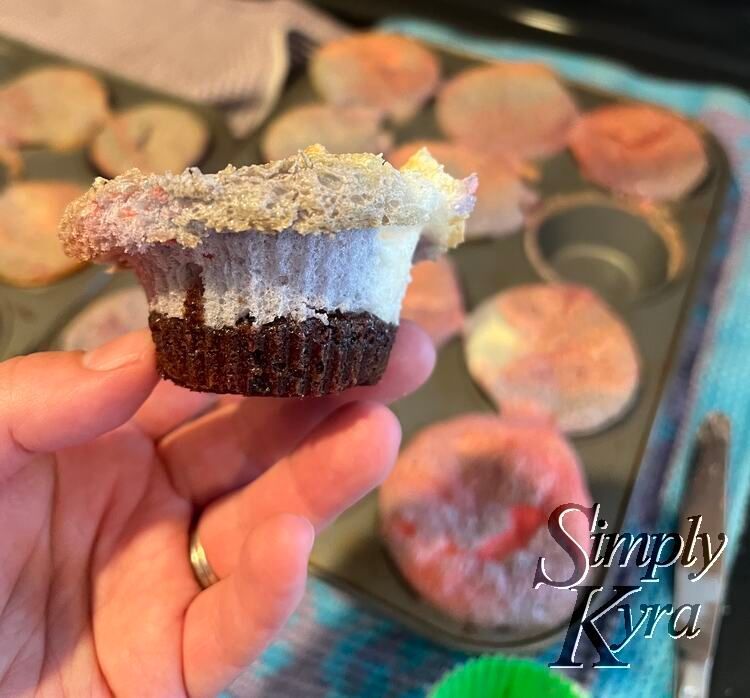
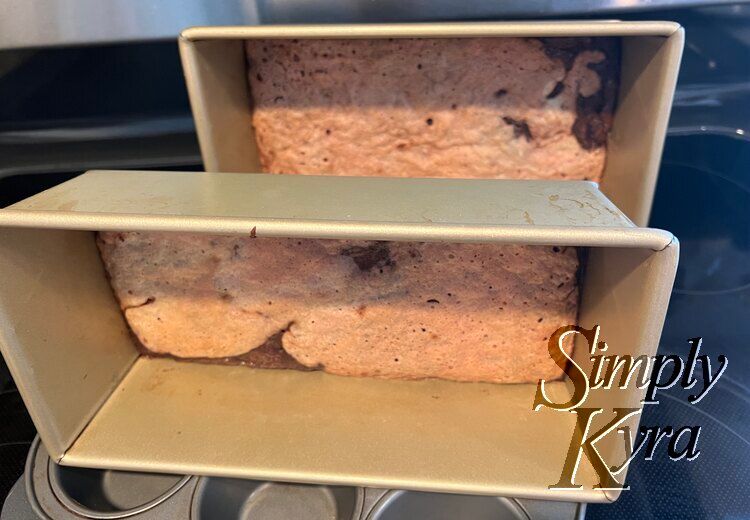
To decide on the oven temperature and bake time I looked over the directions on both the boxes. After comparing the two I realized the angel food cake had two different temperatures listed based on the pan type, 325°F or 350°F, while the brownies needed about ten more minutes to bake. As such I decided to go with 350°F for the oven, poured the brownie batter in the liners first, baked it for ten minutes, added the angel food cake batter, and then finish baking it for about half an hour. I tried this the first time using two cupcake pans along with a loaf pan, for the excess batter, in the oven and found it done the first time I checked it (can't remember the exact time) but then discovered that the two layers of the cupcake separated easily when taking it out of the liner. For the final version, for the party, I used less brownie batter in each of the three cupcake pans and lowered the oven temperature to 325°F. Otherwise I did the same thing, just at a lowered temperature, by adding the angel food cake and baking it for 30 minutes. It worked perfectly. That said, the one test one we opened right away still had the layers separating, but, once cooled, the cupcakes remained perfectly stuck together.
The first time I used one box of each mix and tried to half the layers. The next time I used two boxes of brownie mix (filled each liner a third full) and one box of angel food mix which made three dozen cupcakes.
How They're Made
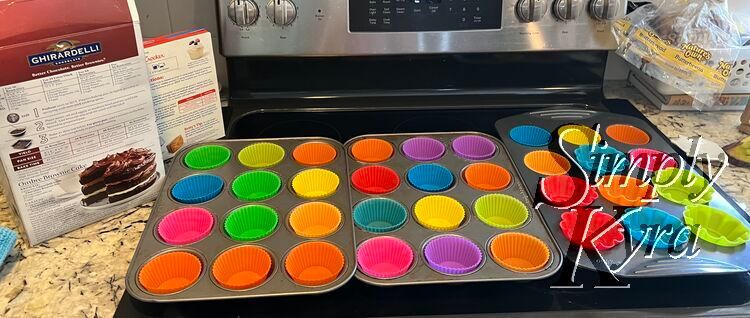
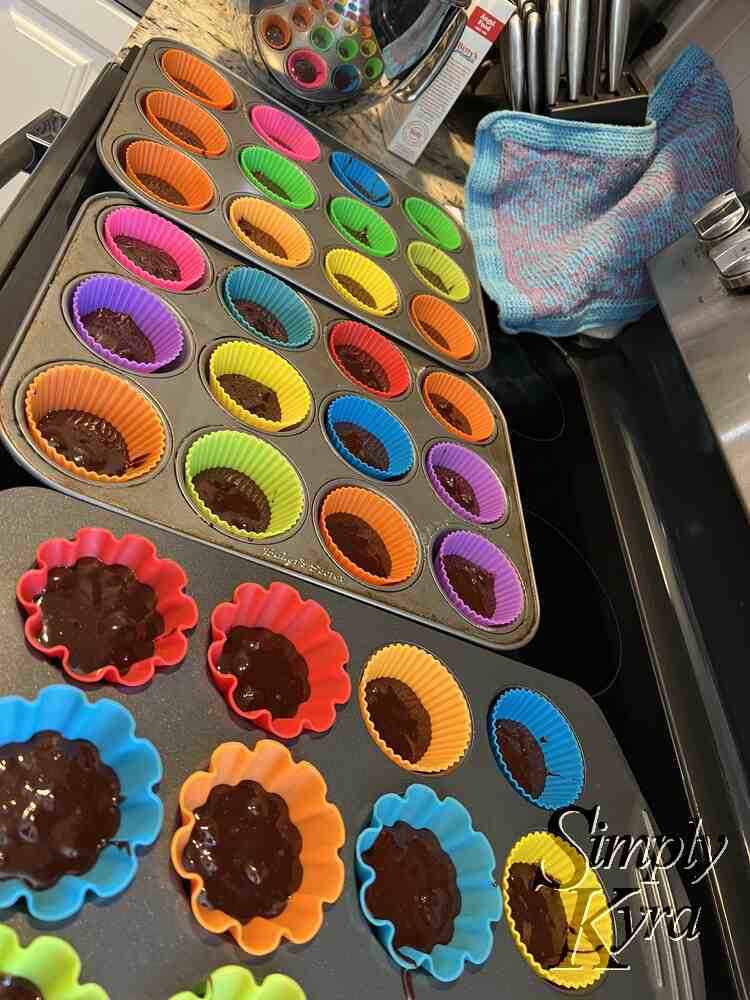
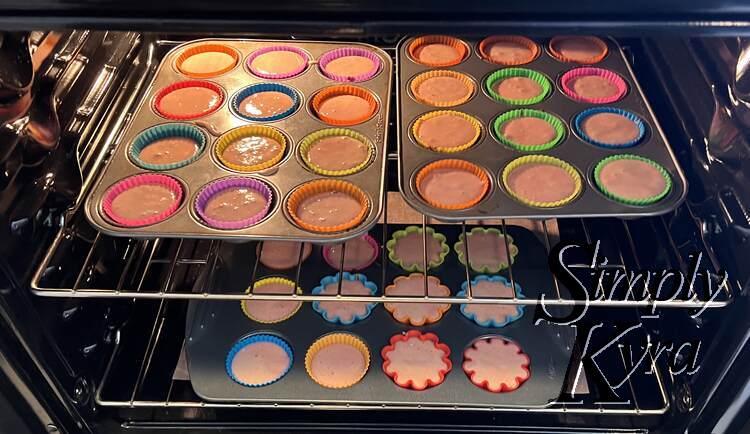
After gathering all my ingredients and tools I preheated the oven to 325°F, lined the cupcake pans, and followed the directions to make the brownie batter. The second time around I made up two bags of the Ghiradelli mix so I needed to add two eggs, two thirds of a cup of oil, and two thirds of a cup of water before mixing it with my paddle. Once the batter was mixed together I filled each liner only a third full and put them into the oven to bake for ten minutes. This gives the brownies just enough of a headstart to finish baking at the same time as the angel food cake layer and firm up enough to hold it in place.
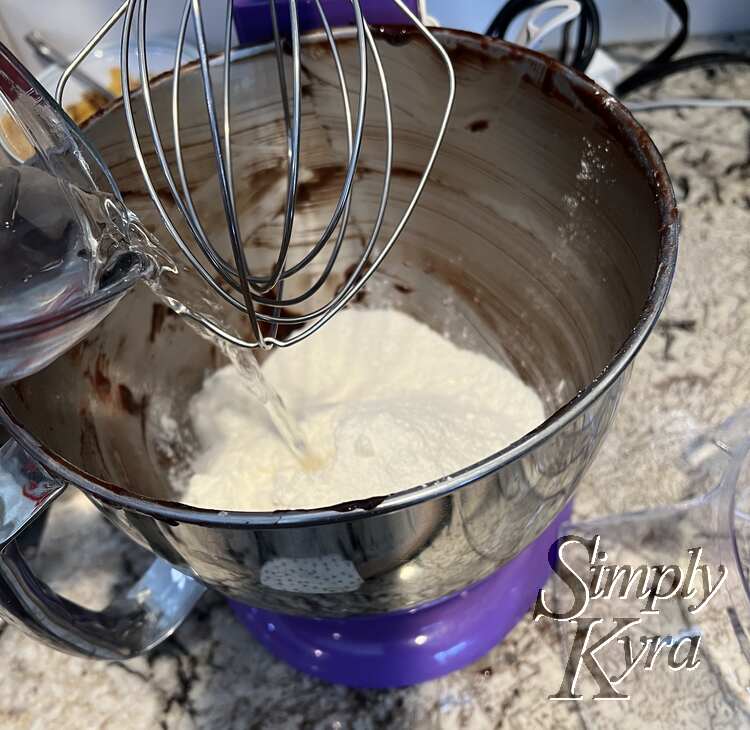
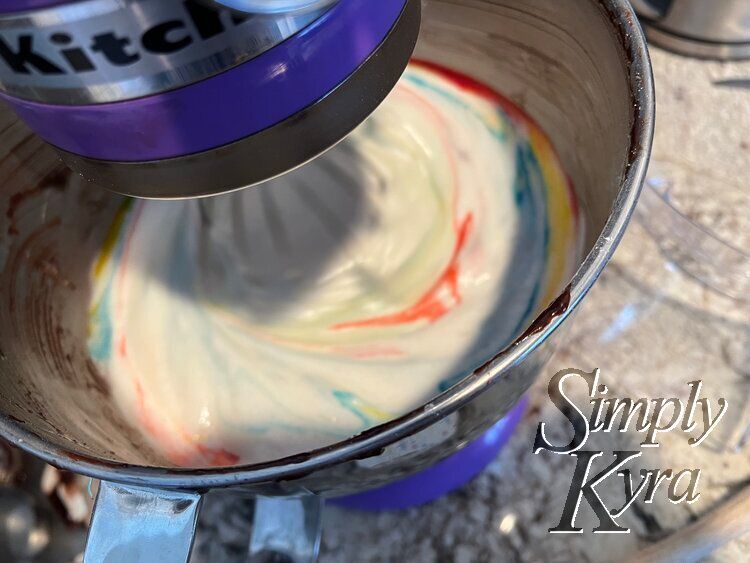
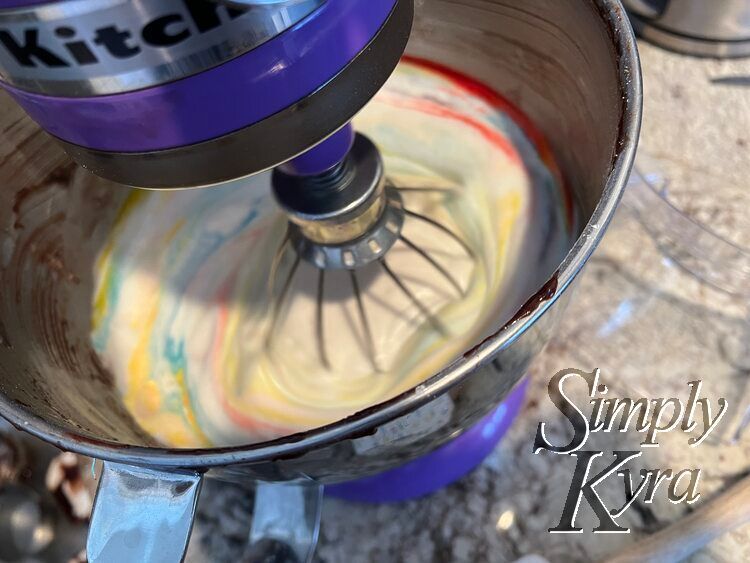
While the first layer was baking I started on the angel food cake batter. Since the layers were going to be combined anyway I didn't worry too much about the stand mixer bowl being dirty and simple switched from the paddle to the whisk attachment. This mix only needed me to add water but I decided to also add some food dye and give it another mix to, hopefully, get some pretty marbling. Overall, for the party, I went too far, combining the three primary colors to get brown, and then fixed it by adding more red. That said, there were some pretty photos for the first purple batch and some pretty progress photos before the batter went brown, included below, if you're interested in seeing them.
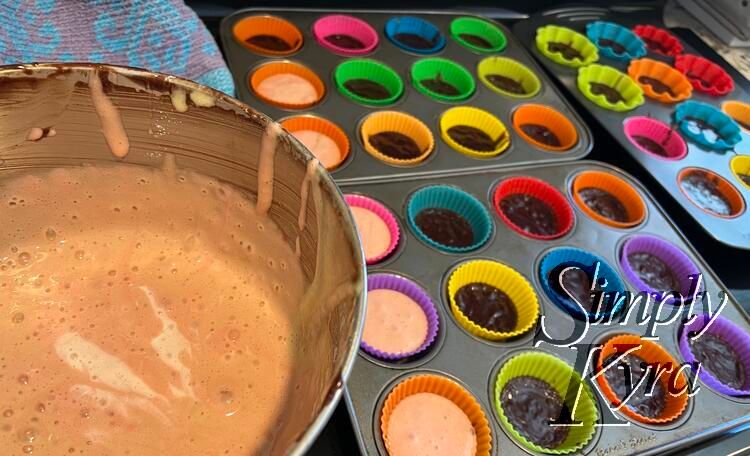
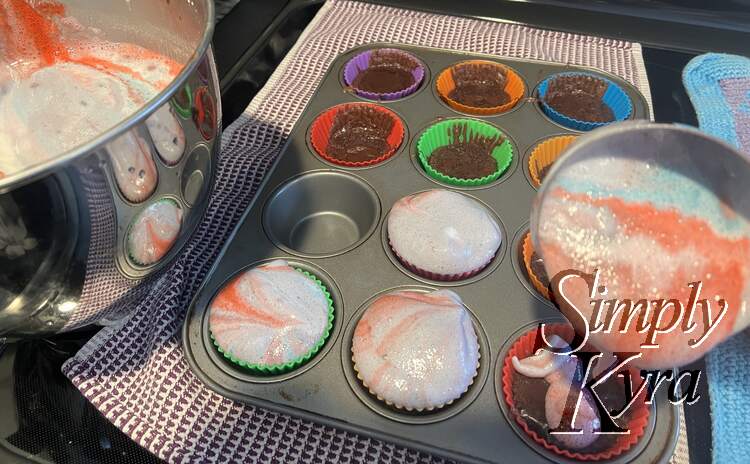
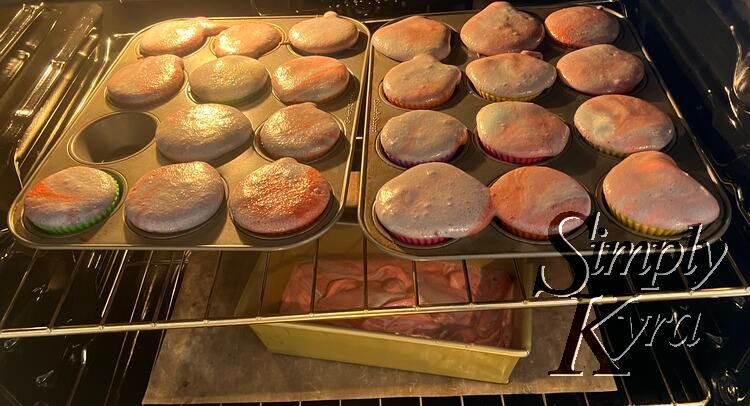
Once the ten minutes were up I moved the pans out of the oven, brought over the mixed angel food cake batter, and carefully poured the angel food cake over each of the warm cupcakes. The first time I overfilled them but the next time, for the party, I made sure to keep some headspace so they had room to grow. Once I finished filling them I put the pans back into the 325°F oven for 30 minutes and, later on, used a cupcake tester to confirm that they in fact done.
The Finished Cupcakes
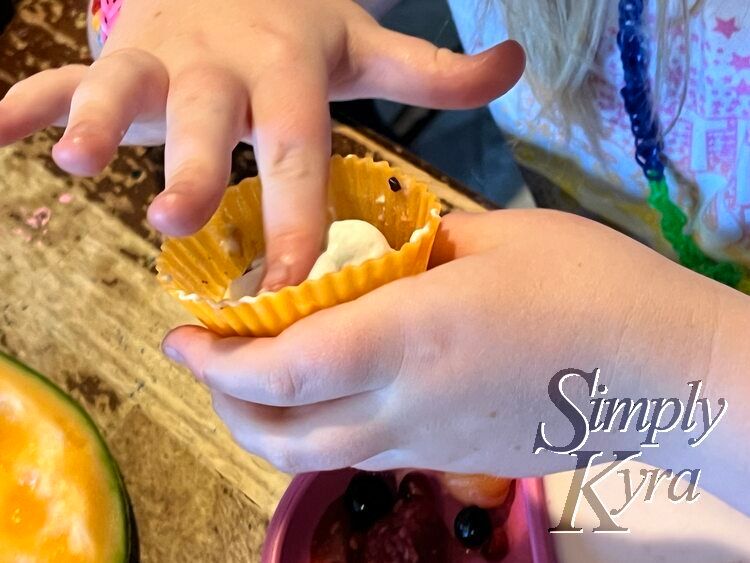
The first time around I had filled the liners all the way so they were tougher to remove from the pan but bigger. That time around the angel food cake layer easily split from the brownie bottom. As the oven was set to 350°F that time around I chose to keep the same timeline (bake the brownies for ten minutes, add the angel food cake, and then bake together) and instead decreased the temperature to 325°F. The second time around I filled the liners less full and, after cooling, the layers stayed together fine.


Party Time
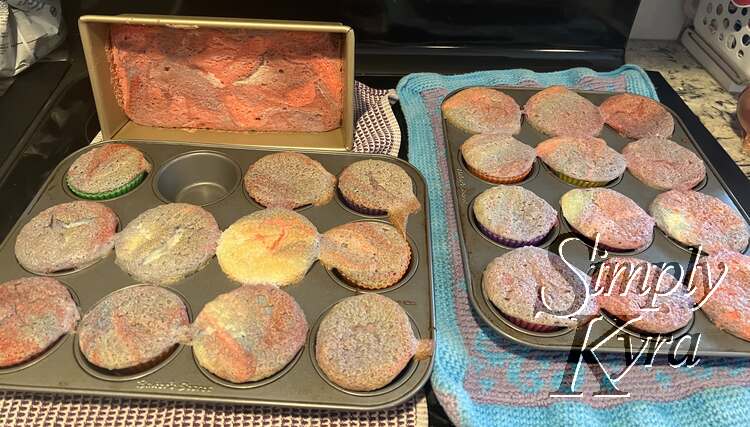
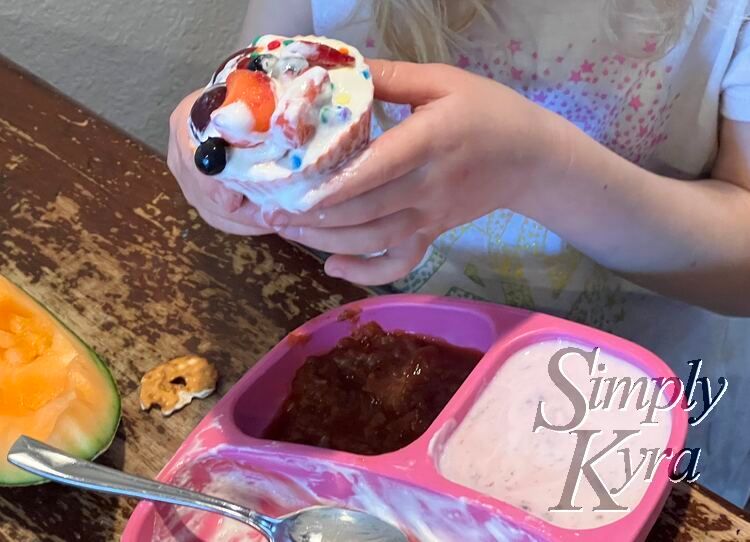
And those were our brownie and angel food combination cupcakes. After the cupcakes cooled I put them into a large container, kept them in the fridge overnight, and left them out of the fridge during the party. I pre-filled and whipped the whip cream in a whip cream dispenser and brought it along in an insulated bag with ice packs inside. I also brought birthday candles, a lighter, and two containers of sprinkles so when it was time for dessert I could easily set it up. My normal process is bringing all the stuff out, creating the birthday cupcake using whip cream to hold up the candles, lighting the candles, and singing Happy Birthday. Since this was a combo party I did this twice, once for each kid, and then, once done, made a cupcake for each of the other kids. At previous parties we've had the kids line up for the cupcake as we churn them out. This time around the party host gave out clean plates and I went around to put a single cupcake on each plate. Matt, my husband, followed behind me with the whip cream and a friend brought up the rear with the sprinkles. All the extra cupcakes were then laid out so the adults could come up and decorate their own. I don't have any final images of these cupcake but I do have some photos of the last cupcakes we brought home after the party. That meal was random with yogurt and party leftovers. We each had a cupcake along with the last of the whipped cream and sprinkles. The kids loved it and these were created.
Angel Food Stand Mixer Colors
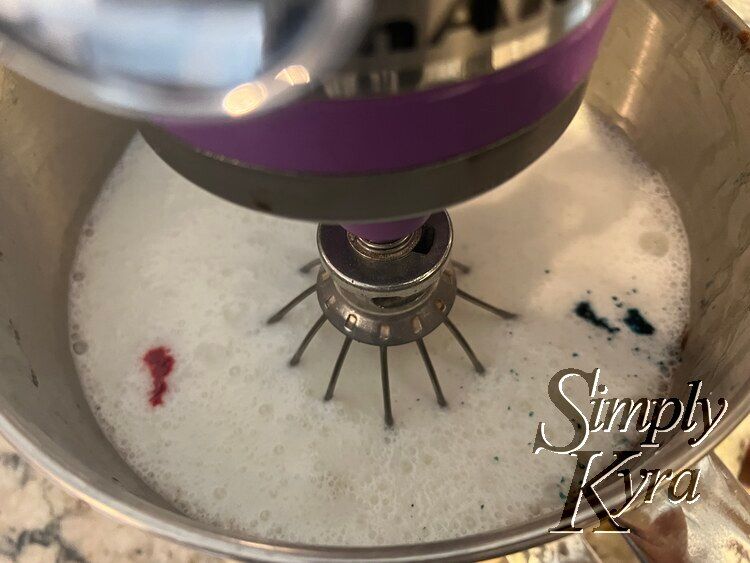
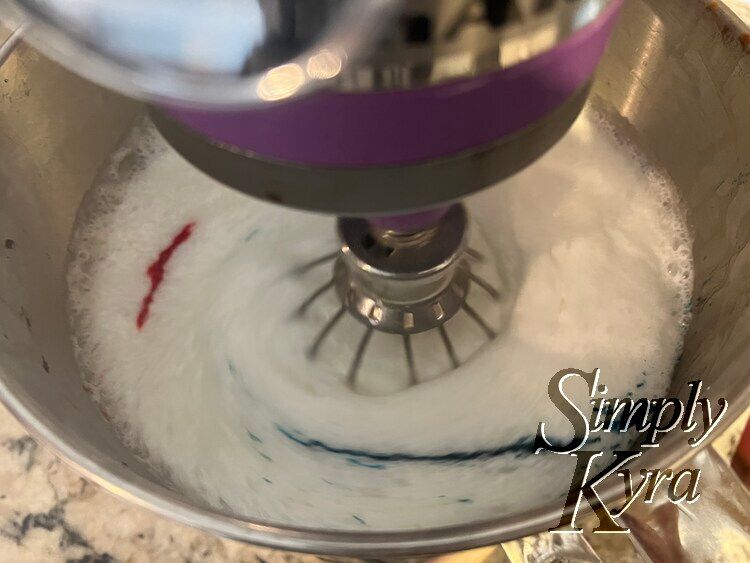
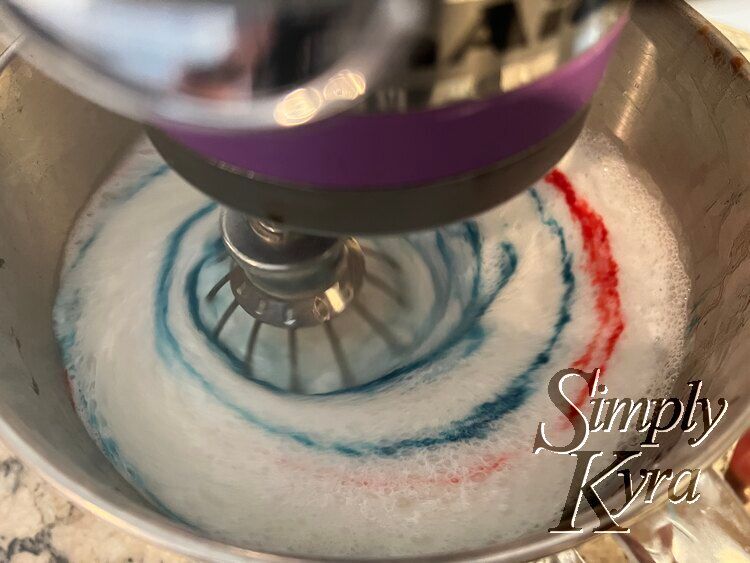
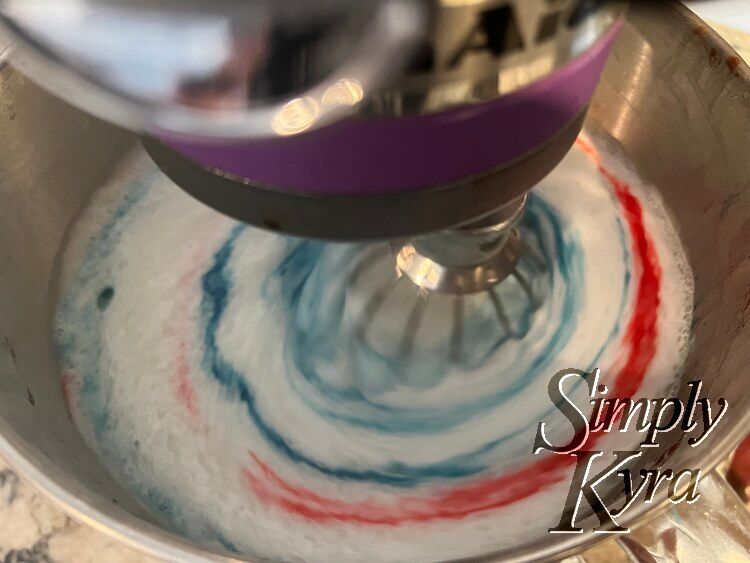
Before ending this post I had to share the gorgeousness of the angel food cake's food dye marbling with you. The first set is from the experimental batch where I added a couple drops of red to the left side and a couple drops of blue to the right. Once I turned on the stand mixer the colors swirled along and eventually turned the white batter lavender. I stopped the mixer early enough that I still had the odd streak of white, blue, and red in the lavender colored batter and the final cupcakes and cake looked gorgeous!

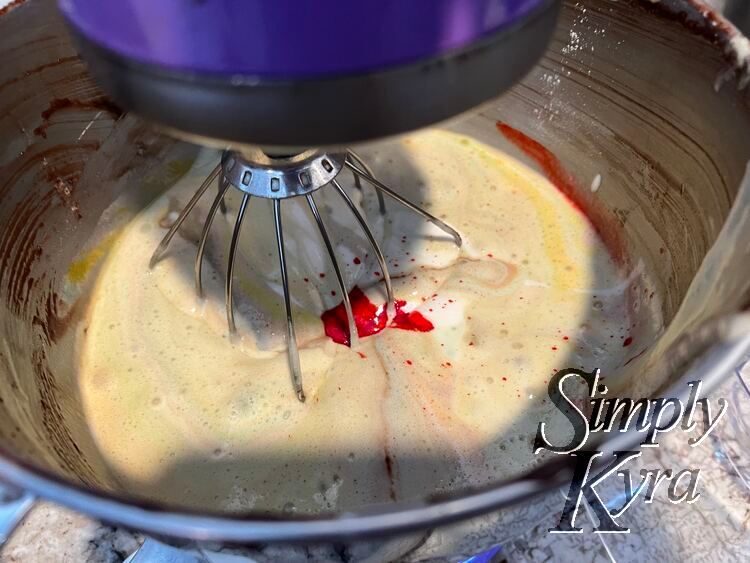
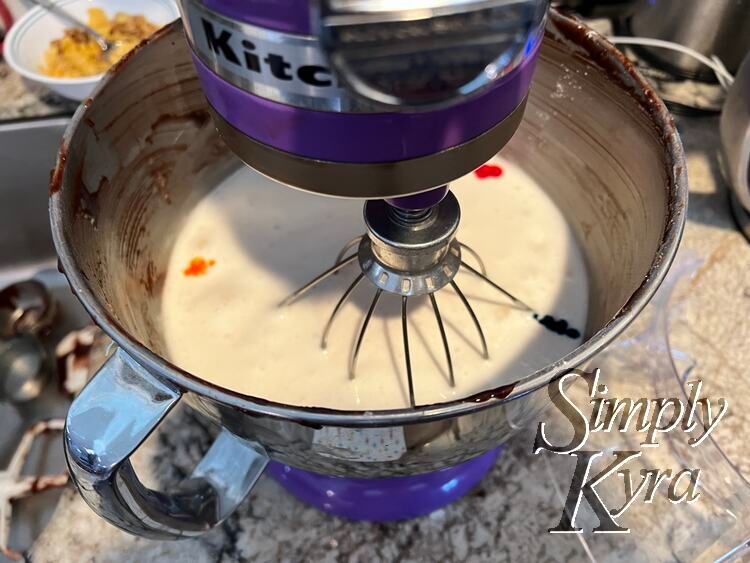
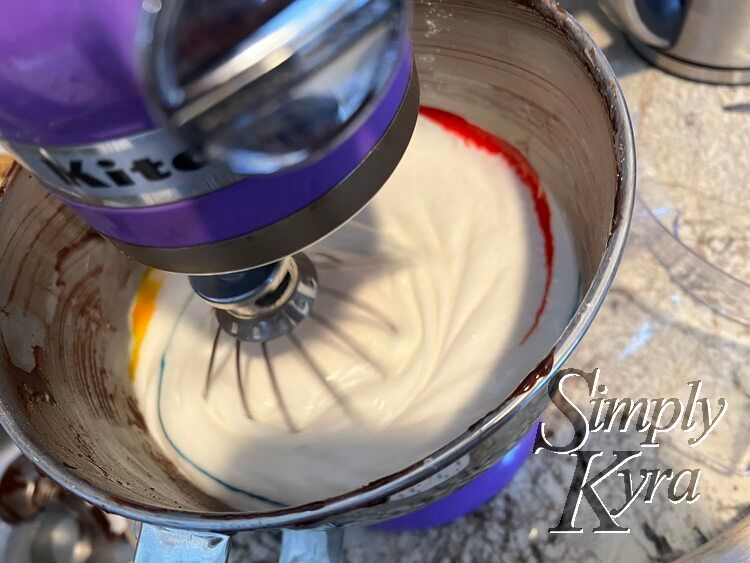
With the success of that first batch still hovering over me I decided to go bigger for the party and added a couple drops of each of the three primary colors: red, yellow, and blue. I chose to do this as Zoey's current favorite color is rainbow but I flew too close to the sun, ran the stand mixer too long, and created brown although I had hoped for more marbling and less mixing. I was on a time crunch and this was my last box of angel food cake mix so I attempted to fix it by adding more red dye hoping to overcome the yellow and blue turning it a bit more pink-ish. That said, I did get some cool photos before this happened which I figured I'd also share.
And those were our brownie angel food cupcakes! They tasted incredible and I can definitely see making them again.
If you do make these I'd love to hear how it went, what you changed, and how they turned out in the comments below. Did you bake them for a specific theme? How did you alter them to fit that theme?
I hope you have a great one!
If you’re interested in getting any of my future blog updates I normally share them to my Facebook page and Instagram account. You’re also more than welcome to join my email list located right under the search bar or underneath this post.
Did this save you time?