
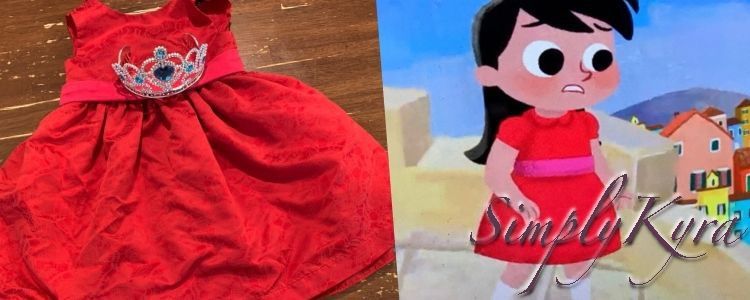
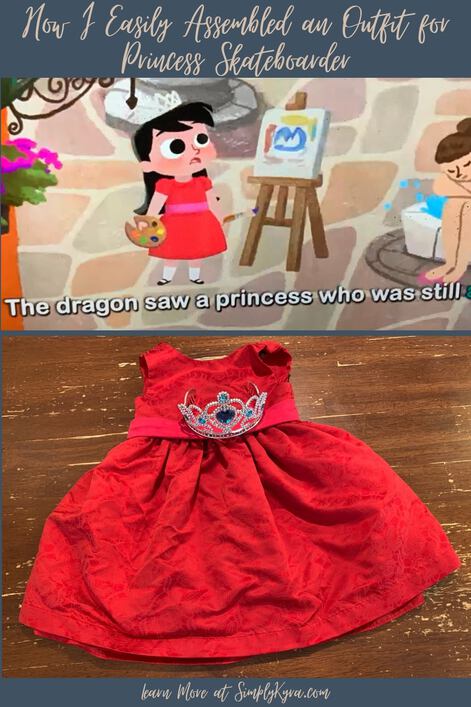
How I Easily Assembled an Outfit for Princess Skateboarder

This year Zoey decided to be Princess Skateboarder for Halloween rather than the jack-o-lantern and pumpkin costumes from the previous two years. If you aren’t familiar with Princess Skateboarder we came across the character years ago through a two to three minute adorable video in the Homer app (you can watch it here). After looking online I saw there didn’t seem to be any other Princess Skateboarder costumes for me to emulate so I knew I needed to share our version of the character with you just in case you’re looking to do the same.
I want to share all the related Princess Skateboarder posts with you in one easy to locate area in case you want to jump around through them. Right now this is just text as this is the only post I’ve published but as I publish more I will add the links. This also means you can see what the upcoming posts will be about. So without further ado here are Princess Skateboarder’s
- Cardboard-Made Skateboard
- Paper Mache Helmet and Accessories
- Dowel and Felt Sail
- and Final Overview of the Costume
I wanted to start out with Princess Skateboard’s outfit as that’s the base layer of the costume. I somehow thought this outfit would be the easiest part of the entire costume but then I started planning it and made the outfit way more complicated than it needed to be in my head. I ended up simplifying this drastically but will share the ideas I had in the meantime in case one of those syncs with you more than it did with me.
The Dress
I don’t know why but the dress itself was the most difficult part of the entire costume to decide on. For some reason, maybe the large pile of unfinished projects in the corner of my sewing room, I didn’t feel like sewing it up at all and couldn’t stick with a single idea or pattern to use. I was much more excited with the accessories for the costume rather than the outfit itself. As such I kept switching between several drastically different ideas including purchasing a store-bought garment, making a similar but way easier outfit, and mashing up several patterns to sew up the most perfect Princess Skateboarder outfit. After switching back and forth so many times I ended up combining a little bit of sewing with a previously bought dress that Zoey hadn’t worn for years and I had assumed didn’t fit her anymore.
Before going over what I did do I wanted to share some ideas I passed on first in case you’d prefer to use one of those.
Sew It Up
When I was debating sewing the dress I decided to crowdsource some ideas and asked in the PDF Pattern Stitch and Chat group on Facebook for recommendations. Through that I realized the collar I wanted to create was called a Peter Pan collar and also got copious amounts of suggestions including:
- the Hallå Agnes Swing Top & Dress
- Patterns for Pirates was mentioned specifically for their rainbow dress
- the Alice Pleated Dress through Bella Sunshine Designs
- Violette Field Threads‘ VFT Penelope as it has both a collar and sash
- a list of collared dresses through Little Lizard King
- Puperita apparently has quite a few dresses with Peter Pan collars including the Juliette
- and the Facebook group Below the Kōwhai was linked to with the Kea top specifically recommended as it has a peter pan collar option
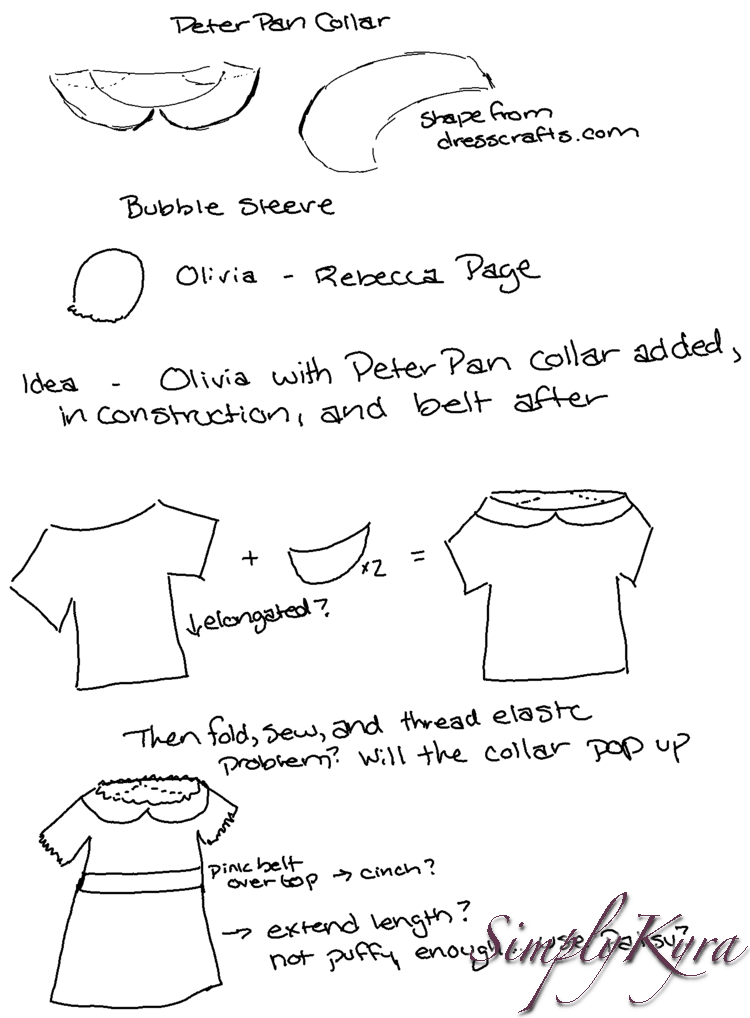
At the height of my sewing plan I considered using the Rebecca Page Olivia pattern as, although it didn’t have the Peter Pan collar or swing skirt, it did have the puffed sleeves and the girls both absolutely love the Olivia, with the Patsy skirt mashup, as a nightgown so I figured it could become her favorite set of pajamas after Halloween and be worn for years to come. I then started debating lengthening the bodice of the Olivia and/or using the skirt from the Patsy dress so the dress itself would be longer and/or fuller. Either way I could make a standalone pink sash to use as a belt that would, ideally, cinch the waist a bit and lend the appearance of a fuller skirt to the dress even if it was just a lengthened Olivia top rather than including an actual skirt. That way, in the future, Zoey could choose to wear both together, wear them with different garments, or just ignore the pink sash. For the Peter Pan collar itself I looked online and found a free tutorial with pattern through DressCrafts. As the Olivia neckline is large as you need to make a channel and cinch it in with elastic I considered, as a cursory plan, extending the collar’s length and then sewing it to the Olivia neckline before the fabric is folded over, sewn down, and the elastic is added. This would give the outfit the right collar to go with the right sleeves; however, I worried that the elasticized neckline would cause the collar to pucker and pop up too much.
I kept switching between sewing up this comfy option and mashing up several patterns so I could get the perfect buttoned or zippered woven dress with the right amount of bubbled sleeves, Peter Pan collar, and slightly puffed skirt. I then decided on something else so I never did figure out which patterns I’d use and/or combine in this case.
Buy It
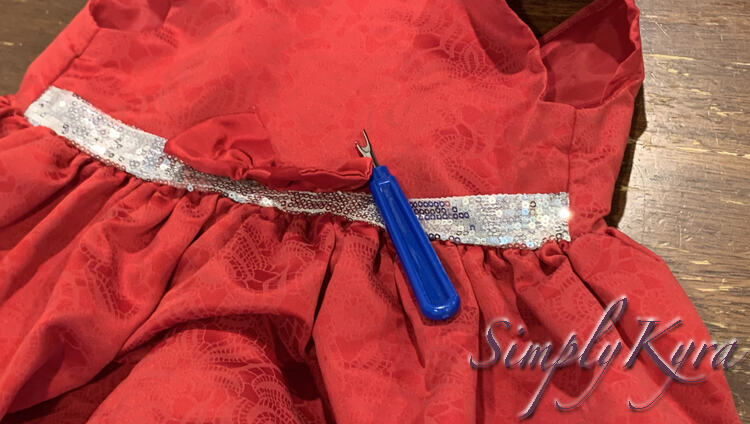
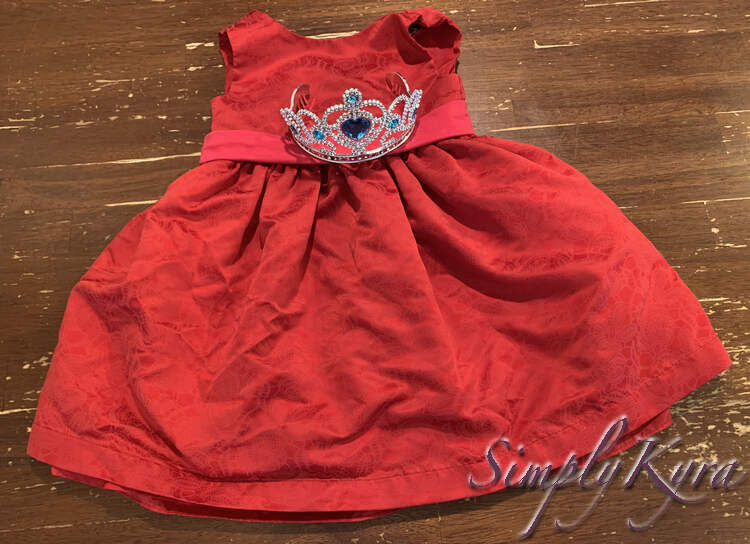
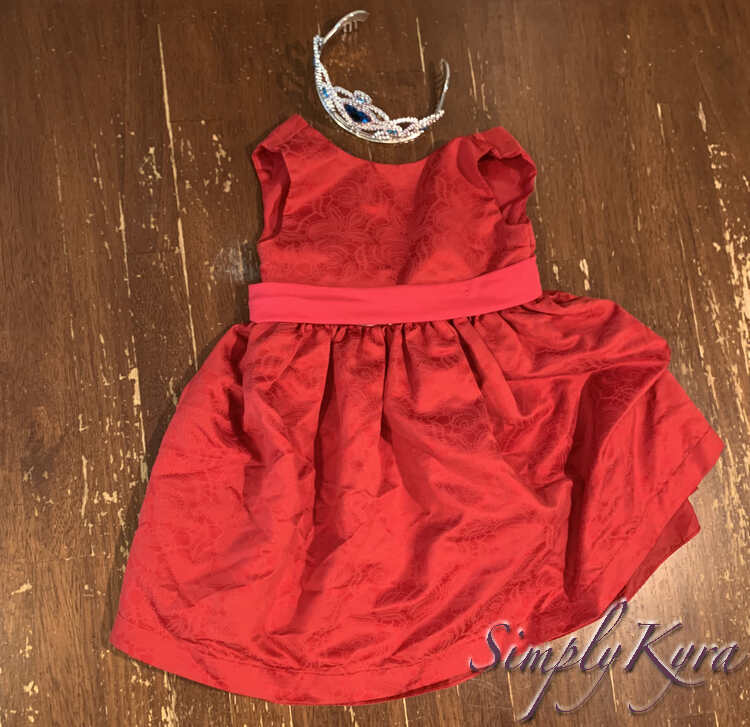
When first deliberating over buying the costume I started out by hopping onto Costco’s website and although they had a selection of fairy, witch, mermaid, and unicorn costumes none of them came in a solid red color. After that I kept looking over the selection on both Target.com and Primary.com, but none of their dresses matched what I wanted as none of them had a peter pan collar or bubbled sleeves. I did; however, come close to picking one out through Target but then realized it only came in toddler sizes and although the waist measurement worked with Zoey I worried that the dress itself would be too short for her in addition to the lack of puffed sleeves and collar. I then realized there was no point in buying a dress if the closest option ignored most of the points I wanted it to include. Also the fact she sized into the toddler sizes made me consider the red dress we had used in her firetruck costume three years ago. I had considered it briefly, noticed it’s size, and then tossed it into our giveaway pile without trying it on Zoey. I decided to pull it back out and have her try it on. After confirming with Zoey that the dress did indeed still fit comfortably I asked if it would work as Princess Skateboarder’s. At first she said no because of the bow over the sparkly silver sash but once I promised to remove the bow and hide the sparkles with pink she loved the idea of using this dress regardless of the missing Peter Pan collar and puffed sleeves. As long as Zoey’s on board with the outfit I know we’re golden! This also seemed perfect as over the last three years I had considered adding a permanent pink sash to this dress to turn it into the Princess Skateboarder’s outfit anyway and never got around to it.
And with that the most difficult part of this costume was figured out!
The Pink Sash
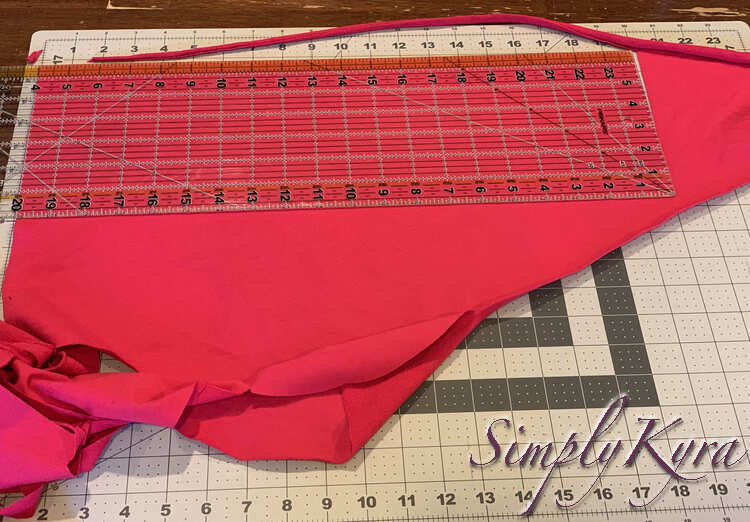
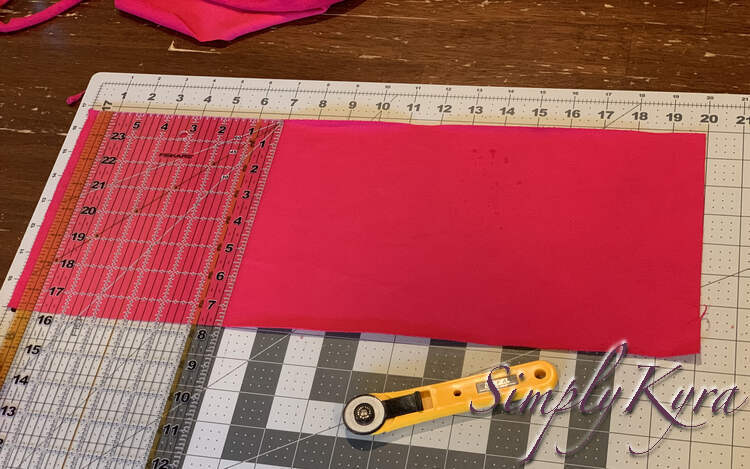
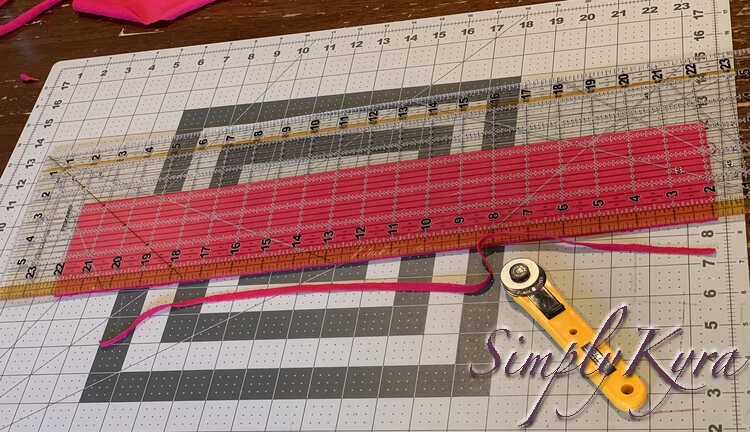
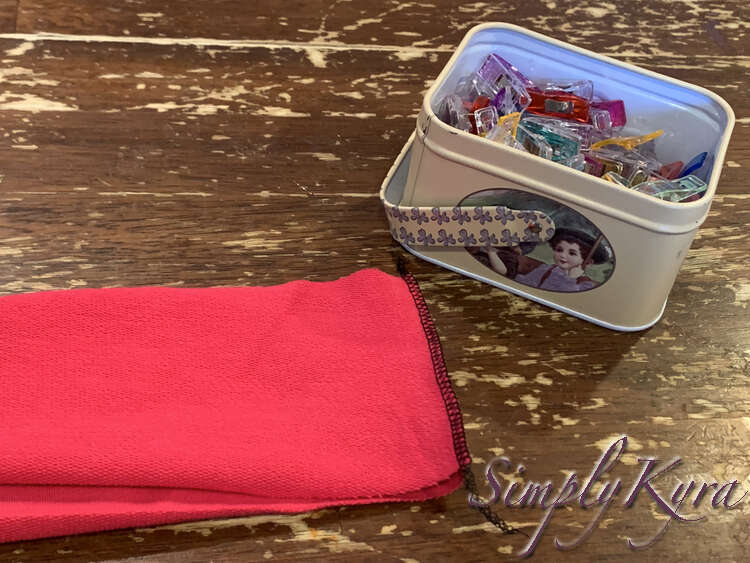
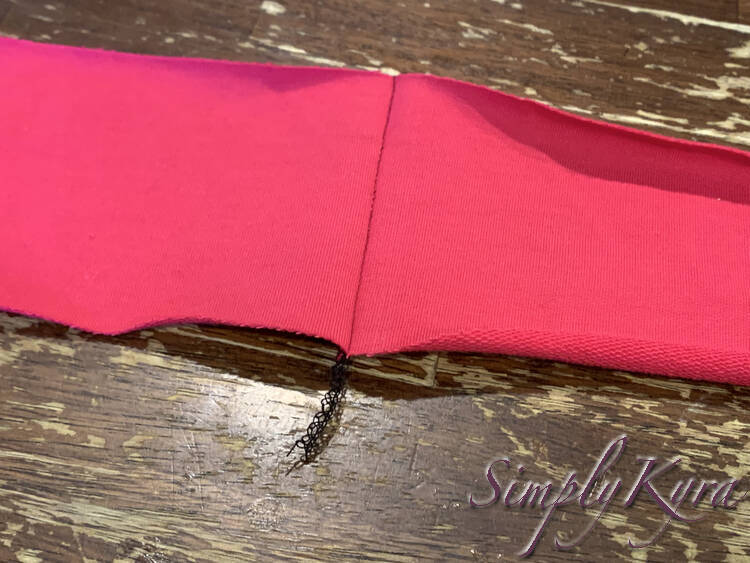
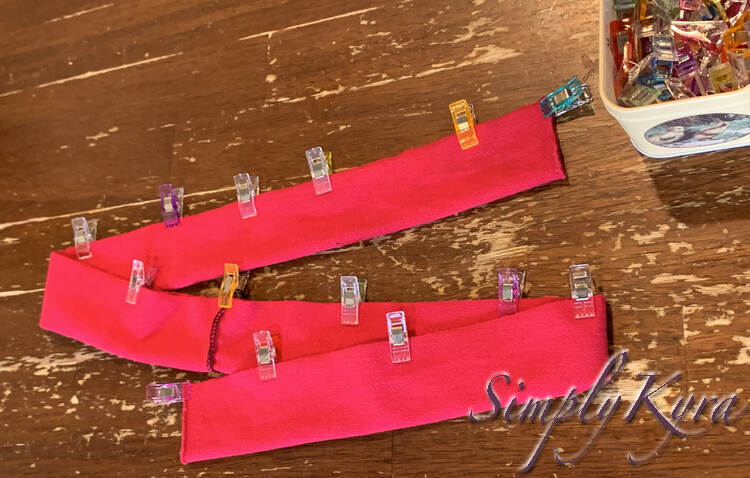
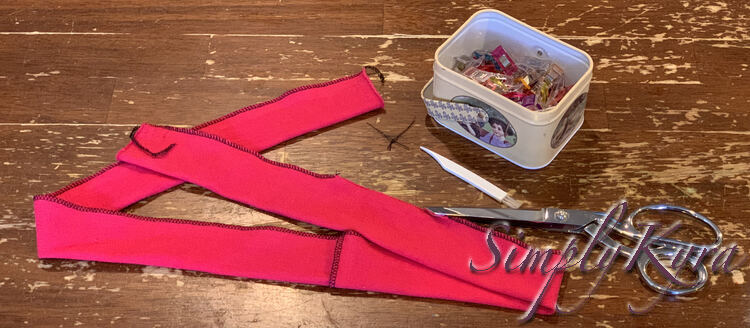
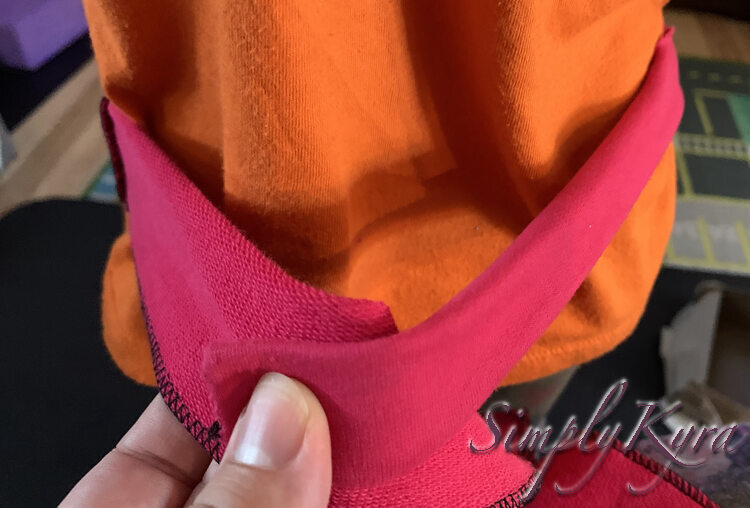
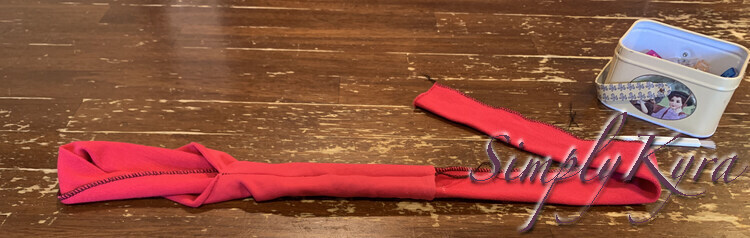
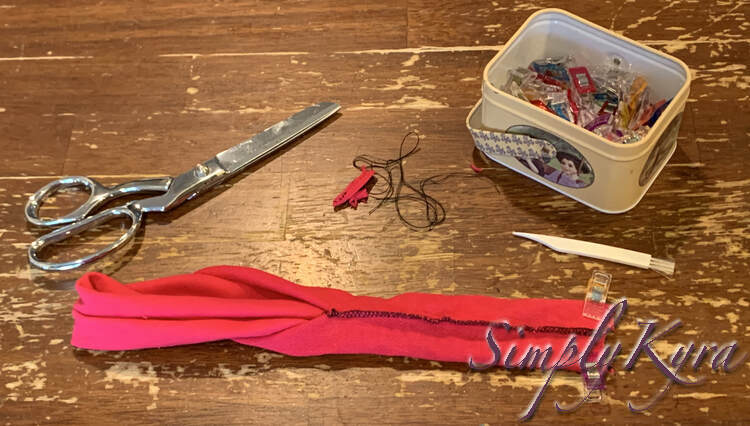
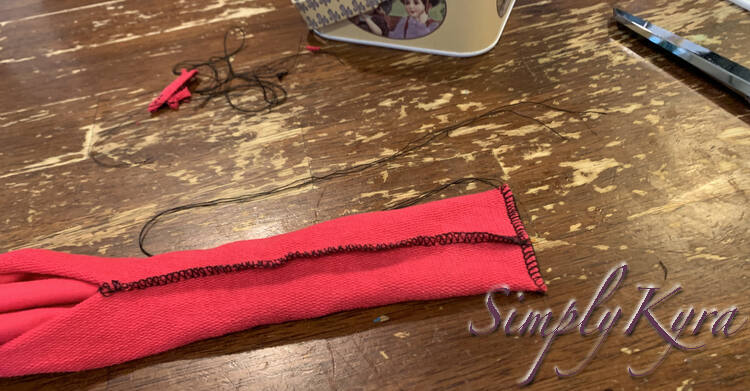
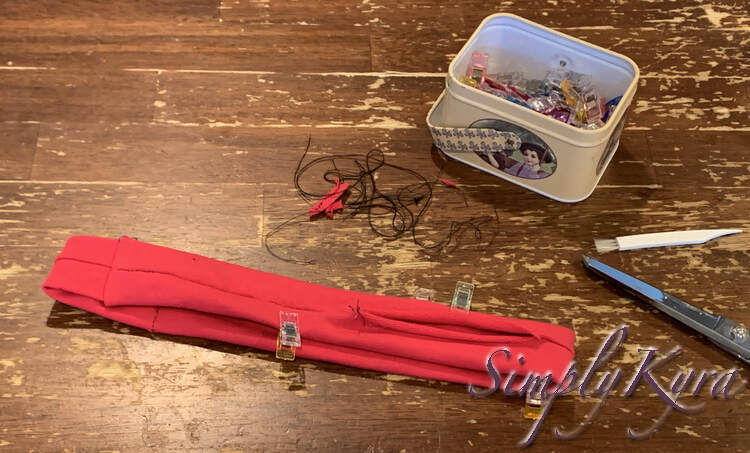
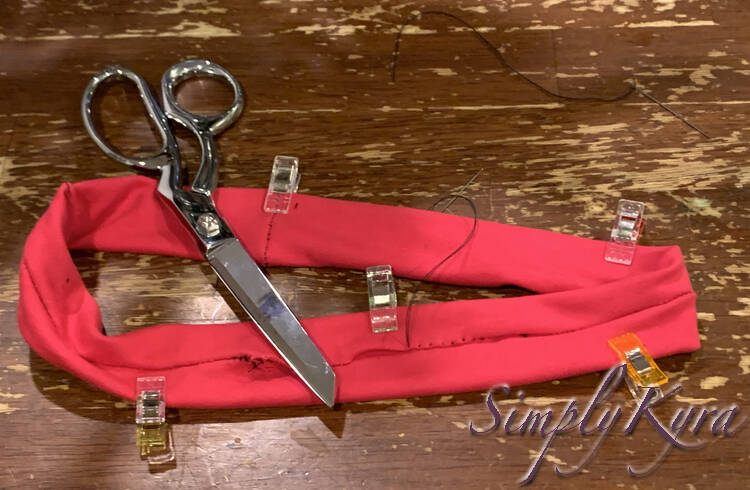
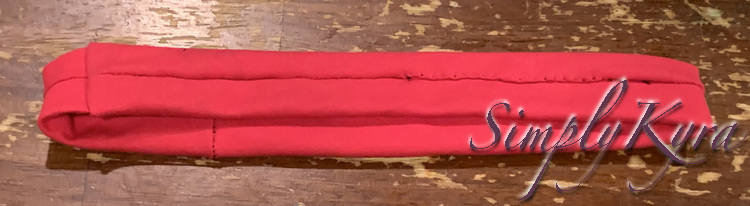
Going into this I knew we’d probably end up having to add a pink belt or sash to Zoey’s Princess Skateboarder outfit. With the red dress now decided this was now a sure thing. I considered sewing a long flat strip of pink woven fabric, like the sash in the peppermint swirl dresses, and simply tie it around Zoey’s waist to keep it in place whenever she is dressed as Princess Skateboarder. Then I remembered I didn’t have any pink woven fabric but I did have some leftover pink knit remnants from an outfit I had cut out for Ada and although it wasn’t that stretchy I figured I could use that to make the sash. As there weren’t a lot of remnants left I chose to make a simple loop of fabric that we can easily pull over Zoey’s head and use as a belt to cover the silver fabric. For now both the dress and loop are separate pieces but if the sparkly silver front shows through when the loop shifts I plan to use some thread to tack the two together to keep it in place over Halloween and thus still be easily removed if needed in the future. And without further ado here is how I hacked together the pink loop in case you’re also looking for something this simple:
Rest of the Outfit
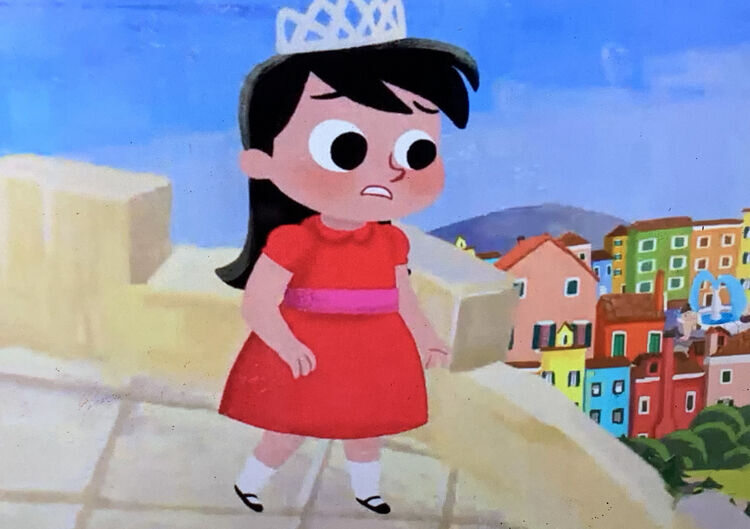
At the beginning of the Princess Skateboarder video the princess is wearing a crown with blue gems in it. By happenstance, when I was last at the local Dollar Tree, I found a single crown that happened to have blue gems in it. I figured for a dollar why not and grabbed it in case Zoey wanted to act out the story or wear the crown with the dress in the future. As to the rest of her outfit the Princess in the story wears white socks with black buckled shoes. Zoey doesn’t own buckled shoes and I figured I’d rather have her comfortable so, closer to Halloween, I plan to have her pick out which pants, socks, and face mask she wants to wear with her costume and pair the entire outfit with her normal day to day running shoes. This way she’s comfortable doing whatever we end up doing for Halloween.
With the lack of puffy sleeves and Peter Pan collar this final outfit doesn’t fully match the Princess Skateboarder costume I had planned but I figured when paired with the skateboard, armor, and other optional accessories the costume would be apparent to anyone who has ever previously watched the video.
And with that the outfit for Zoey’s Princess Skateboarder Halloween costume is finished. If you’re interested in making this costume yourself I plan to post about the rest of her costume accessories before Halloween including how I made the skateboard, sail, helmet, and other accessories. After Halloween is over I’m planning on showing all the parts of the costume together in a single post. I will add links to this section as each future post goes live.
Have you made or will make a Princess Skateboarder costume? If so how did it go? Where did you buy your dress or which sewing pattern did you use if you made it yourself? If this is anything like the last two Halloweens Zoey might end up wanting to be Princess Skateboarder next year too and by then this dress will definitely be too small so I’d love to have a better plan in place in case that comes to pass. Feel free to share your version in the comments below. I hope you’re having a great day.
If you’re interested in getting any of my future blog updates I currently come out with a new one every Wednesday and share them to my Facebook page and Instagram account. You’re also more than welcome to join my email list located right under the search bar or underneath this post.
Did this save you time?