
Quiet Book Page - Zipper Fun

For Ada’s quiet book I wanted to incorporate zippers into one of the pages. Since I was making several pages for their new quiet books I decided to keep it simple and attach several zippers with a design to reveal underneath. Before starting the page I had attended a Fabmo sale and so had several zippers and fabric samples in my stash that I was looking forward to using and this directed how the page would be laid out.
Materials
Items I bought through Fabmo or from before
- Fabric swatches
- Zippers
- Thread
Specific items I bought off of Amazon
- 108″ Unbleached Muslin Natural Fabric by the Yard
- Pellon Fusible Thermolam Plus White Fabric by the Yard
Like the reverse side of this page, weaving a pie, I started out with a rough outline on how I should make my page. Instead of sketching out the final picture like I did with the pie I instead wrote out the order of operations in making the page.
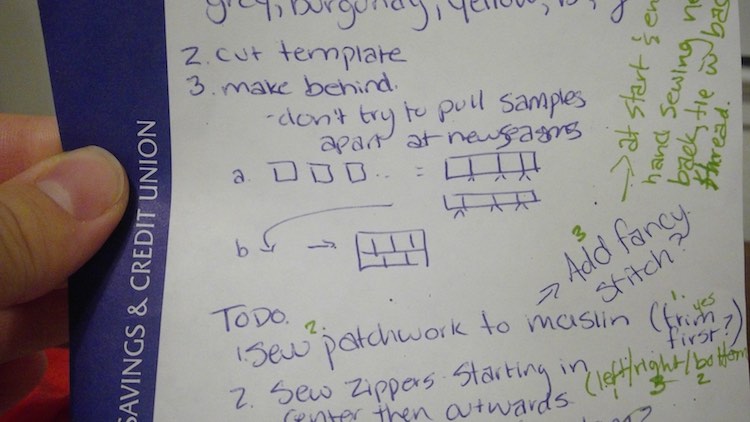
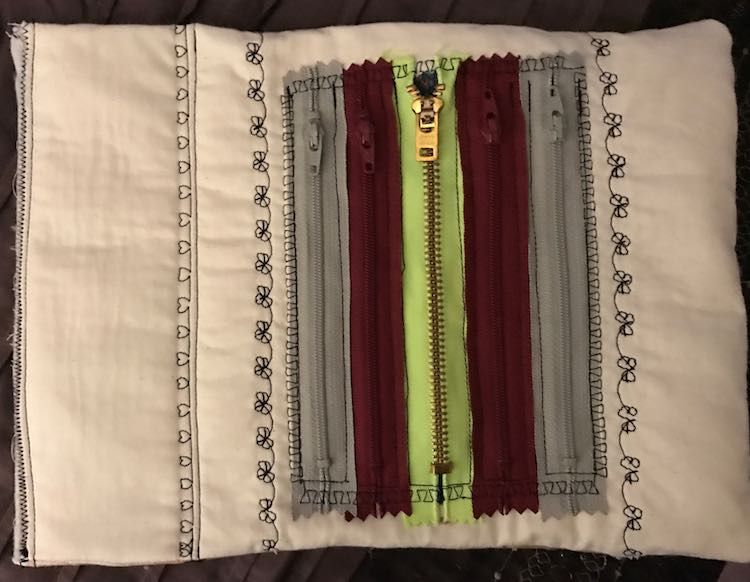
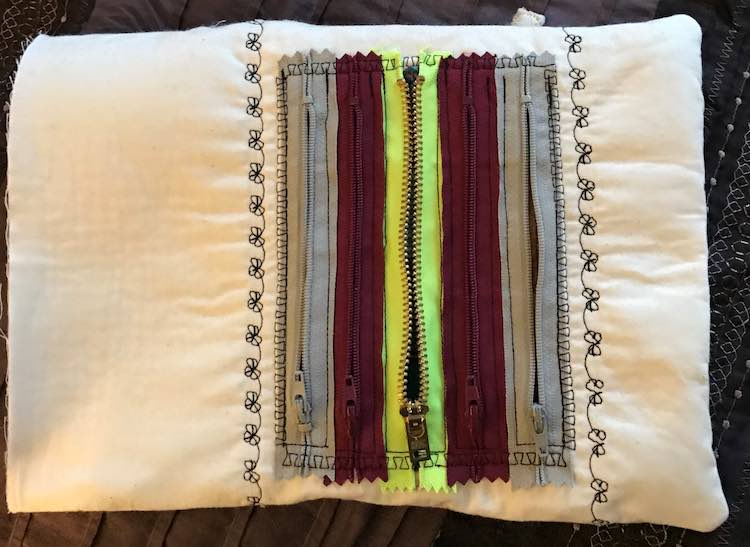
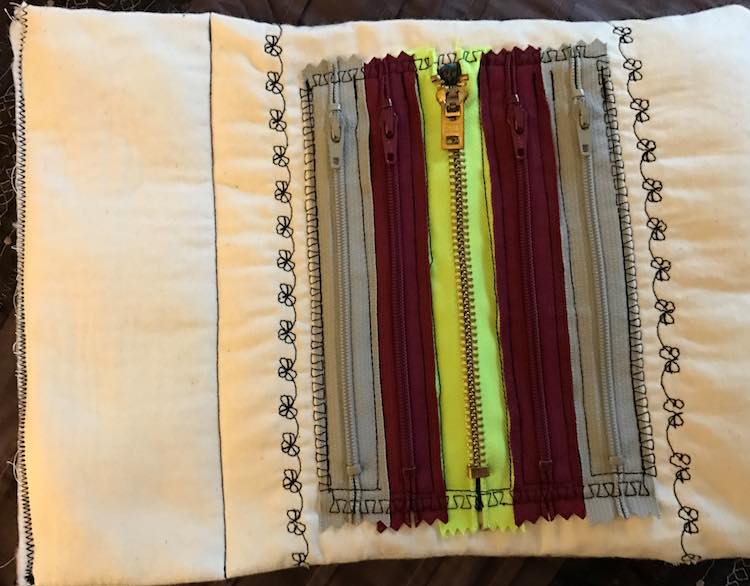
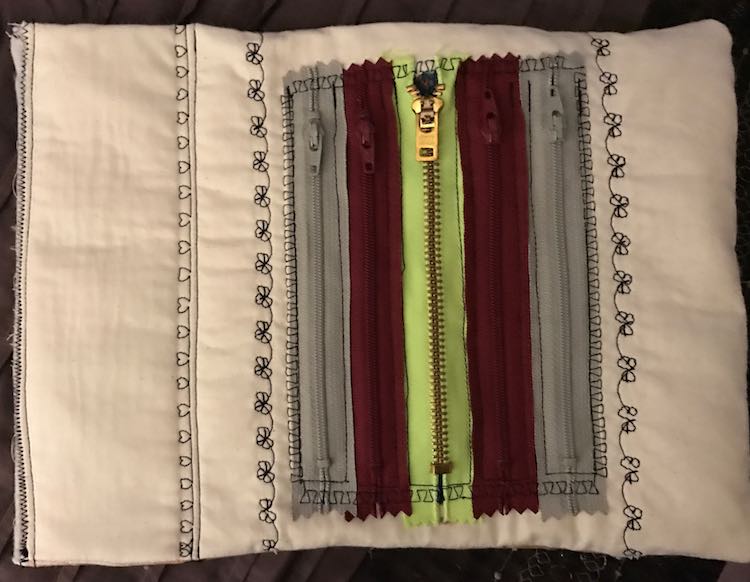
I started by going through the zippers I had on hand and then choosing which ones I should use and which order. I ended up picking five zippers in total: one unique neon yellow one for in the center, two burgundy zippers for either side of the first, and two grey ones to go on the outside. Just make sure they are similar lengths to each other unless you want to build up the height. I was going to sew the zippers together first and then attach them to the page but realized then you could peer underneath each one into the other zipper area and so decided to sew each zipper directly to the quiet book page. Because of that choice I measured the width and height of the zippers as a whole so I’d know what size to make the hidden area underneath the zippers. I made sure to measure the zipper width with no overlap (max width 5″) and again with the maximum amount of overlap (min width 3.5″) along with the zipper’s height (7″) so I’d know what the range of sizes in the hidden area could be. I then created a template out of excess cardboard so I could compare the fabric samples easily to know if it was too large or too small. You could easily measure them instead but I liked the quick comparison.
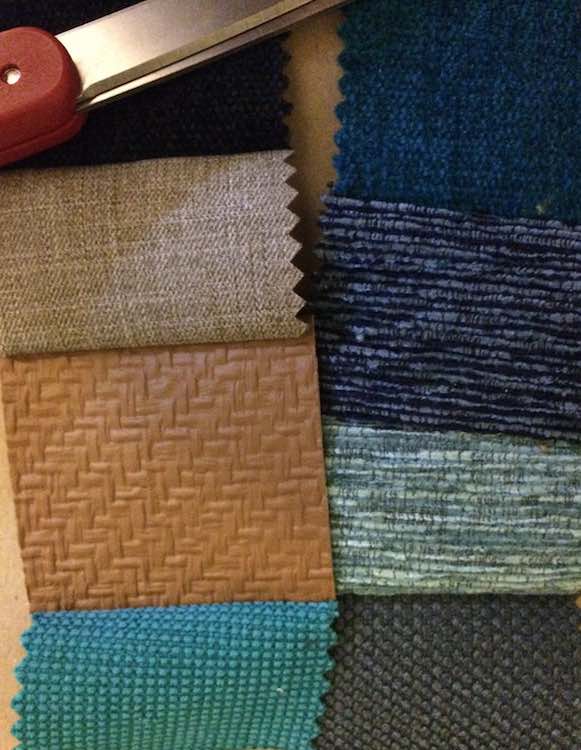
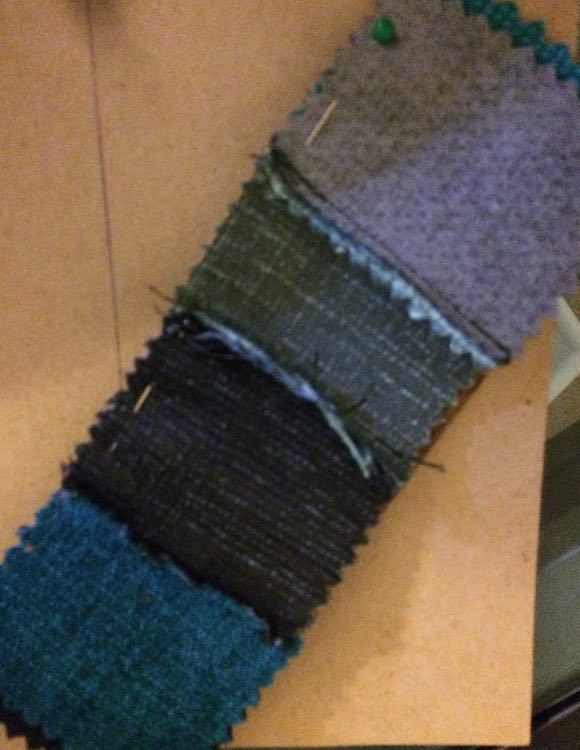
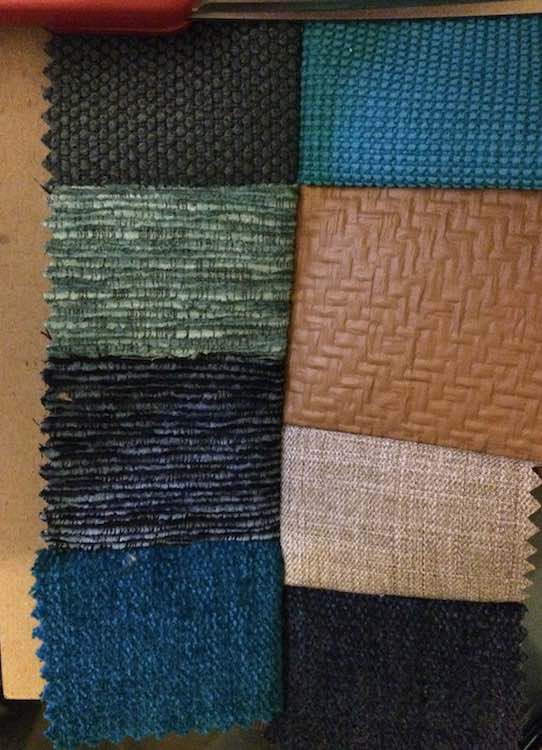
My next step was deciding what to put underneath the zippers. I wanted to use something fun to find under the zippers, had just bought several fabric swatches from Fabmo, and so chose to make a patchwork section under the zippers. I figured the patchwork section would allow the space under each zipper to be unique. After choosing similar sized squares from my smaller fabric samples I started sewing them together into strips. Once the strip was slightly smaller than the height of the zipper I sewed together another strip. Each strip was about half the width of the zippers so I only needed to join two strips together to get the width I needed. Depending what fabric you use be careful when testing the seam as I ended up pulling apart my swatch while testing a seam and had to resew it a bit smaller than before. You can always sew your swatch larger than needed and then trim it to size so it’s properly hidden under the zippers.

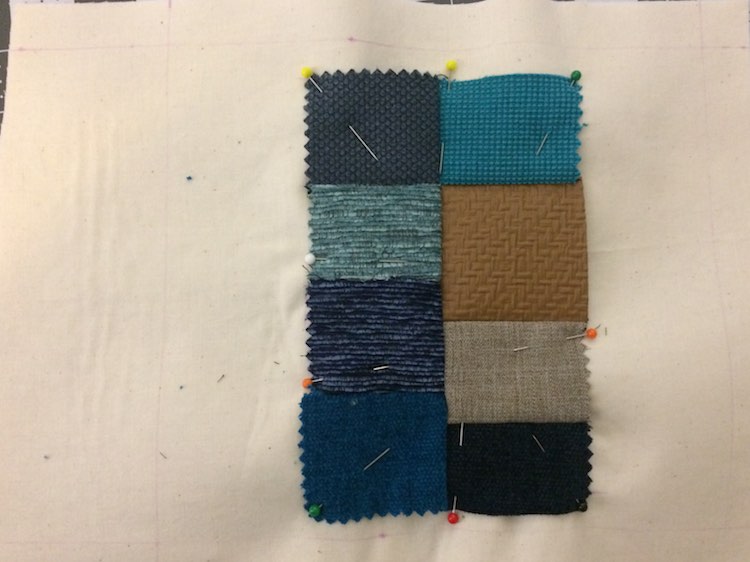
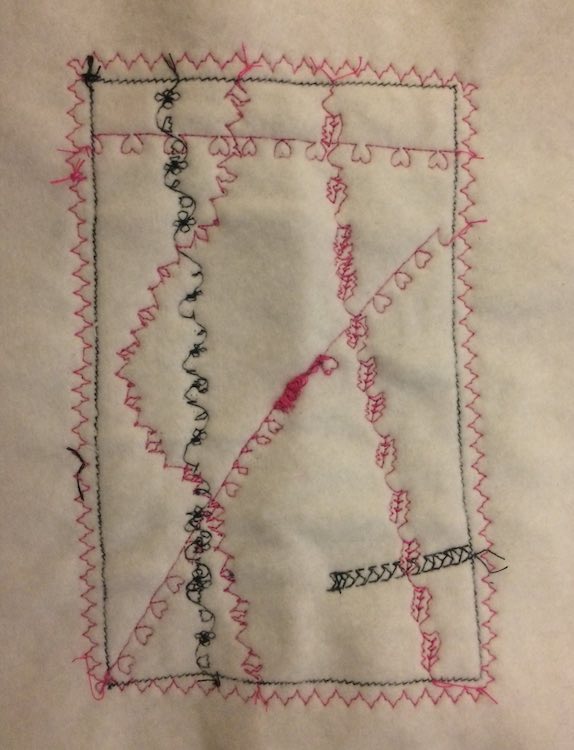
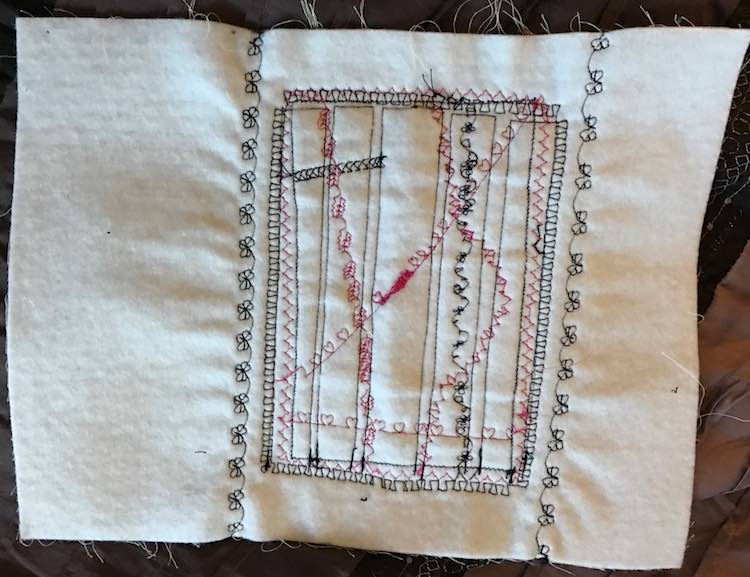
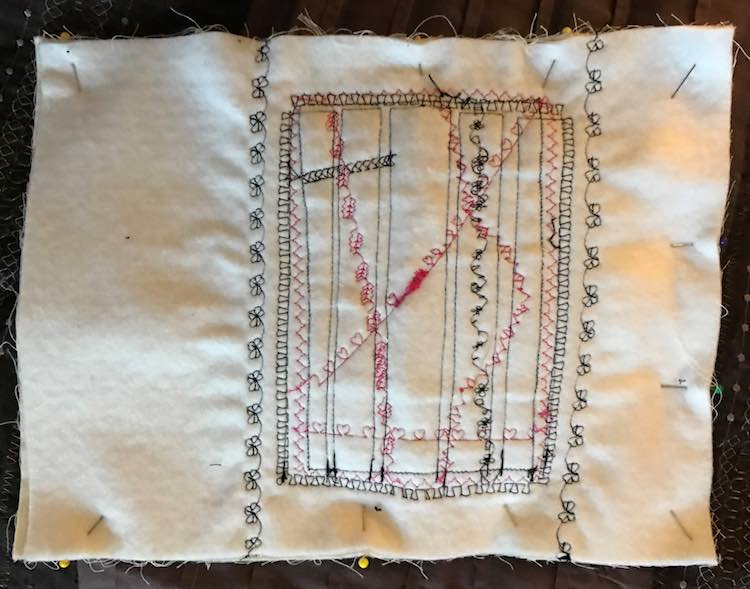
Once my fabric samples were sewn together and trimmed I then went on to mark the seam allowance and grommet space on my page, pin the swatch, and then sewed it to the center of my quiet book sheet.
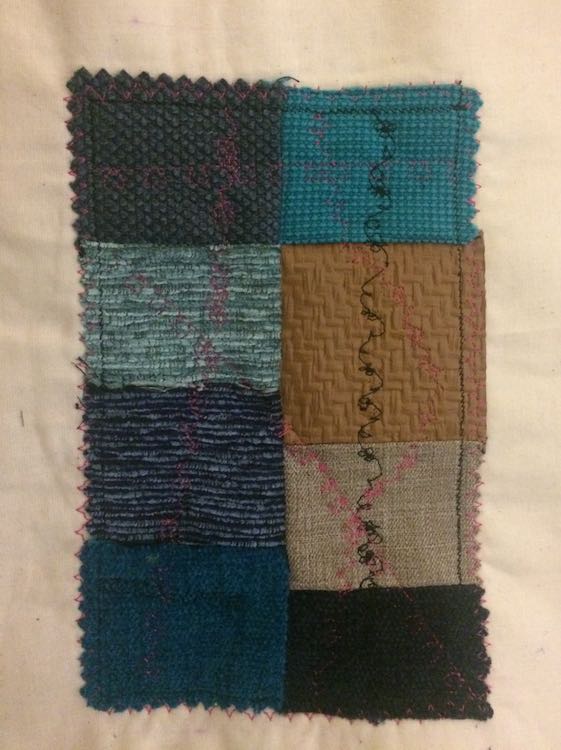
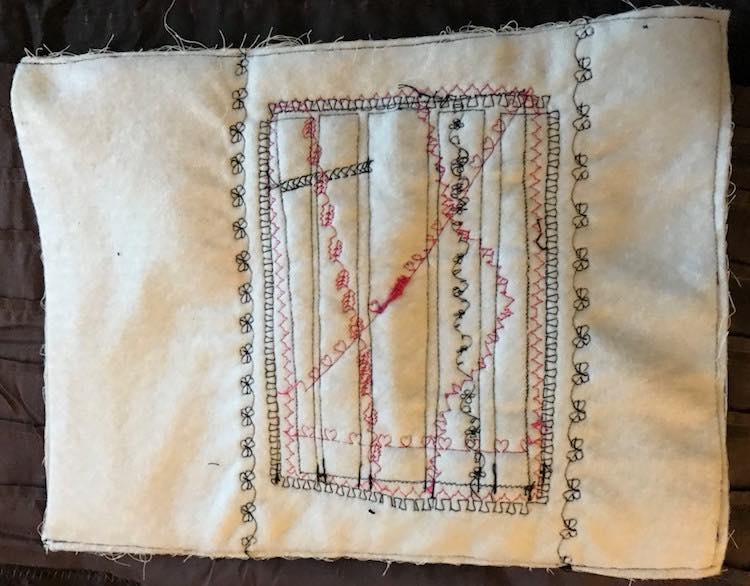
After sewing the swatch down I decided to reinforce it and make it more appealing by adding decorative stitching over the squares. After each set of stitches I used a hand sewing needle to move the top thread underneath the page and tied a knot with the bottom thread so it wouldn’t unravel.
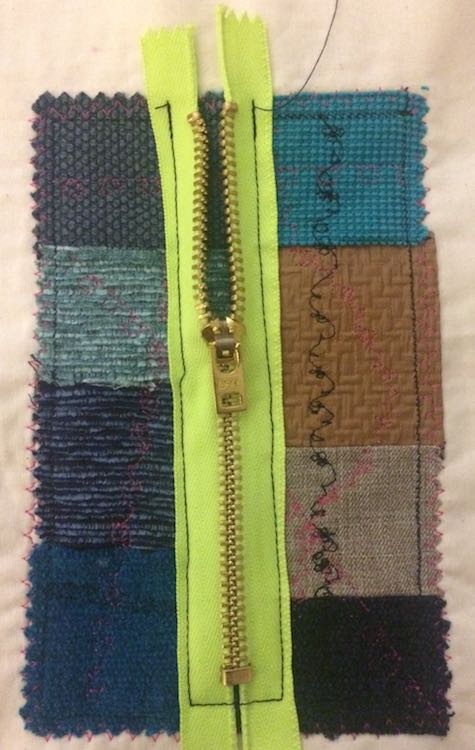
It was now time to sew on the zippers. I started with the center zipper and worked my way out from there.
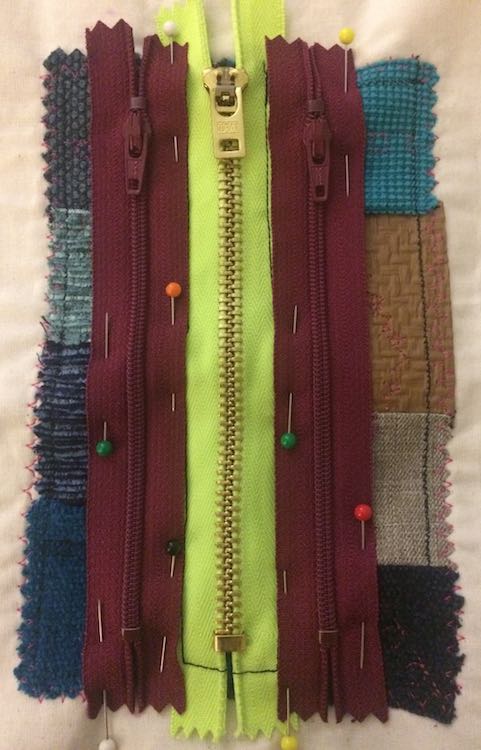
Before sewing the second and third set of zippers I laid out all the zippers to confirm that the zippers wouldn’t be too wide (show a blank space under a zipper), too short (have the fabric swatches shown outside of the zippers), and to allow me to determine the best overlap between the zippers.
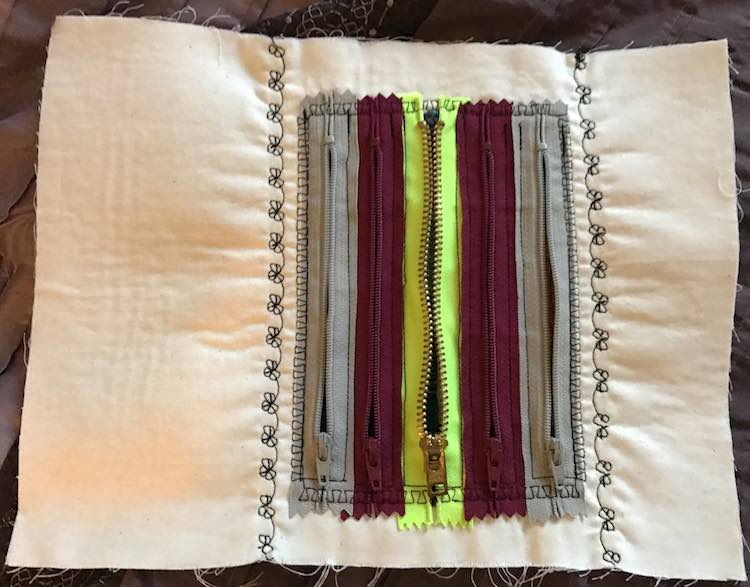
After I finished sewing down each zipper individually I then sewed all around them with a decorative stitching to make them all go together and, most importantly, to keep the top of the yellow zipper from gaping open too much and reinforcing the zippers as they’re going to get a lot of action. As the sheet still looked a bit empty I then added a decorative stitch going up the left and right sides of the zippers to frame them. I tied down the loose threads on either end of the decorative stitching, but wasn’t too worried about them coming apart as it will be sewn down when sewing this sheet to its other side of the page. Now all that’s left is to pin the sheet to its reverse page, sew along three sides, put right side out, sew the hole closed, and add grommets.

If I were to do this again I would…
- Test out the zippers a bit more before choosing which ones to use. The neon yellow zipper is a bit harder to zip open and closed compare to the others.
- Add fabric swatches between the zippers (maybe sew the zippers directly to the swatches and then sew the entire thing to the page by sewing on the swatches directly centered between the zippers). That way the child using the book could unzip and then lift the edges of the zipper to see more instead of just the space directly beneath the zipper.
You can check out my previous posts if you want more information on how I created my quiet book covers, joined my quiet book pages together, or to see all my quiet book pages. I can’t wait to see what you come up with!