
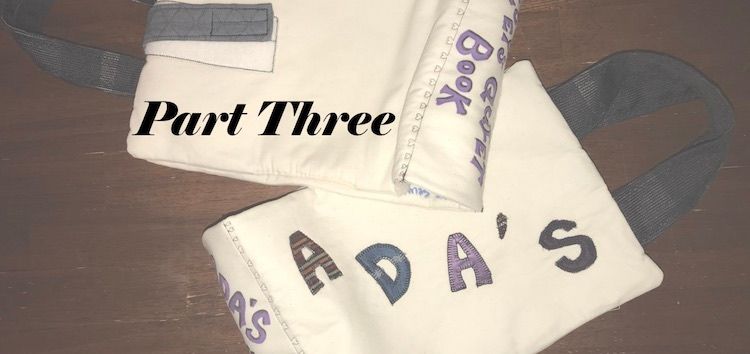
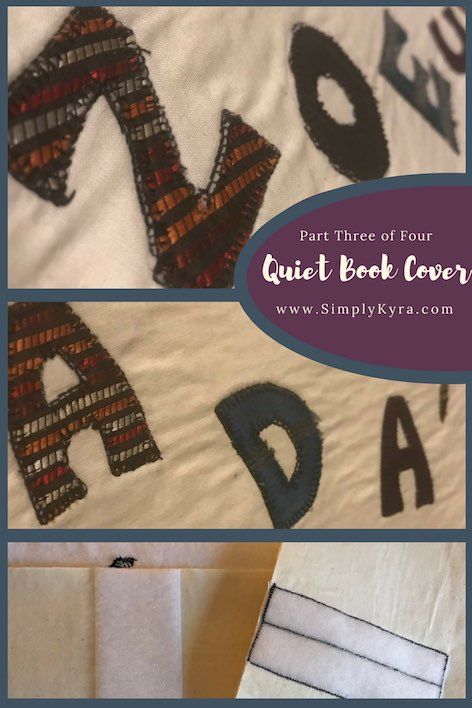
Quiet Book Cover - Part Three of Four

I made two covers so some of the pictures will contain pieces for both covers.
Welcome to part three of my series on how to create a quiet book cover. Only one more post after this. In this post we’ll be going over how to make the straps to carry the quiet book and will be working on the outer cover. The next post will go over putting it all together!
- Introduction and getting started
- Making the inner cover
- Making the straps and the outer cover
- Putting it all together
Last week we prepped two cover sheets and then created the inside of the quiet book cover. This week we will be working on the other cover sheet we made to make the outside of the quiet book cover but first we are going to prepare the items we need to attach to the quiet book when we sew it all together in our next post.
Creating the Handles and the Strap Closure:
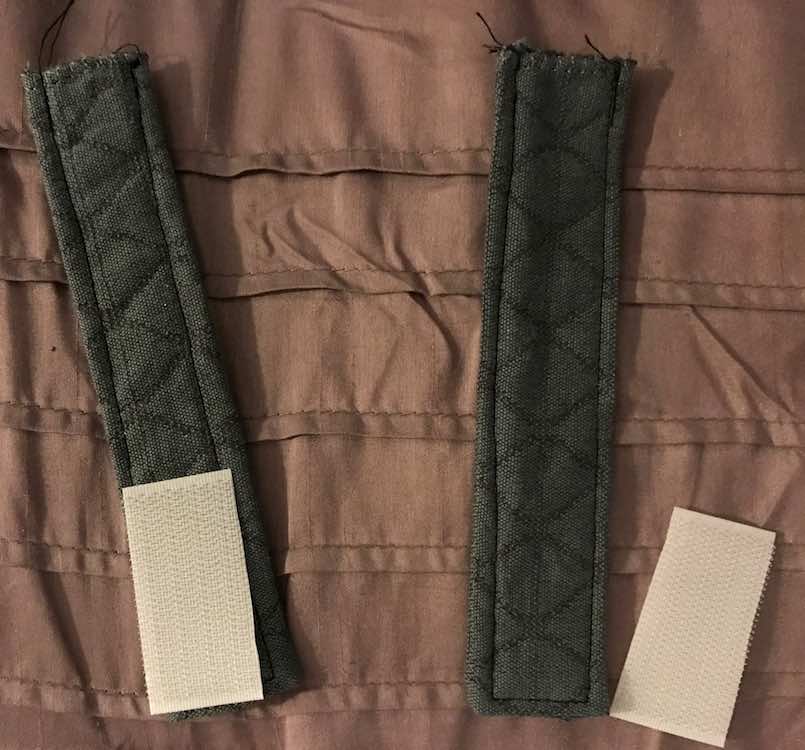
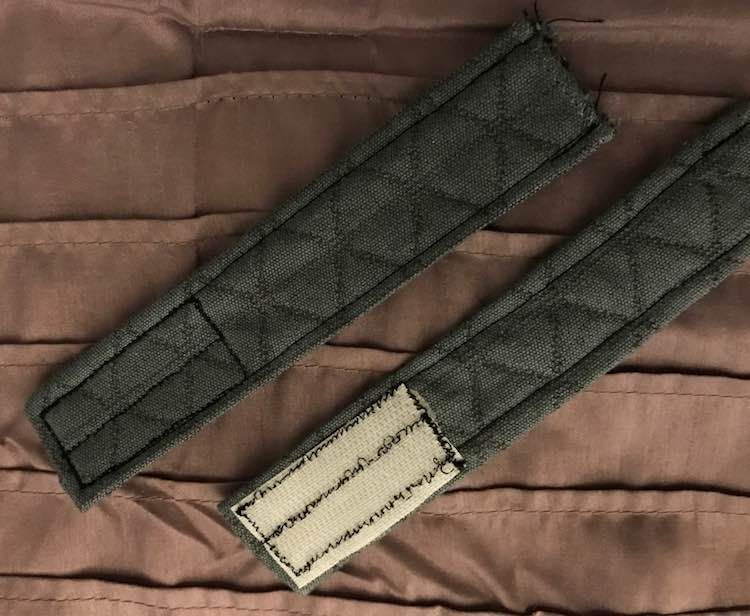
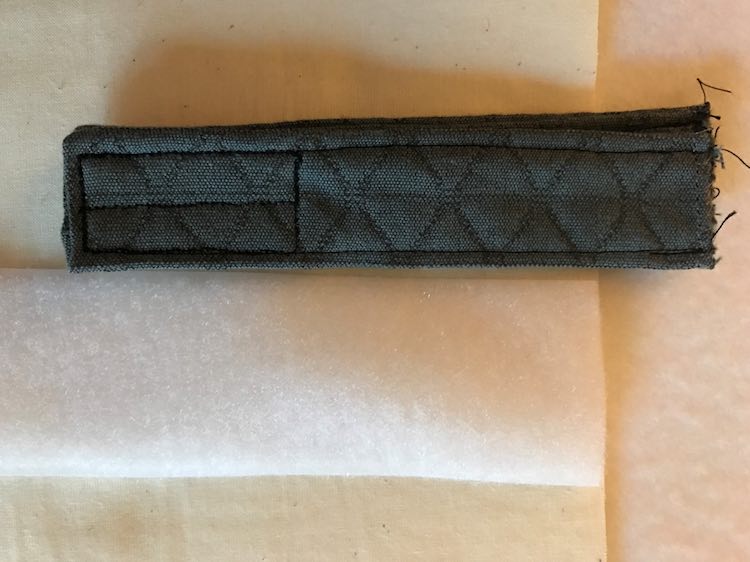
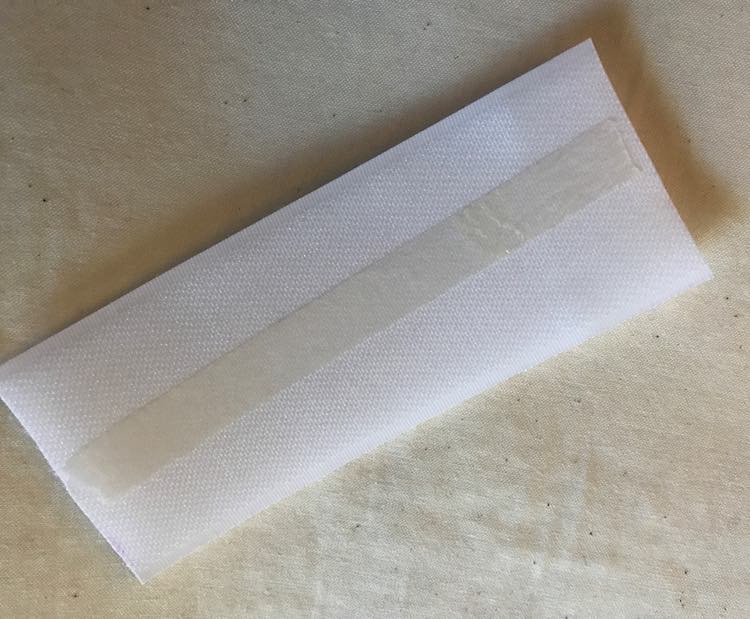
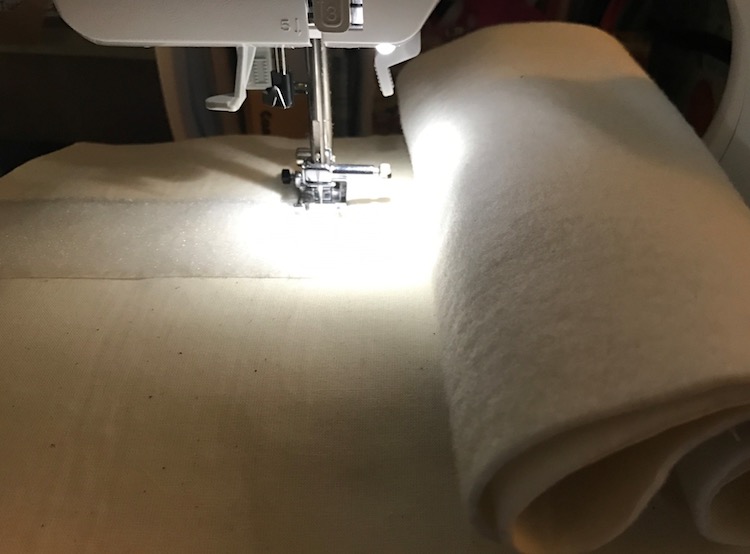
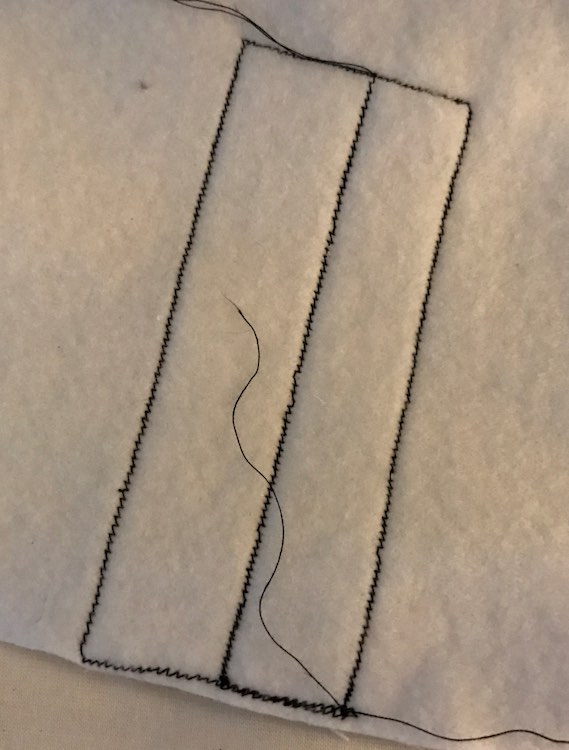
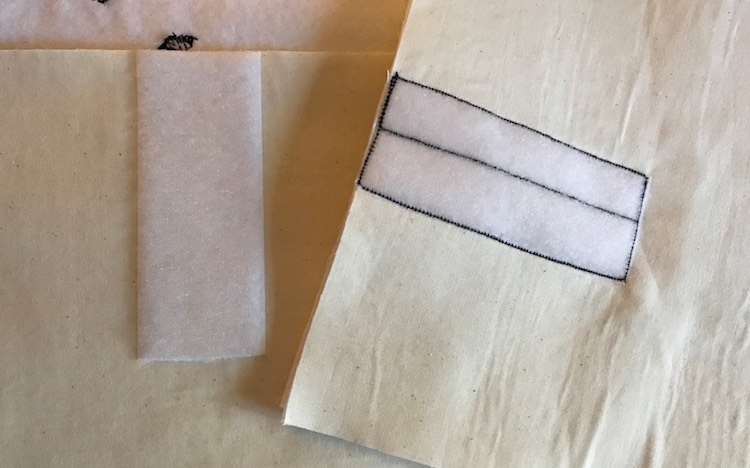
I created two handles for each book, one for the front side of the cover and one for the backside, so it could be carried spine side down while closed. To do this I took a strip of fabric slightly longer then the length of handle I wanted as each end will get sewn into the cover and then doubled it’s width. I then folded it over, wrong side out, and sewed down the length of it to create a tube. I flipped the tube right side out by attaching a safety pin to one side and then pulling the safety pin with the connected fabric through the tube. I then flattened the handles by topstitching down both sides of the length with a zigzag stitch. I didn’t worry about prettifying either end as it will be hidden when it’s sewn into the book cover.In addition to the straps to carry the quiet book I also wanted to make a smaller strap to close the quiet book so it doesn’t easily pop open. This will be sewn into the side of the cover and will have Velcro on the other end to attach to the back side of the book. I made this a much smaller strip of fabric and, like before, folded it in half wrong side out, sewed down the side to close it, put it right side out with a safety pin, and then top stitched to flatten it.
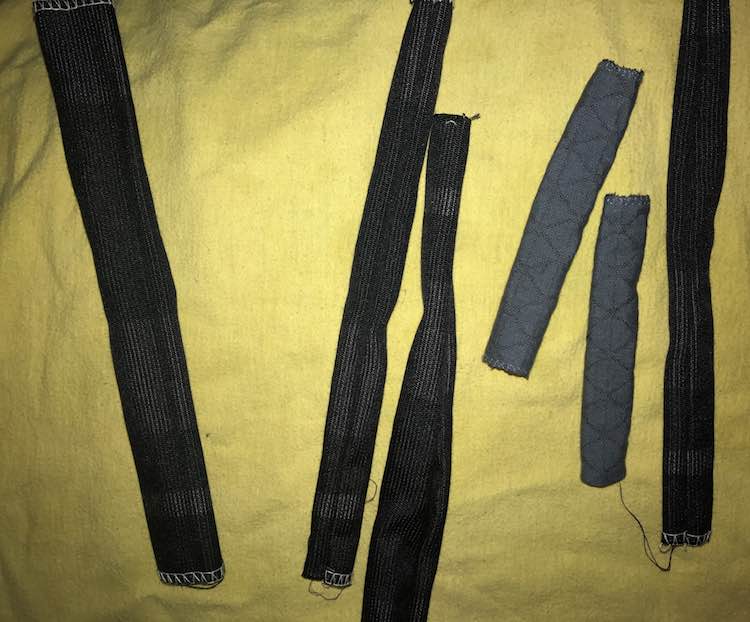
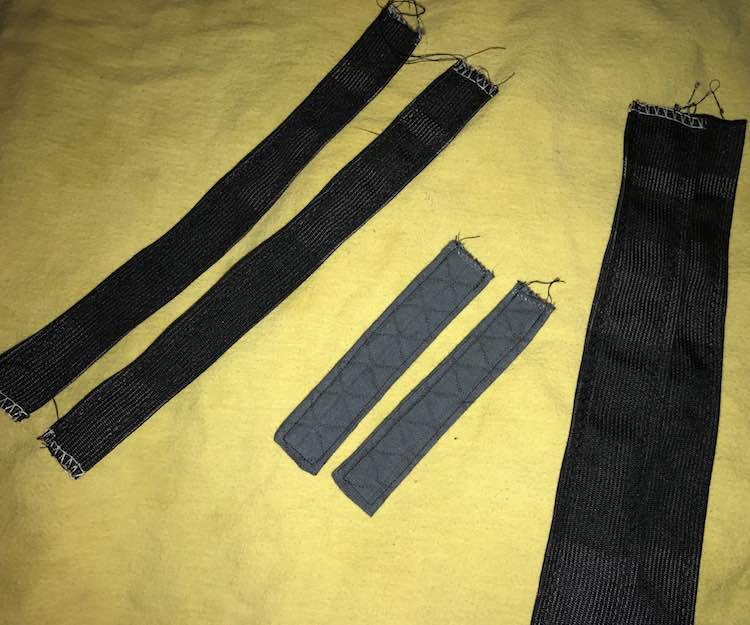
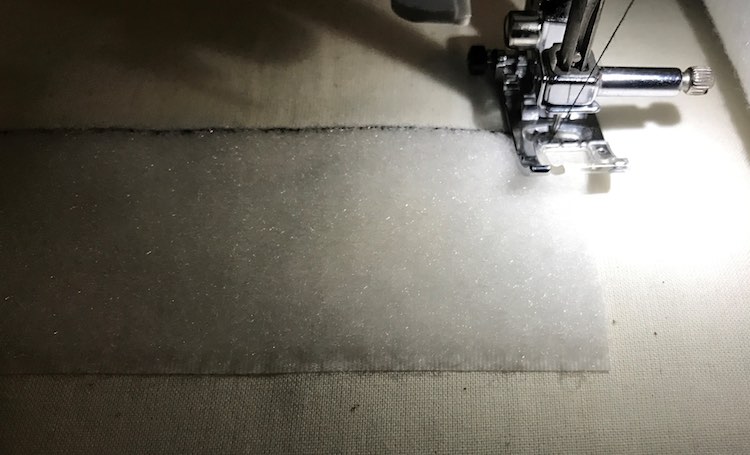
After creating the straps I added the hook Velcro to the one end of each strap. I cut the hook Velcro to size, used double-sided scrapbooking tape I had on hand to keep it in place, marked where the end of the Velcro was on the reverse side of the strap, and sewed it on while the Velcro faced down so there would be less chance of the thread catching on it.
Cover:
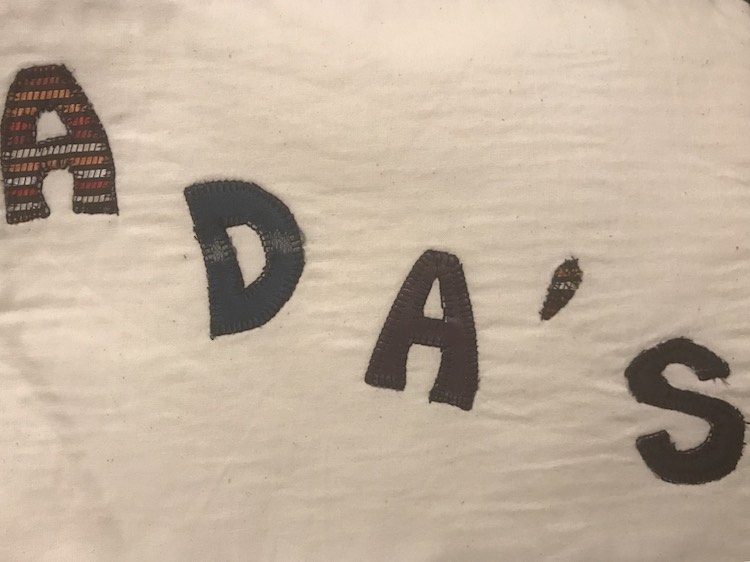
Adding the name
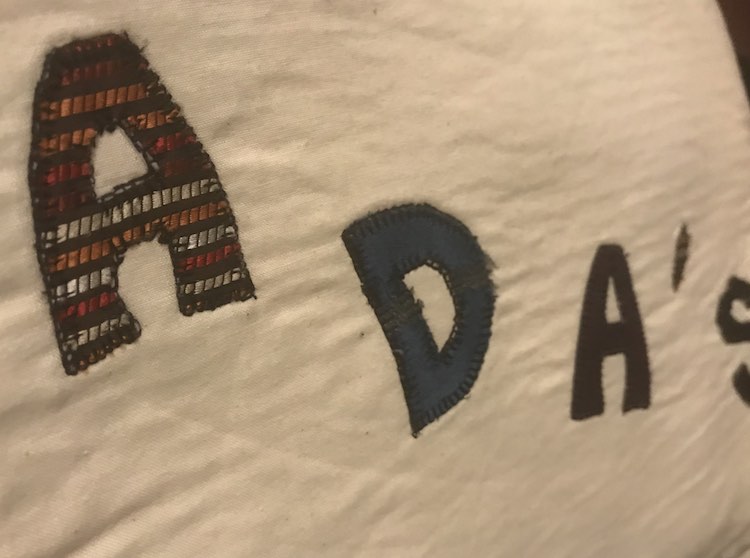
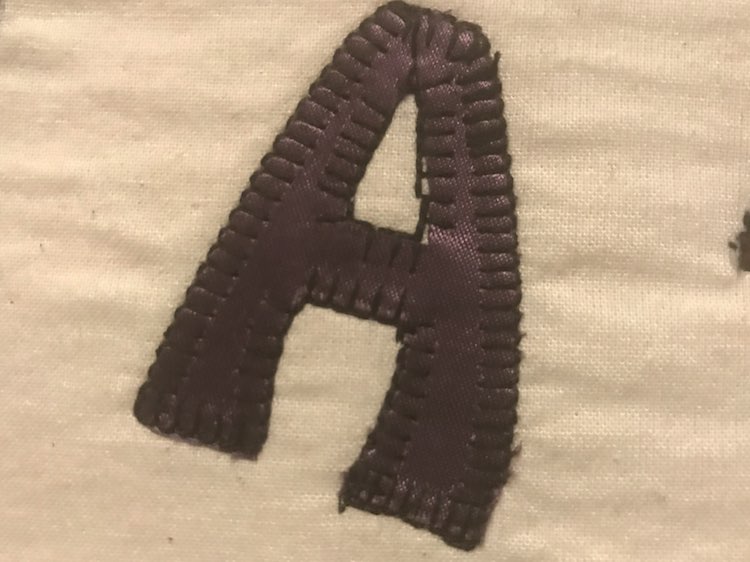
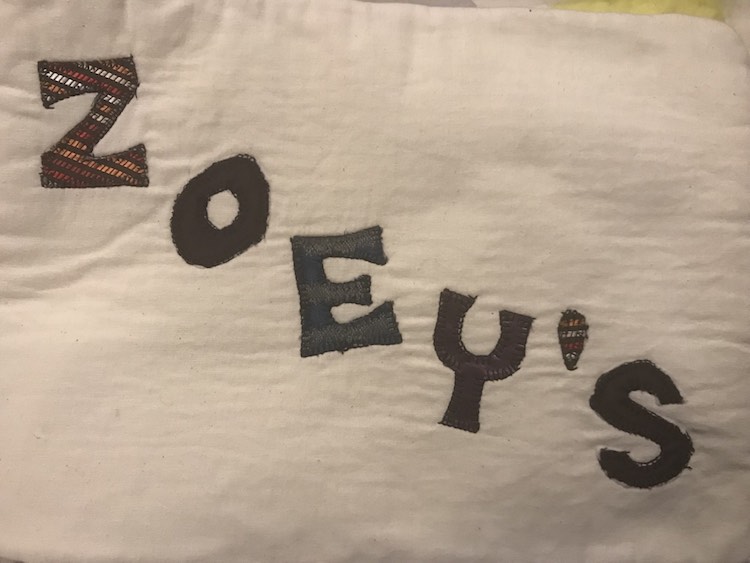
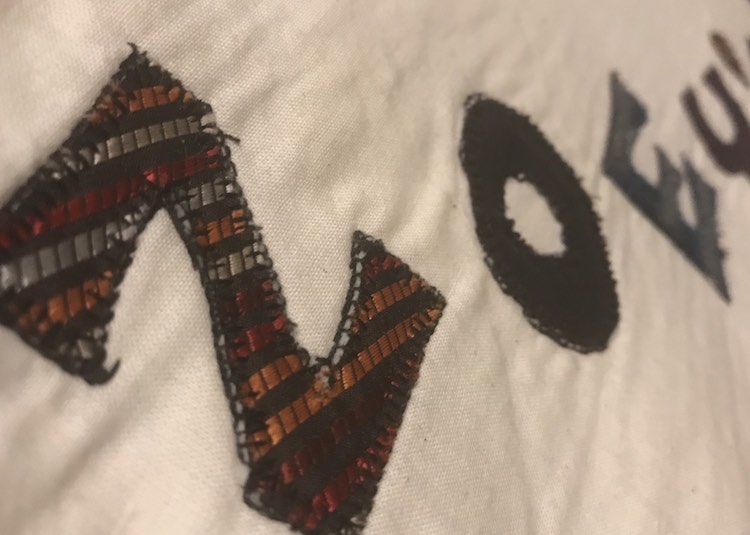
The next part I worked on was the outside of the cover. I had planned to keep the cover simple by only adding my child’s name to the front. I wanted to use fabric applique to add each letter. I first calculated the overall space I had to work with on the cover so I could determine how big to make the letters for the name. I then decided to create letters 1.5 inch wide by 2 inches tall and angle them across the page from the top left to bottom right.To make the letters I took a cereal box and cut a 1.5 by 2 inch window in it so I would have a template for how large the letters could be. I chose a variety of fabrics for the letters and added heat’n bond to the back of my choices so the fabric wouldn’t easily unravel and it would be easier to sew them on. For each letter I picked a specific fabric, placed the template on it, drew the letter while staying within the window using a disappearing ink fabric pen, and then cut the letter out. Afterwards I finalized the layout, peeled off the backing of each letter, laid it out, ironed them onto the cover so they stuck, and then blanket stitched around the edges.
Closure:
Because of how much space the letters took up I decided I wanted to attach the closure flap to the front of the book and the loop, soft side, Velcro to the back. I cut a long strip of the Velcro, of the same height of the flap closure Velcro, and determined the vertical center of the outer back cover, Again I attached the Velcro with double-sided tape to confirm it wouldn’t move, but as it was the soft side I was able to sew it with the Velcro facing up.

Previous: Making the inner cover
∞ Current: Making the straps and the outer cover ∞
Next: Putting it all together