

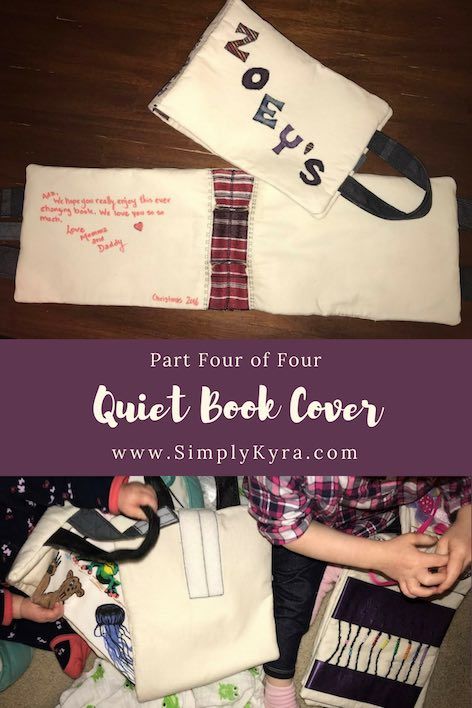
Quiet Book Cover - Part Four of Four

I made two covers so some of the pictures will contain pieces for both covers.
Welcome to the fourth and final post for how to create a quiet book cover. We will be putting all the pieces together from the previous posts. This post is a continuation from the previous posts about creating the quiet book cover straps and the outer cover. This is the final installment of the series. If you’ve missed any parts you will find the links below.
- Introduction and getting started
- Making the inner cover
- Making the straps and the outer cover
- Putting it all together
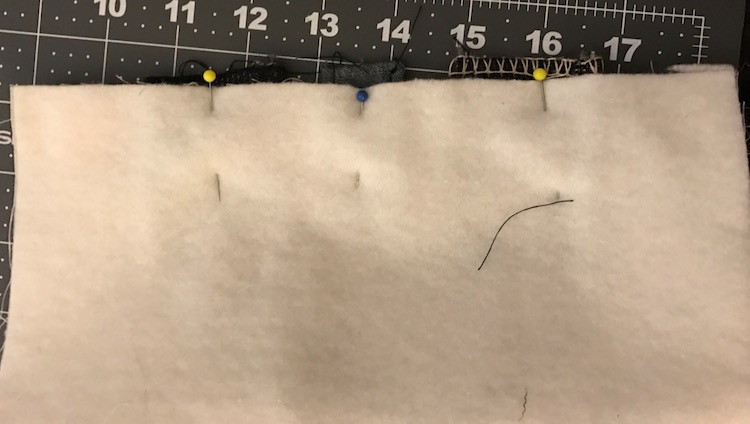
Now that all the prep work was finished in the previous posts I then went to use all the prepared pieces to sew the cover. I pinned the inner and outer cover together right side facing and both pieces upright. I started with the ends by pinning the handles to either end and the Velcro closure flap to the front, then went on to pin the top and bottom. When pinning the handles and the closure flap they have to be pointing inwards so when the cover is flipped right side out the handles and closure flap will be on the outside.

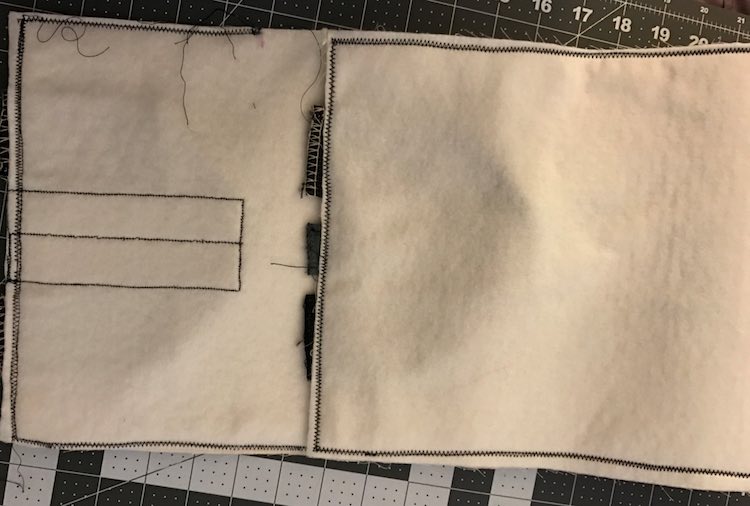
Confirm it’s in the right place by lifting up the top piece and folding in the bottom piece to confirm it lines up to where you sewed the soft Velcro.

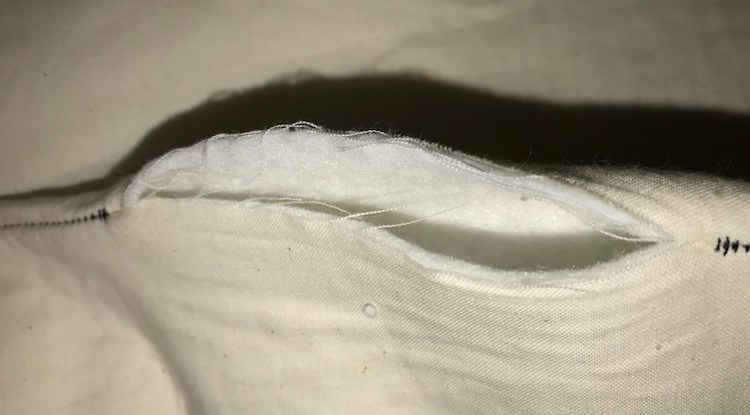
Remember to mark a space, I chose 4 inches long, that you won’t sew closed so you can easily flip it the right way out. I found it easiest to start sewing on one side of your marked opening, sew around the book, and then stopping when you hit the mark on the other side of the space.

While sewing around, I reinforced where the handles and closure flap connected by sewing back and forth a couple times. I also went over the stitching a second time just in case. When done examine it in case all layers of fabric didn’t get caught in your stitching. Then flip it right side out, confirm everything looks good, and sew up the opening.

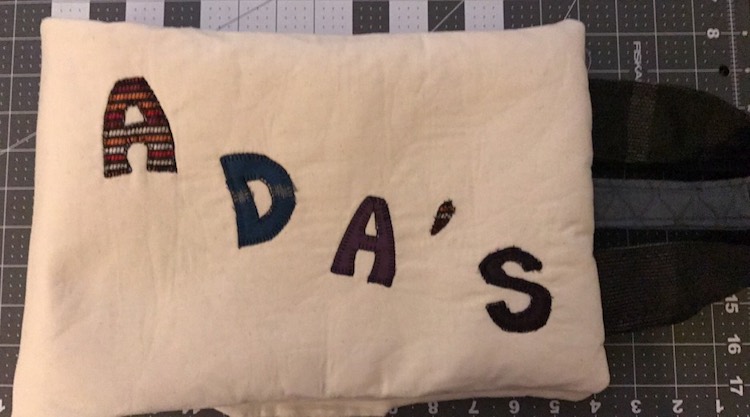
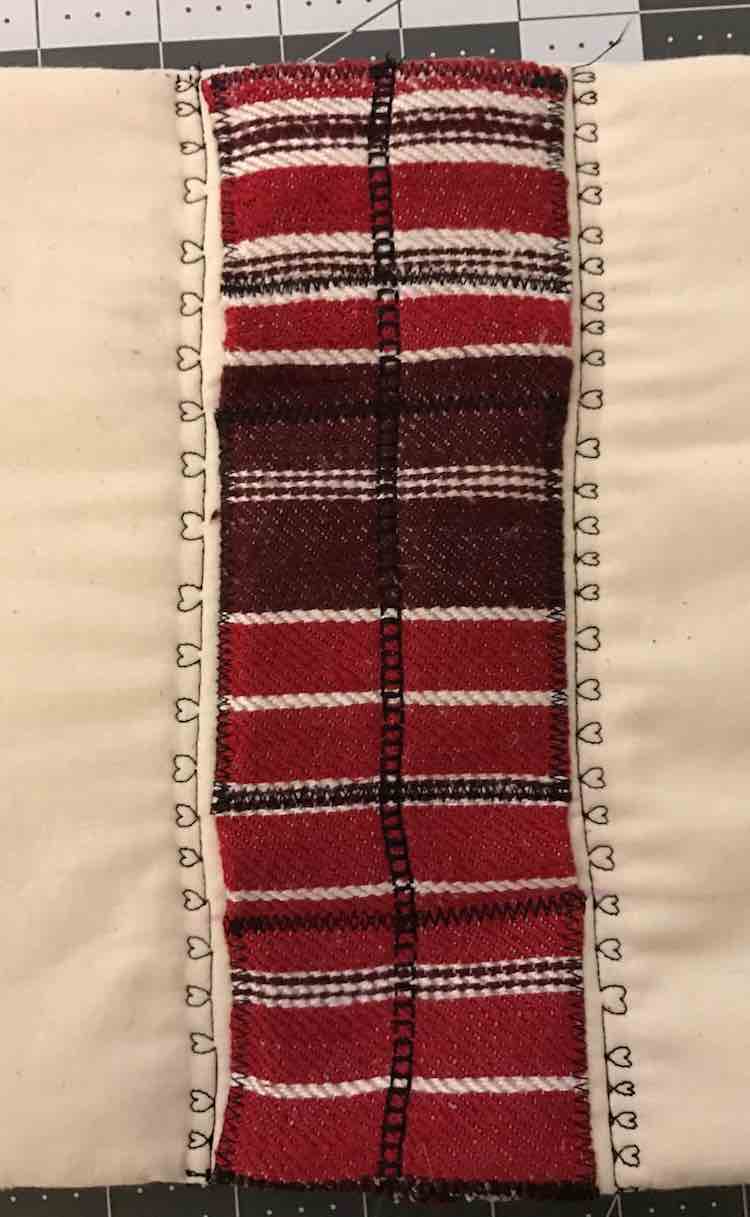
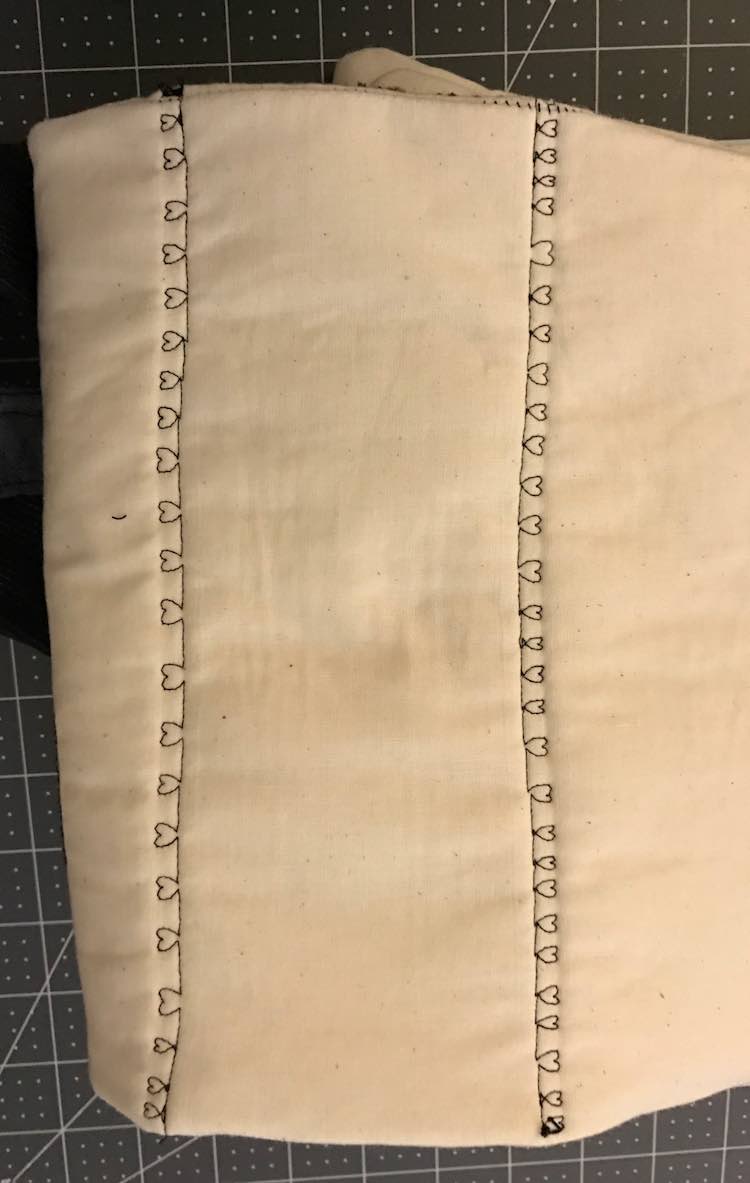
When finished I noticed the inner and outer cover gaps away from each other so I sewed a decorative stitch down either side of the book spine which also provided an easier place to bend the cover and make the spine more defined.
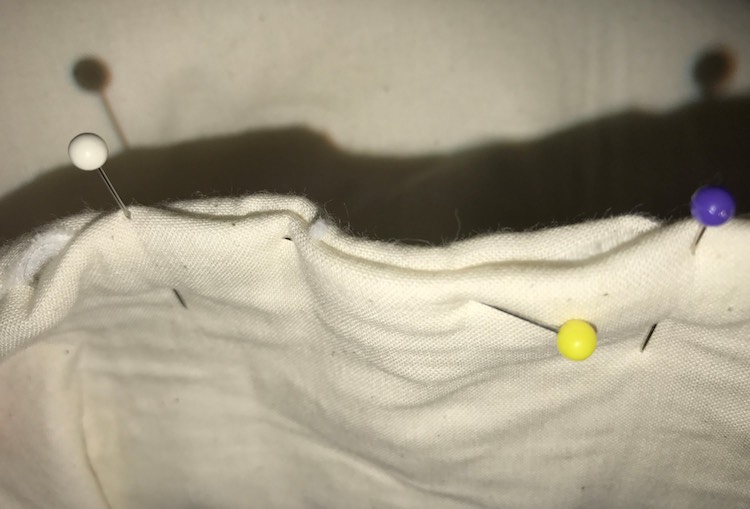
I then closed the 4 inch space by folding the edges in, pinning it closed, and then hand sewing it.


So close… the only step now is to add any finishing touches, binder rings, and the pages!


If I did this again I would change:
If I were to do this again I don’t know if I would add the flap closure. It’s simple enough for the kids to open and close, but I’ve noticed times when the hook Velcro from the flap connects to the felt on a page and I would be worried about it destroying the pages over time if used and when used more frequently. I would also spend more time designing the front cover and incorporate whichever closure I decided on into the design better. My current flap closure isn’t intuitive, but I had already added the kids’ names to the front and wanted to use a large swatch of Velcro to work with a lot of pages so this worked the best for me.
I hope you enjoyed this tutorial. I can’t wait to see what you create! I’d love to hear from you through the comments below, on my Facebook page, or through Instagram.
Primary Inspiration: Imagine Our Life – Quiet Book Cover Tutorial
Previous: Making the straps and the outer cover
∞ Current: Putting it all together ∞
Did this save you time?