

Quiet Book Cover - Part Two of Four

I made two covers so some of the pictures will contain pieces for both covers.
Welcome to part two of my series on how to create a quiet book cover. In this post we’ll get into how to create the inner cover. The series will be continued with how to make the straps to carry the book, the strap closure, how I designed the outer cover, and then will go over putting it all together.
- Introduction and getting started
- Making the inner cover
- Making the straps and the outer cover
- Putting it all together
Last week we introduced you to the quiet book cover plan and prepared two cover sheets. For this article we will be working with one of those sheets that will become the quiet book’s inner cover. To start with we want to be able to attach the binder rings to the cover so the pages can be added.
My second part on the series on how to create a quiet book cover is up on my blog. This post will go into creating the inner cover.
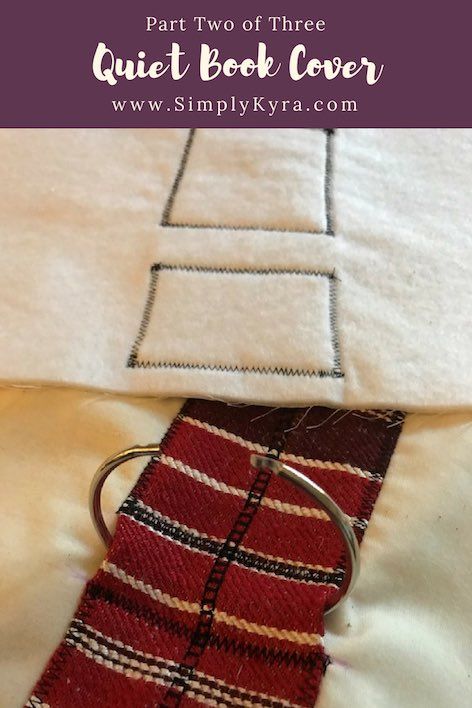
Binder Ring Attachment
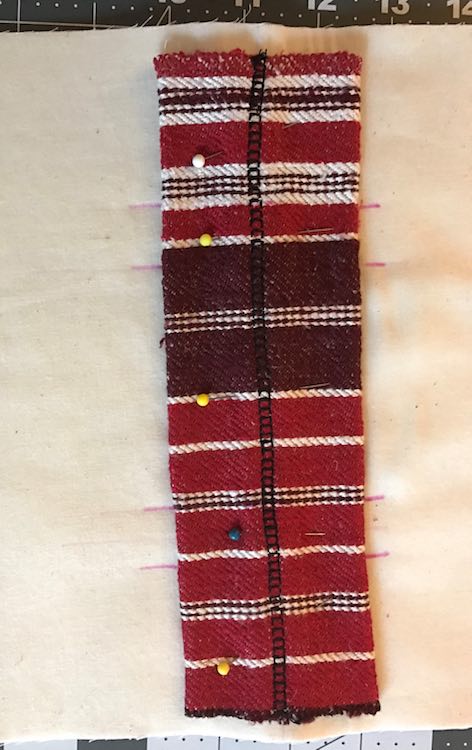
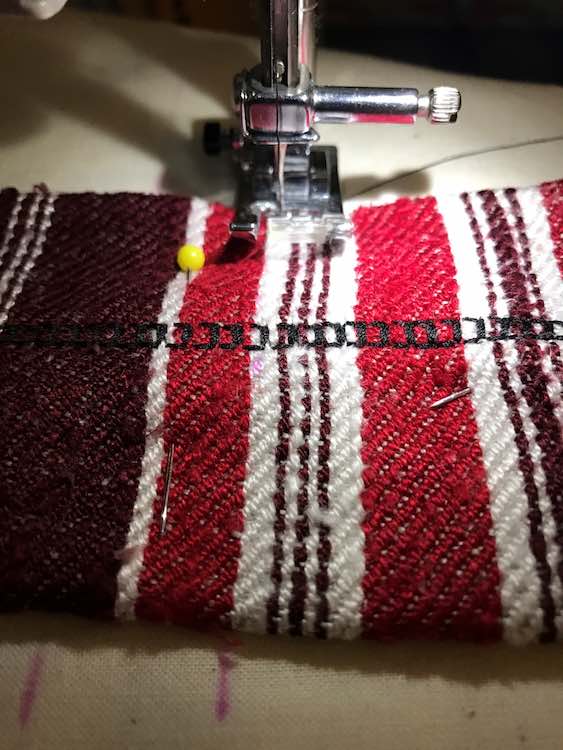
There were many ideas on how to do this on other blogs; specifically one was to add buttonholes to the spine of the cover for the binder rings to go through. I wanted the binder rings to be hidden so instead used a strip of fabric on the inside of the cover to hold the rings in place and add definition to the spine of the book. To create this I cut my a strip of fabric doubly as wide as needed based on my 3″ binder rings, folded it over, and sewed it down the center to close it.
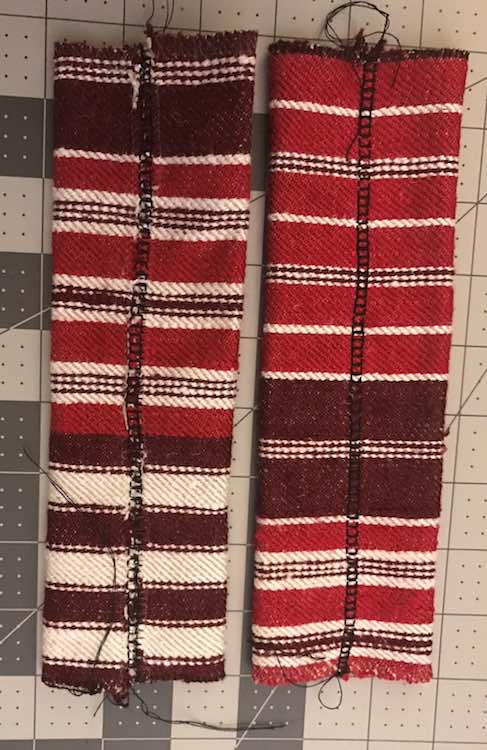
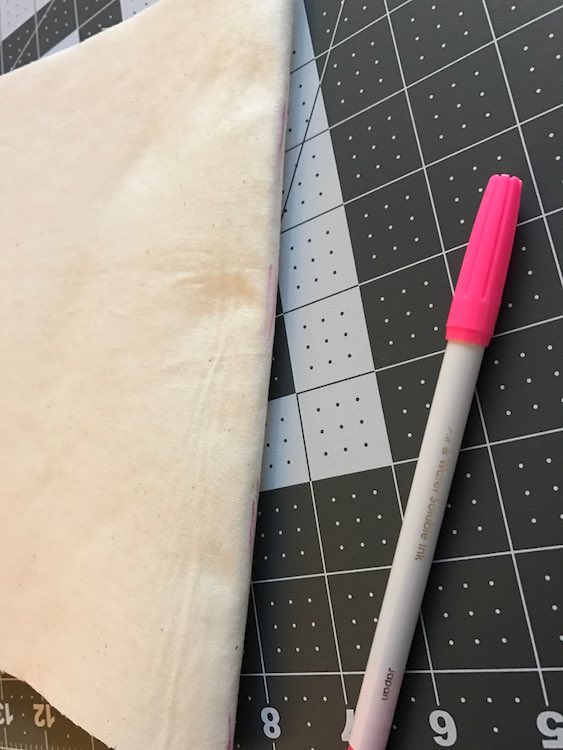
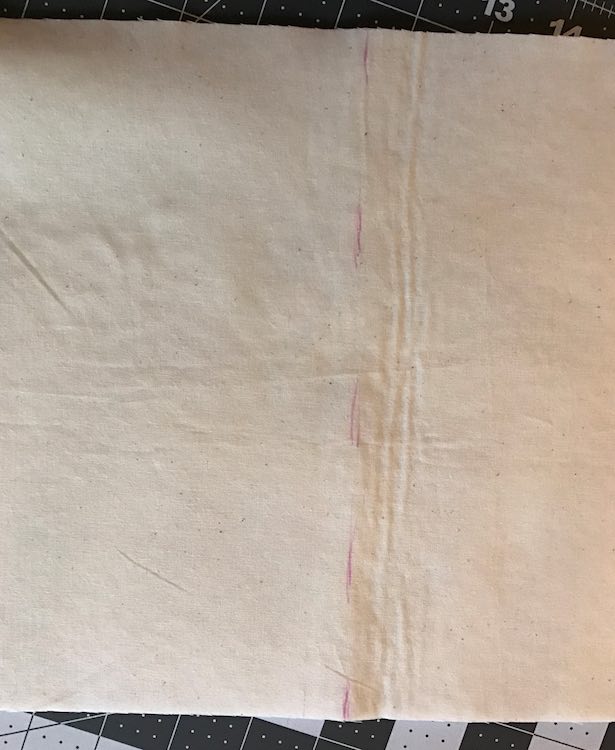
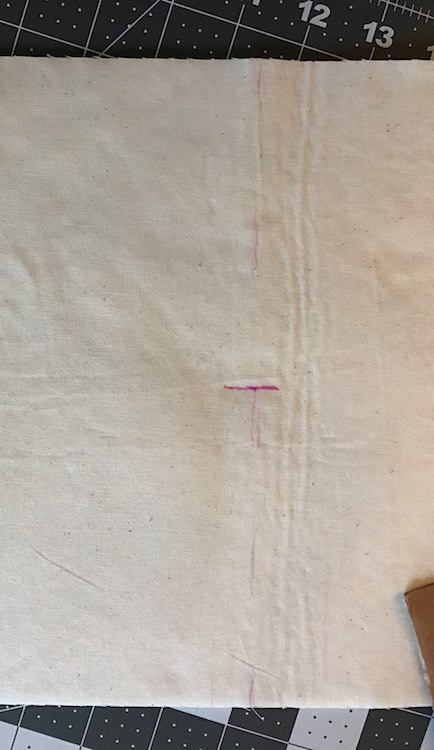
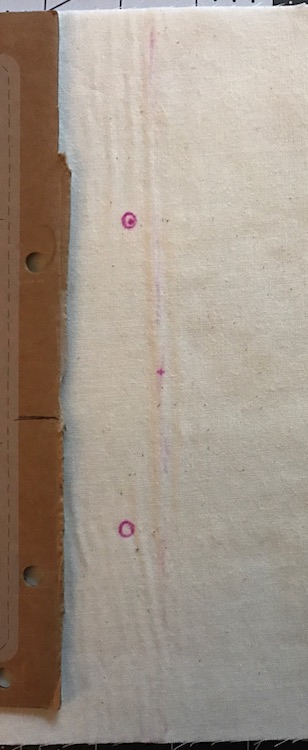
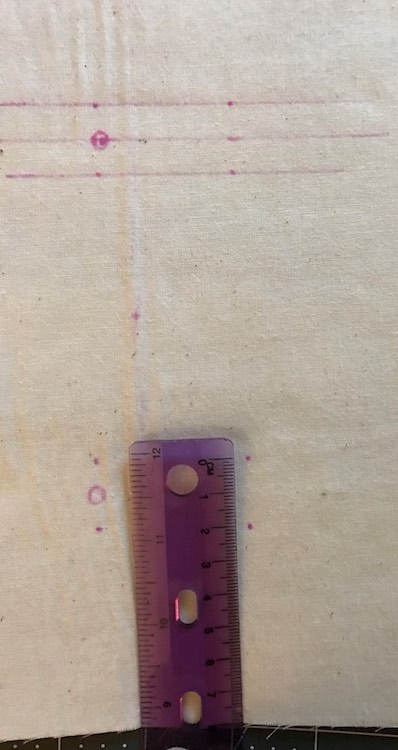
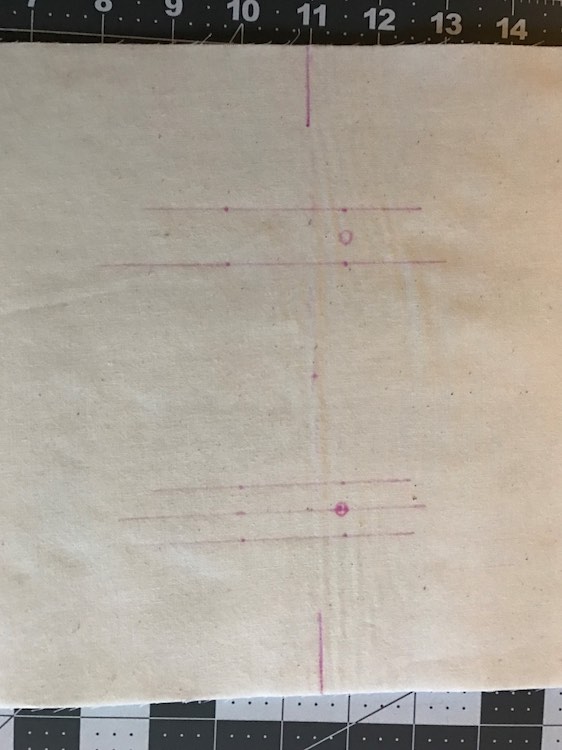
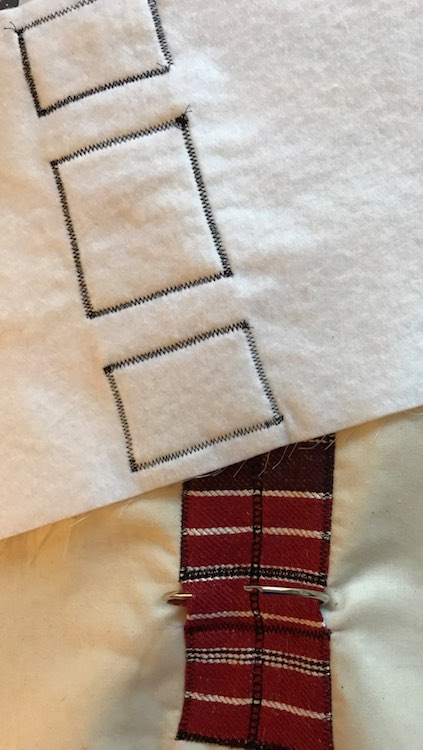
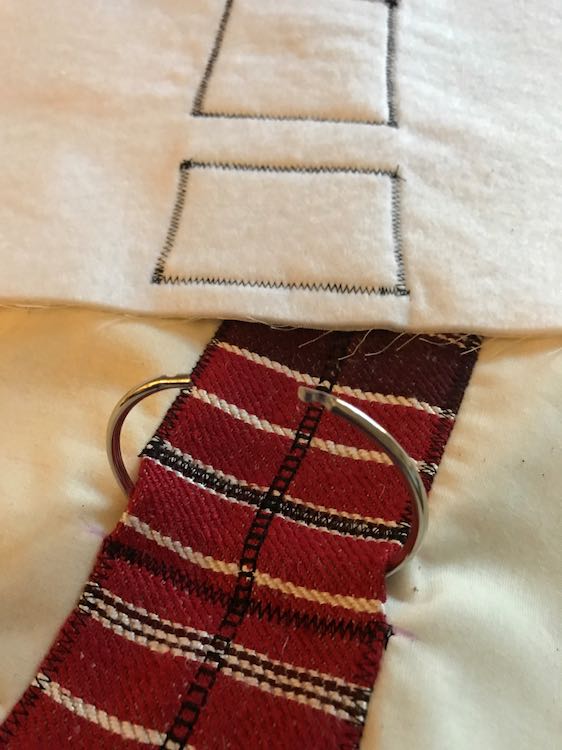
Created the center binding by folding the ends over and sewing it closedAs my quiet book page was shorter than a standard sheet of paper I decided to only have two holes in each page and thus two binder rings inserted into the cover. I attached the strip of fabric to the center of the inside cover by sewing three boxes: one on the top, one in the center, and one at the bottom. This created two tunnels between the inside cover and the fabric strip to put your binder rings through. Before sewing it on I marked where the horizontal center was, then the vertical center, and then where the rings would go based on the template I used for the quiet book pages, I then extended those markings so it would be obvious when the strip was pinned in place to know where to sew the three boxes. While sewing the strip on I reinforced the tunnels by sewing on either side of it a couple times to protect the book from all the tugging to the pages.
Previous: Introduction and getting started
∞ Current: Making the inner cover ∞