

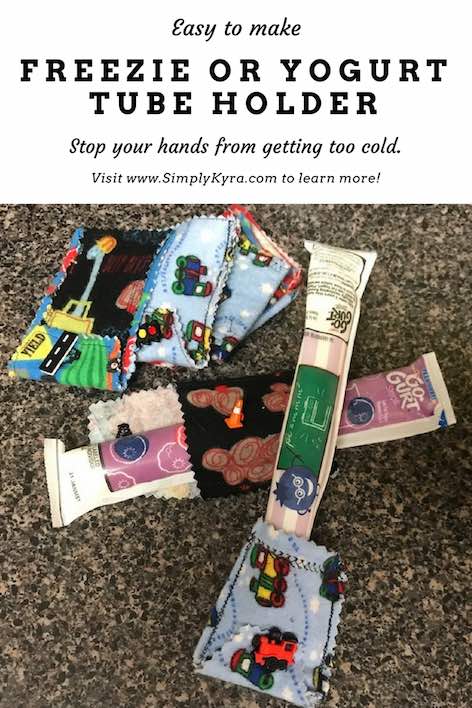
Freezie, Yogurt Tubes, or Frozen Pop Holder

For Ada’s birthday party last year we made homemade freezies using Frozip Disposable Ice Popsicle Mold Bags. While her birthday was approaching I heard about freezie holders online and as I was concerned the freezies would be too cold for the little ones to hold onto and since I wanted to have something for the birthday guests to bring home I decided to make everyone their own freezie holder.
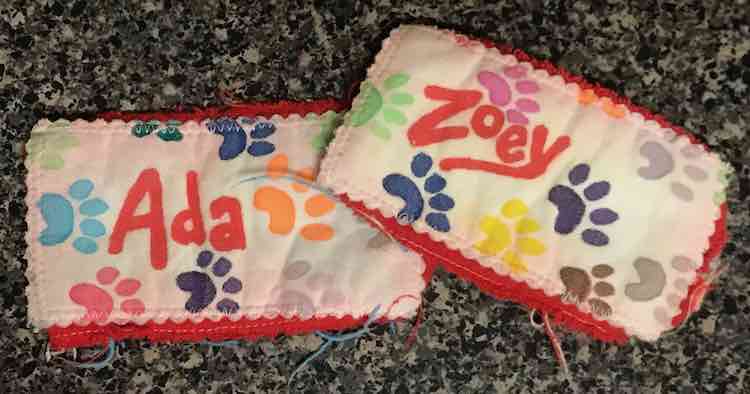
Those freezie holders were more in-depth than this year’s styles. I started by taking some white fabric and wrote everyone’s name on it in two columns. I then decorated them with paw prints and once it dried I set the ink with an iron, cut each name out with pinking shears, and sewed it onto red fabric cut to size. I then stacked the red fabric overtop of some construction vehicle fabric (wrong sides together) and sewed along three sides of it.
Recently I came across another video by MADEEveryday on How to make a Popsicle Cozy and I noticed that she only sewed the cozy on two sides so the bottom was open and you could move the holder up higher on the freezie. That made me wonder which way was normally preferred for toddlers. As I only had the two freezie covers, that had to be washed between uses, I decided to experiment. This week’s 52 Week Sewing Challenge required the use of buttons which gave me the idea to create freezie holders with buttons at the bottom so your toddler can choose which they prefer: open bottom or closed bottom.
Materials
- Fabric scraps from previous projects (including being able to include the dinosaurs in construction vehicles from the Toddler Fitted Sheet, Top Sheet, and Pillowcase)
- Sewing machine, thread, and buttonhole foot
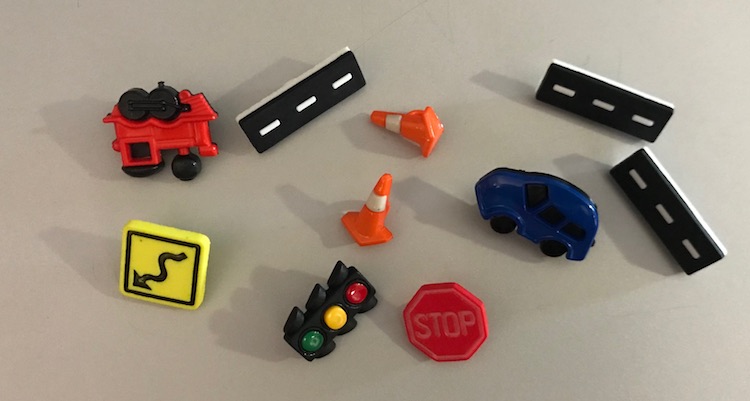
- Plastic Buttons
- Pinking Shears
- Needle and thread to hand sew the button on
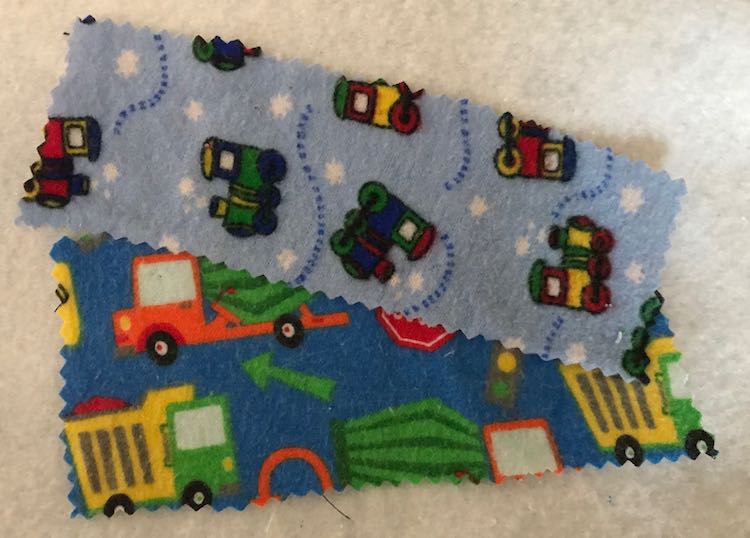
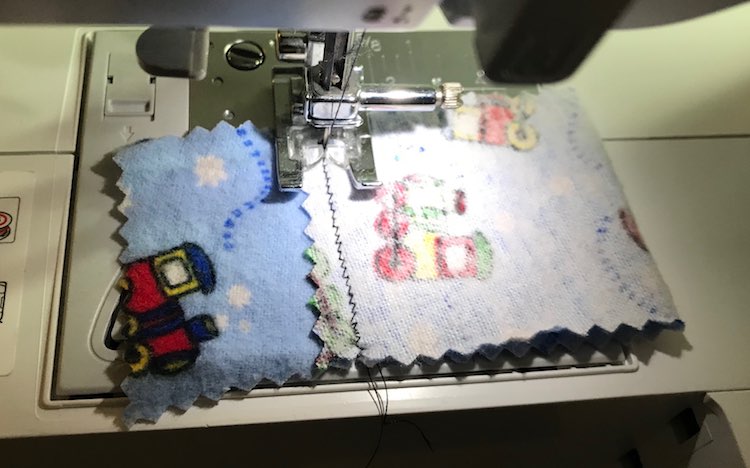
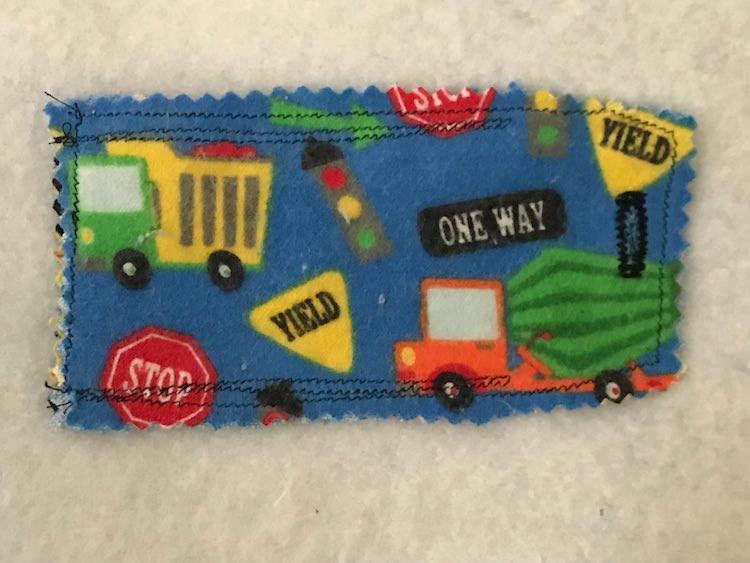
For the simplest freezie holder you can easily take a scrap of fabric, cut out a rectangle, fold it in half with the right sides together, sew up the edge with a zig zag stitch, trim the excess, and put it right side out. My first ones I cut to 3 by 5.5 inches, but trimmed it afterwards. Just make sure that the finished holder is going to be wide enough for your largest freezies to fit. If you want something extra included you can add a decorative stitch to the long edge of your rectangle before sewing it into a tube shape. If you don’t have a sewing machine you could hand sew the edge closed as there isn’t a lot of sewing involved with this one.

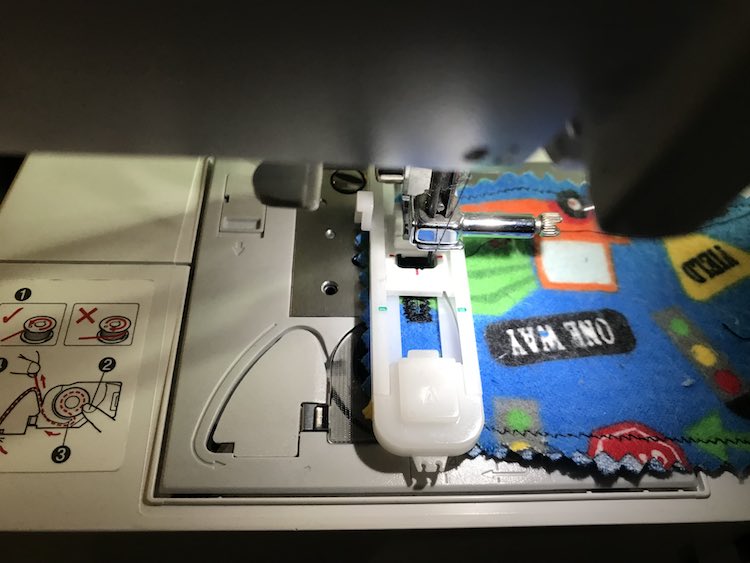
Before starting my more complicated freezie holders I tried out my buttonhole foot on my sewing machine as it’s been a while since I made my last buttonholes. While refreshing my memory online I heard that buttonholes look better if you go over it twice so I also tried to figure out where to start the second buttonhole so it would go directly over the first one. My sewing machine starts with the stitch in the front and ends in the back so to go over it a second time I turned my fabric and moved my needle to the right side of the buttonhole.
I also laid out my extra buttons left over my previous projects so I would be able to easily grab whichever button I wanted.
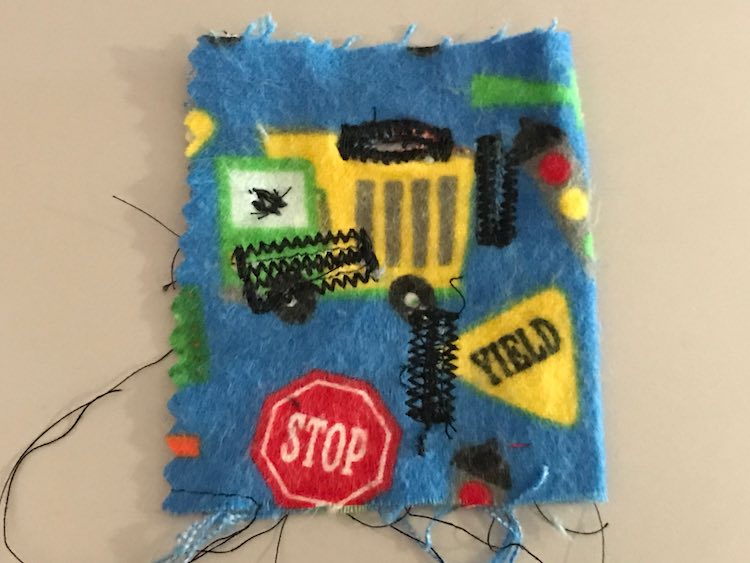
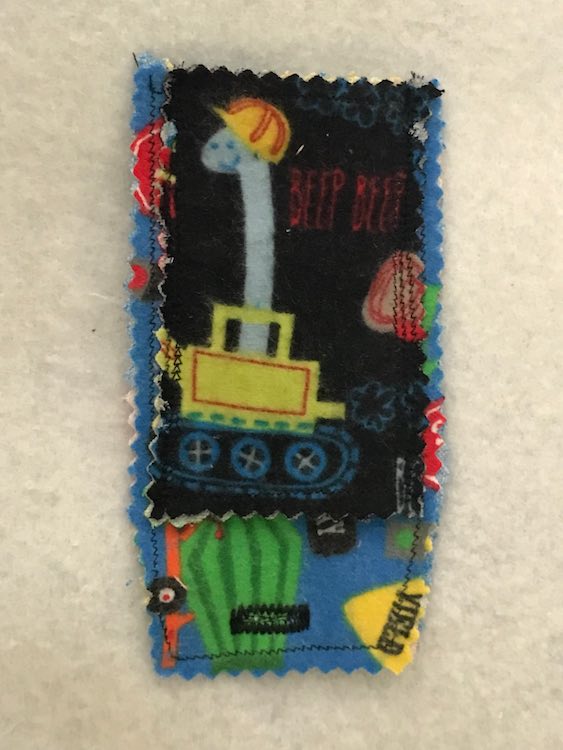
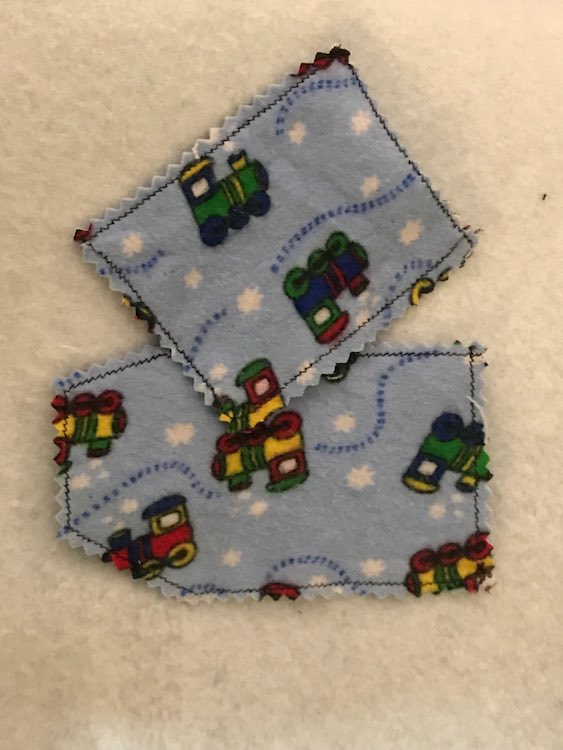
For my single layered buttoned freezie holder I cut out the fabric similar to the above freezie holder but with an extra flap at the bottom. I decided to keep it simple and sew it closed with the wrong sides together so I didn’t have to turn it out the right way.
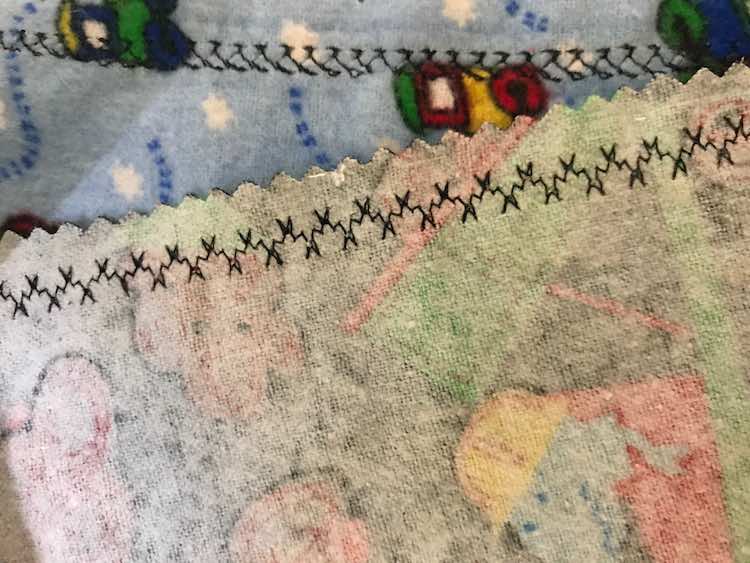
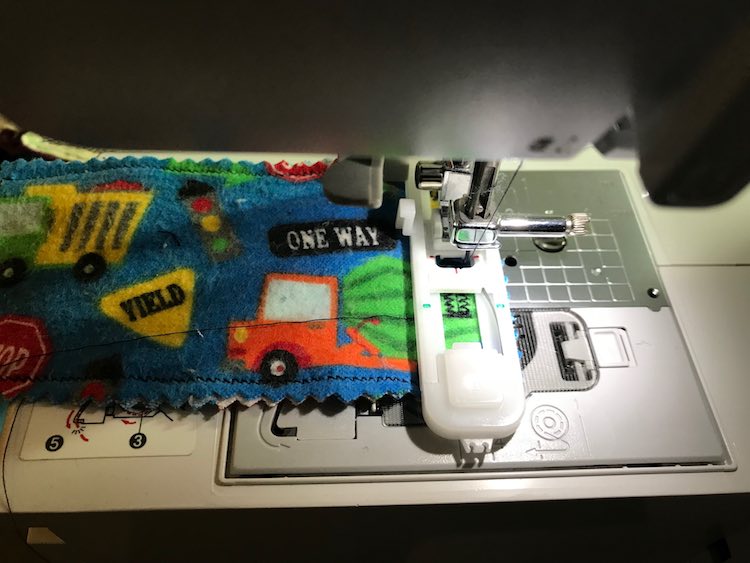
I took the time to add a decorative stitch along the top of the edge of the fabric so the finished freezie holder will have the details along the top. I was hoping this might also help extend the life of the freezie holder.
I then folded the fabric over (wrong sides together), sewed up both sides of the tube twice (so either side matched), sewed a horizontal buttonhole onto the flap, closed the flap and found where the button should be, and then hand sewed the button onto the freezie holder being careful to only sew it onto the one side so the freezie can still fit inside the tube.
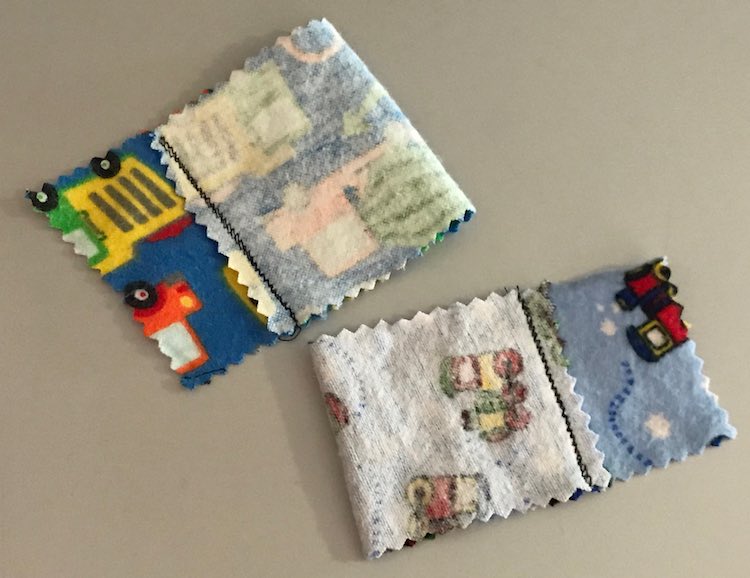
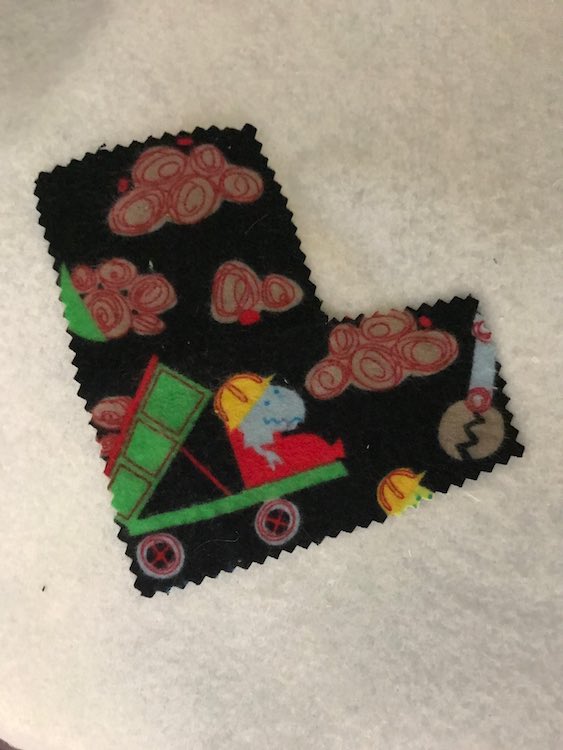
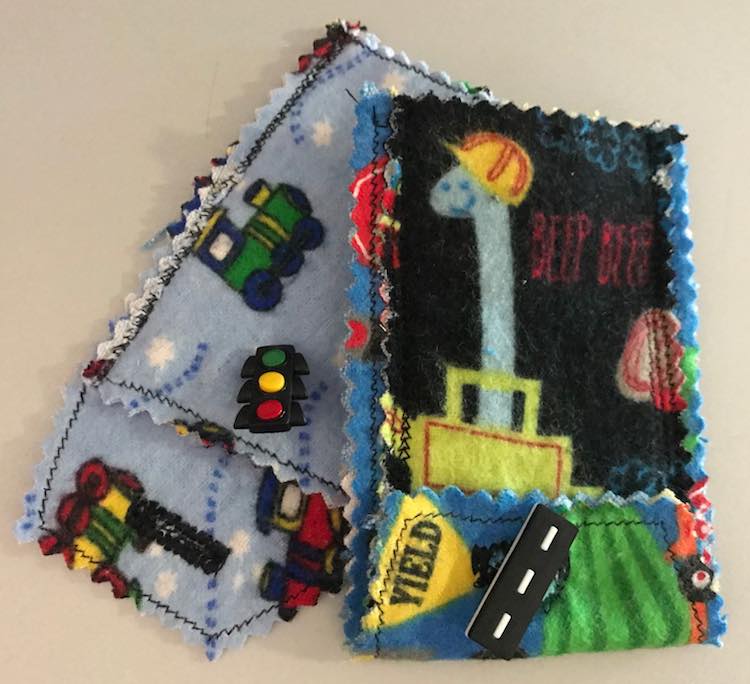
I also created a thicker freezie holder. I approached this style differently. I ended up sewing two sheets of fabric together along all four sides with the wrong sides facing. I made sure the one rectangle would be shorter than the other while the second would be longer (forming a flap with the excess fabric).
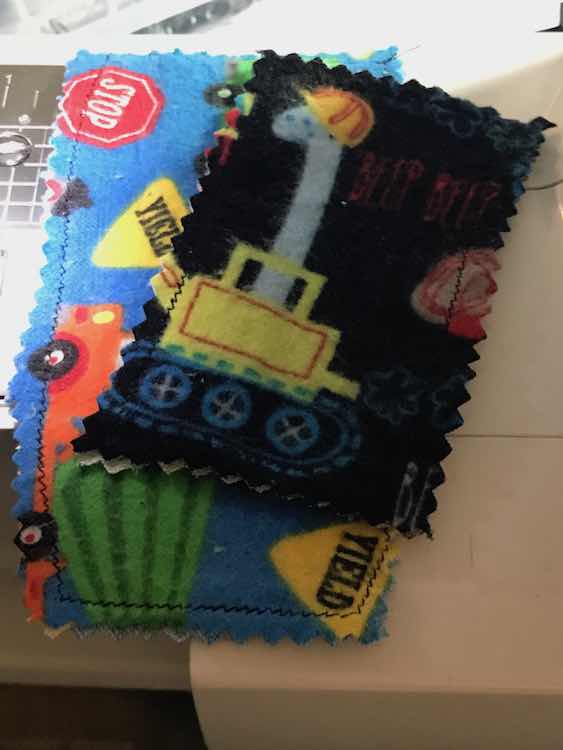
Before sewing the two pieces of fabric together I added the buttonhole. This could be done after like the previous style, but this way there’s less to lose if you mess up and there’s less fabric potentially getting in the way of the buttonhole foot as there’s more layers involved.
After I made the buttonhole and cut it open with my seam ripper I stacked my fabric and sewed it on either side. I made sure to go over both sides twice each to make sure it was extra secure.
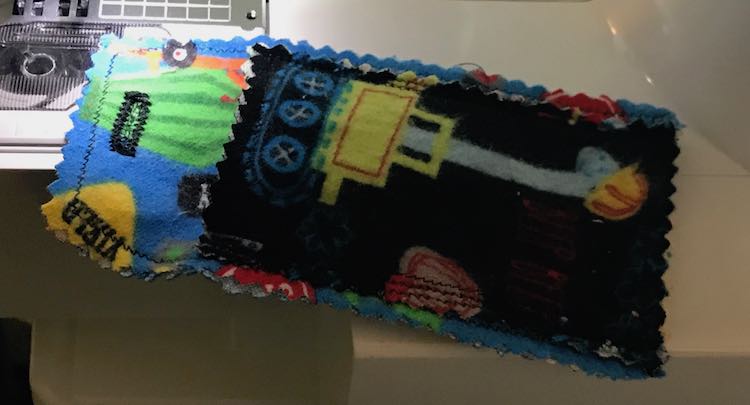
Afterwards I folded up the flap, checked where the button should be, and then sewed the bottom onto the shorter side.
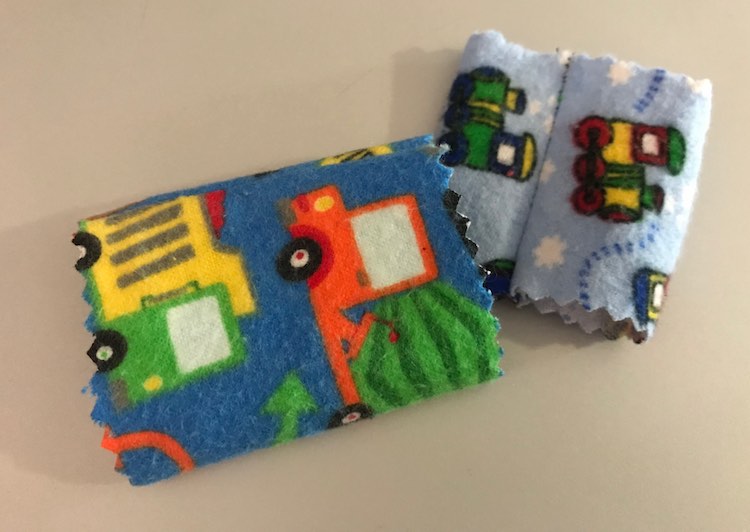
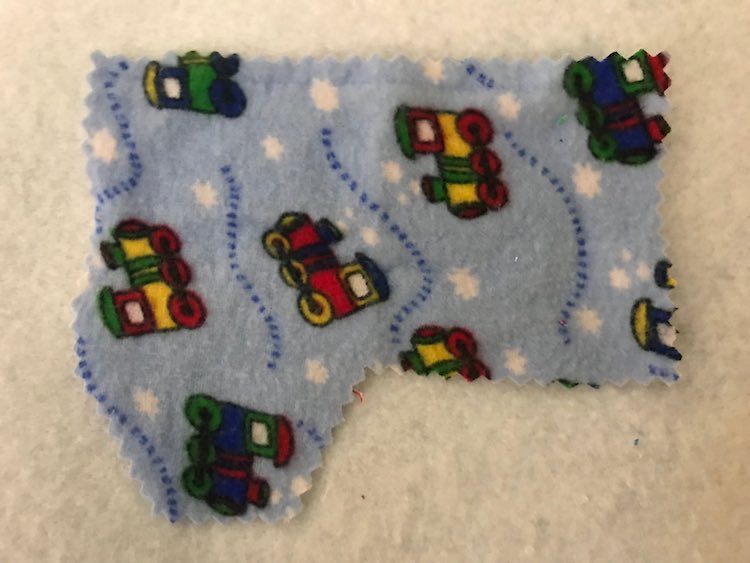
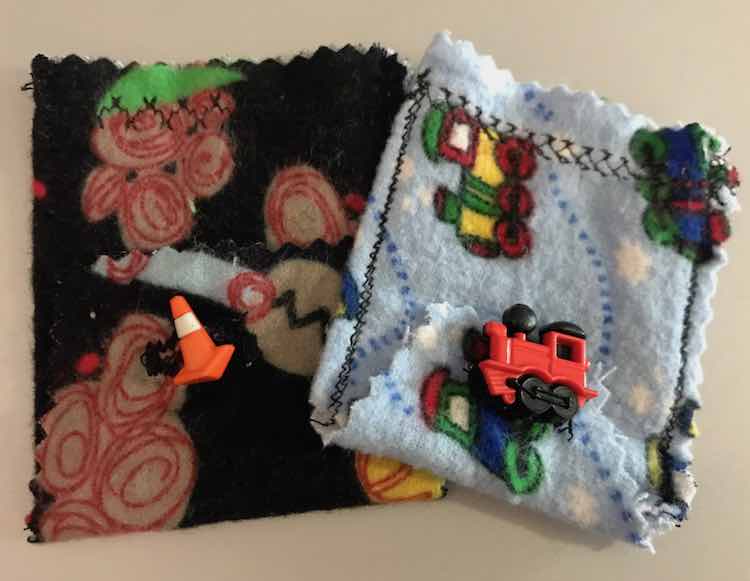
I made another freezie holder with a double layer of fabric on either side. This one was formed quicker by folding over my train fabric and then sewing along all four sides. As I sewed along the one end I freeformed a flap shape. Afterwards I folded the fabric how I’d want the holder to look, keeping the flap extended past the edge, then unfolded it and sewed down either side of the fold line.
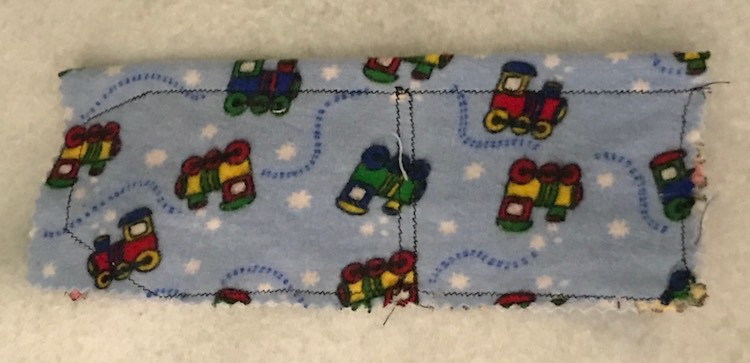
I then cut the two shapes out of the fabric by following my sewn lines.
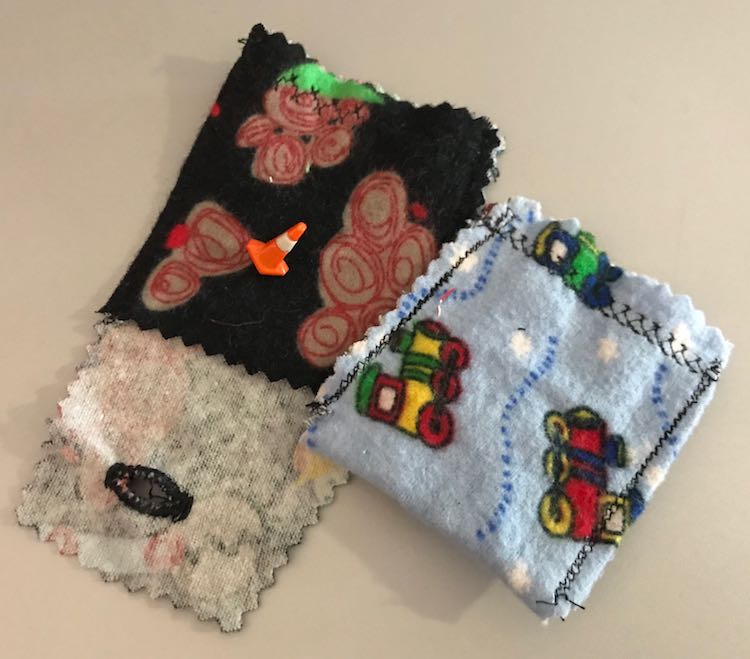
And then like before I sewed the two pieces together on either side to create a tube, added a buttonhole, checked where the button should line up, and then hand sewed the button onto the freezie holder.
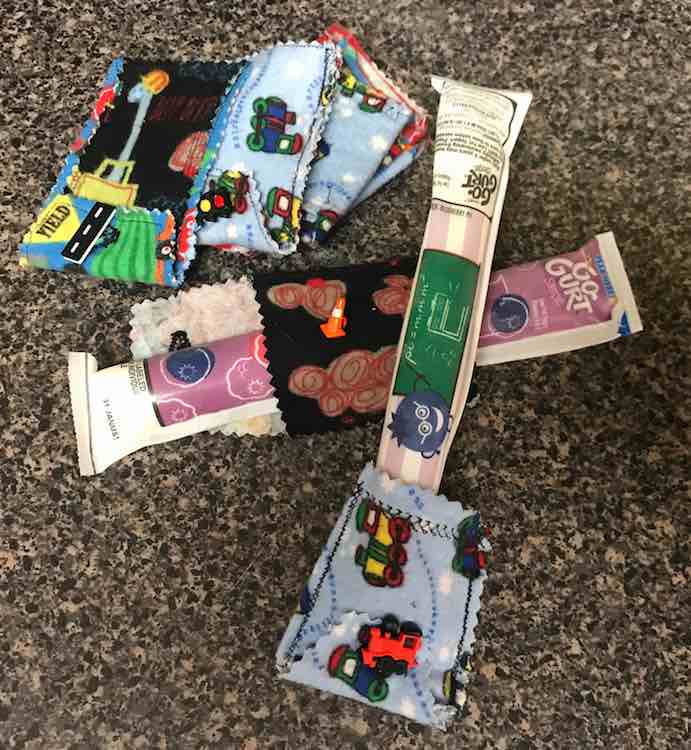
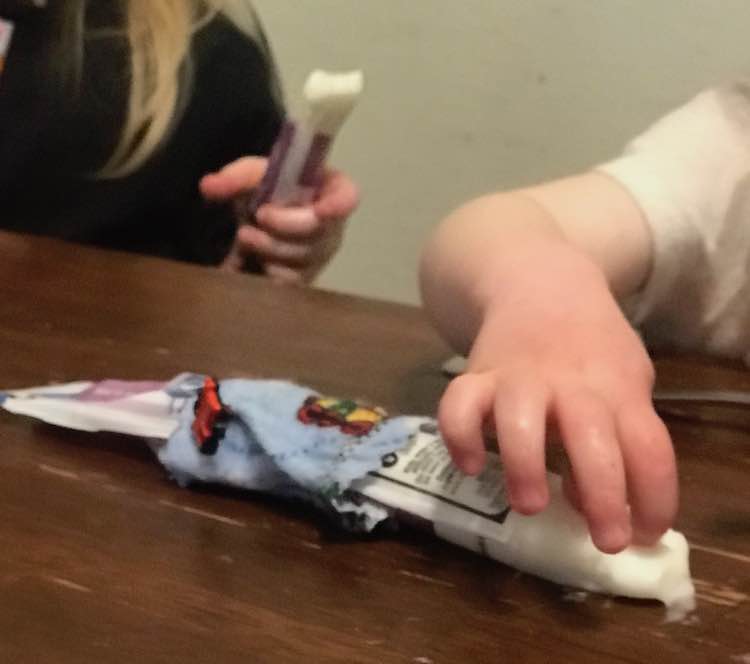
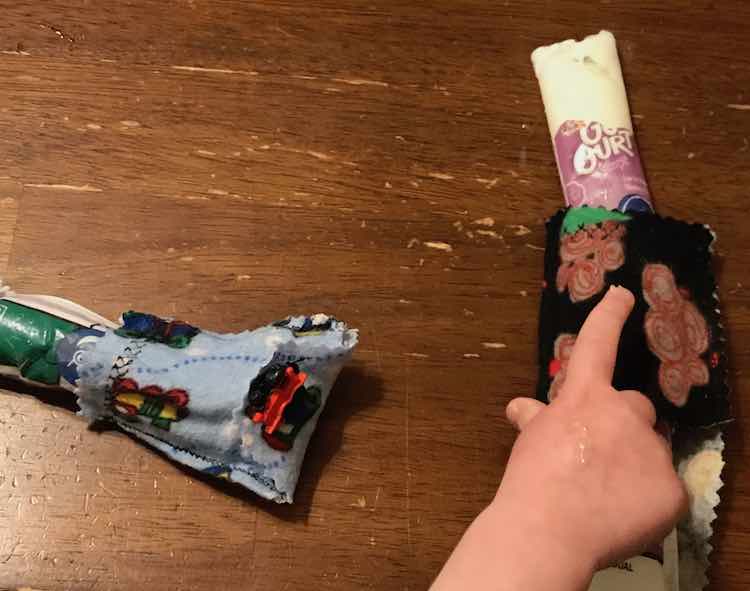
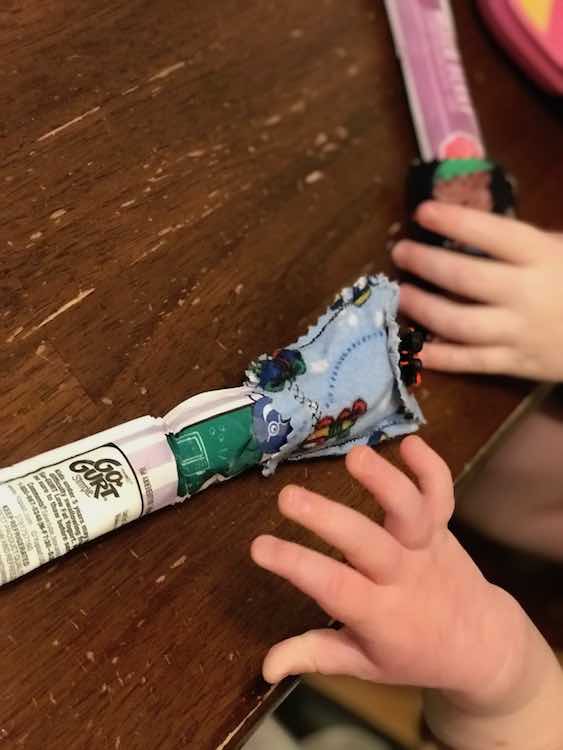
If you’re unsure what size of freezie holder you’ll need you can easily make it a bit wider than required. My kids tested them out yesterday at lunch with frozen yogurt tubes which are smaller than our Frozip freezies and they never fell out.
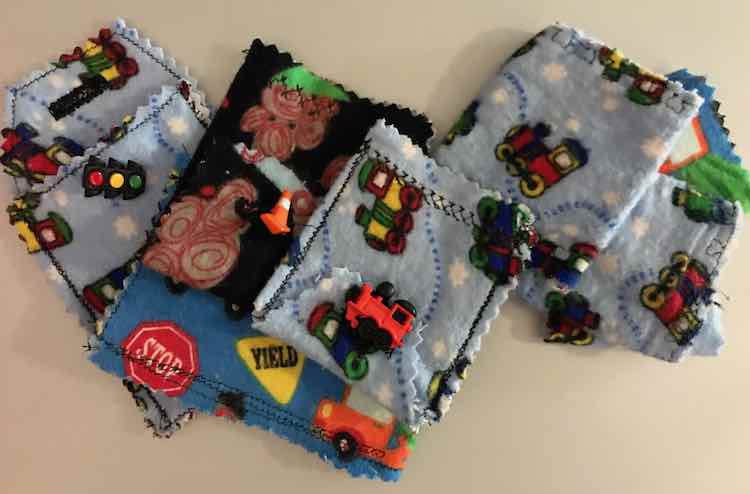
I hope you enjoyed these styles of freezie holders. I love that we now have so many on hand. After the kids are done with them I hang them so they dry overnight and then throw them in the kids’ laundry hamper. It’s so simple to have on hand and over time I can see easily making some more… maybe simpler ones without the button. Ada’s telling me right now that she prefers when they have the bottom so we’ll see which type wins.
I’d love to see your finished freezie holders! Reach out at any time in the comments below, through a post on my Facebook page, or tag me through Instagram.