
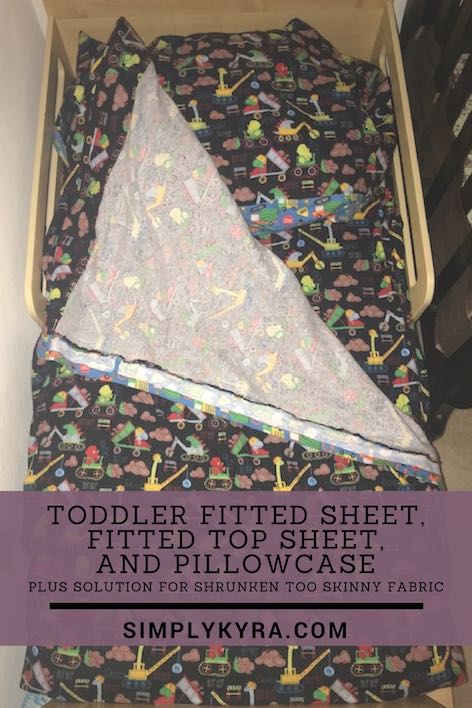
Toddler Fitted Sheet, Top Sheet, and Pillowcase

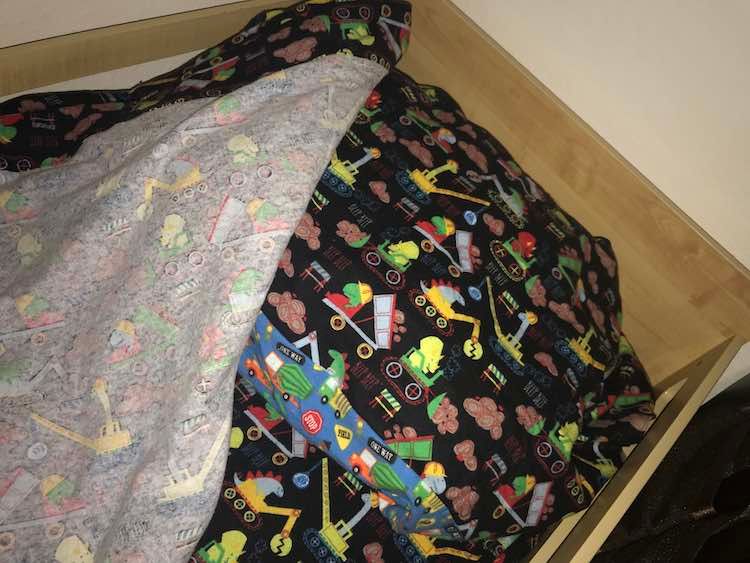
When I upgraded Ada from her crib to her toddler bed almost two years ago I happened across a three-piece toddler bedding sheet set offered through Skip Hop. It came with a fitted sheet, a regular sized pillowcase, and, my favorite, a top sheet that was fitted at the bottom and regular at the top. I loved the top sheet and quickly bought a second set in a different design. With us now debating moving Zoey out of her crib (and only having the two sets of sheets including the pillowcase and top sheet as we used our single set of fitted sheets in the crib now) I was excited to come across a tutorial to make your own crib/toddler fitted sheet through Made Everyday with Dana. I immediately thought of our Skip Hop sheets and started thinking of ways to make my own.
Materials
The fitted sheet tutorial through Made Everyday with Dana called for 2 yards of fabric for a single fitted sheet while her pillowcase tutorial called for 1 yard so I decided to buy five yards (2 sheets and 1 pillowcase)
- 5 yards of fabric – 2 fitted sheets and 1 pillowcase
- Extra of the above fabric or a complementary fabric in case of mistakes, additions, or if your fabric shrinks
- 1/4″ Elastic – 80 inches for the fitted sheet and about half that or less for the top sheet
- Sewing machine
- Thread
My top sheet was folded over about four inches and it still stretched all the way to the other end of the mattress (without the pillow). Your fabric amount will depend on whether your fabric shrinks while prewashing and your preferences including your pillowcase size.
Steps I Took
Buying my Fabric
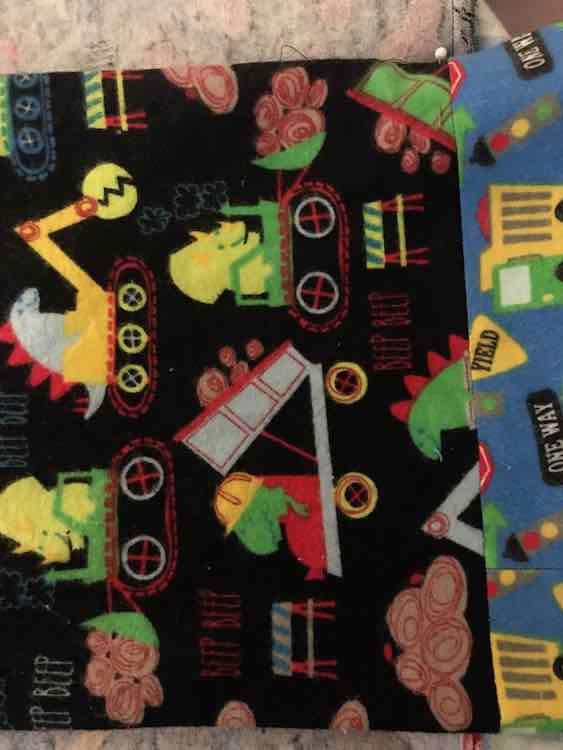
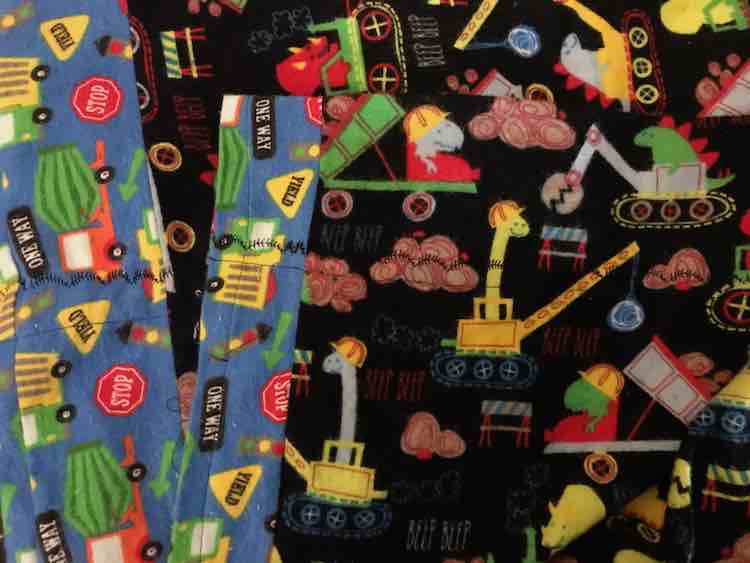
I ended up going to Joann’s with Ada as I wanted her to get to choose what kind of fabric she wanted for her sheets. I figured in person would be easier and less confusing than shopping online and this way I could feel the fabric to see if both the top and underside of the fabric felt good. We ended up circling for a bit looking for something else so her first ‘final choice’ of a green fabric with roads and vehicles all over it got switched out for dinosaurs riding construction vehicles. I had bought the required elastic from Amazon and it arrived before we had a chance to go to the fabric store so all I had to do when we got home was prewash the fabric.
Making the Fitted Sheet
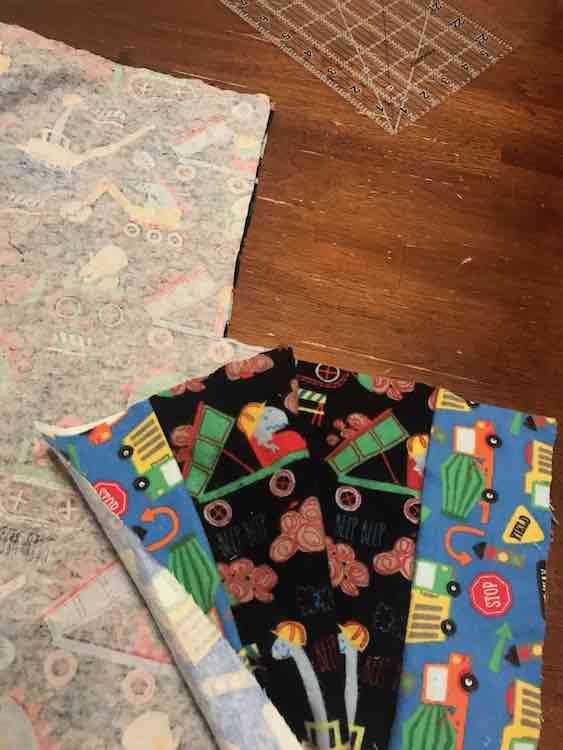
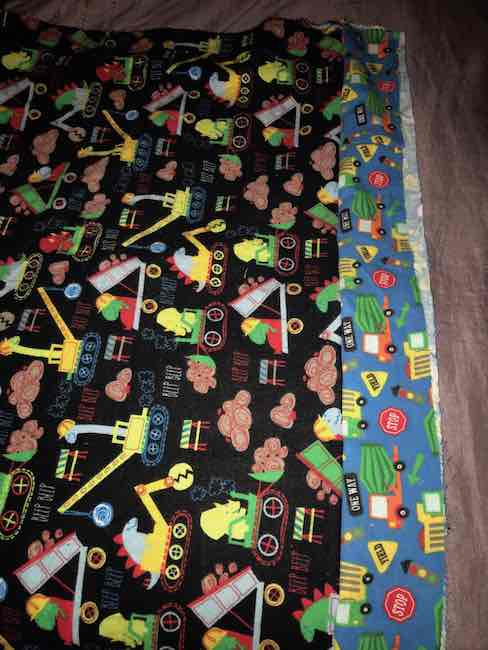
I hadn’t made sheets before so I reread the directions and rewatched the video from Made Everyday with Dana – CRIB & TODDLER BED SHEETS right before beginning. I had started by prewashing my fabric and had it shrink to a width of 40″ which ended up being 5″ too short for the simple 45″ fabric the directions called for. I was still able to cut the fitted sheet to the proper length (67″ long), but it was too skinny. To address this issue I used another fabric and decided to pad both sides of the main fabric in the hope that the resulting seams would end up on the side of the mattress and not disrupt Ada’s sleep. At first I debated using black cotton I had leftover from the peppermint swirl dresses I made before, but instead left the decision up to Ada who picked out leftover fabric I bought for her birthday party (containing construction vehicles) which was perfect. I made sure to also prewash the new fabric before going ahead.
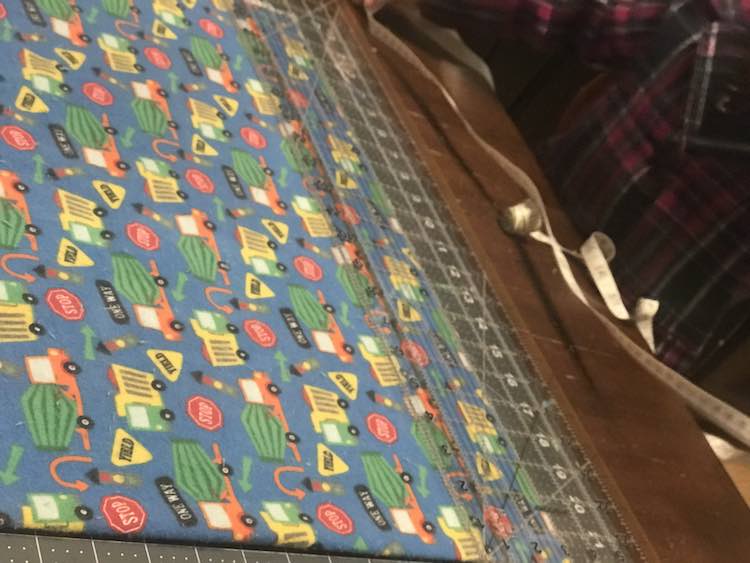
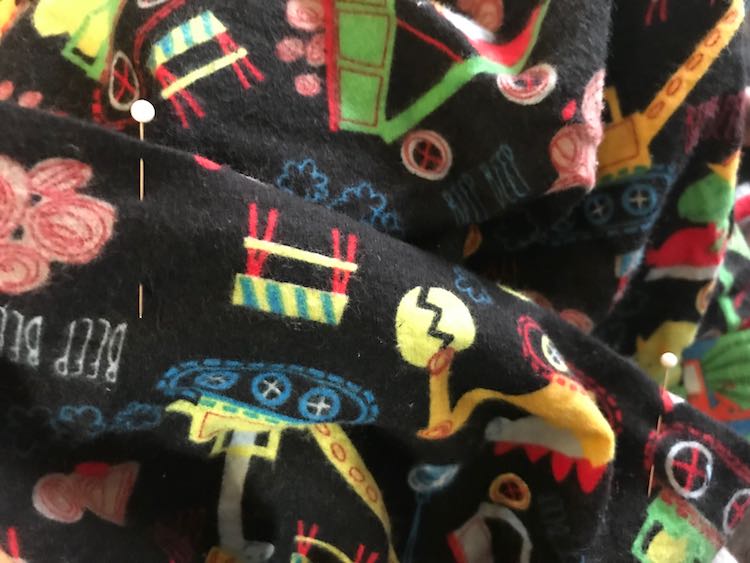
The fabric Ada chose was directional so I cut multiple 3″ strips of fabric (with the design running sideways along the strips) and then sewing them together end to end to get a really long strip of the new fabric. I wanted to pad both sides of the fitted sheet and the top sheet so knew I wanted the strip to be at least 268 inches (67″ length * 2 both sides * 2 both sheets) long. I ended up rounding the required number of strips up so I wouldn’t run out.
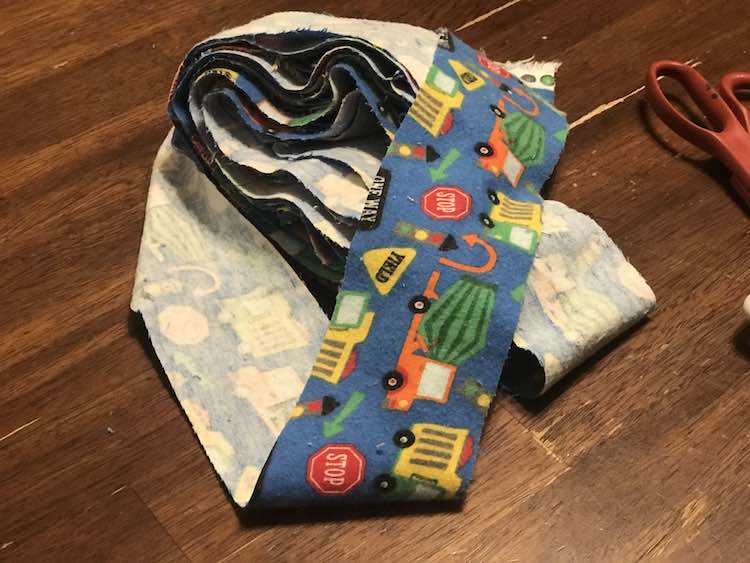
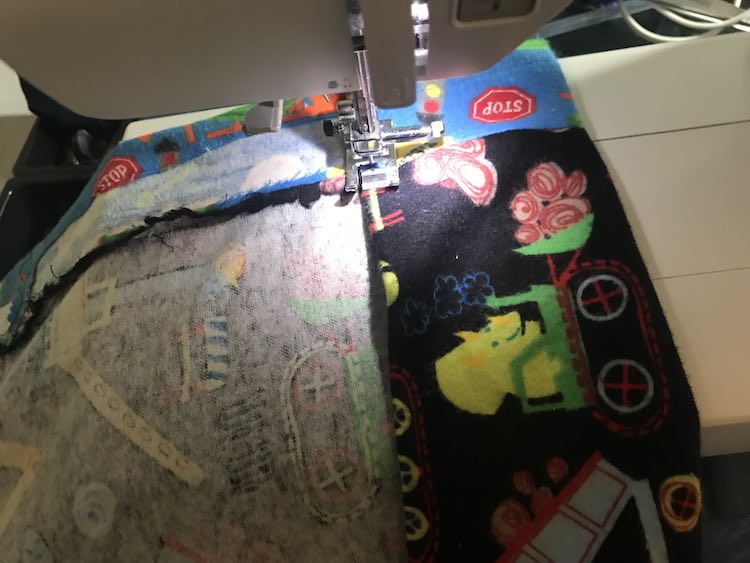
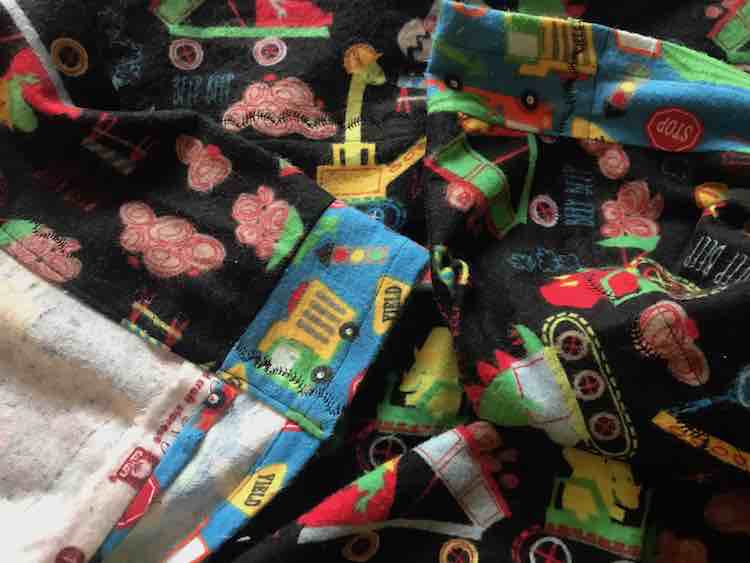
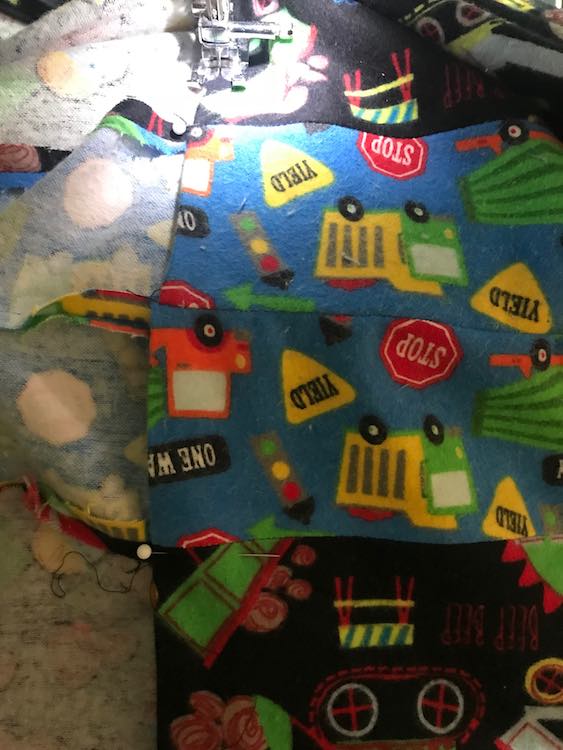
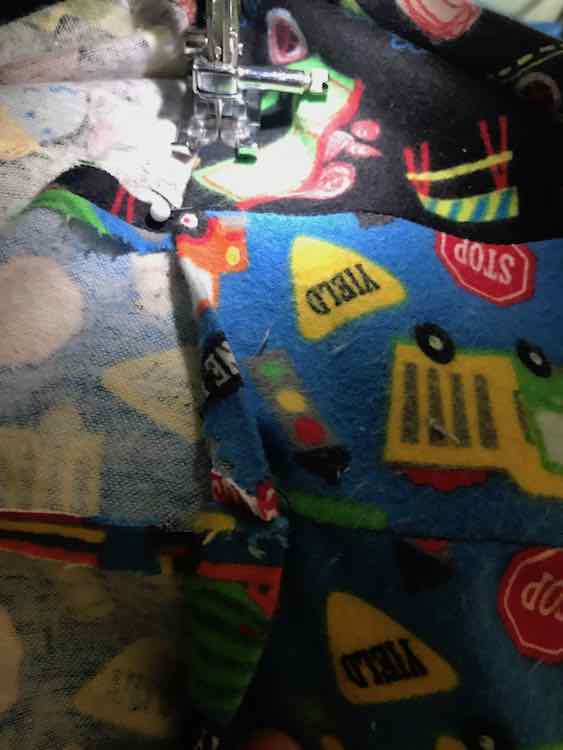
As the directions for the fitted sheet call for a 8 by 8″ square to be cut out of each of the corners I started by sewing the strip about 7″ from the one corner and then stopped about 7″ from the end. I then cut the excess strip off before starting on the other side (again starting and end about 7″ from the beginning and end) before trimming the excess again. When sewing the strips on I made sure they were facing outward so when the finished edges of the sheet drape over the edges of the bed the vehicles on them would be facing the right way up.
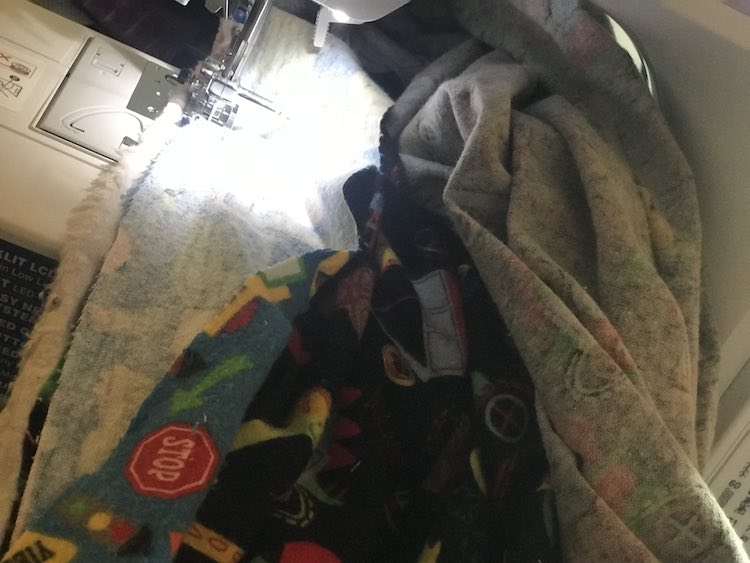
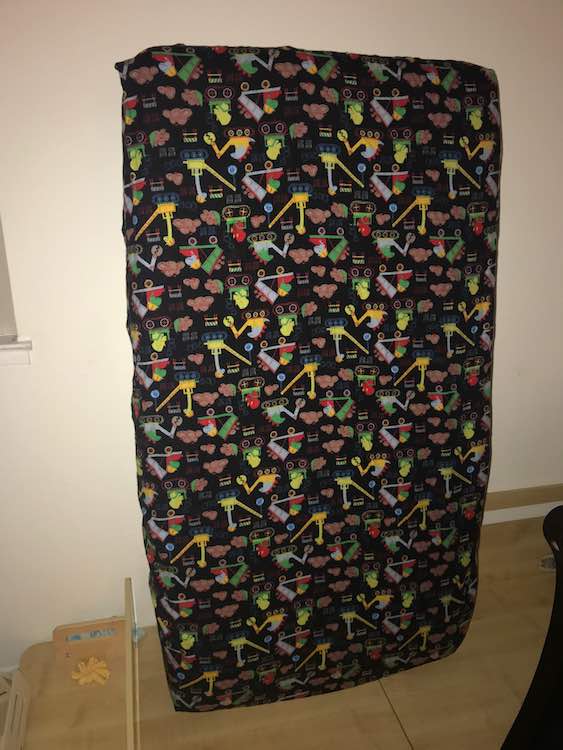
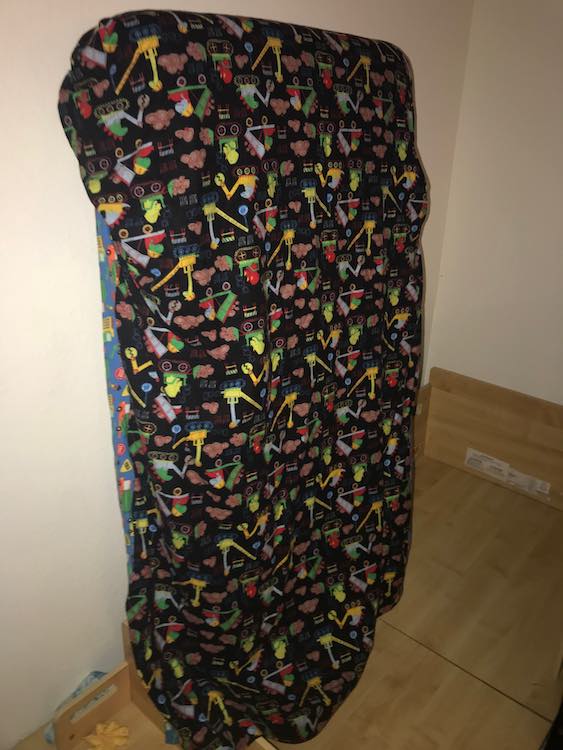
After getting my fabric to right width (it was still about an inch short but I went ahead) I followed the tutorial’s directions with the hidden elastic option by cutting out my 8 by 8″ squares, closing the corners, ironing a 1/4″ and a 1/2″ fold, sewing the fold mostly closed, adding the elastic, sewing the ends of the elastic together, and then closing off the space. All this is covered in detail through the Made Everyday with Dana – CRIB & TODDLER BED SHEETS post and video.
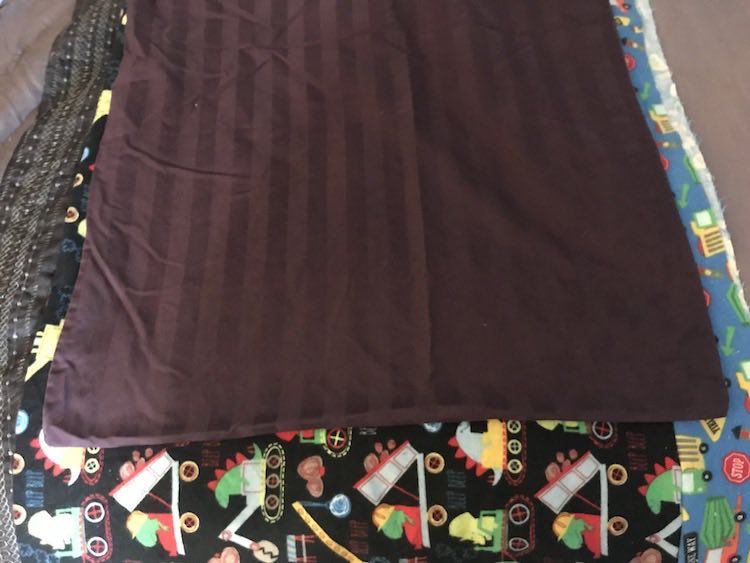
Top Sheet
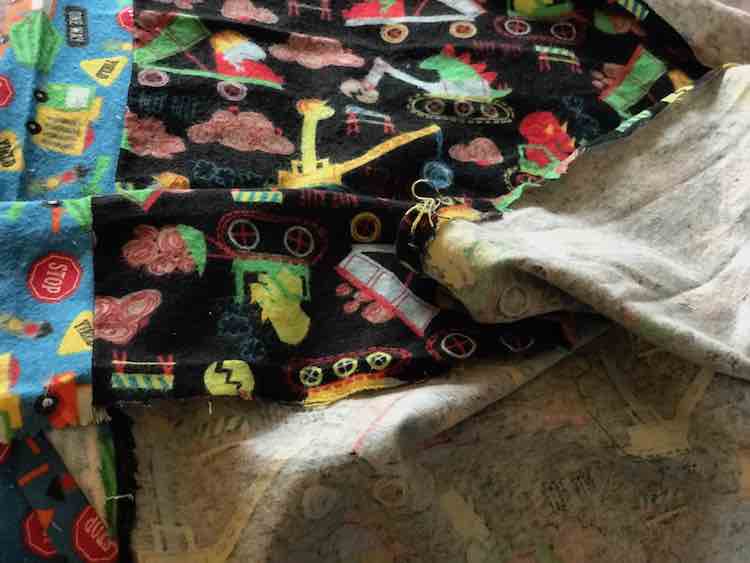
Like I mentioned above after I cut the fabric to 67″ long I had to pad either side of the fabric with my 3″ strips. I wasn’t thinking and like the fitted sheet I started and ended the strip about 7″ from the beginning and end. Don’t do that. You will only want the sheet half fitted so you’ll only want to cut the 8″ by 8″ squares from the two bottom two corners. I ended up seam ripping the strips off for about 25 minutes (watched part of a show while doing it) before sewing my two strips back onto the main strip and beginning again. You’ll want to have your strip flush or slightly overlapping the top of your sheet when you sew them on, though the bottom part of the sheet will need the squares cut off so you can leave it with 7″ of overhang from the main fabric at the bottom.
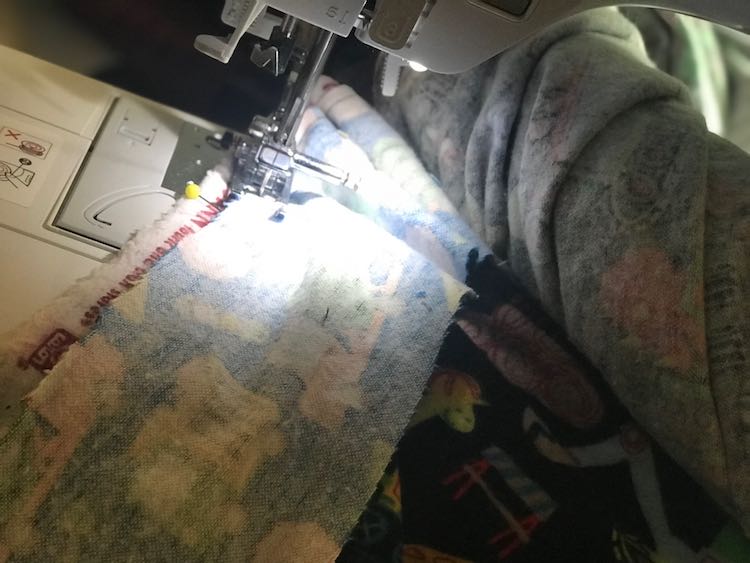
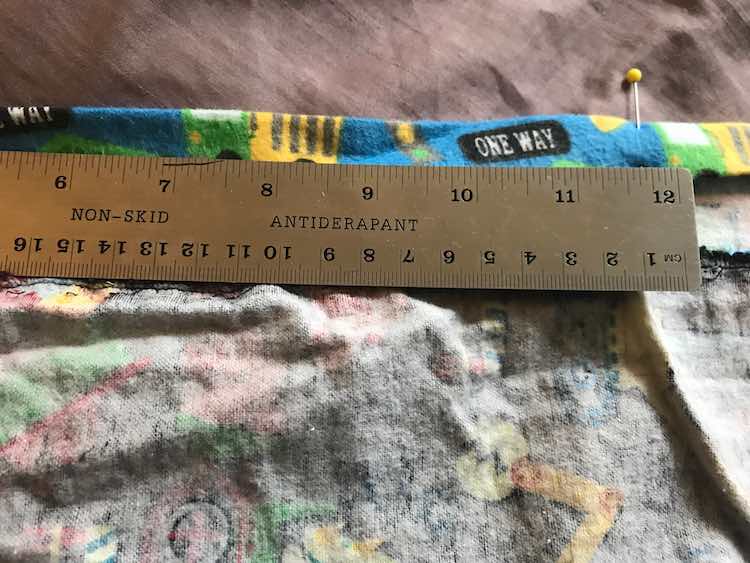
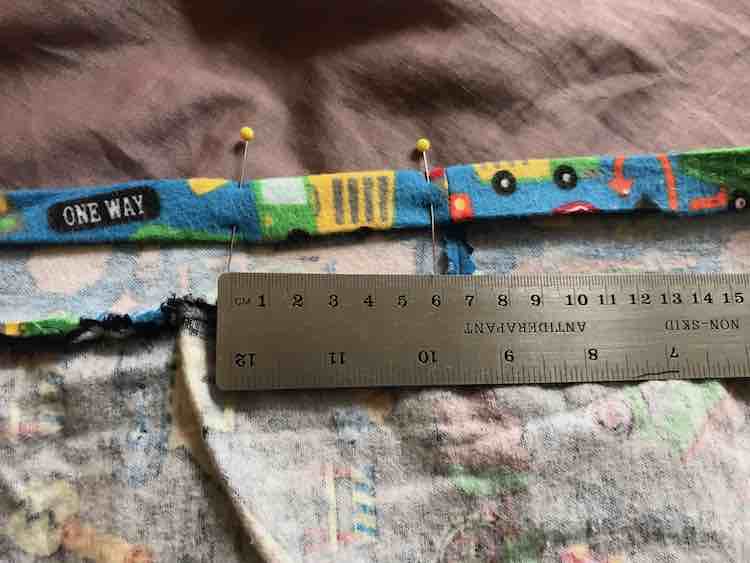
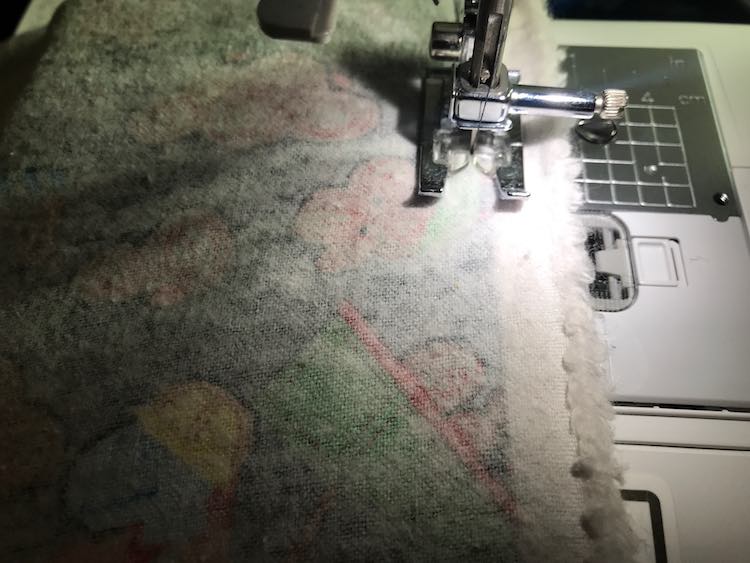
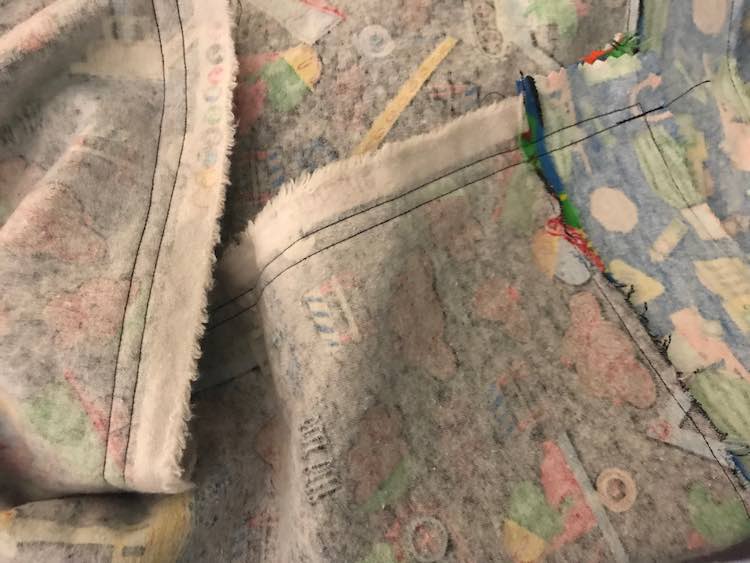
After padding my fabric I ended up with a 67″ by 44″ sheet of fabric (tutorial for the fitted sheet called for 67 by 45″) which I then cut the 8″ by 8″ squares out of the two bottom corners. You then have to add elastic to the bottom of the sheet so only the bottom is fitted. I chose to go with the hidden elastic so I folded over the edges of the bottom and both sides and ironed it in place. To save steps later I folded over 4″ of the top of the sheet, then rolled the raw edge over slightly, and then ironed both folds down. I decided to start the elastic about 12″ from the corner of the sheet so marked with a pin 12″ from either corner on the side of the sheet. I also marked 2″ over so I’d have a 2″ space on either side of the sheet while sewing the folds down, to thread my elastic through.
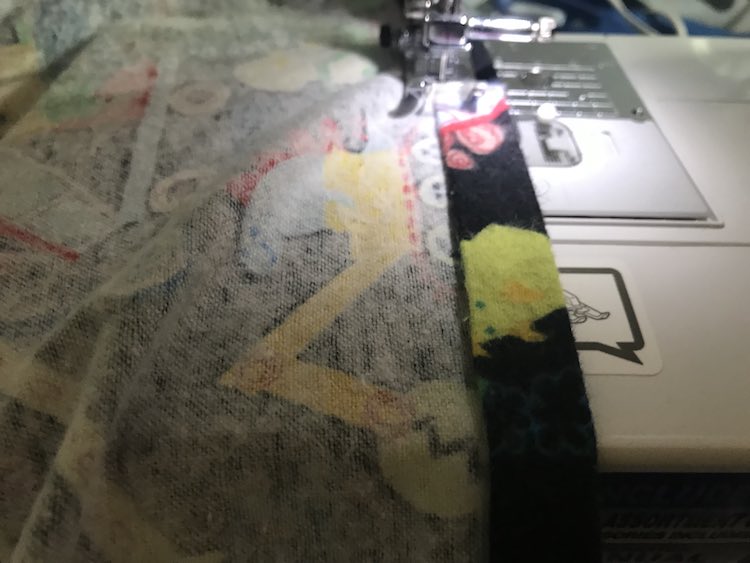
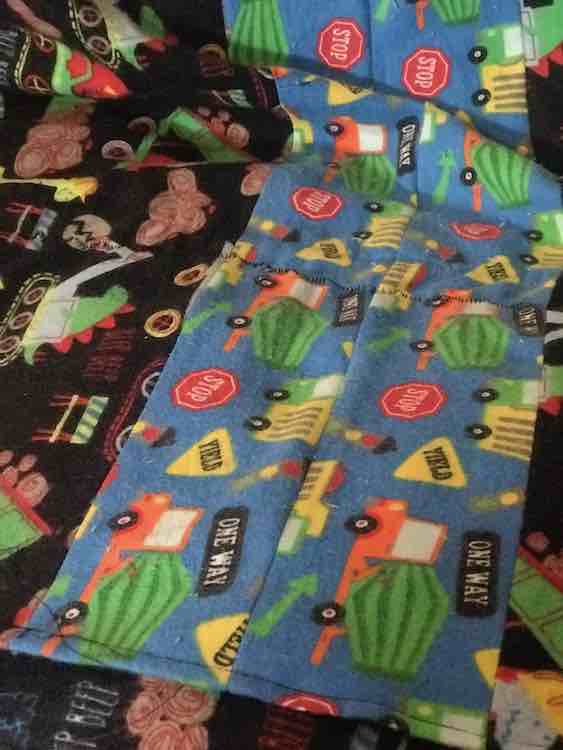
After I sewed the bottom and sides (leaving the two 2″ spaces) I sewed down the folded over top of the sheet. I then topstitched closer to the actual fold and added a decorative stitch above the first sewn sewn line.
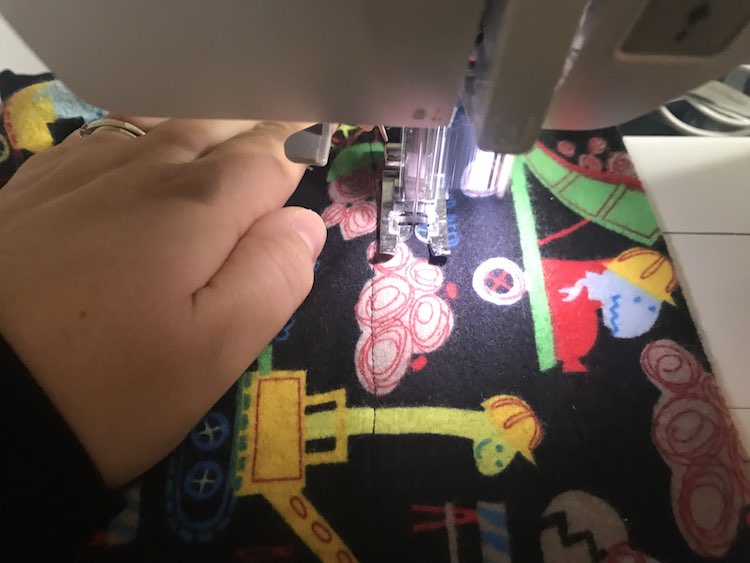
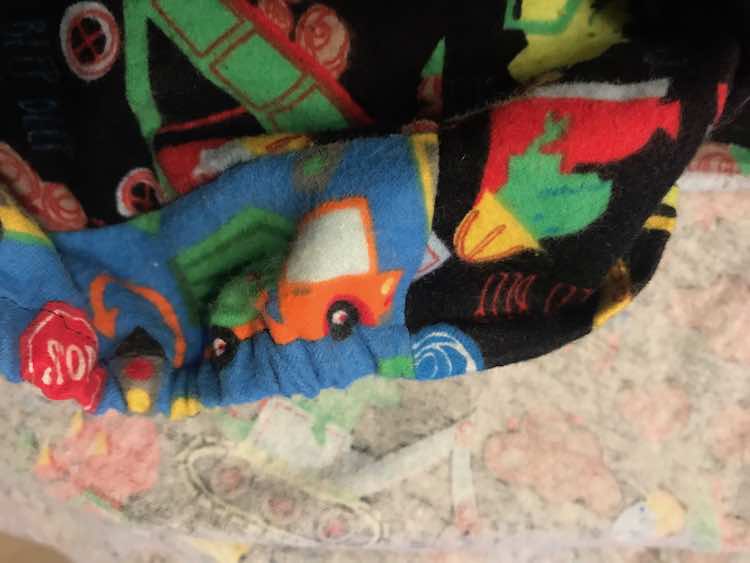
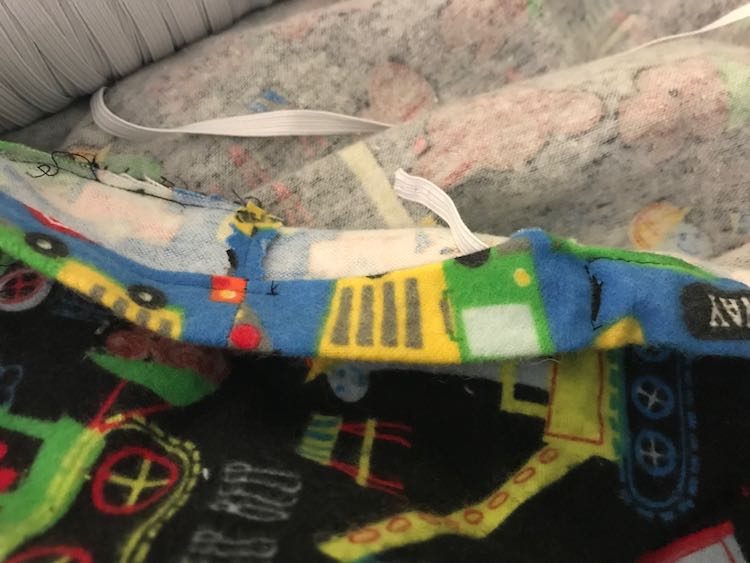
To add the elastic I used a safety pin to move the elastic from the one open hole, through the bottom, and out the other hole.
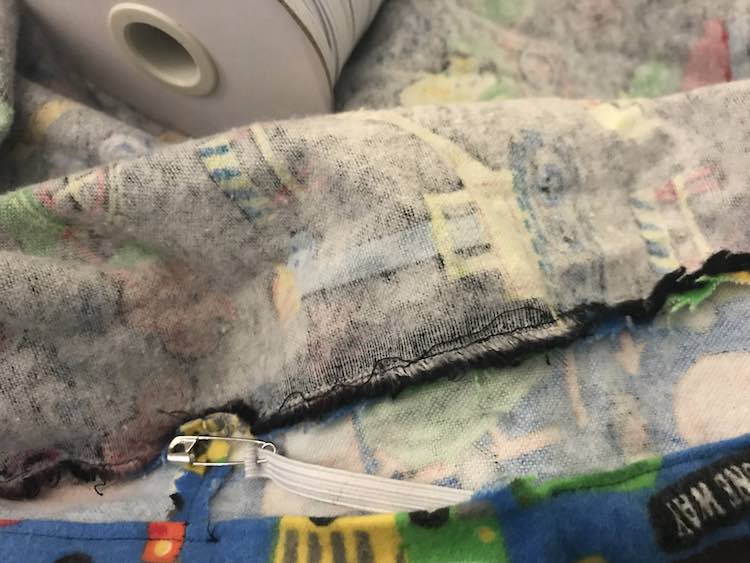
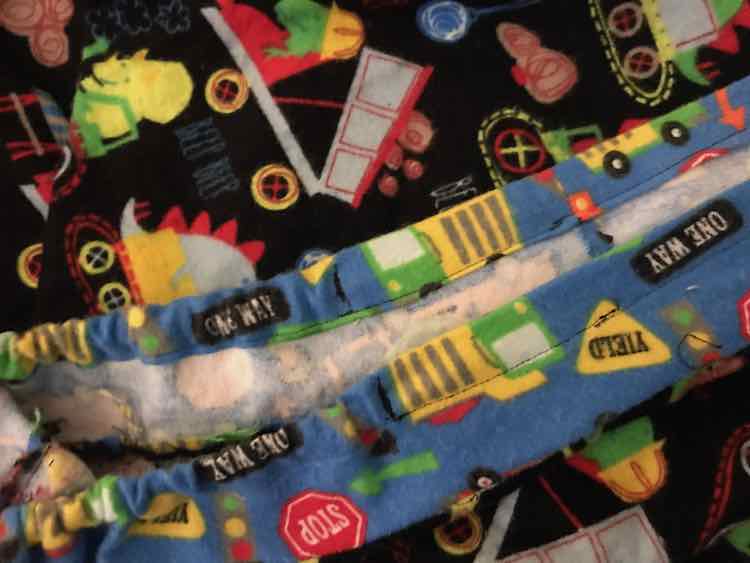
I then sewed the elastic down in the first section, tightened the elastic so it looked similar to the fitted sheet (ended up using about 19“ of elastic but when I measure the top sheet the next morning I got 42″ so not sure how much it stretched overnight), and then sewed down the elastic on the other end. I waited until I sewed the other end of the elastic down before cutting it from the roll and then hid the cut end inside the folded fabric before sewing both 2″ spaces closed.
Pillowcase
I hadn’t sewn a pillowcase before, but wanted Ada to have a matching set. I ended up watching Made Everyday with Dana – HOW TO SEW A PILLOWCASE • 2 WAYS • 1 YARD OF FABRIC before beginning. I used the remainder of my 5 yards of fabric after cutting out the fitted and top sheets to make my pillowcase. I wanted the print to be facing upright for Ada so decided to fold the fabric at the top. I compared the resulting ‘pillowcase’ with one of my store-bought pillowcases (by laying it over top) and noticed that my pillowcase was longer and shorter. This wouldn’t have mattered with a toddler sized pillow, but since I had already added a secondary fabric to my sheets and had more of my strip left I added a strip to either side of the fabric (top and bottom) so it would be taller.
After adding the fabric I folded over the end (that will be the open side) over by about 9″ and ironed it in place. I then folded over my fabric (right sides together) and sewed the one of the ends and the top closed.
On the open end I folded the edges over on the ironed creases, pinned it in place, sewed it down, put it right side out, topstitched at the fold, and then added a decorative stitch by the first stitch.


Quick Steps for Making the Top Sheet
- Make sure your fabric is 45″ wide. Mine was 44″ and it worked. I used a length of 67″ and folded over the top by 4″ and it reached perfectly (without a pillow) to the other end of the mattress. Total length is your decision based on what you want to end with and how large you want the fold to be at the top.
- Cut out a 8″ by 8″ square from the two bottom corners.
- For both corners line up the cut and sew together with the wrong side out so you end up with two corners.
- Get out your iron and fold over the sides and bottom by 1/4″ and then 1/2″ and iron them down. (If you want a simpler method you can use the shown elastic version in Made Everyday with Dana – CRIB & TODDLER BED SHEETS)
- While the iron is out choose how far down you want the top of the sheet folded over and fold it over. I also folded over the raw edge so I didn’t have to serge or zigzag stitch it. Iron both folds down.
- Mark a 2″ space on either side of your sheet about 12″ from the bottom corners.
- Sew along the edge of the fold on the bottom and sides leaving your two 2″ spaces open.
- Sew down the folded over top. Optionally, top stitch at the fold near the top and any decorative stitches you want.
- Thread your elastic through the bottom of the sheet starting at one of the holes you left open and ending at the other.
- Sew the one end down.
- Tighten the elastic (to 19″ or your preference).
- Cut and sew the other end of the elastic down.
- Trim or hide the ends of your elastic within the folds and sew your two holes closed.
- You’re done your fitted top sheet!
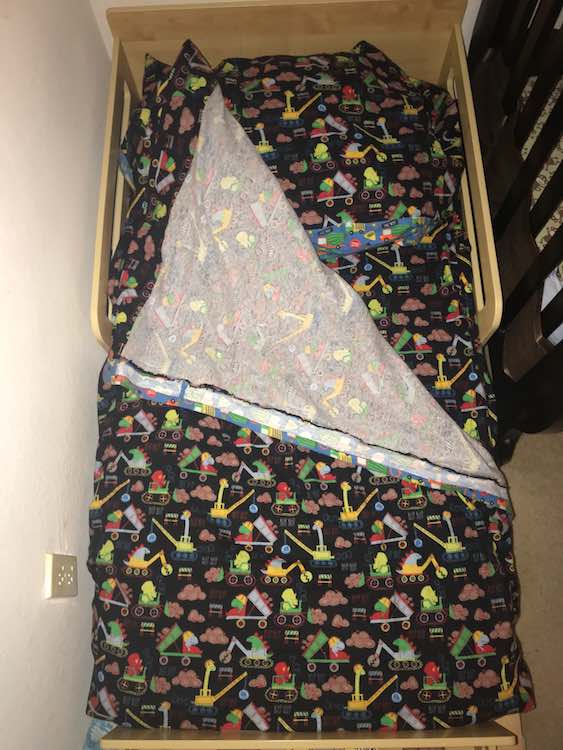
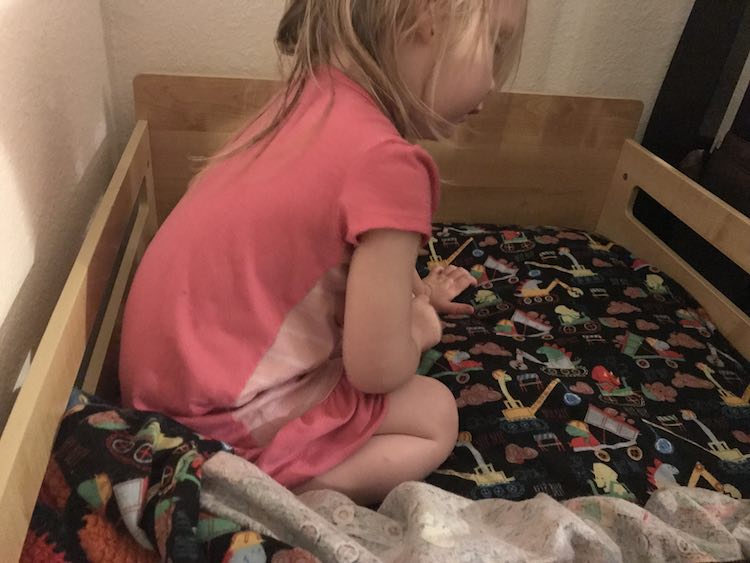
Easiest Way to Make a Toddler Bed with a Fitted Top Sheet
Conclusion
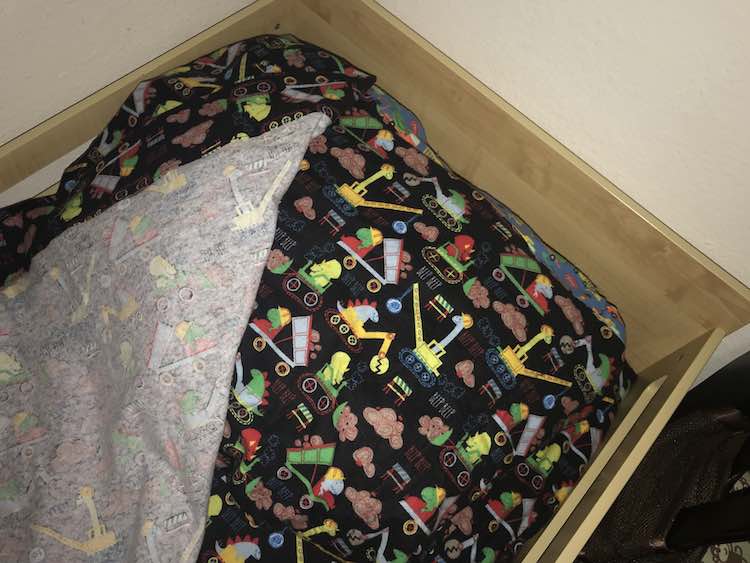
I’m so glad I tried to make Ada her sheets. I loved how she got to pick her own fabric and am worried what will happen the first time I have to wash her sheets. At times she got to watch the process of the sheets being made (otherwise I’d still be working on them). Even though my fabric shrank I’m so glad I prewashed my fabric so it shrank before I made the sheets. The fact that the blue fabric matches the main fabric (construction vehicles) and that it’s leftover from her birthday party make me happy. She was overjoyed at seeing her bed made and loved her new pillow (seemed wrong to put her toddler pillow inside the new pillowcase). I can so sew making more in the future!
I would love to see your finished sheets and how they’re customized to your child. Feel free to share in the comments below, post on my Facebook page, or connect with me on Instagram.
Did this save you time?