
Dried Out Oobleck (Oobleck Sand)

I discovered oobleck sand after Zoey’s last birthday party and at first I wasn’t going to share it as it seemed so inconsequential but over the last month the girls and I ‘made’ it two more times and each time it kept them so entertained. This is a simple way to extend oobleck play with no added effort as it’s almost easier on you if you do make it. Of course this might only work if you’re in a dry and/or warm climate… though now I’m wondering if this could be created in the oven if it’s wet or cold where you live.

If you haven’t made oobleck before it’s incredibly easy. It just a mix of cornstarch and water, along with some optional food dye for color, to create a non-Newtonian fluid that’s fun to play with. Lately the kids prefer mixing it themselves and know they can always ask for more water so ours has become runnier than the traditional oobleck. I’ve posted about oobleck itself and our other variations in the past if you’re interested in reading more about it.
- Oobleck – A Simple Two Ingredient Sensory Material
- Making Frozen Oobleck
- Frozen Oobleck Color Mixing Sensory Play
- Chocolate Oobleck
- And I first created this sandy oobleck after we hosted a ‘Color Themed Playdough and Oobleck Stations’ at Zoey’s birthday party
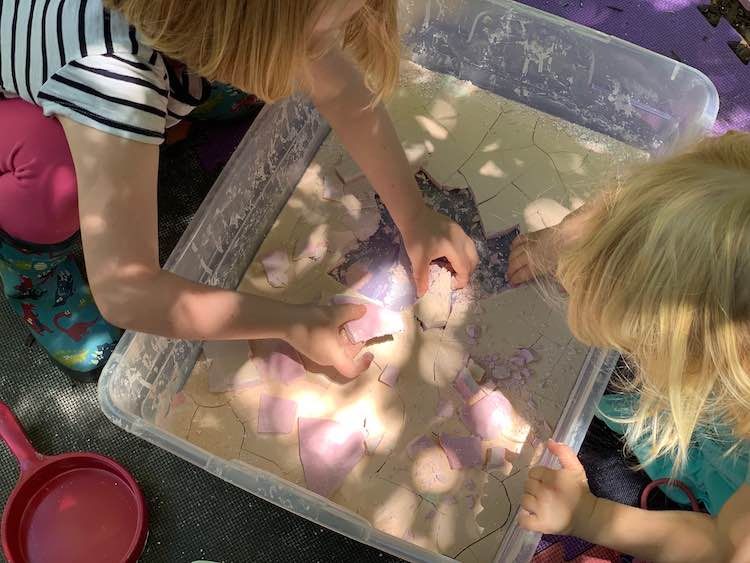
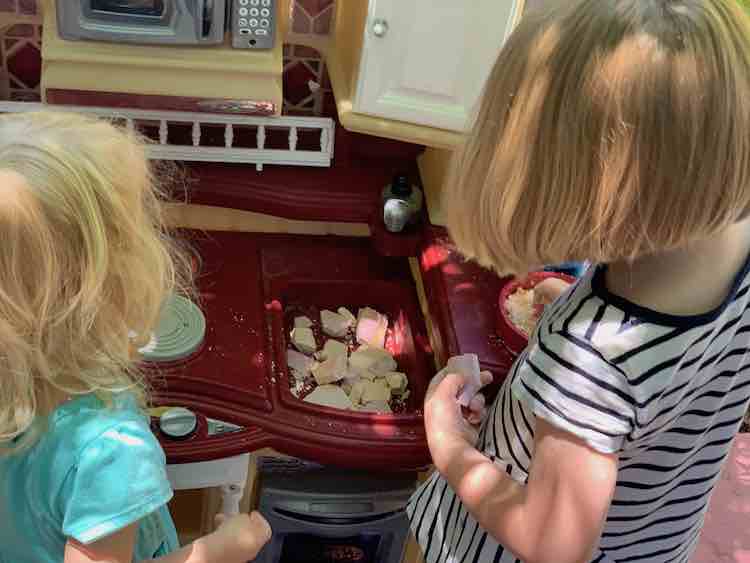
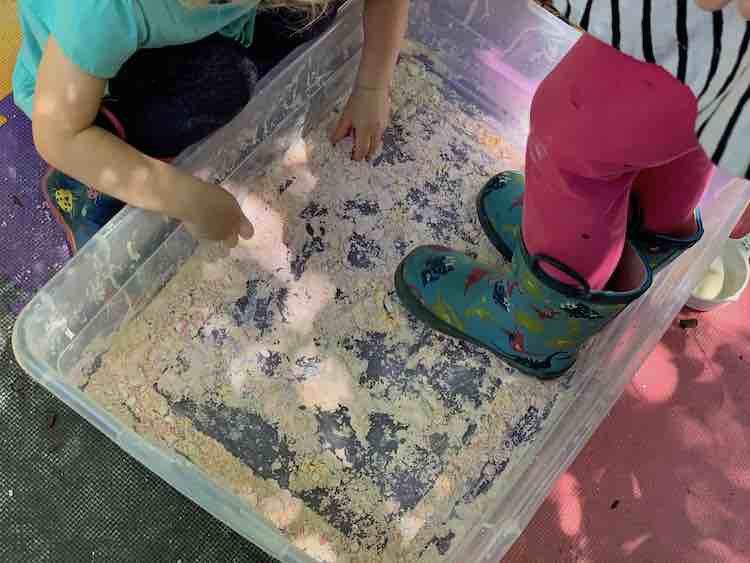
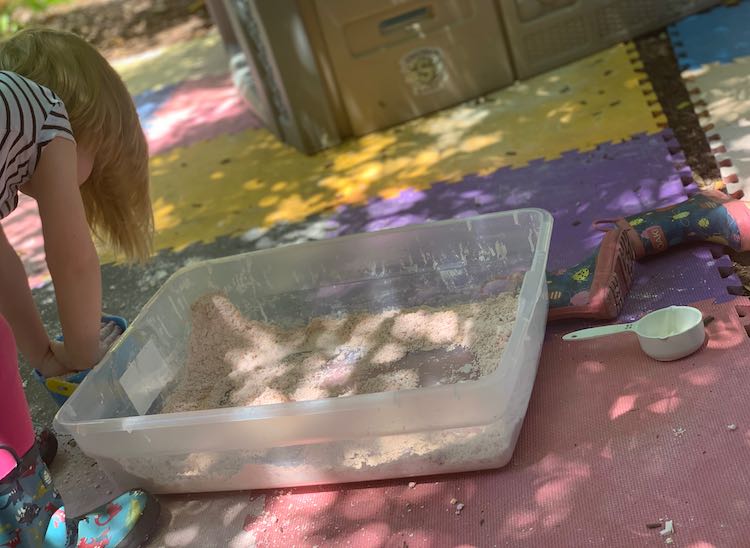
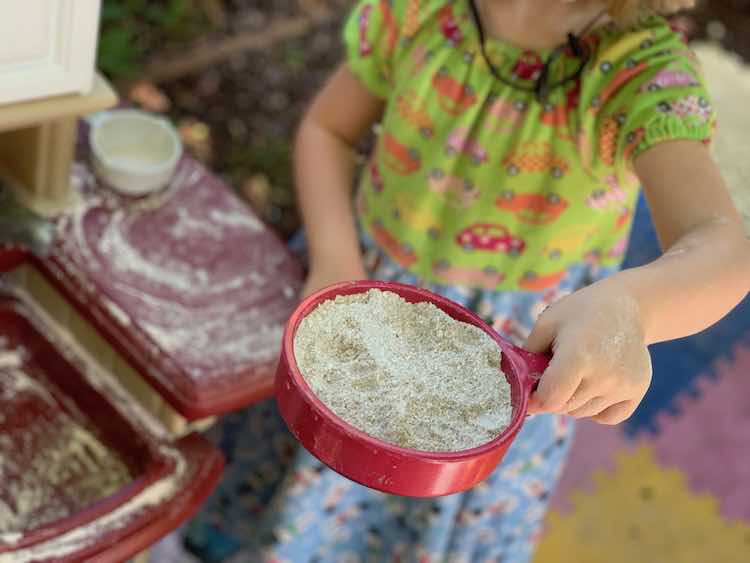
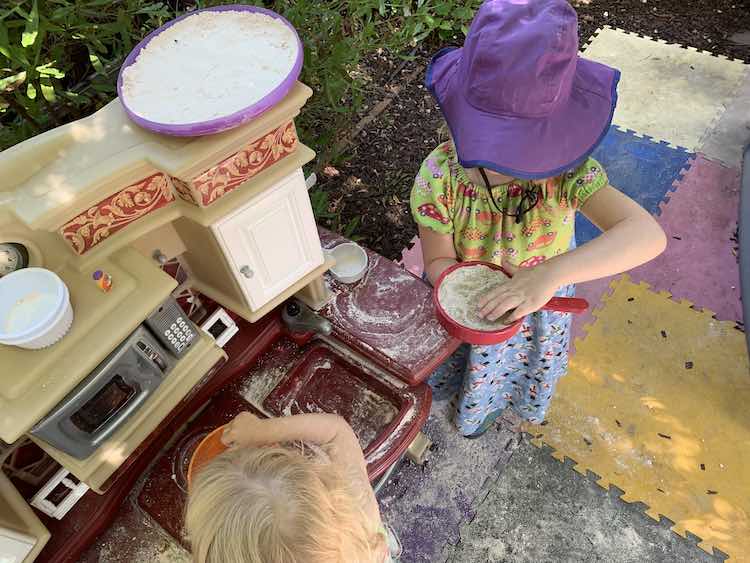
I stumbled upon this after Zoey’s birthday party where we had an orange-themed oobleck sensory bin. Later on, after the party was over, favor bags had been eaten, and the girls had gone back outside to play, they insisted they wanted to leave the oobleck and playdough out. I figured why not as it was far simpler than cleaning up especially as it was a couple of hours after the party when you care just a bit less. Throughout the afternoon and evening the area where the stations were located were in the direct sunshine so all the water evaporated out of the oobleck and we were left with a bin of hardened desiccated oobleck. When the kids discovered it they were excited at what had happened to it and instantly started exploring this new medium. Ada ended up breaking the hardened oobleck up and made oobleck sand (her words) by crushing it. Both kids played with the sand over the next couple days including using it in their kitchen set’s pots and pans and as dinosaur food. Eventually the kids got bored with it and requested water… and it was turned back into oobleck-ish as they added more water than was needed. This was repeated one or two more times before I finally forced the oobleck to be composted.
Before this the only other times we had stored leftover oobleck was when it was in a sealed container inside our home and after a day the oobleck would separate creating a watery layer on top and would start to smell. Three years ago, at Ada’s second birthday, we had a bin of white oobleck but over the course of the party other bin’s supplies (including popcorn kernels, lentils, and rice) ended up being added to the oobleck. By the time we’d gotten back outside after the party it had started smelling so I dumped it into a garbage bag before it had had the chance to fully dry out. Since this oobleck was created and left within an opened bin with no lid and had no other ingredients added it lasted much longer. Of course, I still checked on it every day or so to make sure the oobleck sand was still good.
Since, eventually, cleaning up the birthday party oobleck we’ve since made oobleck twice more and each time I let the kids turn it into ‘sand’ and play with it afterwards. This time around I figured I’d take pictures to share with you.


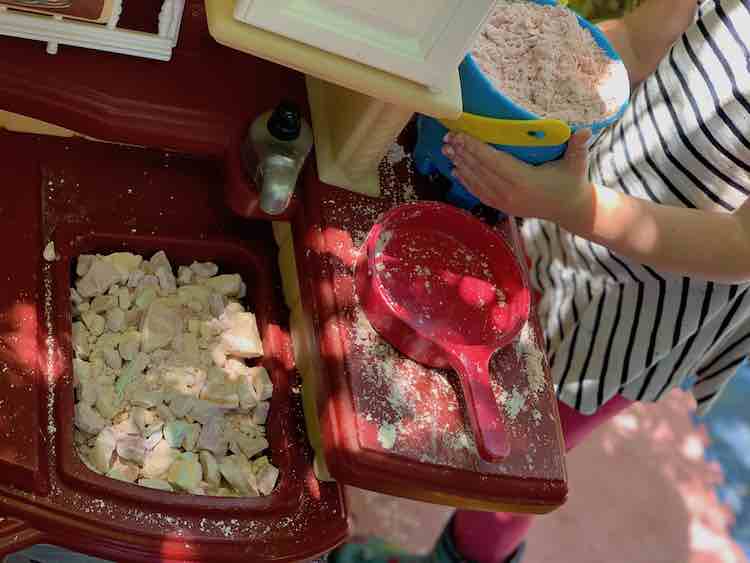
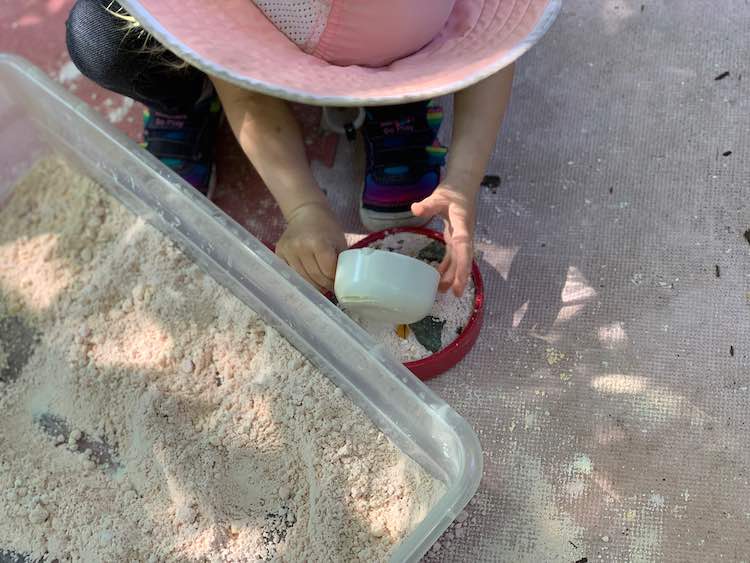
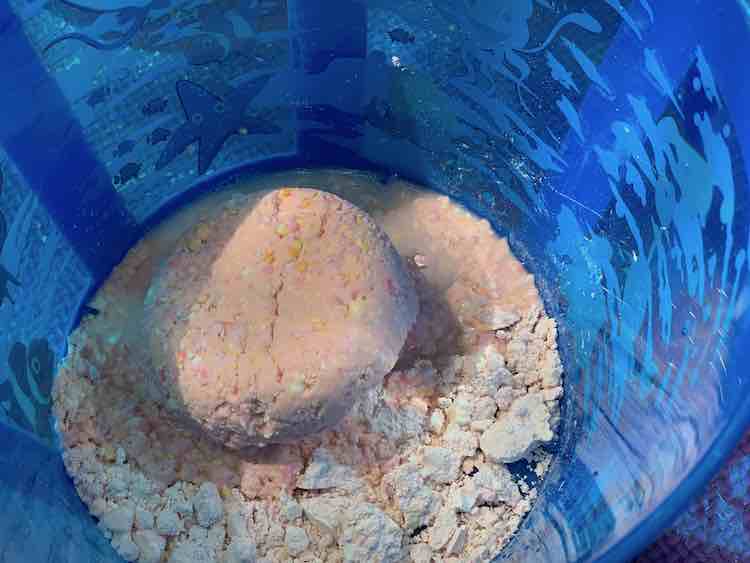
I was curious how well re-hydrating the oobleck sand would work so I added some dried oobleck sand to an empty pail and grabbed some water. I added a splash of water to the pail and started mixing it with my hands. After one more dash of water and some more mixing I ended up with fully working oobleck… that Zoey immediately started sprinkling more dried oobleck into so I left her to play… knowing I had found my answer.


Lately we’ve been inadvertently bringing home more sand than normal so ended up gathering it together in a bucket for the girls. They recently decided to add the sand to their oobleck ‘sand’ and mixed it all together.
I was curious enough about whether you can use an oven to dry out the oobleck if you’re in a wetter or colder climate that I did a quick search online for ‘dry out oobleck in the oven’. I found Time for Play mentioned drizzling oobleck over cotton balls and baking it in the oven at 300 degrees for 45 minutes to dry them out. They love to hammer these hardened balls and I can see potentially trying this out. I also came across a pdf from the California State Science Fair in 2015 where Eve tested out how oobleck changes when exposed to extreme temperatures. (The link was direct to the pdf but I found the directory of abstracts for the year listed here. She was project number J1316.) She mentioned at 400 degrees Fahrenheit the oobleck separated into two different layers: a cornstarch layer and a “gel” layer. I only had access to the abstract so I’m not sure how long the oobleck was baked for but now I wonder if you could dry out oobleck at a lower temperature for longer, akin to when you dehydrate fruit, so it more slowly dehydrates. Though I’m guessing it’s not too hard to dry out since Babble Dabble Do mentioned “[t]o store oobleck let it dry out in a bin open to the air, then refresh it with water when ready to use again. I tried storing it in an airtight container and after few days it spoiled.”
I love how this was simple to create yet kept the kids happy for hours. If you were looking for legit sand-y oobleck I was curious if it existed and did a quick search and found Buggy and Buddy’s Sandy Oobleck Recipe. I haven’t tried it yet as I don’t have a ton of sand at home but it looks interesting especially given that they used dinosaurs and when they left theirs outside it hardened and the “dinosaurs had left fossil-like imprints”.
Have you inadvertently created this before? Did you play with it afterwards? Are you going to leave your oobleck outside the next time you make it? What do you create with your oobleck sand? I’d love to hear in the the comments below or you can even share on my Facebook page or Instagram. I hope you have a great day and your oobleck is fun!
Did this save you time?