
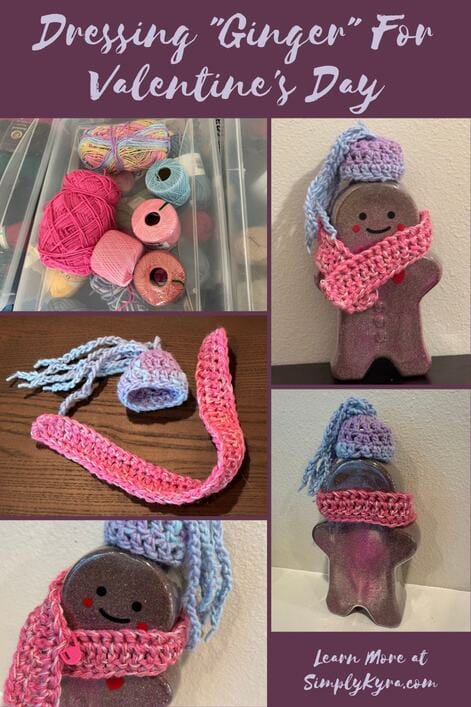
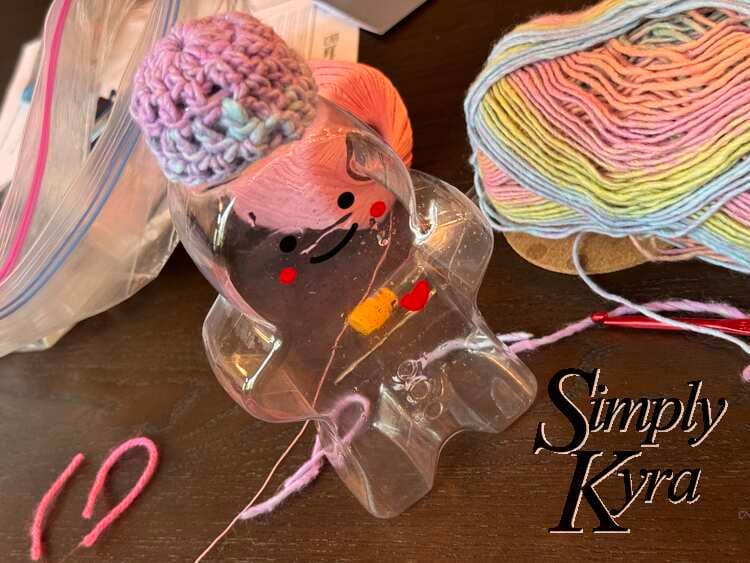
Dressing "Ginger" For Valentine's Day

Before Christmas Ginger Lab came out with a wintery Christmas-feeling gingerbread person bottle which I had to have... I'd been missing the ginger beer itself so it was an easy choice to make. I absolutely loved her outfit and ended up later filling her with mainly brown sand so she'd look more like a gingerbread cookie. With the decision to keep her as a year round decoration made I knew I needed to also create her a new outfit since it was no longer Christmas.
Quick Overview
I had decided I'd go simple and make her a pink scarf for Valentine's Day. Then it got more complicated when Zoey wanted to make Ginger some hair using a simple crochet chain. This decision led to me creating, essentially, a hat to use as a wig base but then after two strands of hair Zoey grew bored with making it, understandably, so I finished it off with a few more chains and moved them all to one location to look more like a pony tail. And with that Ginger's hat/hair and scarf was done.
Yarn Choices
We shopped my yarn stash for Ginger's clothing. Zoey went through looking for rainbow colors and seemed to ignore my stash of cotton yarns and went for the more special ones. She finally settled on the this unlabelled rainbow-ish yarn I had but later didn't like how it randomly got thicker in some spots.
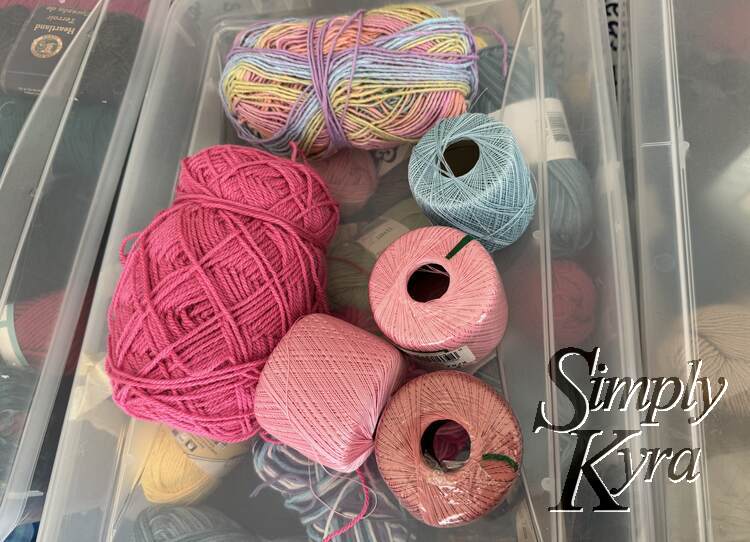
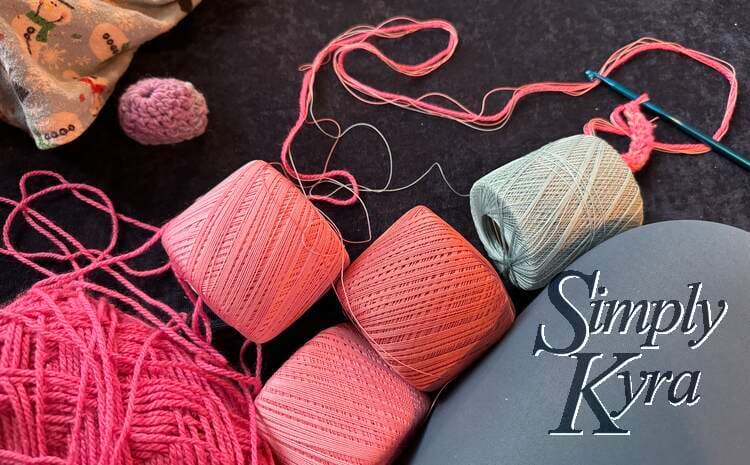
Originally, for the scarf, I had pictured a pink and perhaps red sparkly yarn(s) but I didn't own anything like that. Instead I chose an unlabeled pink acrylic or cotton blend yarn for the scarf and paired it with four balls of crochet thread I bought second hand years ago to add the idea of sparkle. I went with the pink Valentine's Day theme with two light pinks and a dark one before throwing in a blue to hopefully match the hair Zoey was creating.
Hair or Hat
The hat, or should we call it hair, started off with Zoey choosing her favorite rainbow yarn and then deciding to create crocheted chains for the hair strands. With her idea in place I decided to use the same yarn to make essentially a hat to attach Zoey's strands to. After two strands, which she loosely attached herself, she was done so I pivoted by making more hair strands and attaching them to the center of the now hat. Figured this way it can cover up the hole in the center and I could simply called it a ponytail.
TLDR: How To
Hat
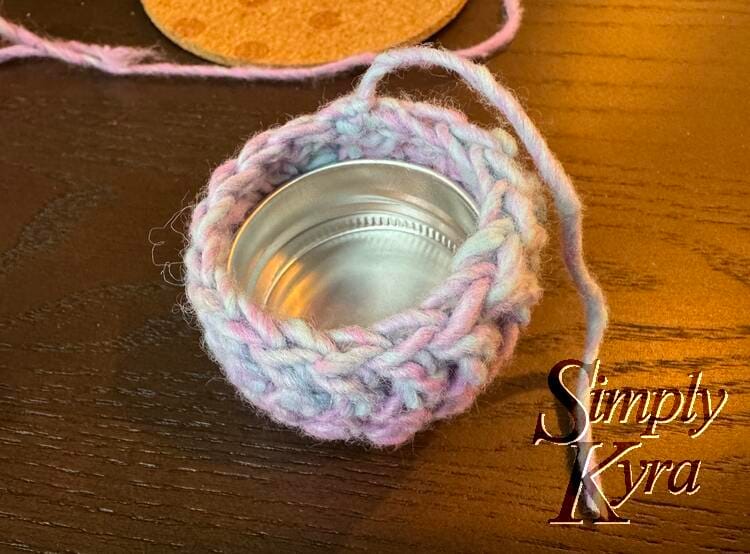
- Magic circle with a round of double crochet stitches (dc) until it covered the lid and then close it off.
- Another round of double crochet stitches (dc)
- Increased the size with one dc, one dc, two dc repeated all the way around
- Finished off with a round of single stitches (sc)
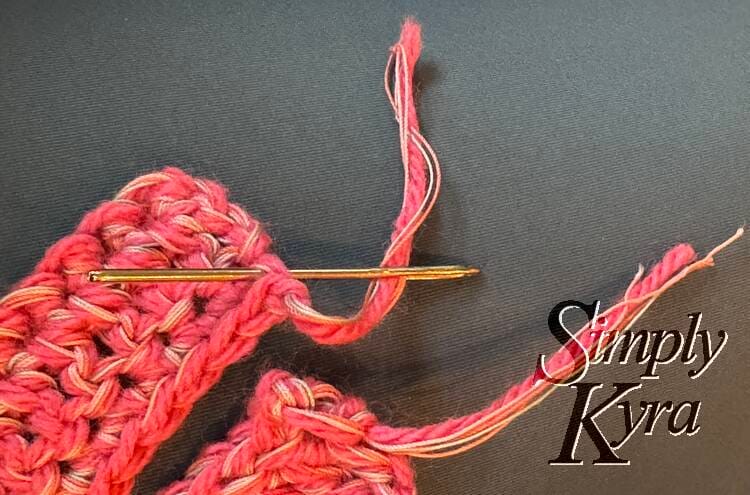
- Cut my yarn, pulled to knot it, and used a large needle to hide my ends.
Hair
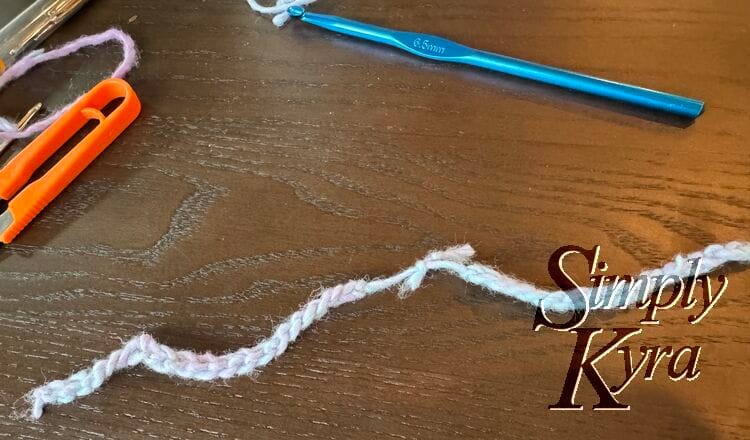
- Zoey made two chains for each strand of hair
- I made two chains twice as long so I could fold them in half to make a total of four additional strands of hair.
Putting It All Together
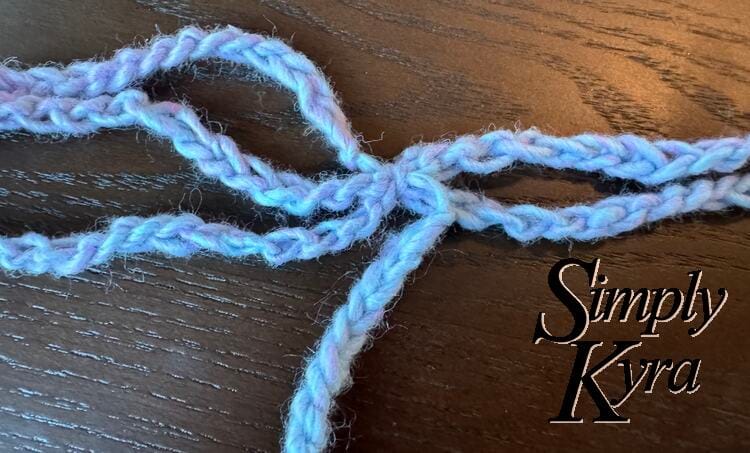
- Tied Zoey's two strands together end to end to make one long one
- Folded my two strands in half and tied the center with Zoey's making six strands gathered together
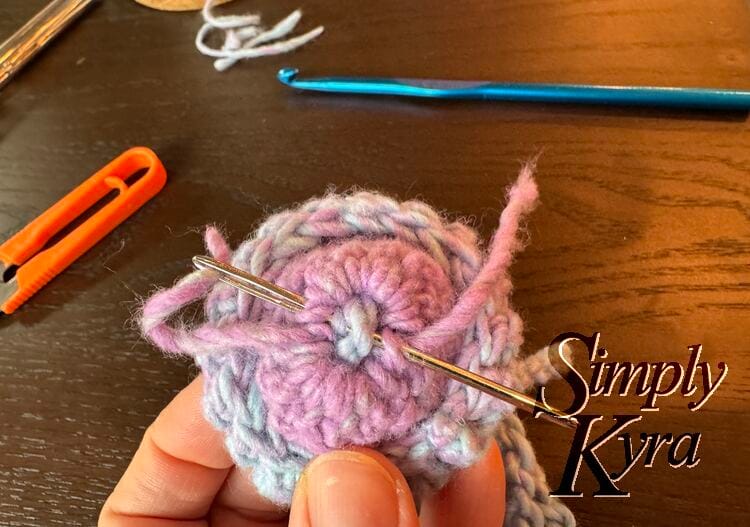
- Sewed them to the center of the hat making sure they stuck out the top together
Done!
How To Make The Hat
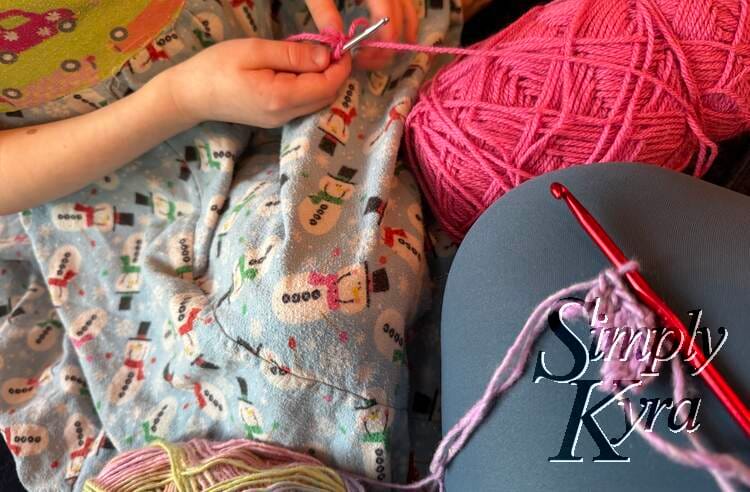
After listening to Zoey's hair idea and explaining how we'd make it happen I reminded Zoey how to make a crochet chain with the pink thread while I quickly created the hat or wig base with her chosen rainbow yarn.
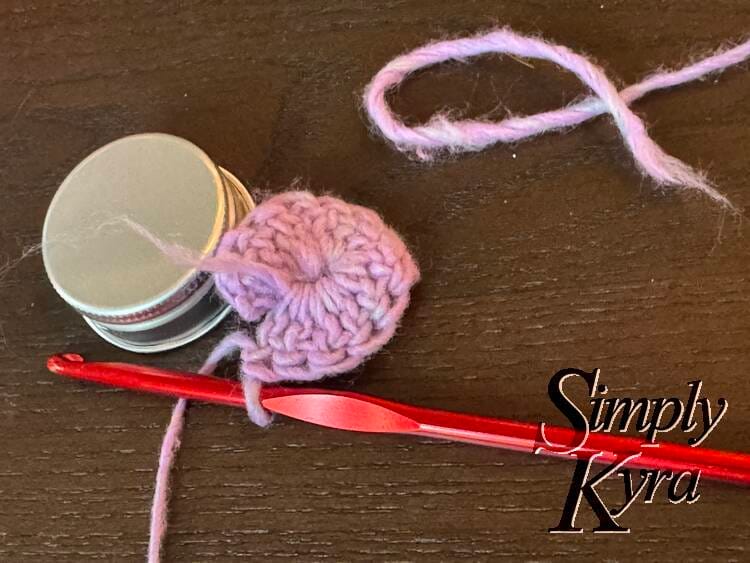
I quickly looked up a tutorial to remind me how to start a magic circle and used double crochet stitches (dc) rather than single stitches (sc) to speed up its creation. Every once in a while I compared what I had with the bottle lid so I'd know how large to make it and when to finish off the round with a slip stitch. Once ready I pulled it tight and closed it off with a slip stitch. Thus the original center circle was done!
To start the second round off I chained two stitches to give me the height I needed before starting the round of simple double crochet stitches (dc). I kept the circle the same size by only adding one dc to each prior stitch. Once I returned to the beginning I closed it off again with a slip stitch.
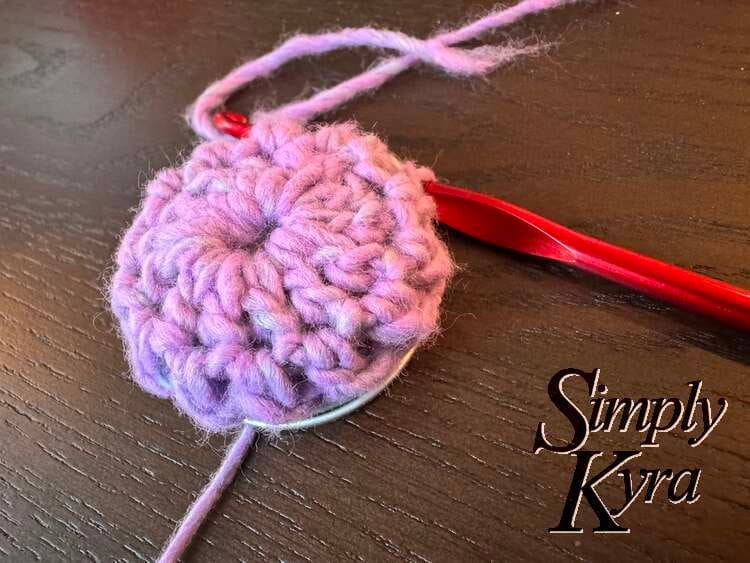
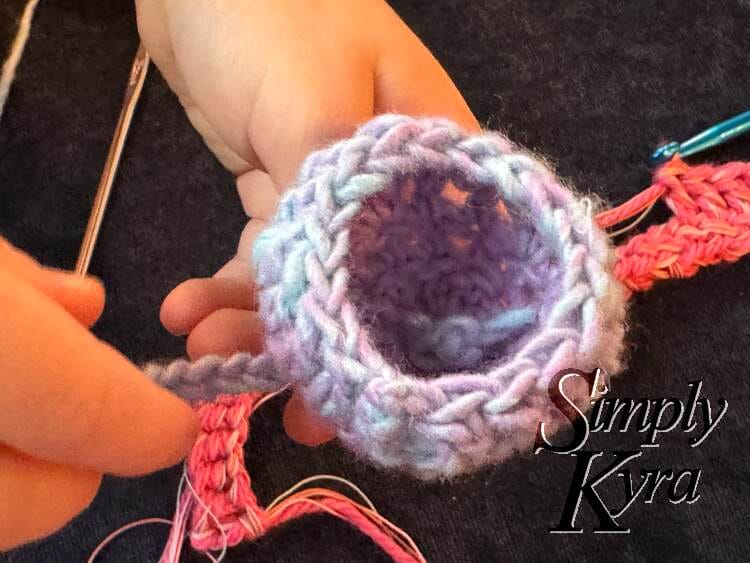
At this point the hat was a bit tight on the lid so I decided to increase the circle by adding a new stitch for every three stitches. To do this, in my third round, I again started by chaining two stitches to give me the height. I then stitched a single double crochet stitch (dc) into the first stitch, a single dc into the next, and then two dc into the third stitch. I repeated this pattern of one dc, one dc, two dc all the way around the outside. I didn't count my stitches but I had two stitches remaining at the end so I simply repeated only the part of the pattern that I had room for with a single dc into each of them before ending that round. At the end I again closed it off again with a slip stitch.
At this point the hat looked good but I wanted a better edge so I chained one more stitch and did a round of single crochet stitches (sc) to finish it off. With the last round closed off with a slip stitch I then cut my yarn, pulled to knot it, and used a large needle to hide my two ends.

And with that I passed the hat and rainbow yarn over to Zoey to start making the hair.
How To Make The Hair
Zoey want to make the hair so I started the scarf while being available for consults. She started making a single chain for the first strand of hair, put it in the hole in the center, and knotted it to keep it in place. She then made another strand and pushed it through another hole. Then she decided to work on something else so I had permission to continue the project on my own.
Once she was done I decided to switch the plan from attaching each single strand individually to the wig base and instead gather them in one place and call it a ponytail. Zoey was in agreement so I quickly crocheted two more chains twice as long as the first two with the idea we could fold them in half thus upping Zoey's count of two strands of hair to a total of six strands.
Putting It All Together
Before continuing it was time to prep the hair. After trying a few things I realized Zoey had cut the excess yarn on one of her chains a bit short so I decided to tie her two strands together making it as long as my two strands. I then gathered my two, folded them in half, and used Zoey's to tie them all together at that center point.
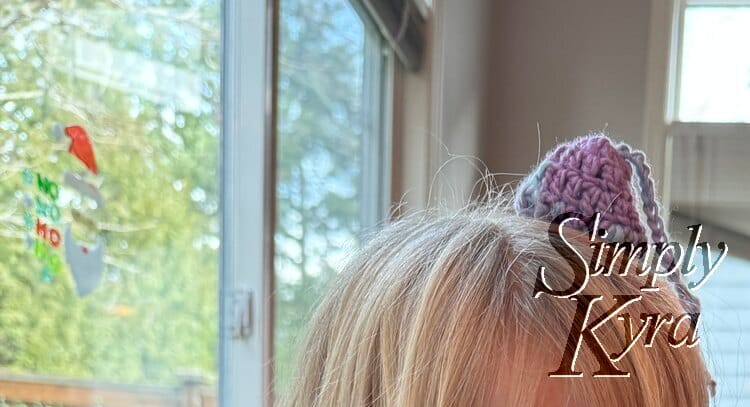
With the ponytail knotted together I centered it in the hole made from the magic circle, flipped the hat mostly inside out, grabbed a scrap piece of yarn, and stitched it together to secure it.
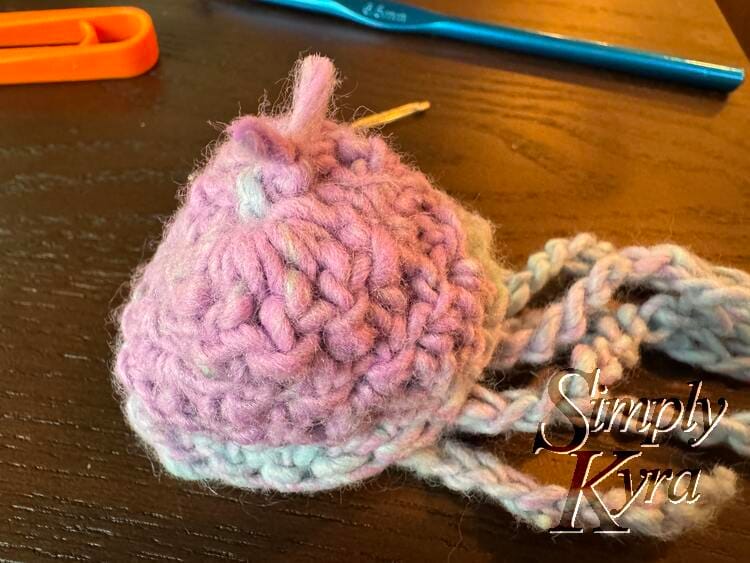
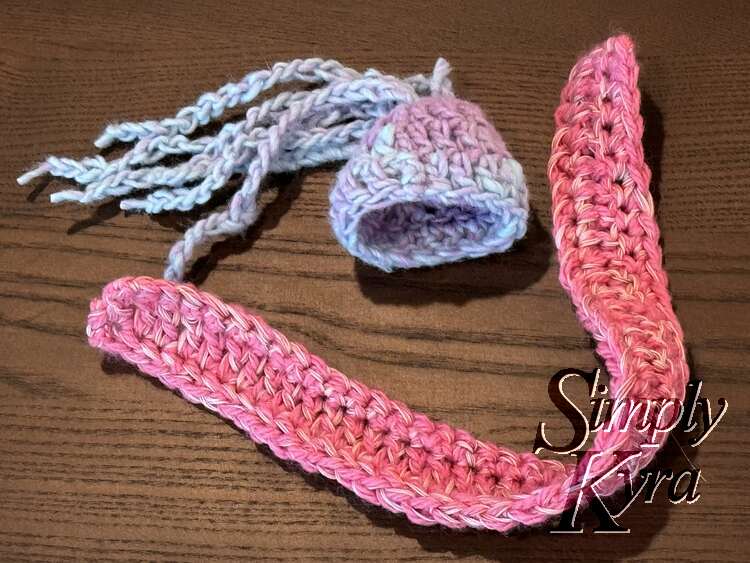
With the ponytail secured to the hat it was now done and ready to go!
Scarf
While Zoey worked on the hair strands I started on the scarf. Here's how I made it!
TLDR: How To
- Used a chainless foundation single crochet composed of single stitches (sc) for the first row
- Preferred the look of the top side better so I stitched into the last stitch to go in a round rather than doubled back. Had to increase height so did: sc, sc, chained two stitches, dc (double crochet stitch)
- Continued with a row of dc stitches
- Returning over what I did with a single chain and a row of single stitches (sc)
- Cut my yarn, pulled to knot it, and used a large needle to hide my ends.
Done!
How To With Photos
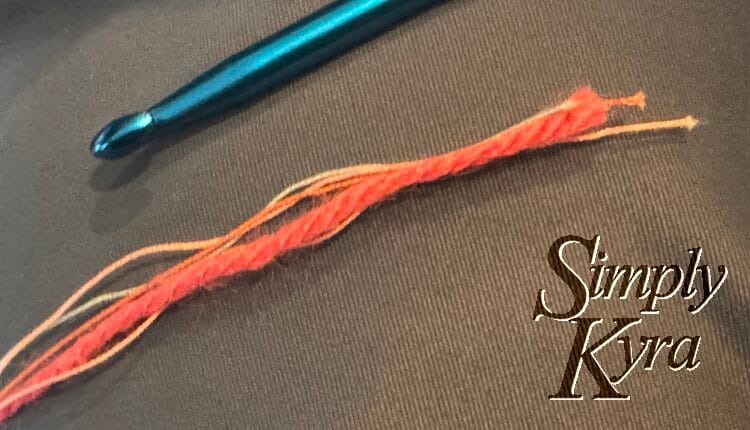
I didn't have a sparkly yarn so I decided to combine the pink one I had with four strands of crochet thread to create the look of dimension and add both a bit of rainbow for Zoey and allow it to match with her chosen hair color. I opened, unrolled them, and lined up their ends together and got started being careful to untangle any bits before it got too complicated and tangled up as I went.
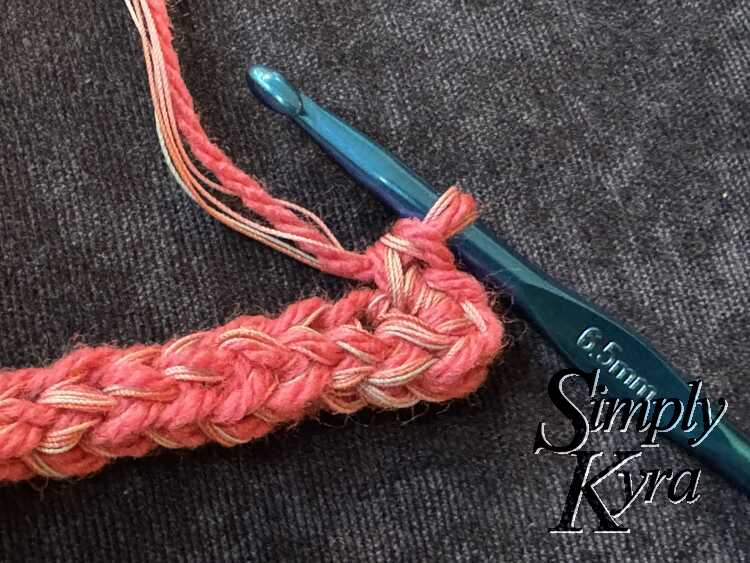
I remembered I used to prefer the look of crochet better when I started with a chainless foundation crochet stitch rather than crocheting directly into a chain so after looking up how to do it again I was on my way. At the end you're technically supposed to return back... essentially going back and forth like a typewriter, but I liked how that side looked better than the reverse so I instead decided to circle around to the back for the next row by crocheting into the last stitch three times. In addition to going around I also wanted to switch from sc to dc so into that stitch I decided to stitch two sc, chained two, and then did a single dc thus increasing the height for the second row. I then continued crocheting along the length of it with a single dc into each stitch.
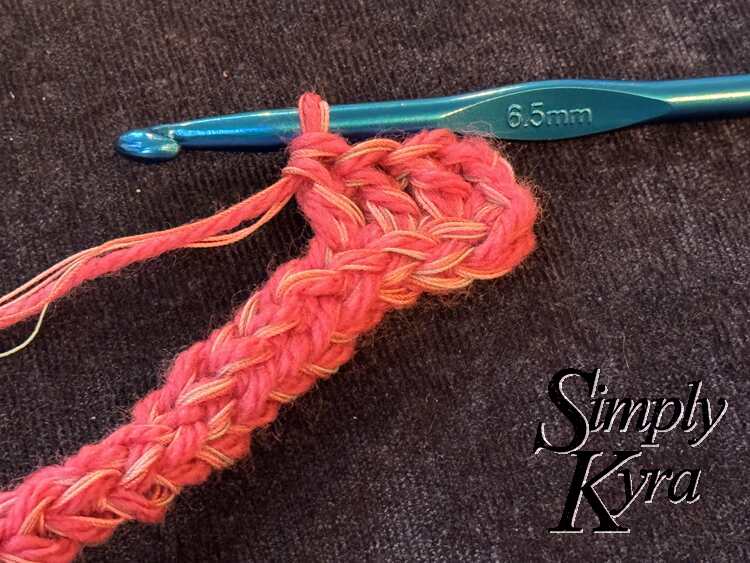
After finishing that second row of dc I did a single chain and returned over what I did with a row of sc. I then cut my yarn end, pulled to knot it, and used a large needle to hide my two ends.
And with that the scarf was done!
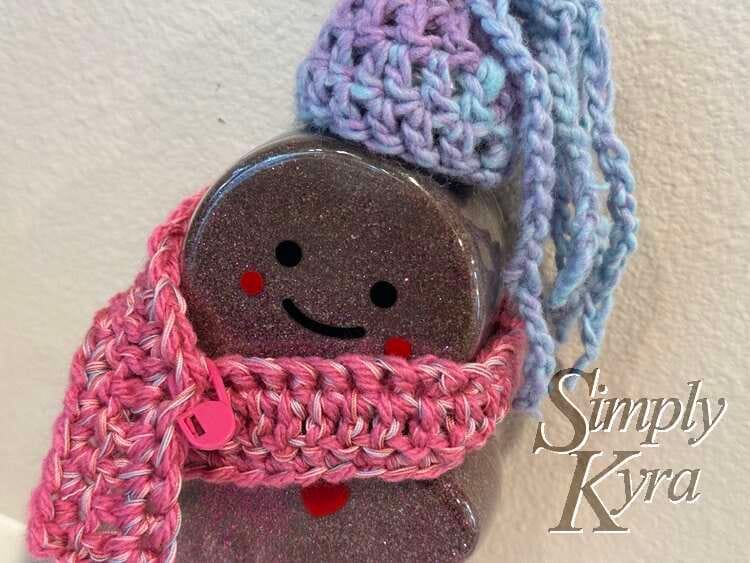
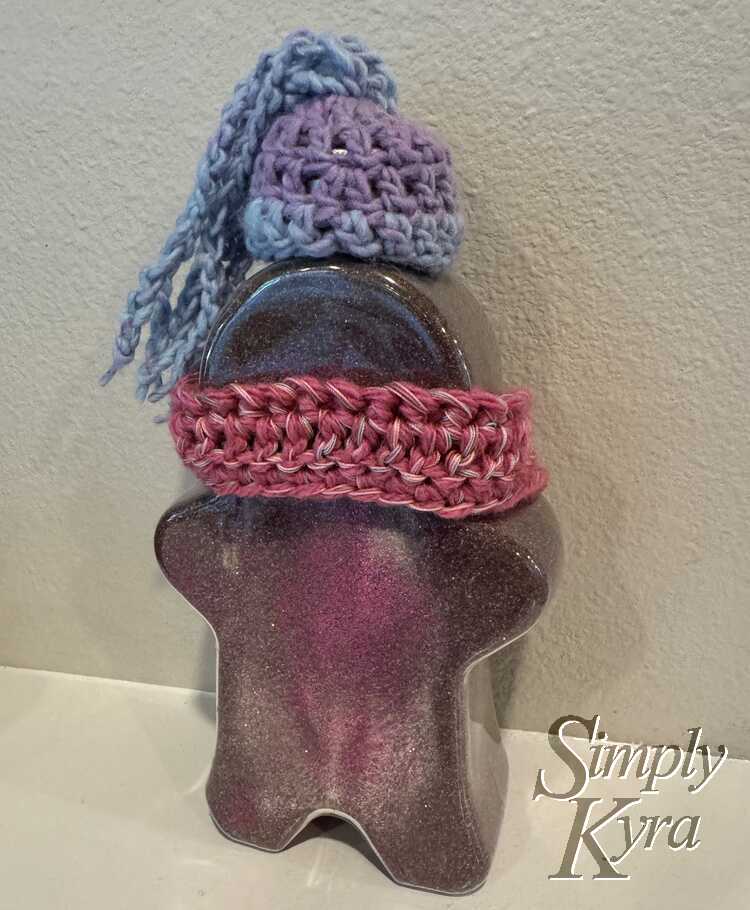
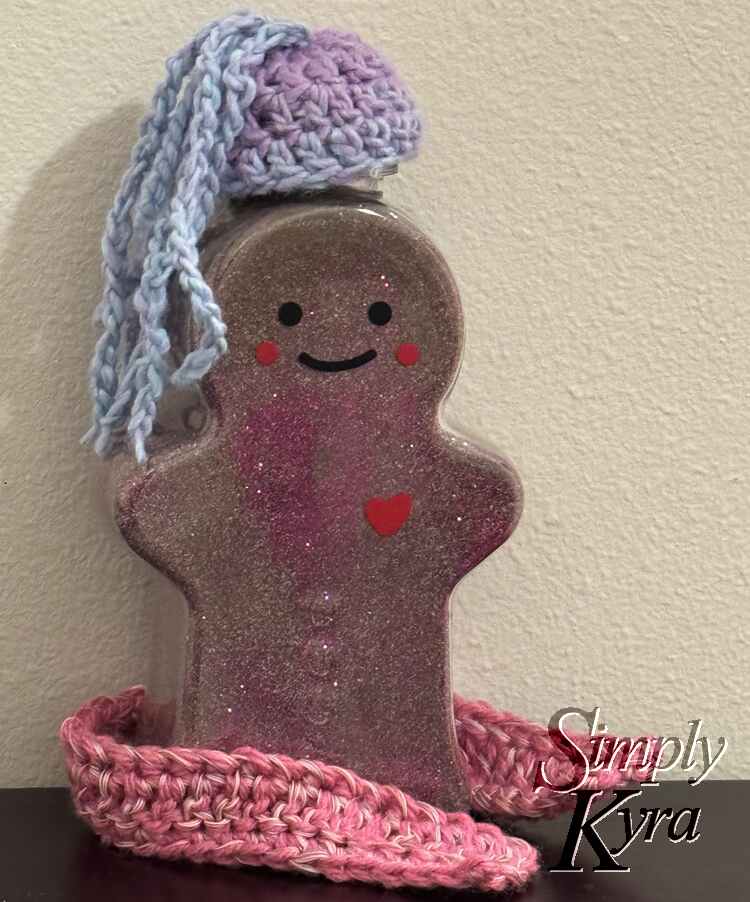
Finished Outfit
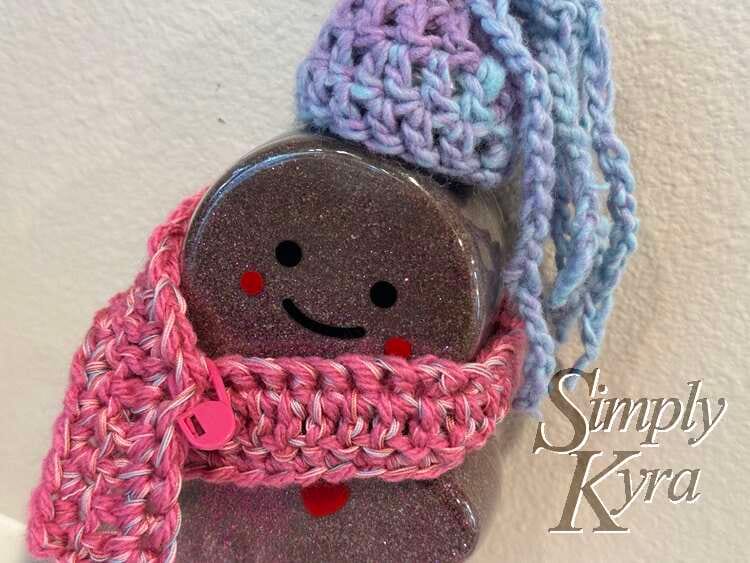
And here is Ginger in her new Valentine's Day outfit!
The scarf wasn't quite thin enough and/or long enough to stay on itself so I decided to use a simple pink stitch marker as a brooch. This worked great until I took it off to snap a few photos and the cheap plastic broke. That said, for now I was able finagle the broke piece to be more hidden and still hold the scarf all together... so success!


I hope this post found you well and you're having a good day. If you have any ideas of other outfits for Ginger let me know in the comments below. I haven't fully decided on whether we'll make her a whole wardrobe or not so I am taking recommendations... and maybe there will be future posts.
If you’re interested in getting any of my future blog updates I normally share them to my Facebook page and Instagram account. You’re also more than welcome to join my email list located right under the search bar or underneath this post.