

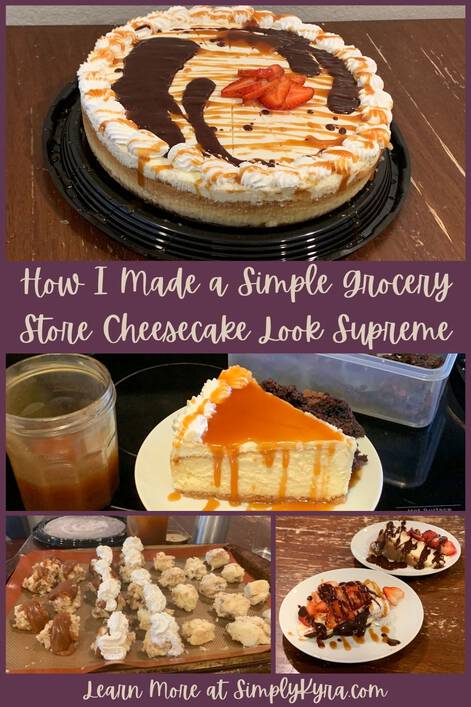
How I Made a Simple Grocery Store Cheesecake Look Supreme

Last year, with sheltering in place, we baked a special birthday cake for the girls’ birthday separate from their party and its own dessert. This year we continued the tradition and made it simpler by buying a Costco cake. For Zoey I grabbed a Tuxedo cake as how could you go wrong with chocolate but when Ada’s birthday came around I wanted to try something else, especially when Ada didn’t know she wanted. At the store I made a quick decision to grab the plain cheesecake but then started worrying that it was too plain and lacked flavor for the kids. As such things go one thing led to another and I ended up making a homemade chocolate sauce and caramel sauce the afternoon before her birthday and then included brownie bits leftover from her party the weekend before. Looking back I don’t know if the girls would’ve loved a plain piece of cheesecake but they LOVED the three optional toppings I included for their pieces!
Toppings
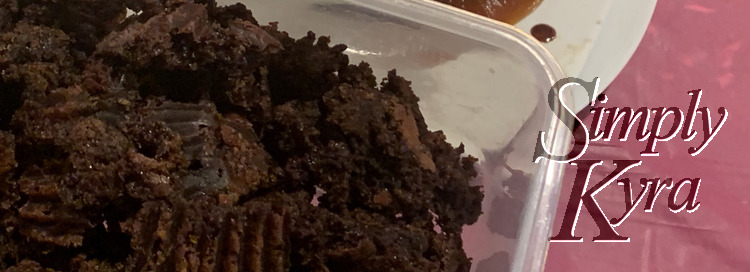
Brownie Bits
For Ada’s birthday party the weekend before I had made brownie cupcakes topped with whip cream and sprinkles using the foolproof gooey brownies recipe found in The No-Fuss Family Cookbook I reviewed a while back. Some of the cupcakes were made using paper liners, as I ran out of the silicon ones, and I found those cupcakes stuck to the liners. As such, while packing up, I crumbled them to create brownie bits and saved them in a container. We hadn’t used them yet so I grabbed them for the cheesecake and they were perfect! That said if you want the same and don’t have any leftover brownie bits on hand I could see making it homemade (love The No-Fuss Family Cookbook one), buying a store-bought brownie to break up, making a box mix (we love the Ghirardelli one with or without canned pineapples), or, if you prefer the hard crunchie brownies, buying Brownie Brittle (we’ve only tried the chocolate chip one from Costco but it was fantastic). Whatever you do you can’t go wrong with brownies.
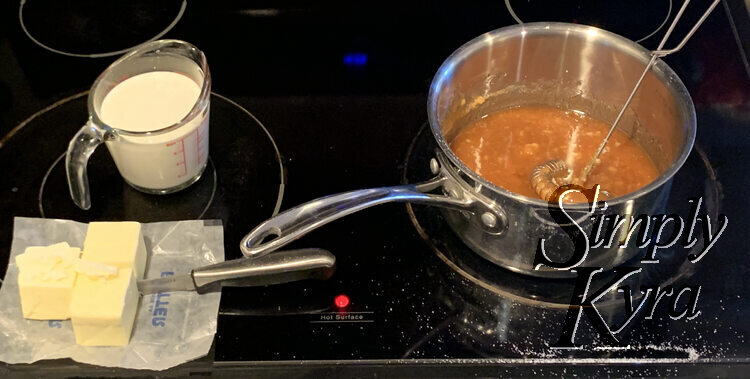
Caramel Sauce
I planned to make both caramel and chocolate sauce for the cheesecake topping but after looking over the recipes for both I decided to start with the caramel as it looked a bit more finicky. I wanted to simplify the dirty dishes for later by reusing the pot and figured I’d rather have caramel in the pot when melting down chocolate chips than chocolate residue in the pot when caramelizing sugar. This ended up working out for the best as some of the caramel hardened to the pot and reusing the same pot for the chocolate sauce meant a way easier clean up as most of the rock hard caramel melted into the chocolate.
For this I went with the Caramel Sauce from Simply Recipes and followed the directions specified. I didn’t need to use a candy thermometer, which I vaguely remember doing pre-kids, and had no trouble making it.
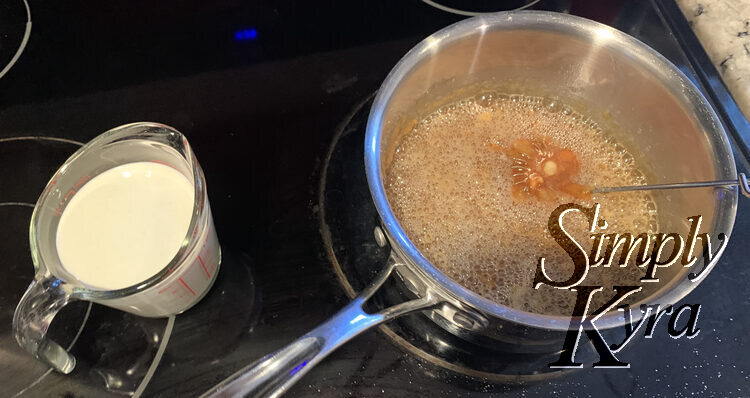
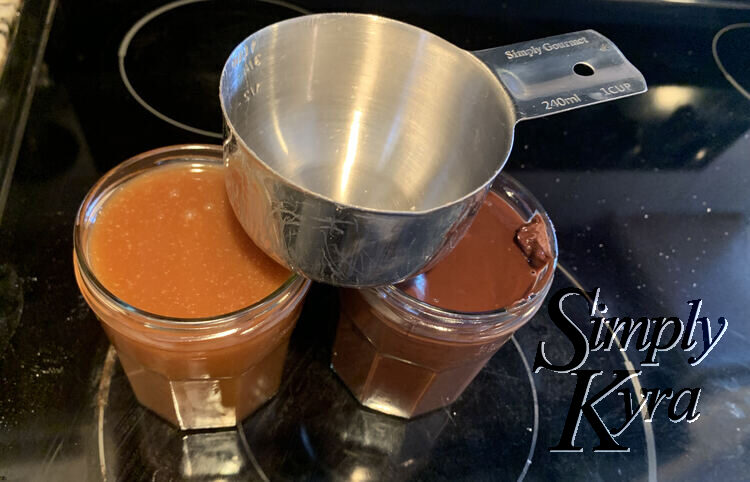
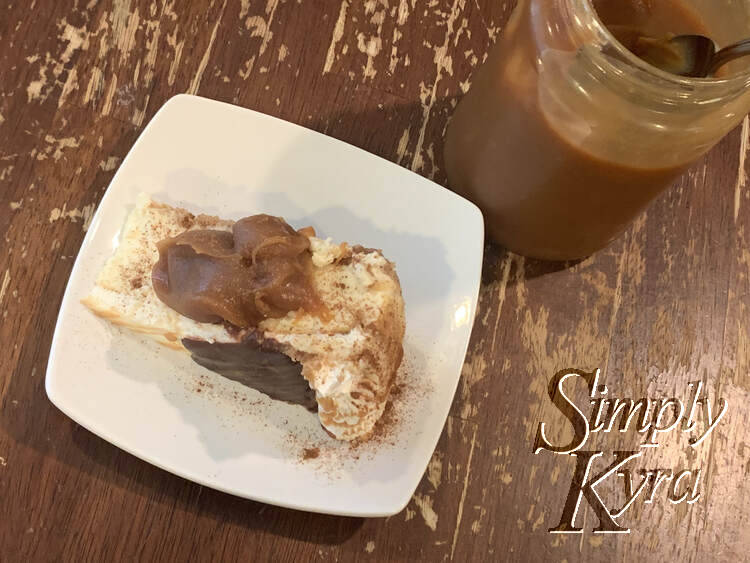
After the caramel sauce was made I poured it into an empty jar and made sure to get every drip out with a spatula. It smelled and tasted incredible!
Chocolate Sauce
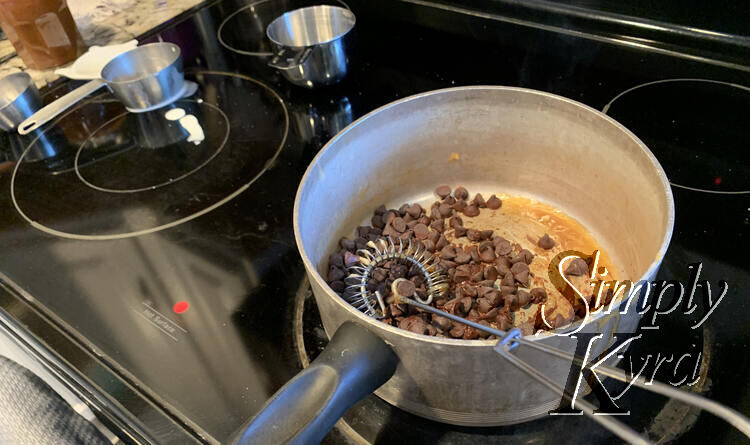
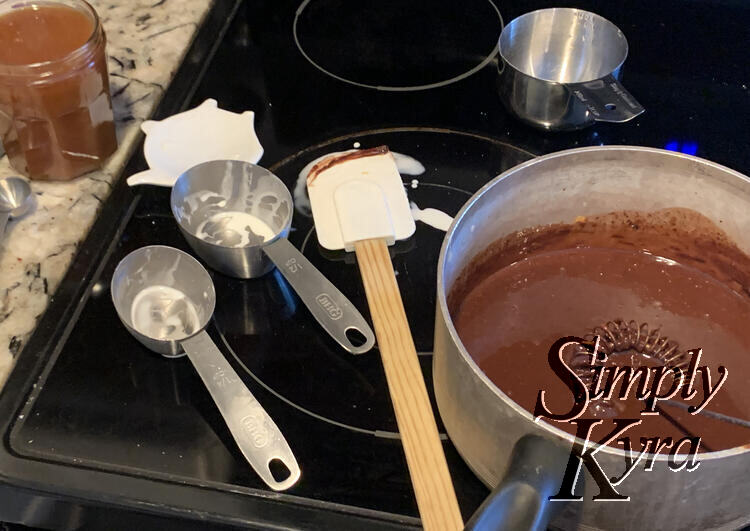
After scraping the caramel sauce from the pot it was time to make the chocolate sauce. For this I chose the Easy-To-Make Chocolate Sauce I found through The Spruce Eats and boy was it easy. The chocolate sauce was even easier as I only needed to combine heavy whipping cream and chocolate chips, melt it, and then add the vanilla extract. It smelled incredible and I quickly moved it into a jar to cool before putting it into the fridge.
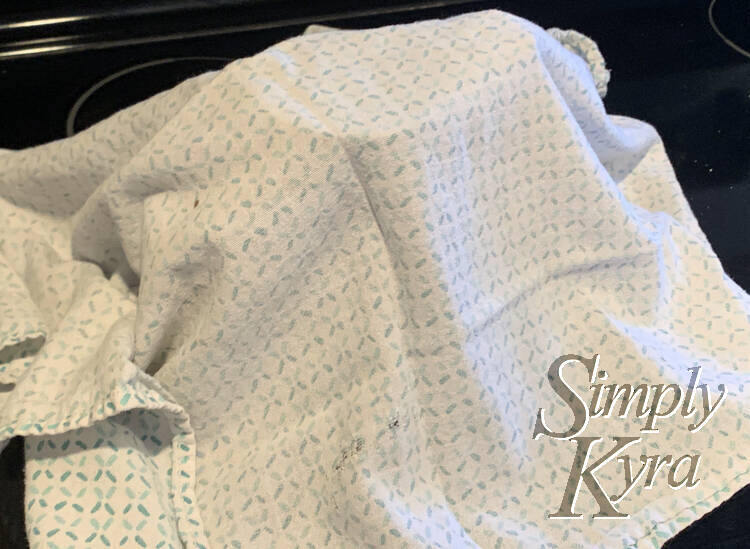
With the caramel and chocolate sauce done it was time to let it cool before putting it in the fridge. I wanted to cover it as it cooled so I balance a measuring cup on their edge to help hold up a thin tea towel.
And Finally It’s Time for the Cheesecake
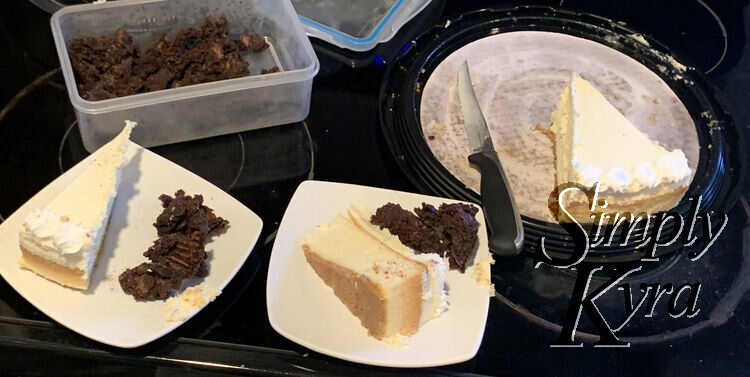
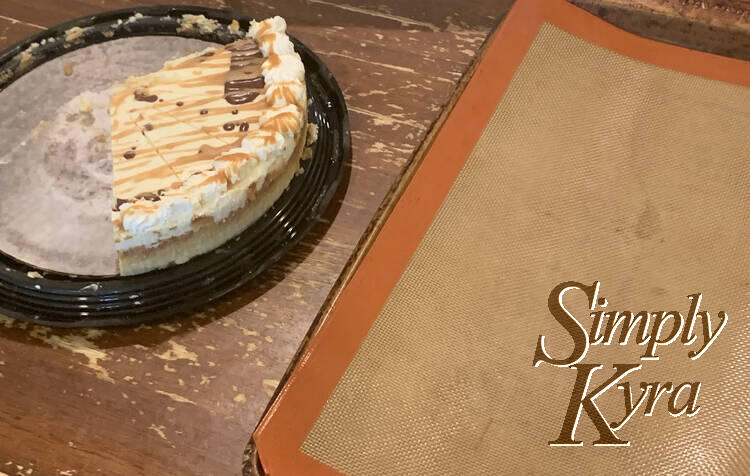
With the caramel and chocolate sauces made and the leftover brownie bits in the fridge from last week I was finally ready to make the cheesecake I bought from Costco spectacular for Ada’s birthday.
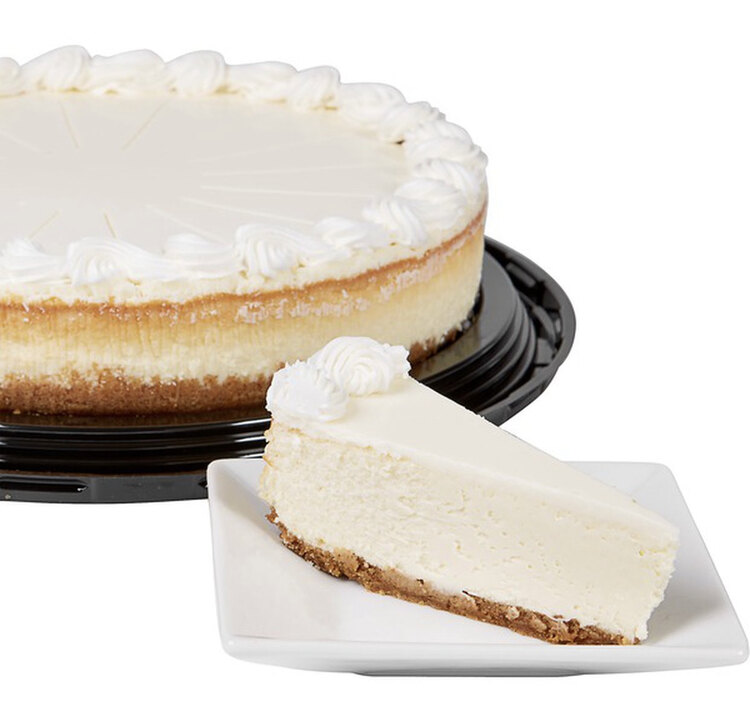
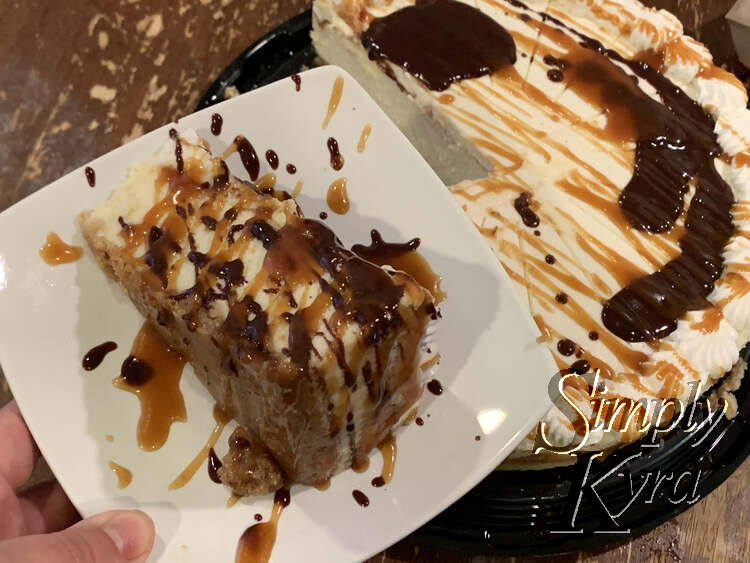
For Ada’s birthday and going forward we ended up cutting each piece and decorating it according to each person’s specifications. As such, from this time, I only have photos of single slices of cheesecake. Later on I realized I should’ve gotten a pretty photo of the entire cake and so justified buying another cheesecake (mmmmm…) mainly blog photos…. both were delicious.
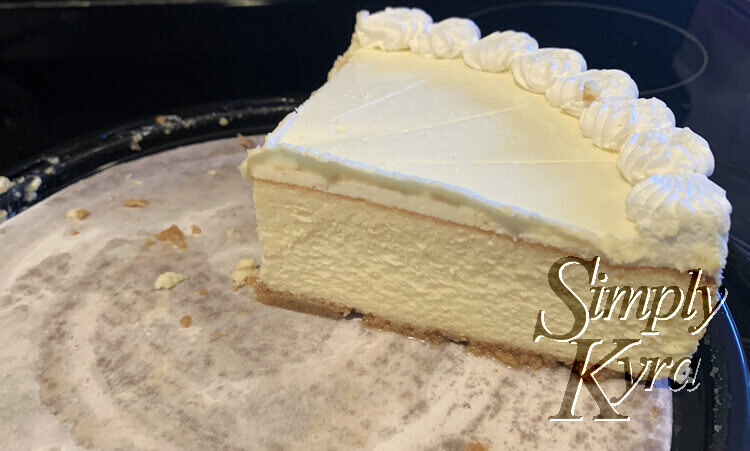
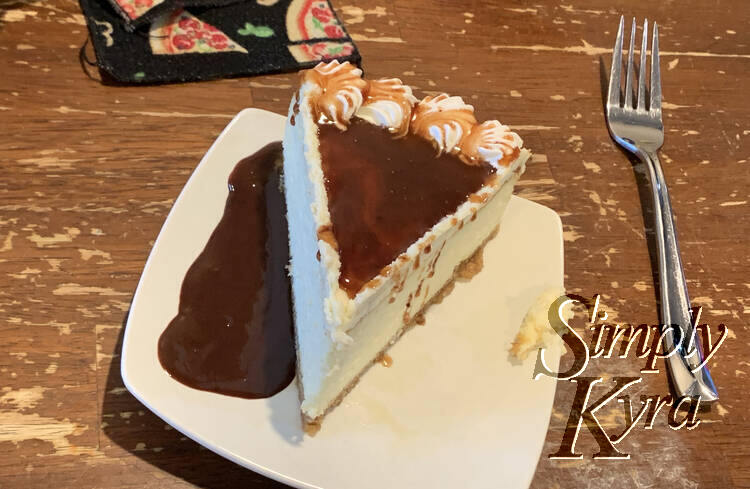
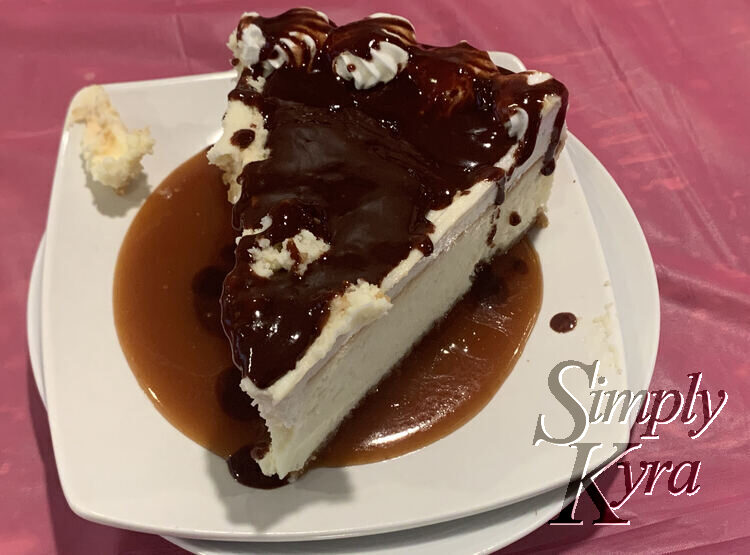
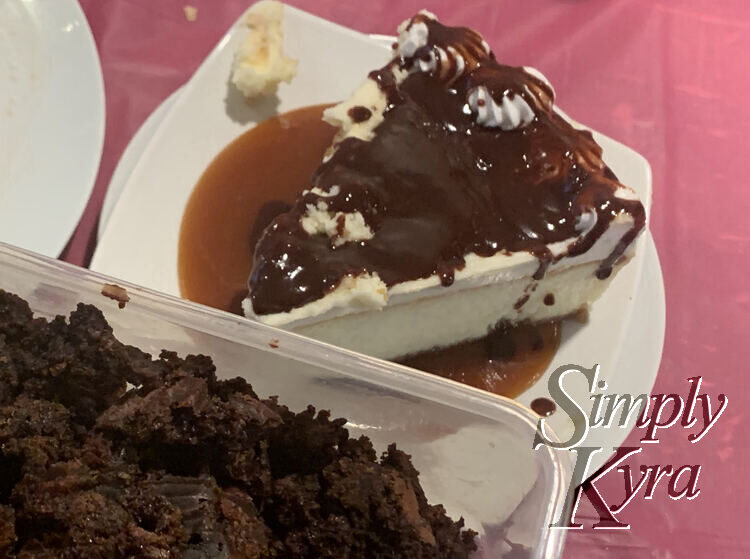
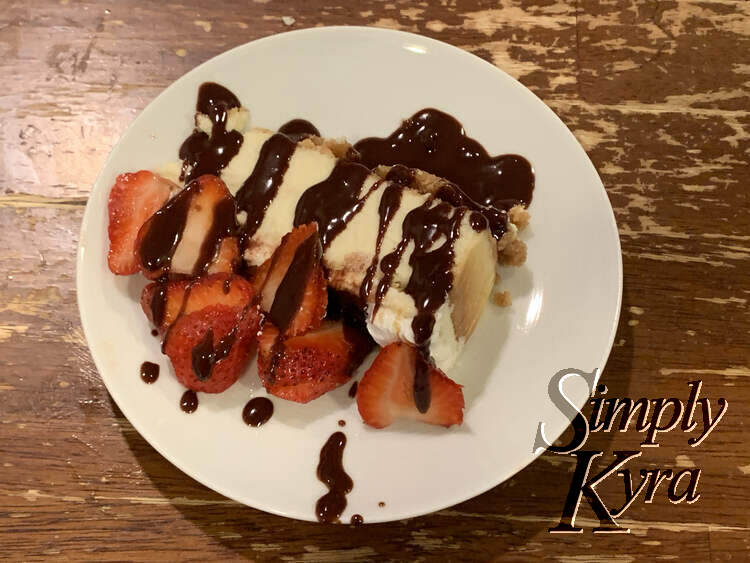
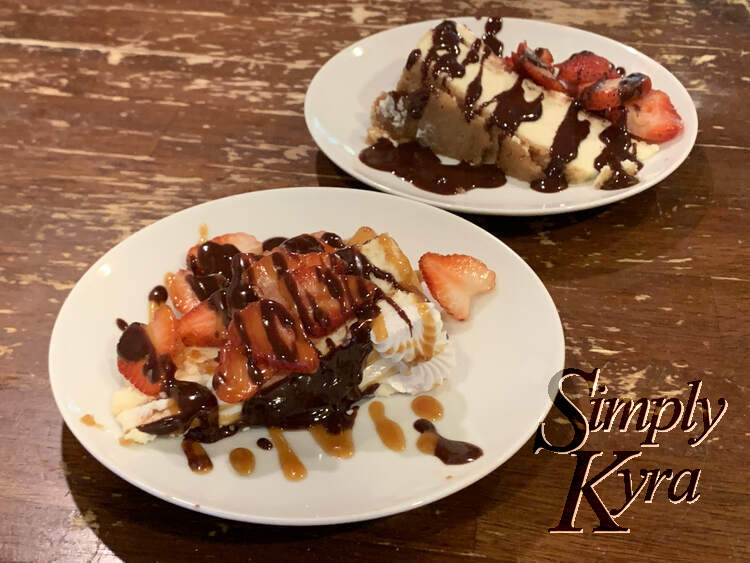
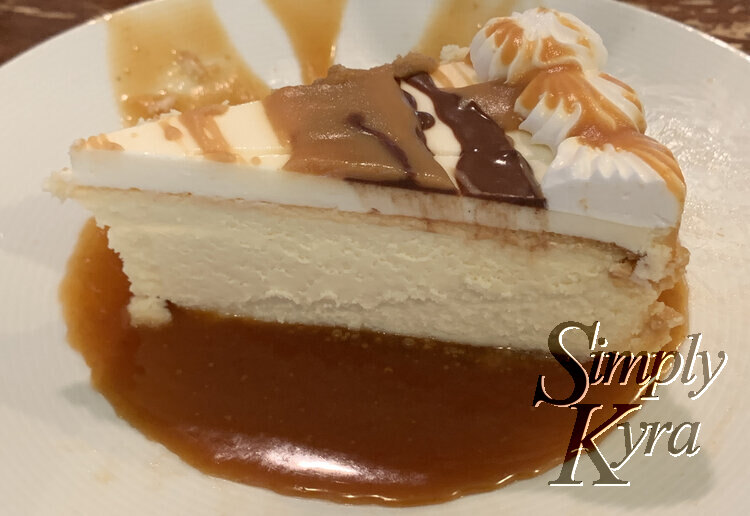
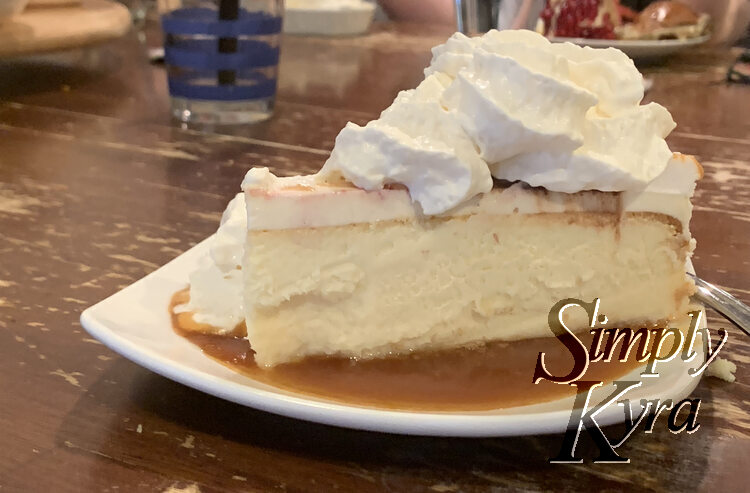
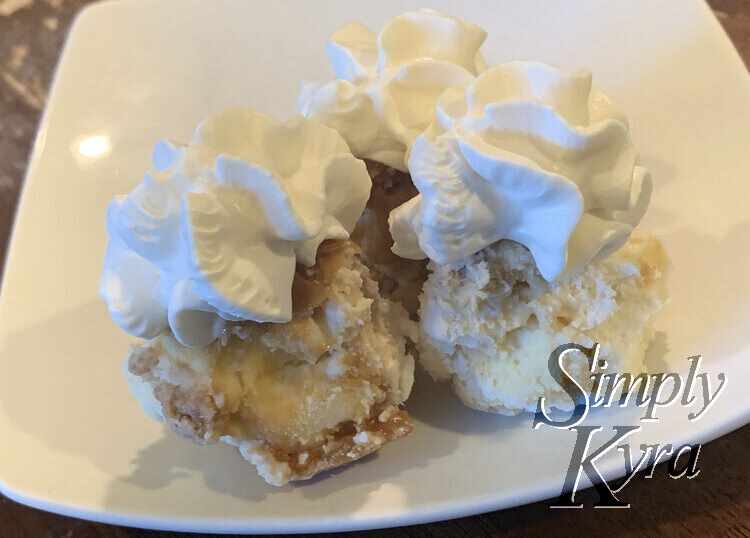
For now here’s some photos of how a slice of cake can be served:
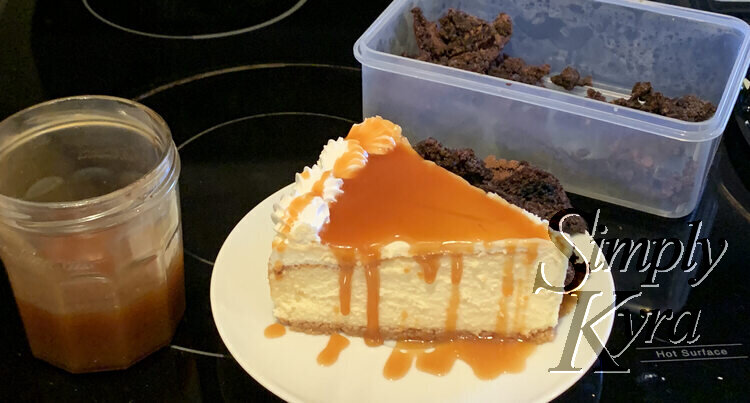
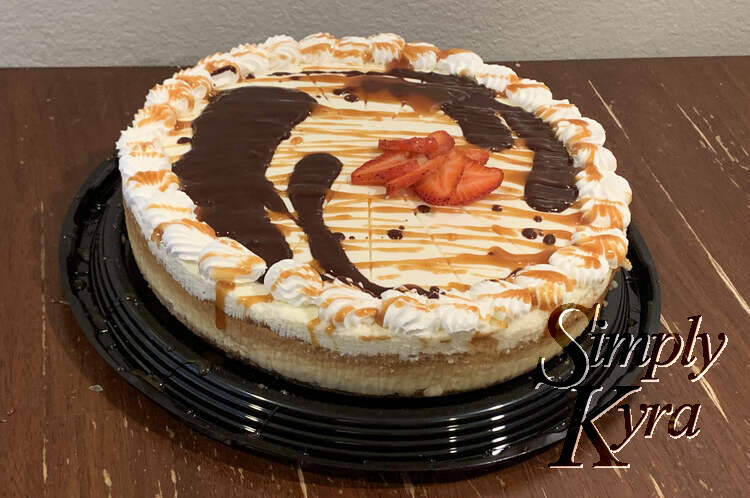
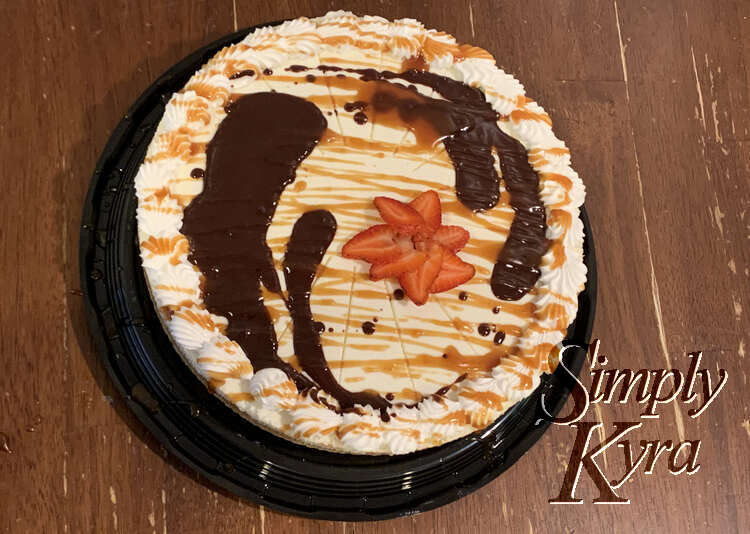
Looking back I realized all those slices would have tasted, and looked, so much better with some sliced fruit on them. As such, when I later justified buying a cheesecake, mostly, for the photos I made sure to also buy some strawberries although I’m sure so many different berries would go great with this. With all the pieces of my plan in place I was ready to create an amazing photo-ready dessert then suddenly realized that I didn’t have a firm plan in place. I ended up microwaving the jars of chocolate and caramel sauce so they’d be runnier and easier to use. I then kind of slopped the chocolate sauce down make a decorative pattern before drizzling the caramel sauce back and forth over top. Finally I grabbed a strawberry or two, sliced them, and attempted to make a flower centerpiece. This is what I came up with:
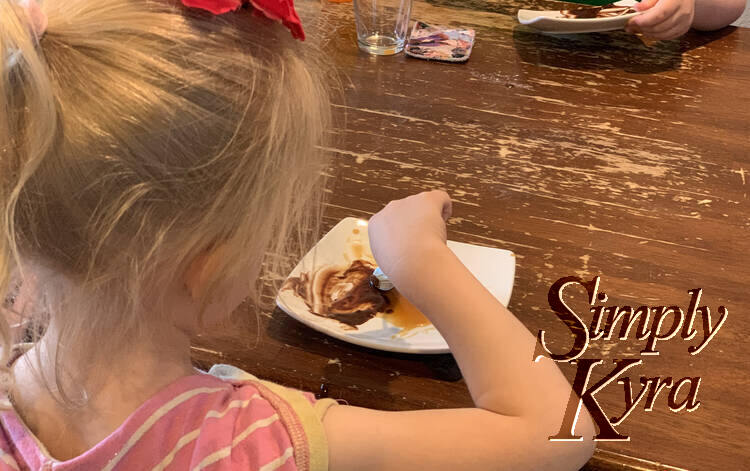
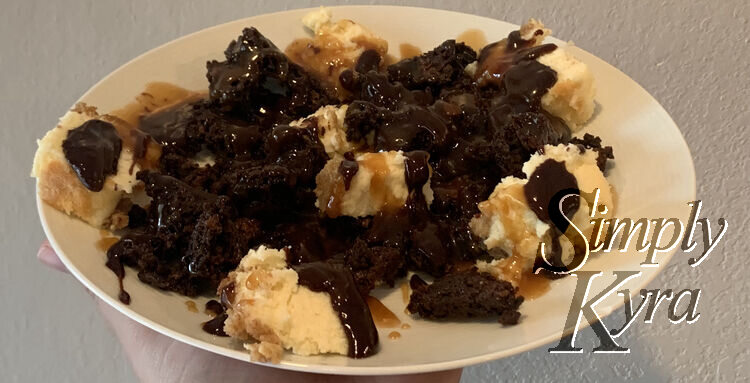
With the photos taken I quickly sliced pieces for us, added more strawberries, and finally drizzled more chocolate and/or caramel sauce depending what each person wanted.
After that first night we went back to leftover slices but now had a bit of chocolate and caramel on each piece as I had decorated the cake as a whole on the first night.
Leftovers? Make Frozen Cheesecake Balls…. So Messy but So Delicious
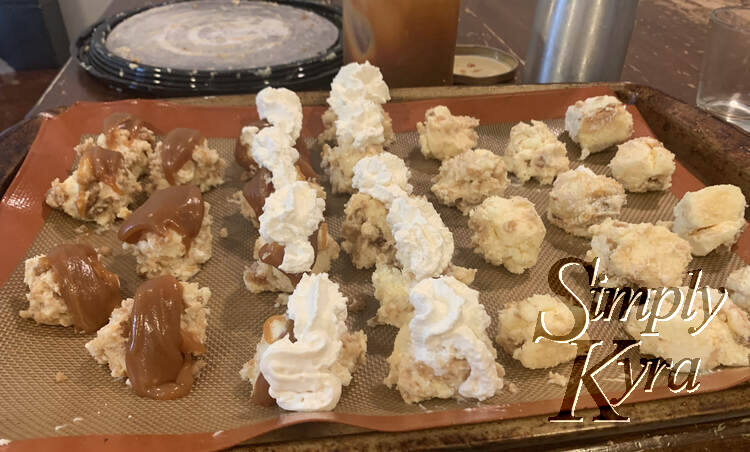
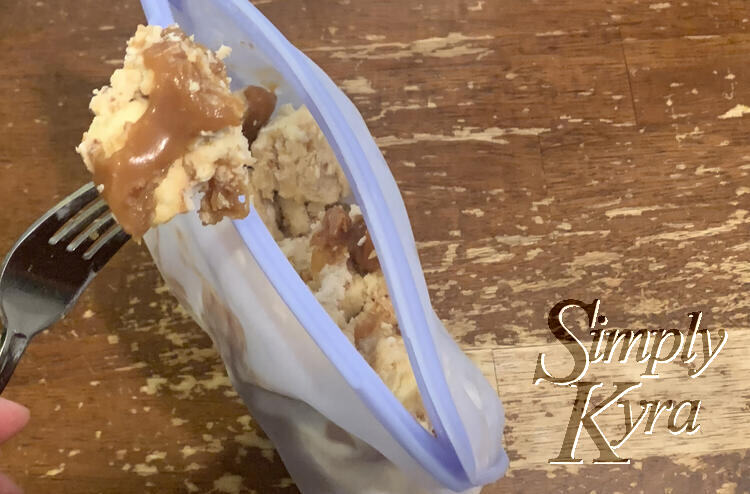
Even though it was delicious we were getting tired of cheesecake by the end so I decided to freeze it so it could last longer. Rather than just putting the slices into the freezer I wanted to try something new and came up with making cheesecake balls by using my hands to mould the cheesecake into balls. I wasn’t sure how this would turn out so I just went for it without thinking or planning. Looking back, if planning for company, I would have used gloves but this time around I didn’t have any on hand.
To make these I basically grabbed hunks of cheesecake, shaped it into a haphazard ball, and placed it on a Silpat lined cookie sheet to go into the freezer. I had leftover whip cream and caramel so I used some to top some of the balls in addition to the chocolate, caramel, and whip cream that were already on the original pieces.
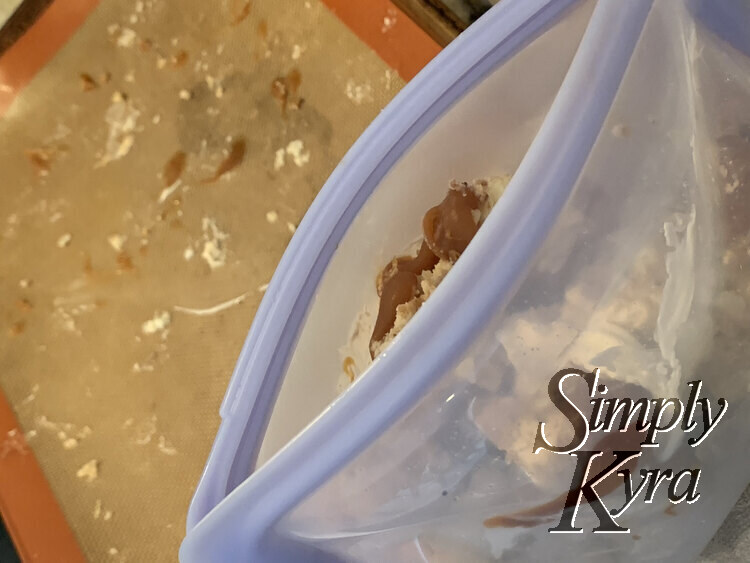
Word of warning: If making these with bare hands you’ll be able to feel the greasy residue left even after washing your hands once or twice.
Looking back two cheesecakes were way too much for our family of four. That said its since been awhile and these photos are making me miss it… maybe that’s why I broke down and made pumpkin cheesecake twice over Thanksgiving. Anyway, I hope this post helps you whether you have a plain cheesecake you’re hoping to spruce up or are looking to make a cheaper cake look more gourmet. This cheesecake was simple and tasted incredible.
If you buy plain Costco cheesecakes do you eat them plain or spruce them up first? If you do add stuff what do you use? I’d love more ideas so feel free to share what you do in the comments below. Hope you’re doing well and your week is going great!
If you’re interested in getting any of my future blog updates I currently come out with a new one every Wednesday and share them to my Facebook page and Instagram account. You’re also more than welcome to join my email list located right under the search bar or underneath this post.
Did this save you time?