

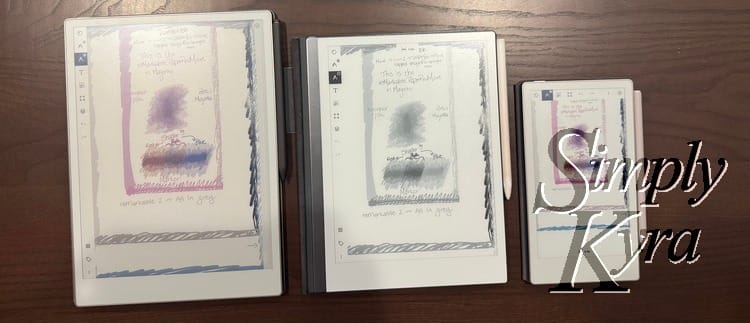
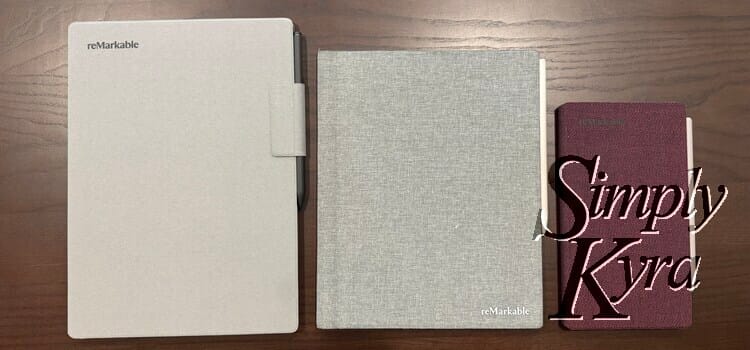
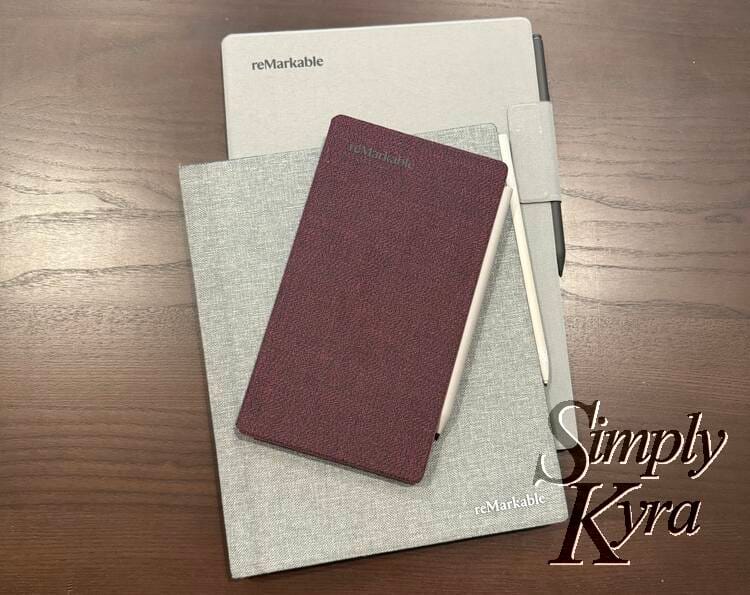
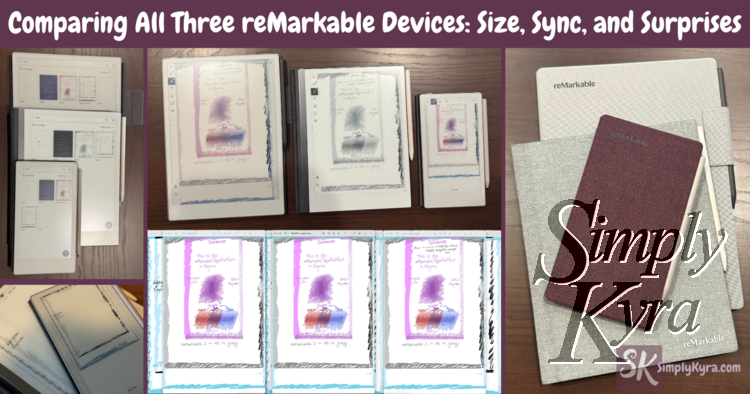
Comparing All Three reMarkable Devices: Size, Sync, and Surprises

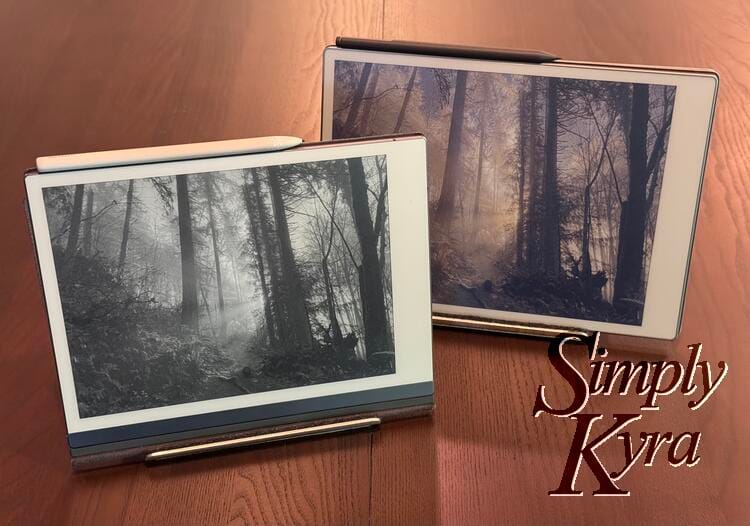
When the Paper Pro launched last year I shared a quick visual comparison to show how the page size differed between the two devices. Today my Paper Pro Move arrived, so I repeated the experiment... this time using all three devices: reMarkable 2 (rm2), reMarkable Paper Pro (rmpp), and reMarkable Paper Pro Move (Move). If you’re deciding what to buy (or just curious how they play together), here’s what I found.

I am not associated with reMarkable. Love the product, posted how tos, and created an app that works with them.
Specs Snapshot
Here’s a quick view of each screen’s resolution.
| Device | Width (px) | Height (px) |
|---|---|---|
| reMarkable 2 | 1404 | 1872 |
| reMarkable Paper Pro | 1620 | 2160 |
| reMarkable Paper Pro Move | 954 | 1696 |
Had to share as a reference in case you're making templates. If you want to compare more specs you can choose two devices on this reMarkable page and scroll to see the differences.
First Steps
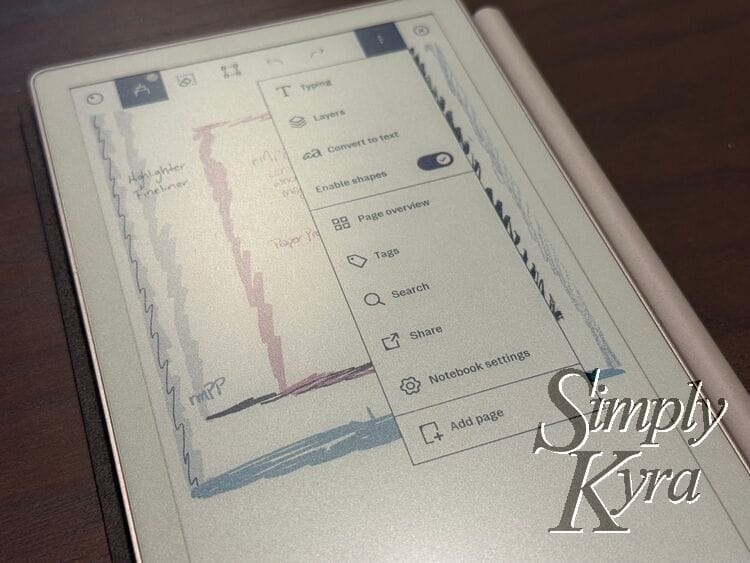
After going through onboarding I remembered I needed to put it into developer mode so I had access to the SSH credentials needed for custom templates and sleep screen images. When turning on developer mode it shows the sync status but since you'll need to re-download after I just forced it before the sync finished.
After turning on developer mode you'll need to go through onboarding again and re-pair the device. As such I un-paired it on the website (had hit my limit of three devices the first time I paired it) and re-paired.

Whether you have the reMarkable 2 (skip developer mode) or a Paper Pro here's a how to to connect to your device.
Since the main reason I justified this purchase was to test Simply Customize It I next uploaded the simple black template page, through onboarding, and set a sleep screen image.
Syncing Notebooks
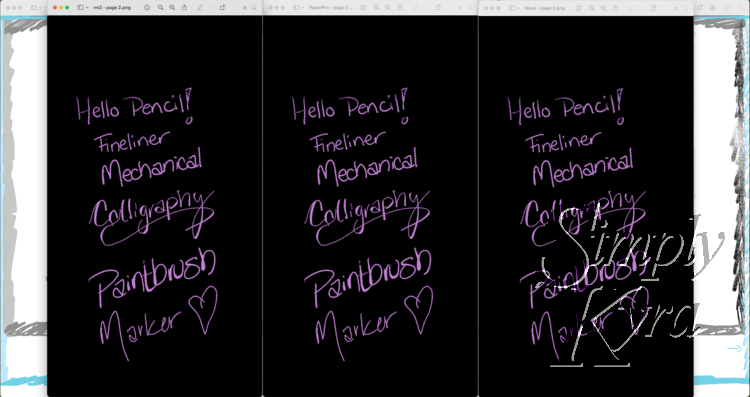
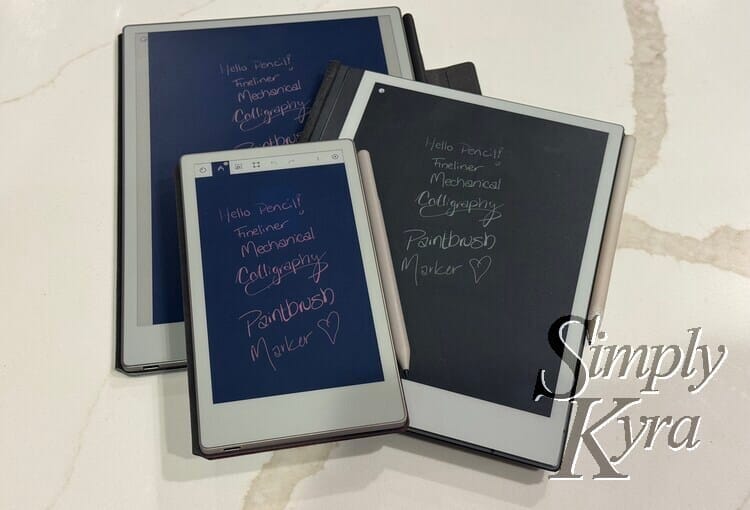
Once setup was finished I tried a simple test draw on the Move before moving to edge doodle comparisons across the devices. Here they are:
Black-Background Exports
With my black template on the Move I took a moment to doodle on it and although I didn't edit the page on the other devices I later exported that same page from each device. To my eye, the exports looked the same across devices. I’ve included side-by-side screenshots so you can compare yourself.

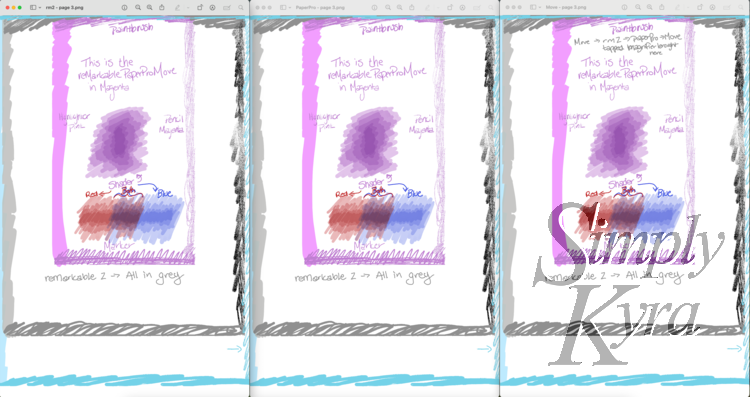
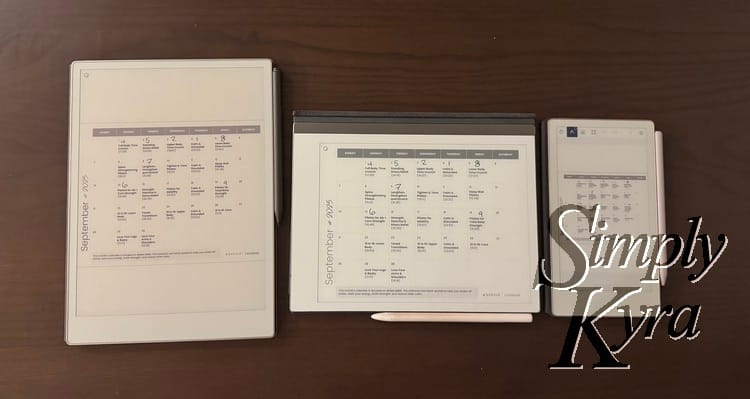
Main Test (Small to Large)
Start on Paper Pro Move → reMarkable 2 → Paper Pro → back to Move
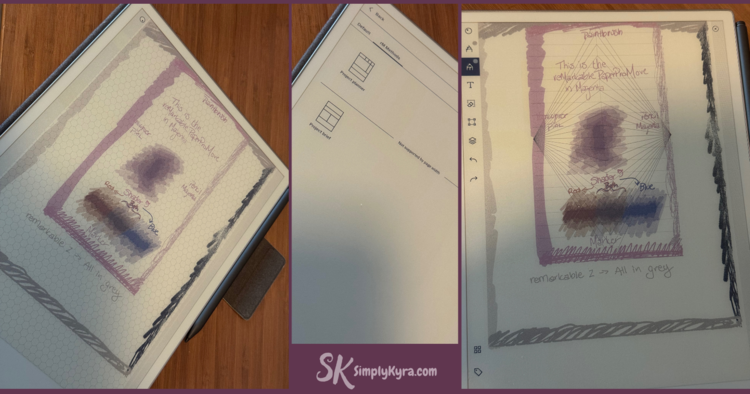
I began with a new notebook page on the Move, drawing around the edge with different pen types (all magenta, with highlighter in pink). I also experimented with the shader tool.
After syncing through Connect I opened the page on the rm2, where I sketched around the outside in grey. Once synced again I moved on to the rmpp where I was surprised to notice some issues.
What Surprised Me
I was surprised to notice the sides were cut off on the rmpp so although the grey from the rm2 didn't go to the edges I couldn't draw past the grey. At first I thought this was the default hexagon template I was using but was surprised to see changing it to perspective (right side below) was limited to only the Move space (leaving the rest of the drawable space blank) and the sides sections were still there. Previously I had downloaded two Method templates and saw one only one was now available on that page.
Continuing On
Despite this I still used cyan to mark the drawable portion before going back to the re-synced Move where I noticed the same page now opened in a zoomed-out view so you can see all the additions. After tapping the magnification button to show the actual size I was once again shown just the Move section and not the rm2 and rmpp additions.
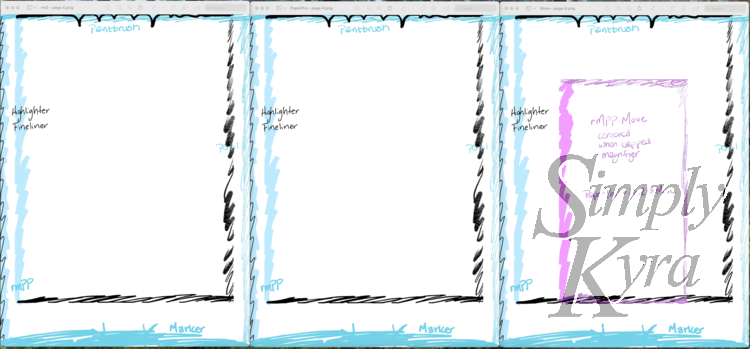
Second Test (Large to Small)
Start on Paper Pro → reMarkable 2 → Move
With the weird horizontal edging on the last test I decided to do another test this time reversing the flow by starting with the rmpp and then sizing down. This time there was no cut off edges but I noticed a small alignment nuance: rmpp to the rm2 kept the content aligned to the top while the same page from the rm2 to the Move centered toward the bottom. In both cases, tapping the magnification control to actual size made the comparison fair.
Notes
Be Aware When Switching Devices
When switching between devices be aware of where the page is laid out (see above). Another thing I noticed was the magnification defaults. When opening the a rmpp page on the:
- RM2 it defaulted to 0.8×.
- Move defaulted to 0.4×.
On both tapping the magnification icon to show actual size gave a fair, edge-to-edge comparison across devices.
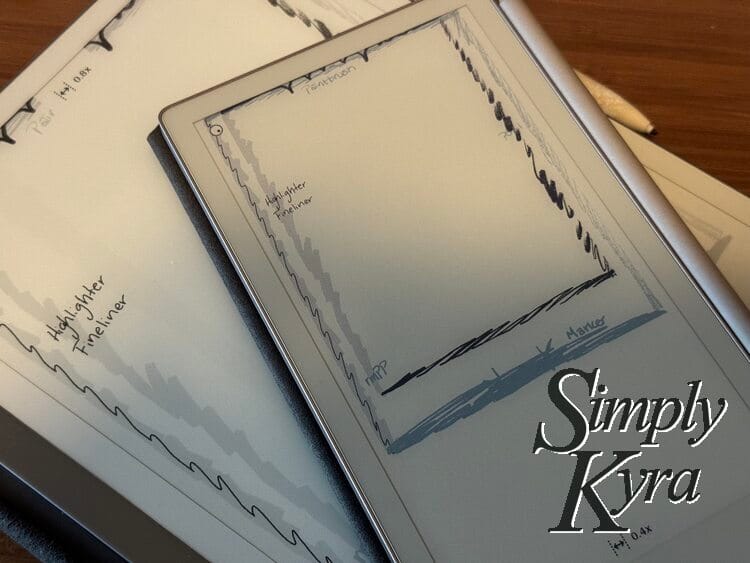
In short: Be aware of the magnification, how to see the whole page, and where on the page it puts you if you're zoomed in.
Pen Feel
I switched colors and pen types when conducting the test and felt a difference with the feel and look of the rm2. Although part was the Paper Pro devices feeling less paper-like with the new tips... it also probably partly due to my older nib being dull and needing a refresh.
If you're debating between the older reMarkables or the Paper Pro models the pen tip is, to me, the biggest difference. The older ones can mushroom but can be sharpened with a glass nail file... the newer ones don't seem to mushroom although I used both devices intermittently and haven't needed to change the tip out from when it arrived last year.
FAQ posted using frequent questions I found online back when I only had a reMarkable 2.
I started writing this post and realized I didn't compare PDF files on them. My main monthly single page PDF showing the assigned online pilates videos through Lindywell. I had already noticed if I open the page on the rmpp I had space to write notes below (if I added videos to the calendar) while those notes were cut off if opened on the rm2.
Export Colors
Update: September 13th, 2025
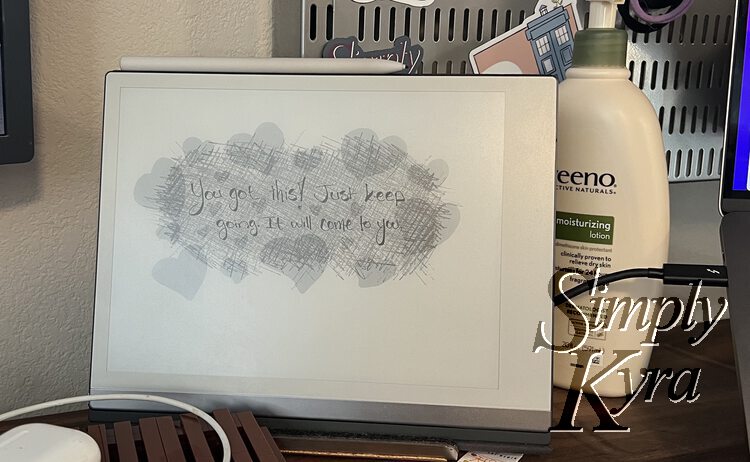
I recently sketched a drawing on the Move and noticed something unexpected when exporting it. While I couldn’t remember if there has always been a five-layer limit, what really surprised me was the difference in color between the exported file and what I saw on the device.
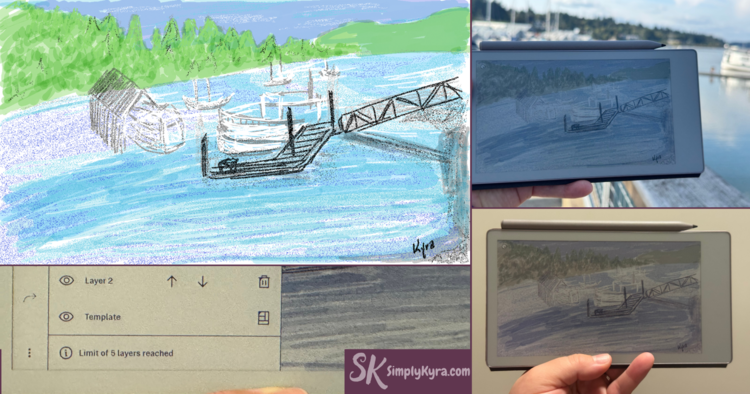
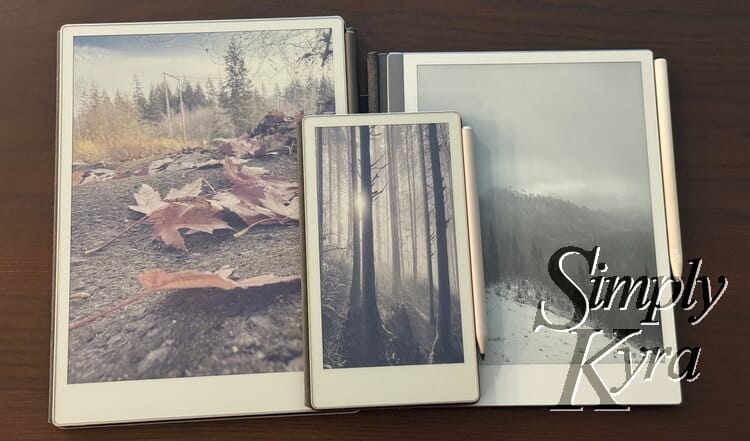
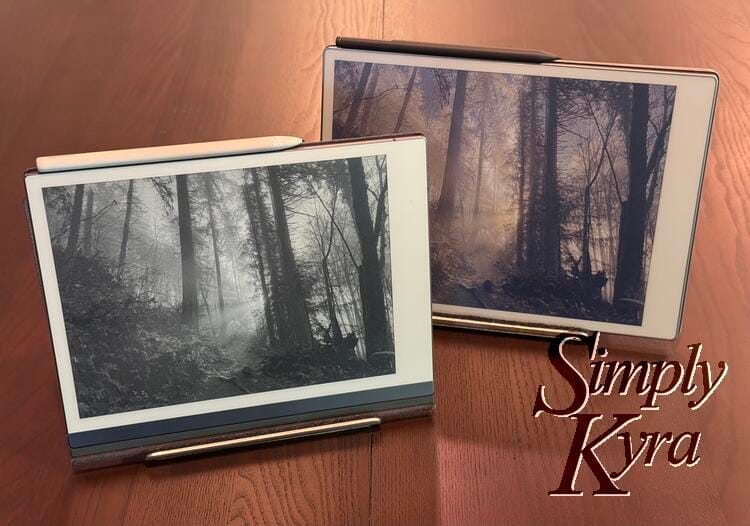
More Photos
While testing I took more comparison photos and wanted to share in case they help you deciding or whatever!

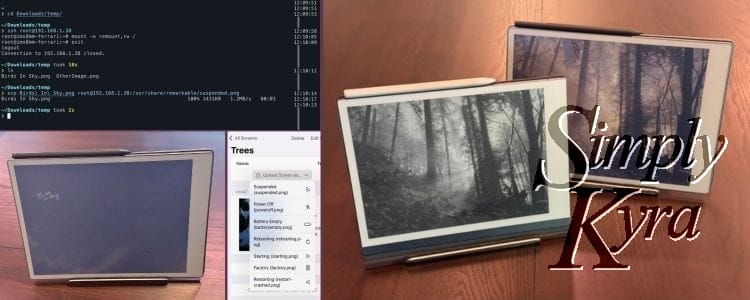
And once connected here's how I used to upload screen images without my app.
Quick Note: Simply Customize It
I upgraded my onboarding black template and tested the Move with Simply Customize It. The update with Move support has been submitted for both iOS and macOS yesterday and once both are approved make the update live! You can find it on the Apple App Store here: Simply Customize It.
UPDATE: Update is live but if you want future update please join the newsletter below.
If you’d like a heads-up when this or other apps have updates please sign up for app updates. I always send out an email the second they go live. Additionally there's a second newsletter for blog post updates that range from this, kid-centric, and everything in between.
Here's a link to the app's back story!
Already using Simply Customize It and loving it? A quick review in the App Store really helps other reMarkable users find it. Thank you!
Cleaning
Had to throw this link in... Sometime during my move I got a grease stain on my reMarkable Paper Pro case that transferred to both sides (when left folded open). In case the same thing happens to you here's how I got it out.

Everyday Impressions
- reMarkable 2: My longtime carry with marks on the pen from frequent use over the years. This last year I made sure to bring this if I left the house as it was smaller, lighter, and (I have to say it) cheaper to replace. This one I set my name and email on it... hence needing a white bottom on my sleep screen.
- reMarkable Paper Pro: Great device that tends to stay on my desk.
- reMarkable Paper Pro Move: Absolutely love the compact feel, purple case, and the colors. It fits on my desk without needing to push the keyboard away while I can also see bringing it with me when I leave the house... I do really wish my purse were 1 to 2 inches taller!
So… Which One Would I Pick?
If I didn’t have the app, I’m not sure I would’ve justified the rmpp last year and I was on the fence about the Move even with my app this year. That said, having bought all three looking back I could see going for the rm2 and Move combo. Re-reading over the above Everyday Impressions made it even more obvious as I edit this. That said, I’m happy I have all three for testing to make Simply Customize It better for you and I would not have been able to update my app last year to work with both devices without owning the rmpp so I'm glad I have them.
Curious what you’re leaning toward? Share below or jump into the conversations on Reddit, Instagram, Facebook, or wherever and tag me so I can follow along. My socials are in the footer below and are either under SimplyKyra or SimplyKyraApps.
And like always I hope you’re having a great day!
If you’re interested in getting any of my future blog updates I normally share them to my Facebook page and Instagram account. You’re also more than welcome to join my email list located right under the search bar or underneath this post.
Did this save you time?