
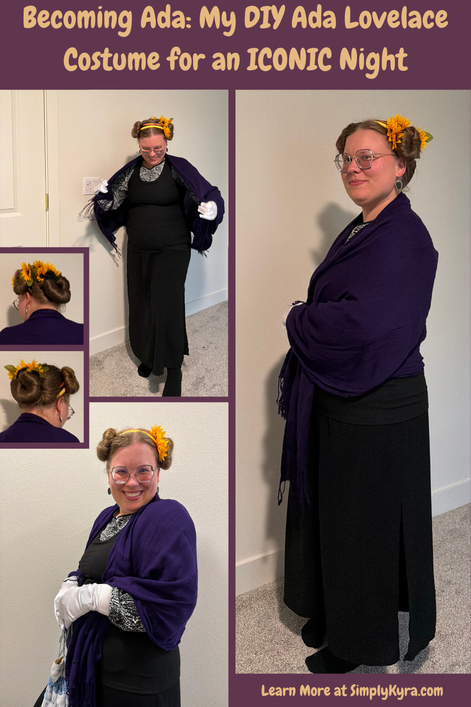
Becoming Ada: My DIY Ada Lovelace Costume for an Iconic Night

When the Olympia Boss Society announced that our October event would be costumed with a theme of iconic women my first thought went to the women who shaped science and technology. Names like:
- Ada Lovelace: translated and expanded on a paper about Babbage’s theoretical engine, envisioned future uses for computers, and is often considered the world’s first computer programmer
- Grace Hopper: coined the term computer bug and developed the first compiler, paving the way for English-like programming languages
- Hedy Lamarr: film star and inventor, helped invent frequency-hopping technology that laid the groundwork for today’s Wi-Fi, Bluetooth, and GPS
- Margaret Hamilton: led NASA’s Apollo software team and popularized the term software engineer to describe her work
…and the list could go on.
In the end, I chose Ada Lovelace an incredible mathematician, namesake of one of my daughters, and, with her distinctive hairstyle, someone I thought might be a little easier to portray than the others.
This post is a DIY breakdown of how I built my Ada Lovelace costume... using scarves, bun makers, headbands, a few of my kids’ old socks, and a lot of hairspray.
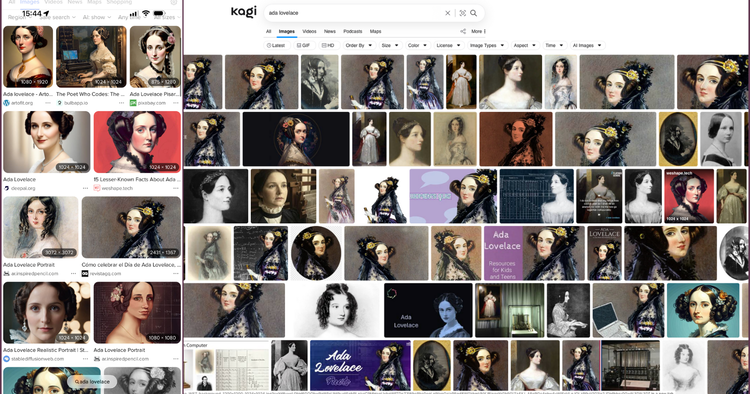
Inspiration
My main inspiration was using the images found when searching for Ada Lovelace online.
I saw a really cool reel that I tracked down to Engineering Knits. Must admit I was more interested in her hair (it goes by quick) and scanned quickly over the rest.
While creating this post I decided to track down some of the other costumes I saw pictures of online like this one shared in a historical costuming subreddit who mentions using a Princess Leia wig for Halloween night. I also found two different adorable Ada Lovelace kid costumes on roundup posts on both A Mighty Girl and Cool Mom Picks.
Creating the Costume
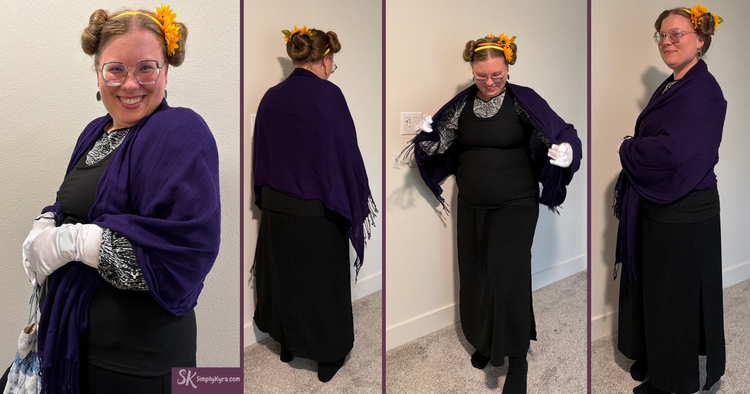
I knew I didn’t have time to dive back into sewing so instead I leaned on creativity, improvisation, and a lot of trial and error. Since the hair was the centerpiece, I built the rest of the look around it. The final outfit is shown below, but let’s first take it apart step by step in case my process (or missteps!) help you with your own. Without further ado, here’s how I created my Ada Lovelace costume.
Outfit
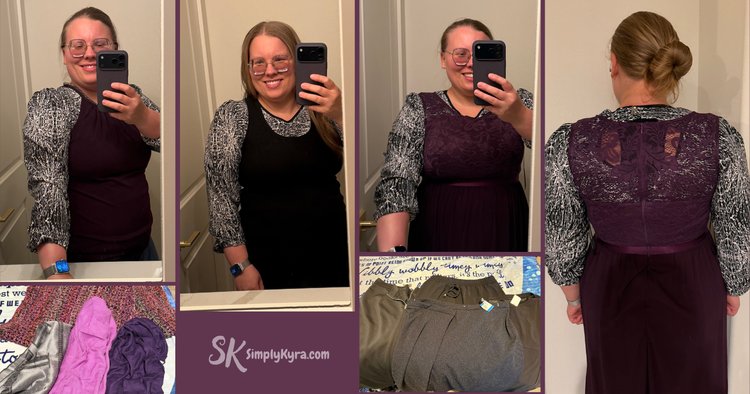
Like all costumes I held up the photos and browsed through my closet for inspiration which included a black tank top, the below linked top, and several scarves.
I had noticed lots of the photos online had puffy sleeves so I immediately knew this shirt needed to be used layered underneath something else.
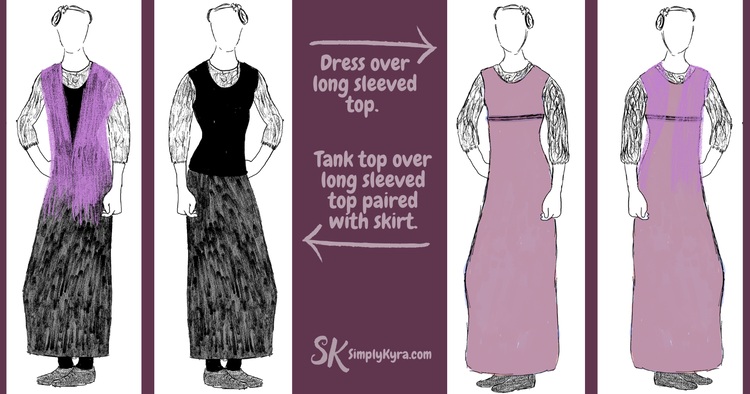
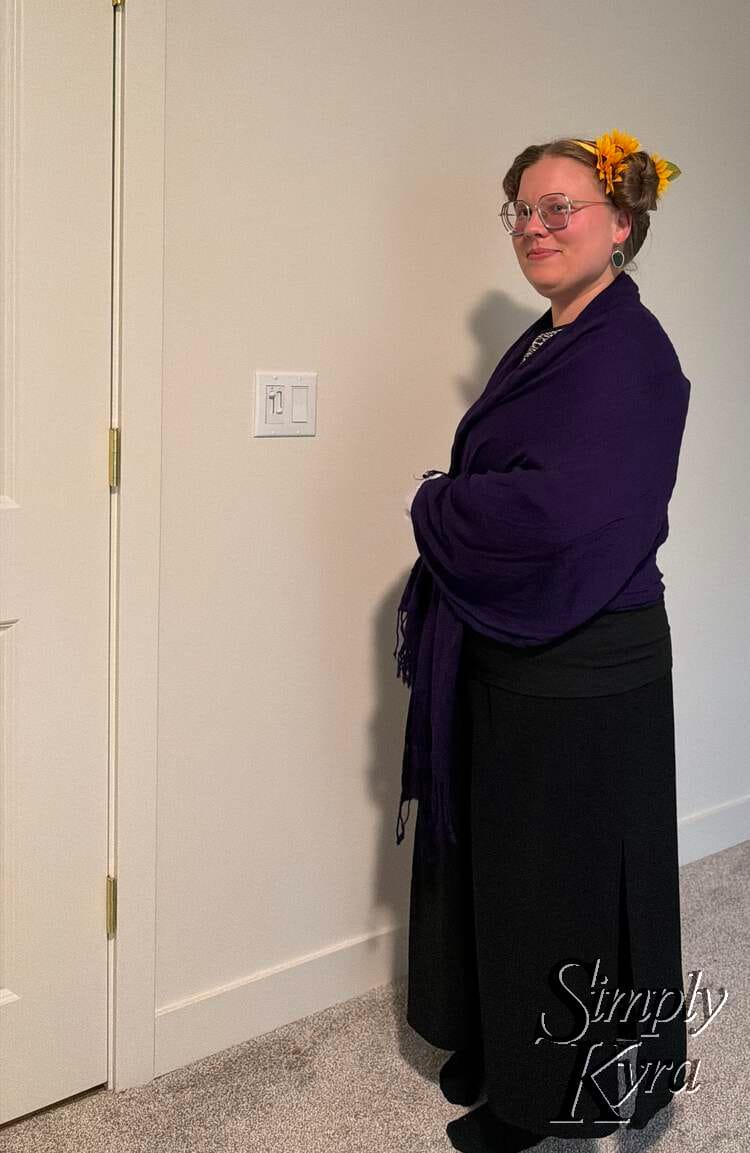
With a default option in mind and armed with photos on my phone I next browsed a second hand clothing stores to see what might work better. I ended up buying several black skirts and a purple dress I loved but later realized the open lacework combined with the opening in the black top and my mismatching scarves looked a bit too... something... so I decided to go back to layering with a simple fitted black tank paired with a long black skirt. That with a purple scarf used as a shawl gave it the nod I wanted towards a Victorian silhouettes.
After the event I sketched a croquis of the two main variations to capture how the choices may look side by side. It was a fun way to see although the scarf doesn't stand out too much against the colored dress.
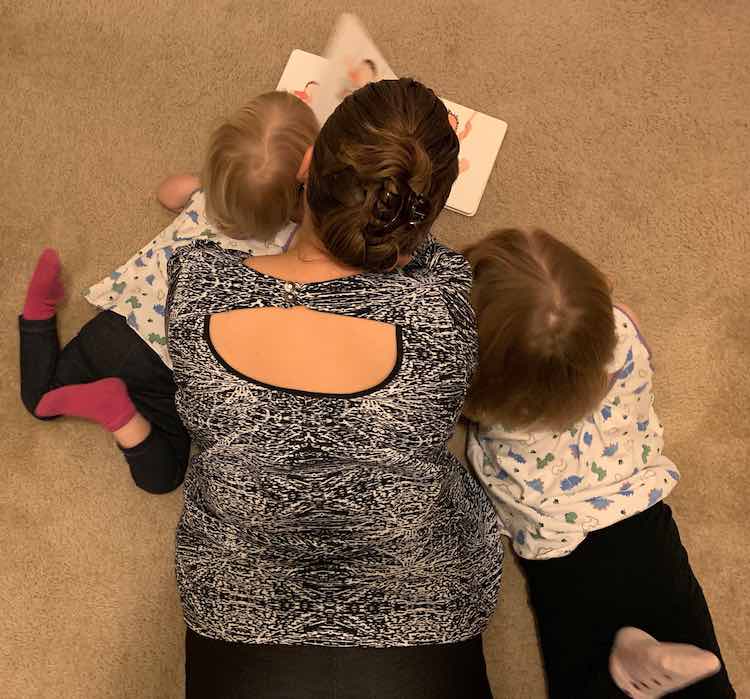
Hair
I knew going in that the hair would be most time consuming part while also making or breaking the entire costume. Most of Ada's portraits show her with side rolls and a low bun all decorated with lace and flowers. This area is thus the biggest part of my post so let's break this down a bit:
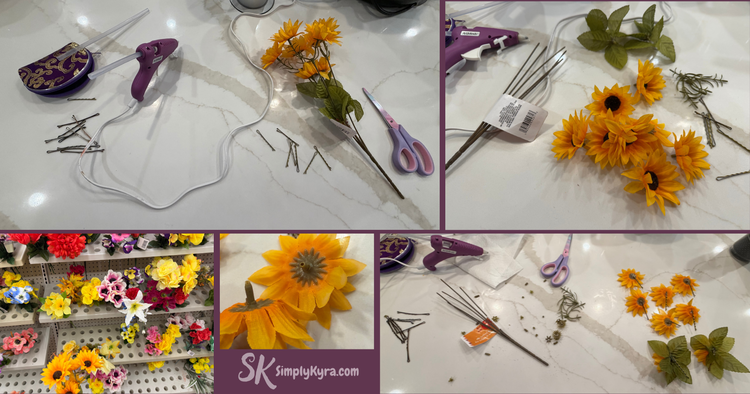
Flowers
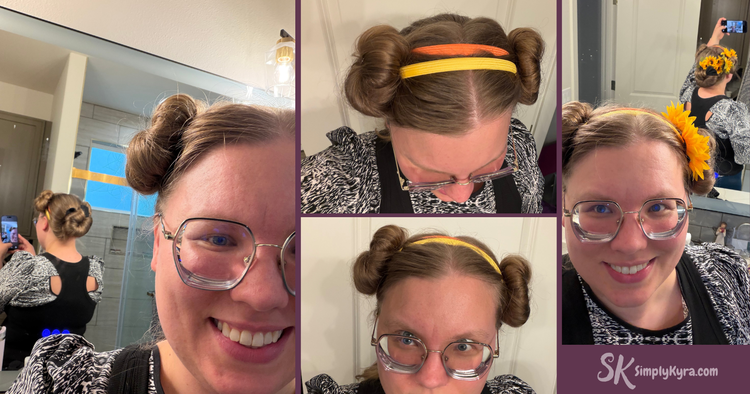
What would the hair be like without the flowers! I wasn't quite sure how to do the lace but knew I needed the flowers to make the hair work. To do it I bought a single bunch of sunflowers from the local Dollar Tree... and there had some indecision when I saw more choices in the flower aisle... but I kept the fall sunflowers and left the summer ones behind.

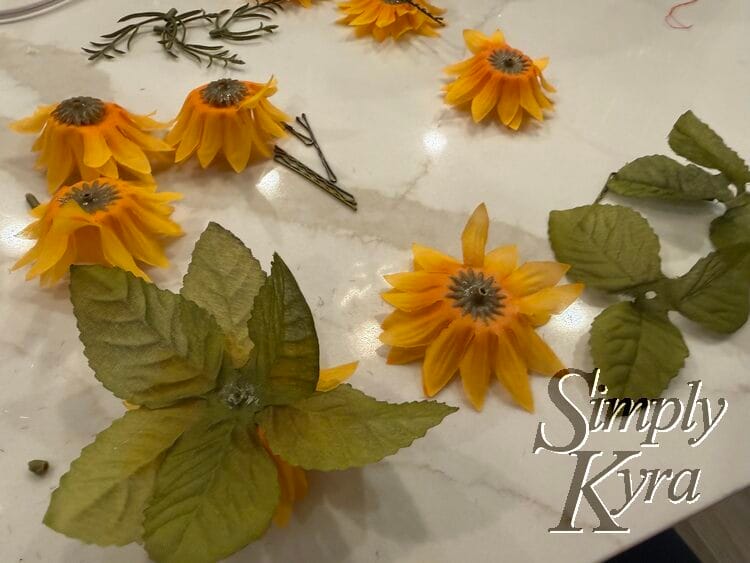
During this process I worried the flowers would fall off so I didn't try them on until I did the final hair and they stayed on the whole time! Zoey helped take them out when I got home and only one flower ended up being pulled off of its pin.
Lace and Ribbons
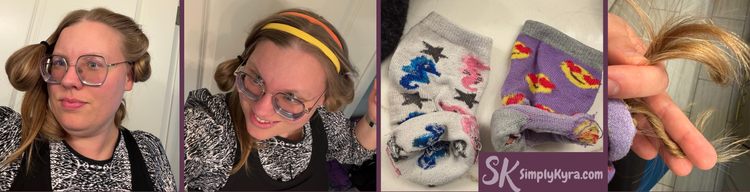
Early on I decided to forego the lace but I did buy some ribbon. That said, later at home I realized the ribbon was way brighter than the flowers I bought plus I wasn't quite sure how to attach it to my head. As such I raided the headbands I had recently bought for my girls and used the yellow and orange one to give the appearance of strips of ribbons.
Just a heads up: When I first tried to put the headbands on after the buns they ended up being pushed too far away from each other. Thus, for the big day, I decided to put the headbands through my ponytails before fully tightening them and making the buns so they'd better stay in place.
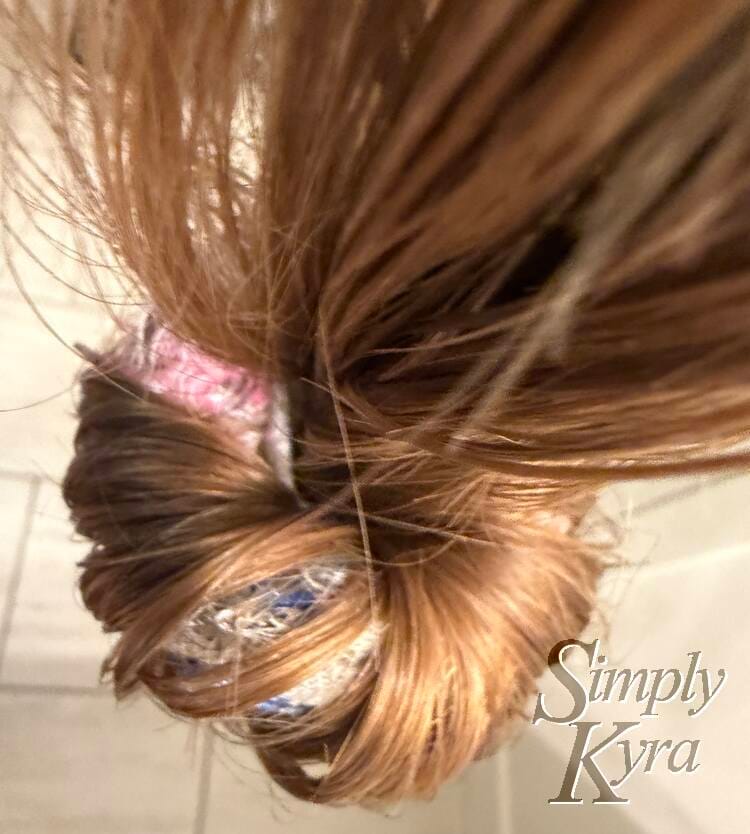
Buns
I don’t usually make buns (other than the rushed morning kind) so I ended up buying two kinds of bun formers and tried several times to get it to work before switching the side buns to using a sock each.... something I had never tried before. For these buns I raided my own sock drawer (which didn't work great) before going through our fabric recycling bag and cutting the toes off of both my husband's and kid's socks... The kid socks won for the side buns! And now I have several sock options in the future.
Tip: If you're buying your own I found the foam ones tricky and preferred the sock method for the side buns.
This was the sock bun tutorial I followed and it stayed in! Highly recommend this one and wanted to share both for you and future me.
I also bought a simple black version of this (figured it would suggested lace) and this was helpful figuring out how to use it.
I ended up trying the store-bought products about a week before the event, pivoted to sock buns, tried again the morning of the event, and then finalized everything right before going. Current advice:
- Let your hair fully dry. I'm a shower daily person and if I keep my hair up it stays damp all day.
- I changed into my tops before doing my hair so I didn't take a chance messing it up when getting dressed. I later had trouble with my lanyard so I'm really glad I did this.
- Section your hair using ponytails before starting.
- If using headbands stick them into the pony before tightening them and making your buns. They stayed in place with the buns keeping them in.
- Sock Bun:
- See above video!
- I found it simplest to start by dividing the hair sticking out from the sock into two, twisting each one, and tucking that twist into the sock. I then tried to keep both sections tucked while rolling the sock up.
- When rolling up keep the hair out from your head and not dangling directly below otherwise it will start going crooked.
- If the hair gets twisted let the bun go and let it untwist before continuing.
- If pieces get loose I gently pull the partial bun further away from my head while holding it firmly to tighten everything up.
- The back bun wasn't a sock so once the front was done I removed the back ponytail before creating this version of the bun.
- Hair spray, bobby pins, hair spray, and more bobby pins!
Some images from this process:

Once the buns were in I sprayed them with hairspray, added bobby pins (plain and flowered), and then sprayed them some more.
Accessories
Earrings
Years ago I bought a pair of trilobite fossil earrings and I knew I had to wear them with this costume. They felt like the perfect nod to the fossil craze of that century with a subtle tribute to Mary Anning the English fossil collector, dealer, and pioneering paleontologist.
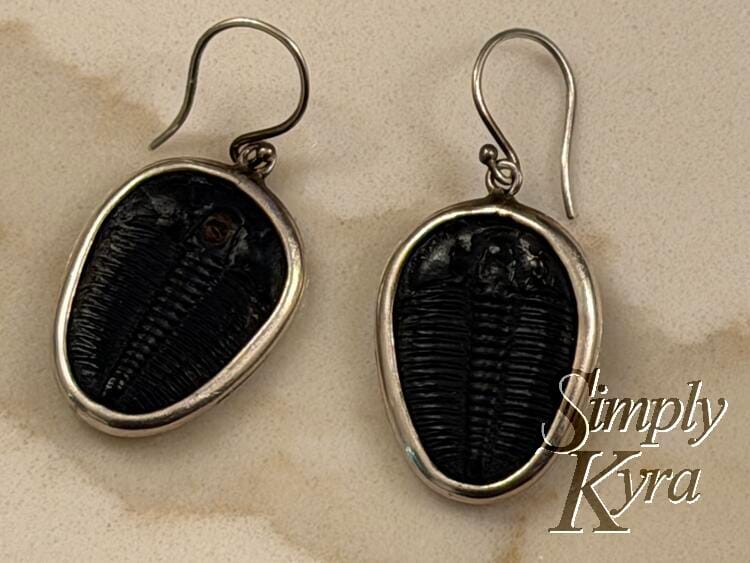
My favorite of their stores is Rock, Paper, Silver but they have two locations I love in Banff, Alberta and one in Whistler, BC that I haven't checked out yet.
Purse
Closer to the event I realized that my normal cross body purse would not have worked with the time period so I went looking for my old drawstring bags. I considered the pouches I made for the kids' face masks and later turned into snack bags but Spookley the square pumpkin, cars, and dinosaurs don't really fit the theme of this party. In the end I found a larger one I made back in February of 2019 to hold my sewing clips that was perfect to use as a clutch.
Here are some simple drawstring bags (I made various sizes) that also link to the bag pattern I used for the clutch I brought as Ada Lovelace. H
Gloves
Less than a week before the event I hopped onto Amazon and bought some white gloves to help complete the look. That said, when they came they were so bright white and I quickly noticed a loose seam by the thumb. I ended up wearing them for photos and then tucked them into my pouch making sure one stuck out as a display piece.
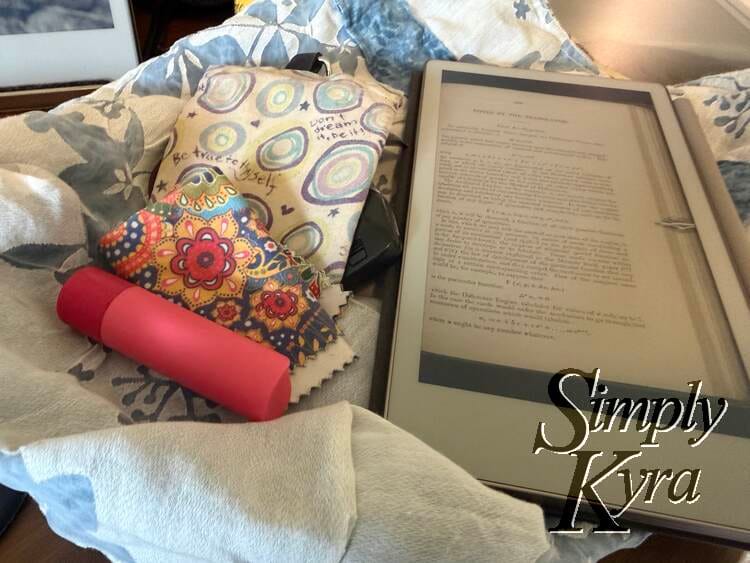
My reMarkable
I planned to bring my reMarkable Paper Pro Move to take notes and had planned to add paper to the pen to turn it into a quill but worried tape residue or sticky tack would stay behind. After looking online I realized the pens of the 1800s looked more like calligraphy pens and were no longer quill-based pens. As such I gladly skipped it but then decided to look online to see if I could find any examples of Ada's notes I could use as a sleep screen image. I downloaded an image (the one stating Notes by the Translator) from the Mathematical Association of America and used Simply Customize It to crop the image to size and upload it as my sleep screen image.
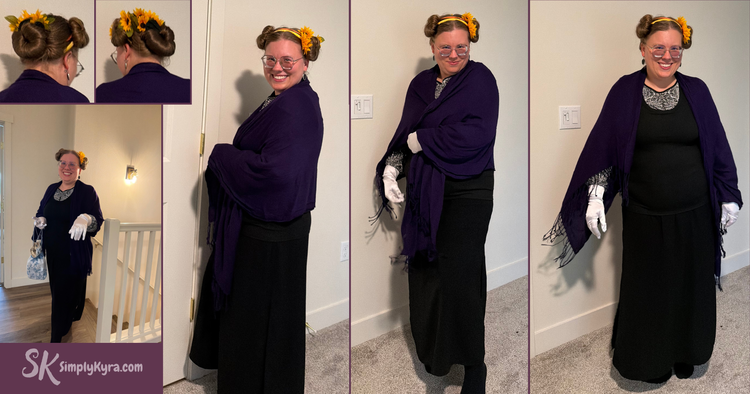
The Costume Reveal
And now for the final costume!
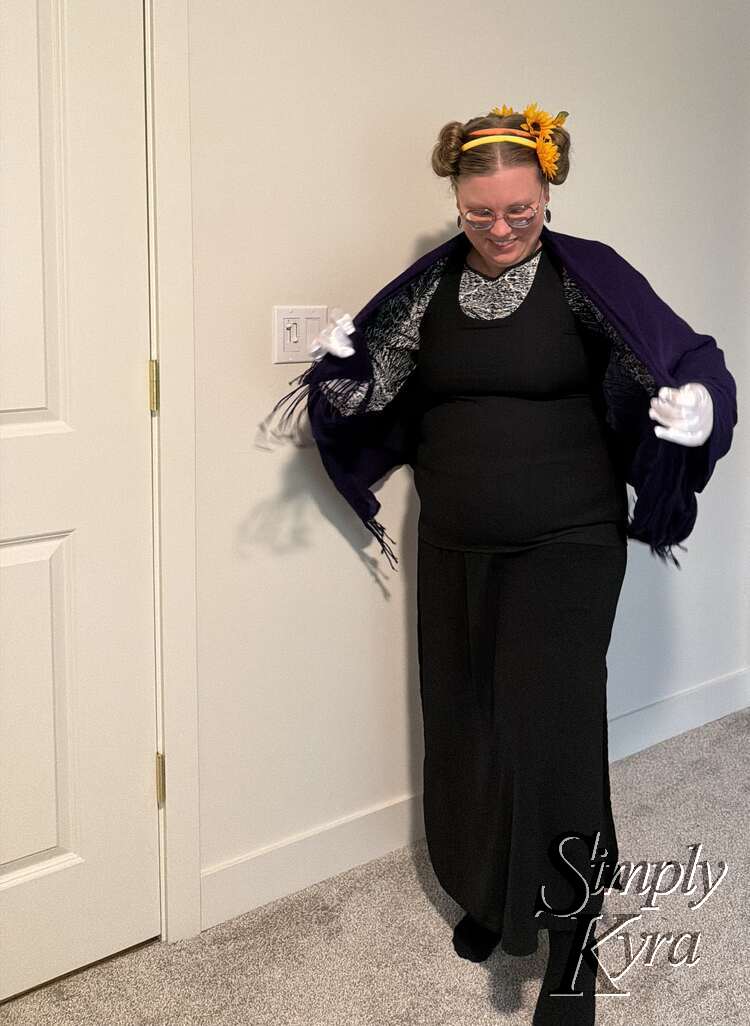
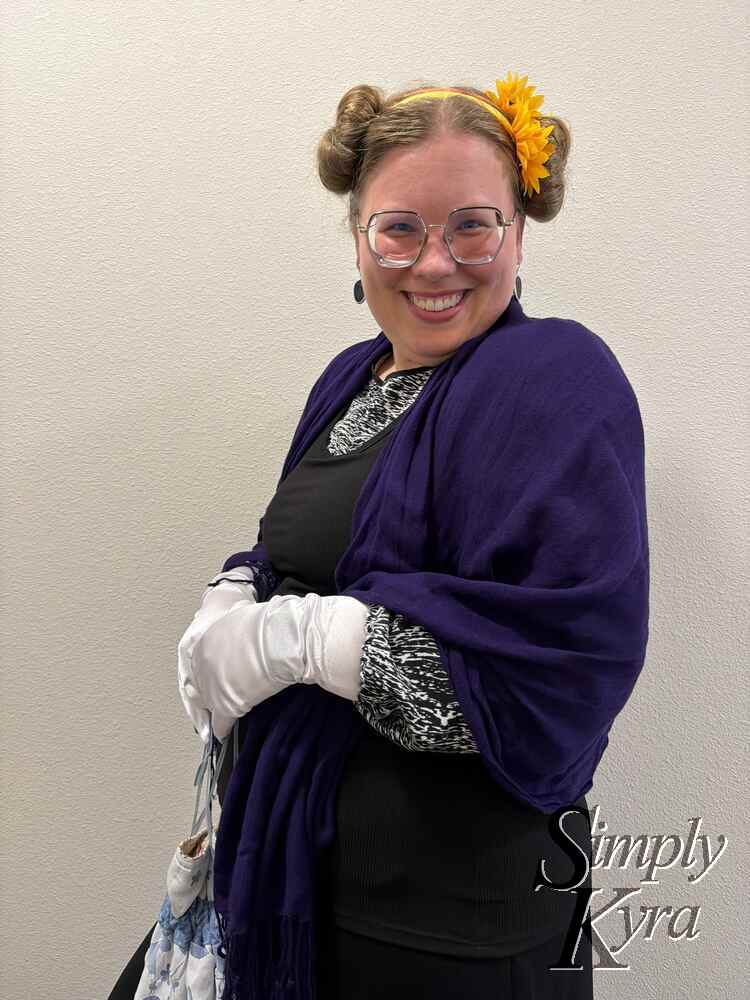
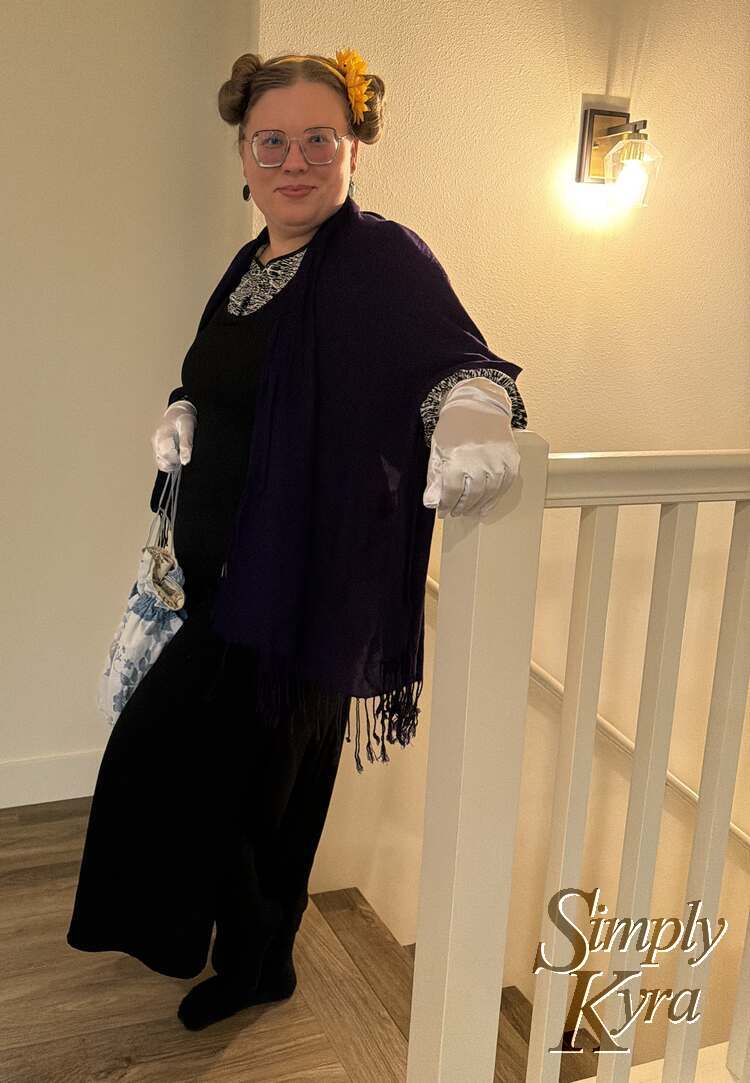
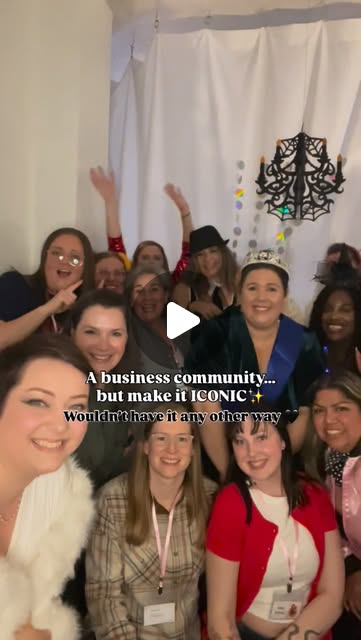
Dressing as Ada felt like stepping into history for a night, while also standing alongside today’s iconic women in our Olympia Boss Society community. I loved seeing all the costumes! Near the end of the evening we filmed a reel, and later OBS shared the final result... a room full of iconic women.
In the end, this wasn’t a perfect historical reproduction but it was a blend of history, DIY, Ada’s spirit, and a nod to all the other women in computing whose stories inspire me. And that, to me, felt iconic!
I hope this helps you out whether you're also recreating Ada Lovelace or coming up with something similar. And if it does I'd love to hear about your costume! Please share in the comments below or send me an email at mail@SimplyKyra.com.
If you’re interested in getting any of my future blog updates I normally share them to my Facebook page and Instagram account. You’re also more than welcome to join my email list located right under the search bar or underneath this post.
Did this save you time?