
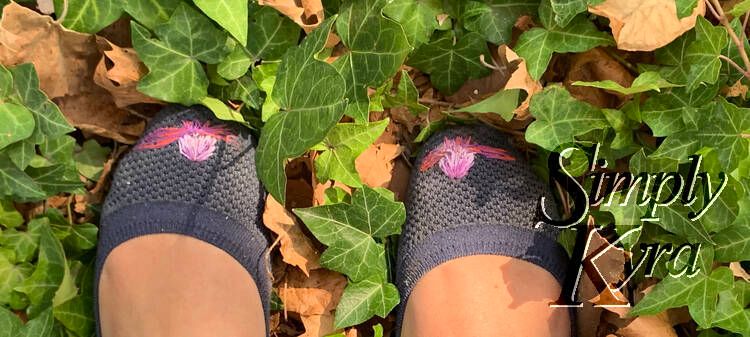
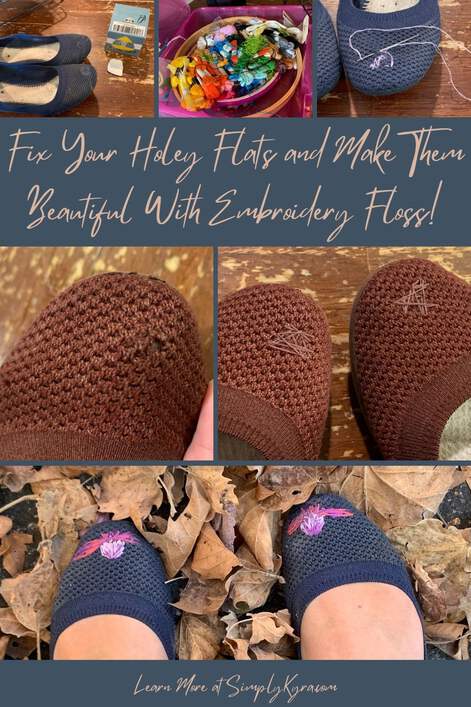
Fix Your Holey Flats and Make Them Beautiful With Embroidery Floss!

While picking the girls up from school one day I looked down and noticed a couple holes in my favorite flats. I later noticed similar holes in my other pair and from there on in I couldn’t ignore them. I looked them up on the AllBirds website hoping to get more but I didn’t liked any of the current colors offered. I figured I had nothing left to lose and, noticing the slight holes all over the shoe, thought of cross stitch fabric and thus decided to patch the holes with embroidery floss. Surprisingly the one I was most excited about wasn’t that great and the one I didn’t care about turned out fantastic. Looking back I’m so glad I jumped in and I figured I’d share what I did in case you want to do the same too.
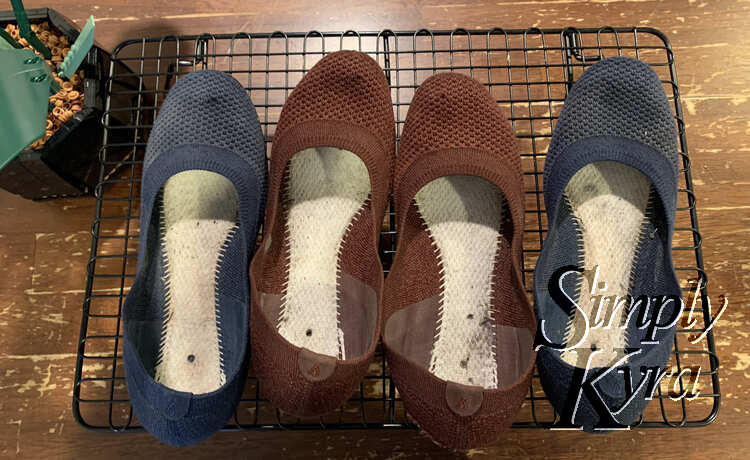
I first bought my AllBirds Women’s Tree Breezer flats in the summer of 2019 and loved them so much that the next summer, 2020, I bought them again in brown. My new brown ones were kept at the front door for whenever I went out while my older blue ones were at the back door so I didn’t have to go grab my first ones. As such they were both worn consistently over the last year or so and thus it was understandable but disappointing when I noticed the holes.
As I love the brown flats more I decided to keep it simple on them and experimented, first, on the blue ones instead. I wasn’t quite sure what to do though so I decided to look online for ideas first. I’m so glad I did as I absolutely love how they turned out and they’re now my favorite of the two flats. With the brown flats I choose something safer and although I like how they turned out I don’t love them. All this to say although I started with the blue flats I figured I’d start by showing you the embroidery floss, then how I fixed the brown flats, before finally going over my favorite ones.
Getting Started
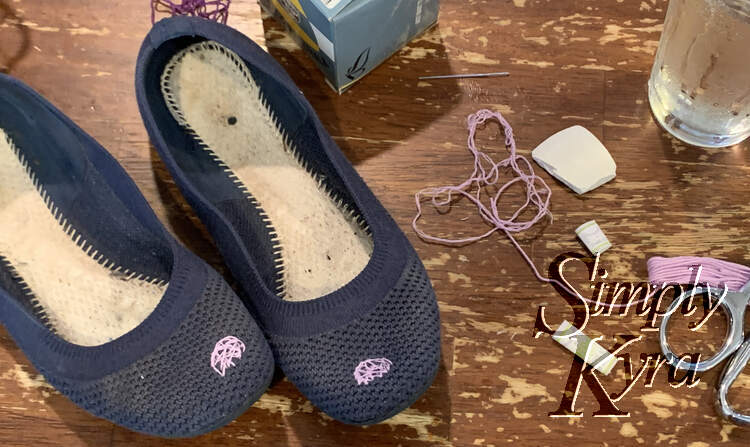
I started out by washing my flats before beginning so I’d start with a fresh and clean canvas for the embroidery floss. After jumping online to confirm that we can in fact wash the shoes I removed the insoles and tossed both pairs in the washing machine with a couple old towels as I remember my washing machine having difficulty getting soap out when the load was too small. I then skipped the dryer and laid them over a cooling rack to dry overnight.
In case you’re curious here’s a link to the frequently asked questions for Are Allbirds Washable? and Can you wash Allbirds insoles?. As a quick side note I’m not an affiliate or anything just wanted to share how I restored my favorite flats.
Embroidery Floss
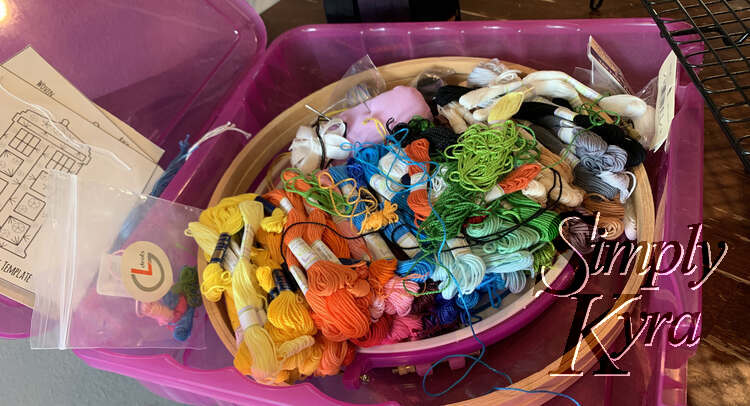
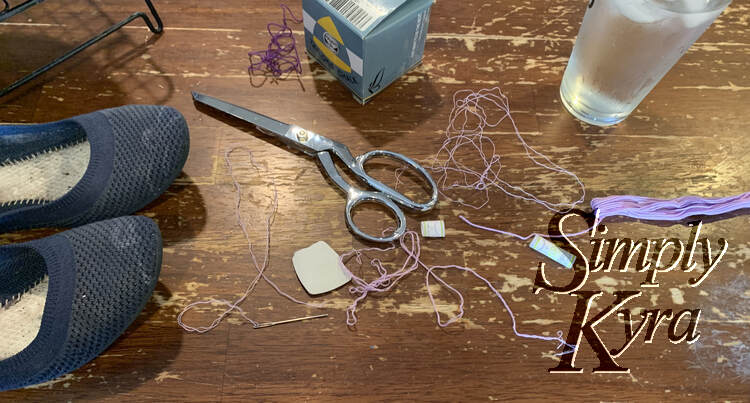
Before beginning I figured I’d go over my embroidery floss. I’ve been interested in embroidery for a while but never got fully into it. That said I dabbled years ago when putting together my girls’ quiet book pages with several pages including appliqué animals, threading a bumblebee through flowers, and a decorative embroidery sampler page. Since then I’ve added to my threads both with packages of mixed threads and the odd kit (love the TARDIS one) and have used them for small projects including patching a hole in lightweight fabric. As such I was able to simply grab my container of embroidery floss along with one of my larger eyed sewing needles and I was ready to go.
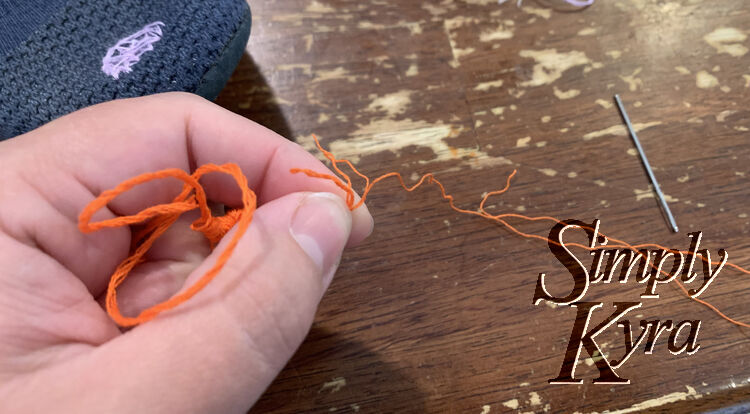
I knew going in that I didn’t want to use the default embroidery floss on the flats and instead used a single strand taken from the six strands that the floss came in. As such, after choosing my color, I cut the length I wanted and then carefully untwisted the length so I ended up with six lengths of thread rather than the original larger one. I then selected one, threaded it on my needle, and tied the ends together so I was working with two threads as it was doubled over. This untwisting was hard as I hadn’t had a lot of practice and I ended up with some knots and even broke one of the threads so I did loose some pieces along the way. Over time I realized I should use my needle to unravel just the end of the floss, select one of the threads, and pull it out from the others. Somehow this didn’t tangle it up as much and worked so much better.
If you want more information about embroidery floss you can check on this brief guide on Needle ‘n Thread or look over the thirteen types of hand embroidery thread on Sew Guide.
My Brown Flats – Keeping It Simple
I started out fixing my blue flats, shown after these, and then went to work on my favorite brown flats afterwards. I don’t know if I just blanked but these didn’t turn out as nice as I had hoped. That said, as the process is simpler, I decided to start with these and then go over the blue ones below.
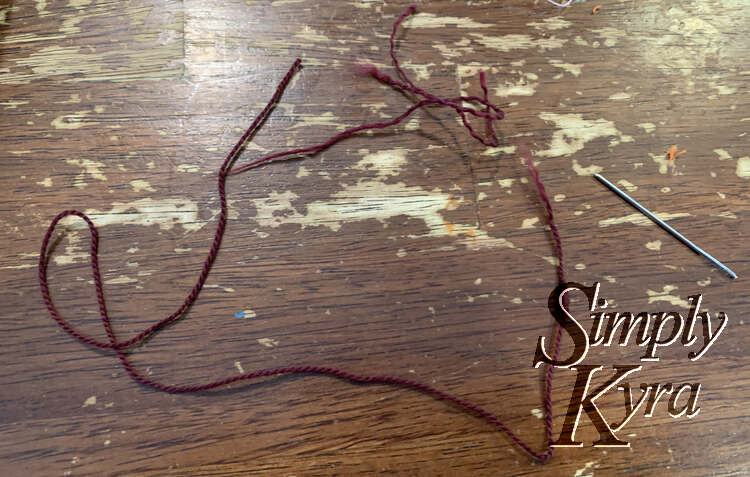
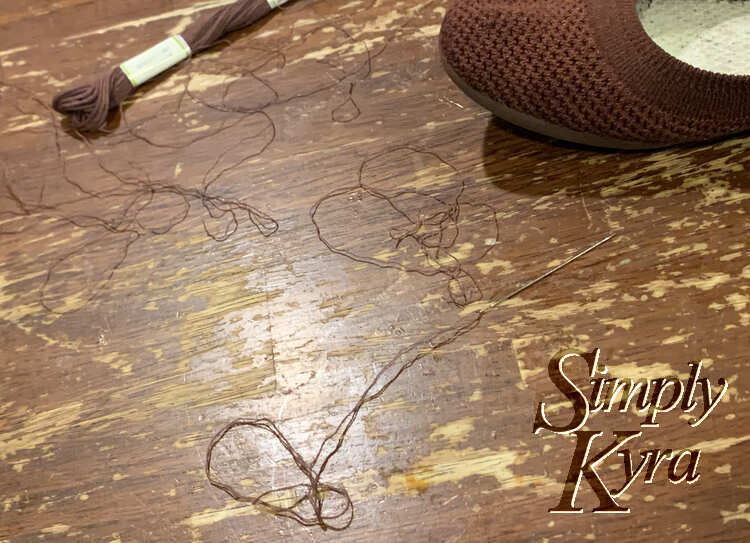
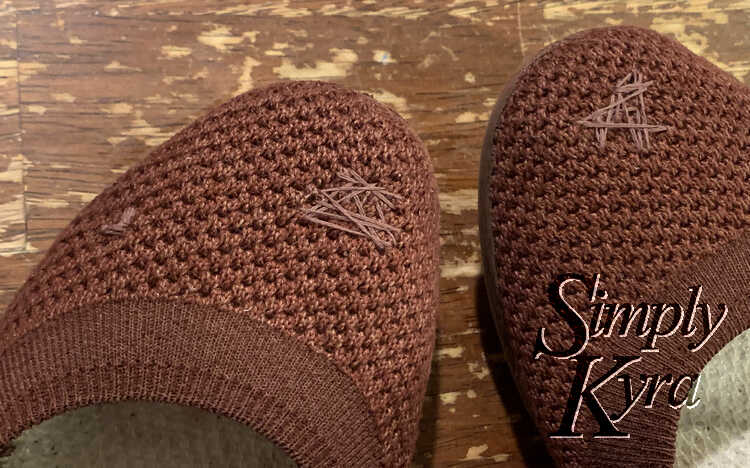
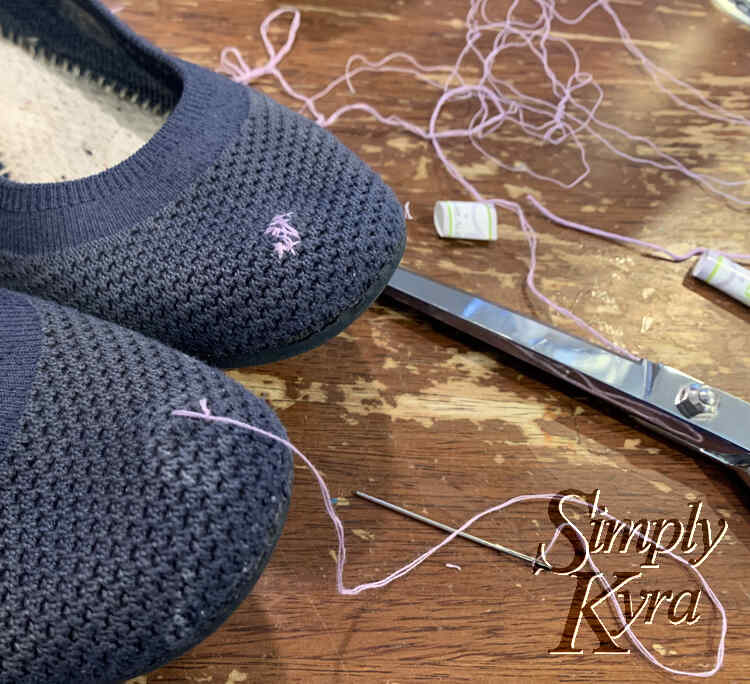
To start out with I went through my floss and tried to pick a color that would best match the brown so I could start by patching the holes before deciding how to continue. The first embroidery floss I chose, shown above, wouldn’t separate into strands so I switched to a lighter brown instead. After cutting a piece off and pulling one of the strands away from the rest of the floss I threaded my needle and tied the ends together. This meant I was working from a double stranded thread as the single ply embroidery floss was doubled over. When cutting the thread you’ll want it long enough that you won’t need to constantly tying it off to go to a new space, but you’ll also want it short enough to not get tangled easily. So basically you’ll want the Goldilocks length. Goldilocks here meaning having or producing an optimal balance usually between two extremes (Merriam-Webster definition) so not too short and not too long.
At this point I had already stitched the blue flats and noticed that that although they looked great they felt a bit tighter than before. As such, while I went ahead closing each of the holes in my flats, I attempted to make any knots on the outside of the flat rather than the inside so there would be less thickness applied directly to my foot.
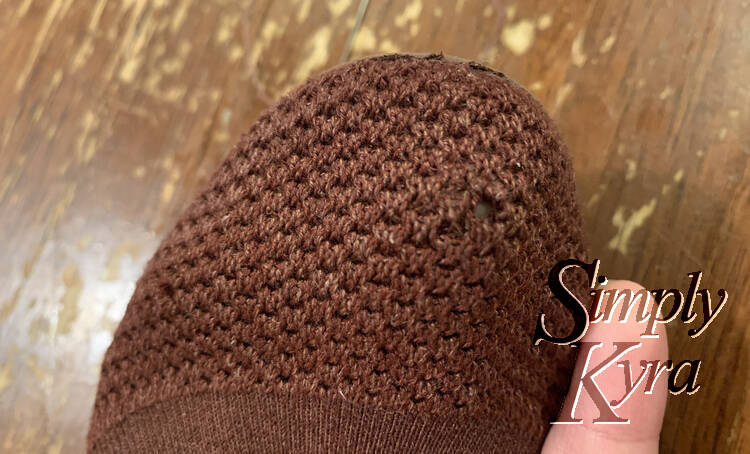
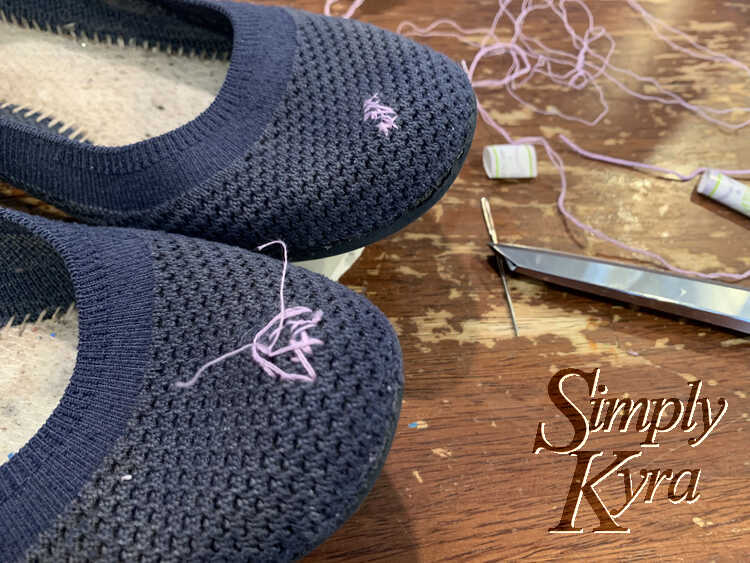
Once the holes were patched I started wondering what I should add to make them better. At this point the floss wasn’t apparent so looking back I wish I had stopped here. Instead I decided to add more of the same color and attempted to make them look artsy. After covering the main two holes I chose to go simpler on the third smaller hole with a little heart.
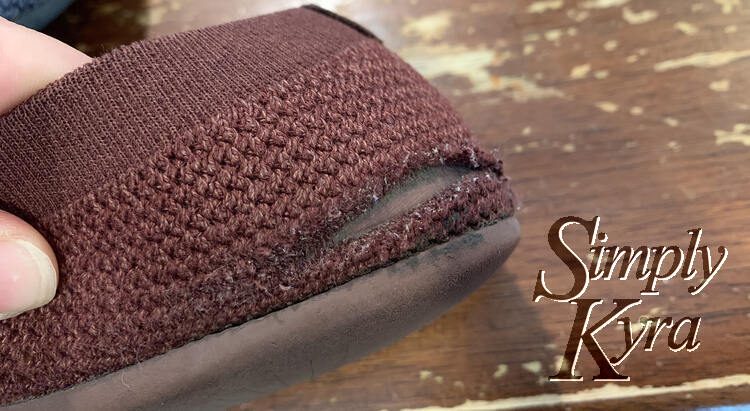
Before stitching these shoes I was excited to see what I’d add as these were my very favorite. While doing it; however, I noticed a cut on the back that I hadn’t noticed before. Luckily for the shoes, and crappy for the decoration, I quickly noticed that the inner rubber made it’s way up the back so I couldn’t really get my needle in to stitch it closed although it was making my shoe still wearable. I decided why bother, for now, and ignored the back and kept the front simple. Maybe I’ll leave them as they are or maybe… in a couple months I’ll find a way to cover or fix the back and tie it in with the front.
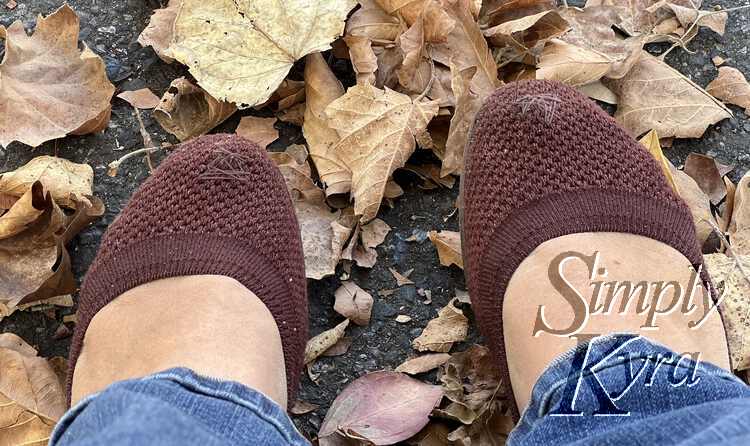
All in all the shoes fit awesomely and they looked better than before so, I guess, all’s well that ends well!
My Blue Flats – Adding Flowers
These flats were older than my brown ones and felt a bit tighter so I started out being less excited about them which lead to me deciding to work on these first to experiment, as a trial run, before stitching on the brown flats. I’m so glad I did as I absolutely adore how these shoes turned out and they’re now my favorite! That said with the additional embroidery floss inside the flats they were tighter once made… but over time they stretched back out and I don’t notice any tightness anymore. That extra tightness, though, was why I tried to keep the knots to the outside with my brown flats I stitched on after.
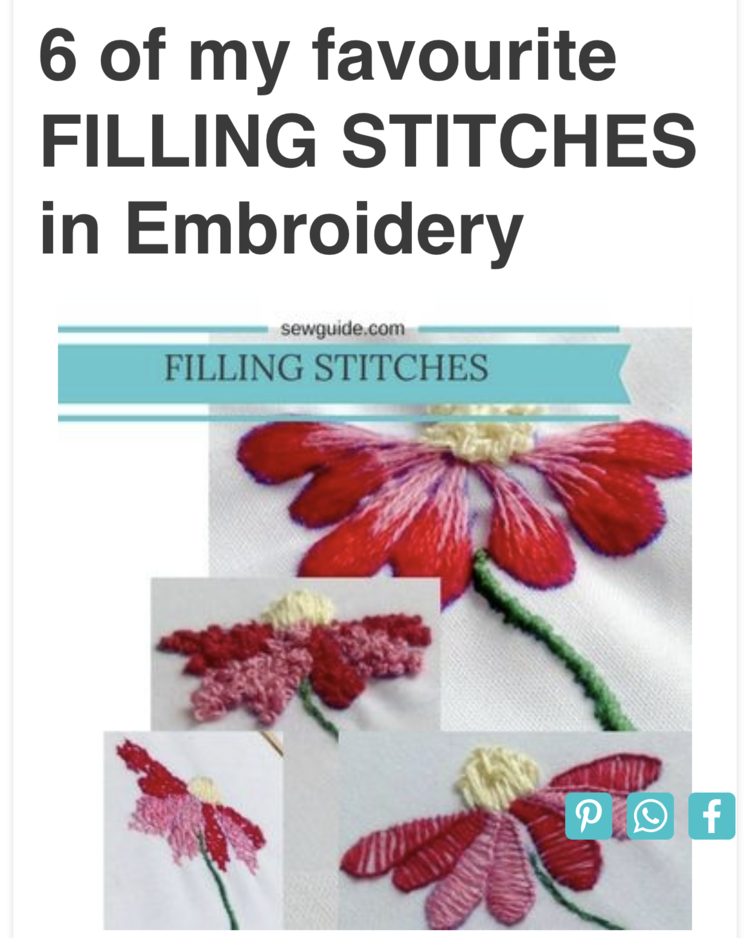
Before starting I searched online for stitch ideas and came across Sew Guide’s post 6 of my favourite FILLING STITCHES in Embroidery. I especially loved the third one showing a combination of long and short stitches; a precursor to needle painting which looks really interesting.
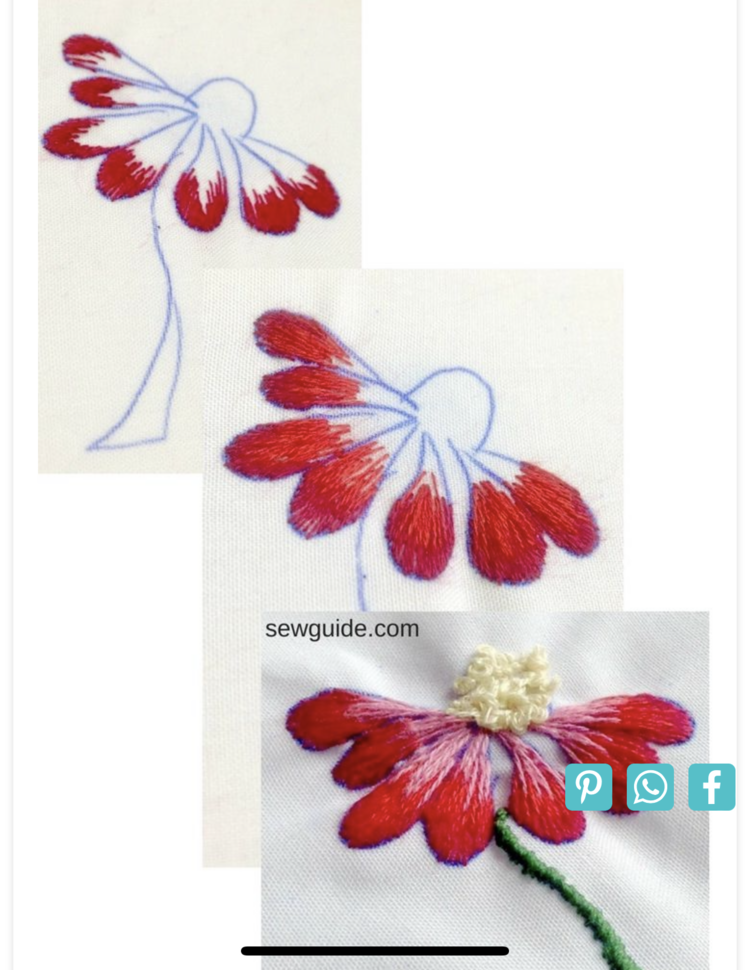
I loved the petals and pictured using the staggered stitches for the center of the flower and petals leading to both sides of the shoe. I was super excited to start but decided to first grab my tailor’s chalk and mark what I was thinking on the flats so I’d have a guide and be able to mirror them against each other easier. For each flower itself I decided to center the bulb over the hole so the patch job wouldn’t be apparent and, since the holes were mirrored, this would help keep the flats a matching pair.
A quick aside. This is where I came across my first issue. There was a hard material along the bottom edge of the shoe that overlapped with the blue cloth top. From the shoe perspective this is awesome and helped my flats last as long as they did. From an embroidery patching perspective this sucked and I couldn’t make my stitches go all the way down as I had planned. That said I went as far as I could. This is why, later for me but above for you, I couldn’t fix the cut on the back of my brown flats as this material went up the entire way on the back of the flats. So great on AllBirds part but limiting on my design process here.

With the design in place it was time to start. I decided to start with the center of the flower so I could patch the hole and chose some lavender embroidery floss for this task. After removing a single thread from the floss, threading it through the eye of the needle, and tying the two ends together I was ready to go with, essentially, two threads on my needle. With the thread prepped I then patched the hole before then following the outline of the chalk to outline the center bulb. Each time my thread ran short I tied it off, trimmed the ends, and threaded a new length of thread.
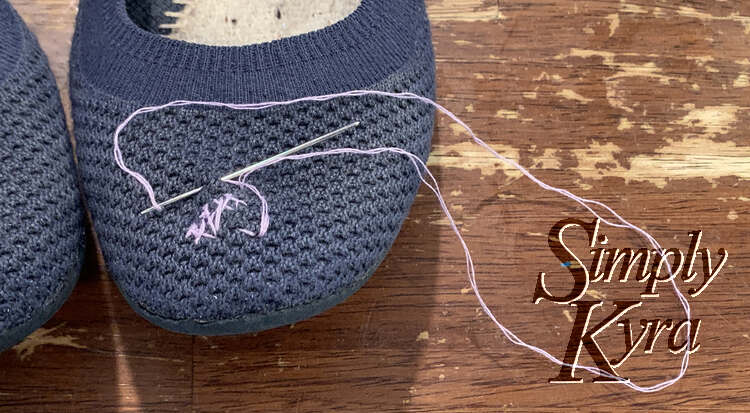
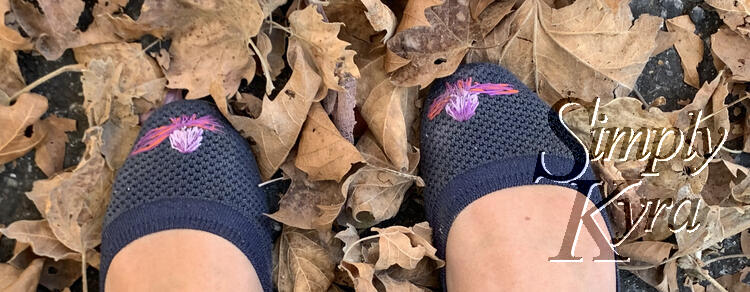
With the outline of the center in place I started zigzagging within that outline so I could build up some height. At this point I stopped taking photographs but I then used the small and longer stitching described in the Sew Guide’s post to paint each petal using two colors of thread going as far as I could before I hit the hard inner edge. With the petals done I then returned to the center of the flower and used the lavender and the matching dark purple from the petal to paint the center too. I chose to use the dark purple in both parts to tie the parts of the flower together as a whole bringing the lavender center and orange tinged petals together.
These flats felt a bit tighter than the brown ones before I even stitched them. Then with all the threads added they felt way too tight to wear but I made a point to wear them in smaller chunks of time where I could remove them easily if needed. Over time they stretched out and I slowly forgot that they had been too tight and started wearing them for longer periods of time without worrying. Now they’re perfect again and don’t feel tight at all. I love how they turned out and wear them more than the brown flats too!
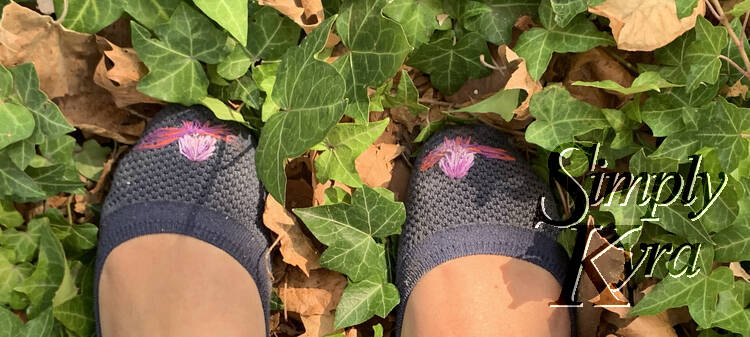
I went into this excursion loving both my flats and saddened by the small holes at my toes. I loved my brown flats a bit more and was afraid to touch them. As such, I started out experimenting with the blue flats and created works of art that I absolutely love wearing. The brown flats, that I put off touching, also turned out okay but I now don’t love them as much as the blue ones. That said both are patched, unique to me, and work great. I’m so glad I experimented as it made both of them feel like new and I didn’t have to buy anything to do it!
Have you worn AllBirds tree breezers? Have you needed to fix them? If so, for these or some other shoe, how did you patch them? I’d love to know more ways to extend the use of my footwear while making them unique to me so feel free to share what you did, or plan to do, in the comments below. Also how did it turn out? As expected, better, worse, or horrible?
Either way I hope this post finds you well and you’re having a great day!
If you’re interested in getting any of my future blog updates I currently come out with a new one every Wednesday and share them to my Facebook page and Instagram account. You’re also more than welcome to join my email list located right under the search bar or underneath this post.