
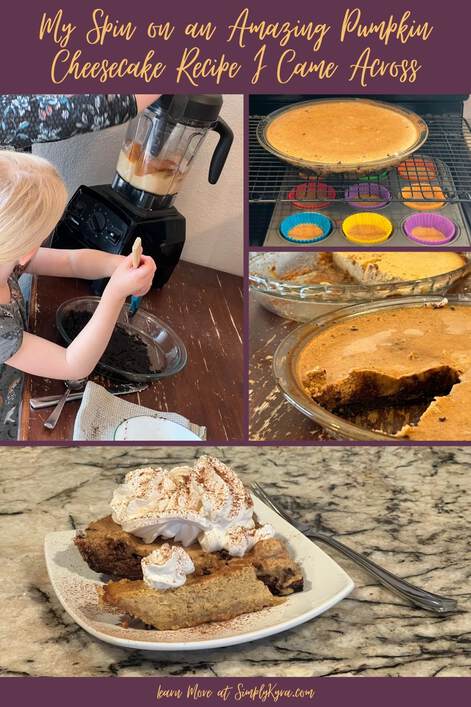
My Spin on an Amazing Pumpkin Cheesecake Recipe I Came Across

Right before Thanksgiving I came across a really simple recipe for pumpkin cheesecake through a Facebook group I’m a member of. I had recently returned from grocery shopping but, luckily enough, already had most of the ingredients so I decided to just give it a go. The cheesecake turned out incredible and as I still had some pumpkin puree left I decided to change it up and, two days later, tried it again. Here are my results!
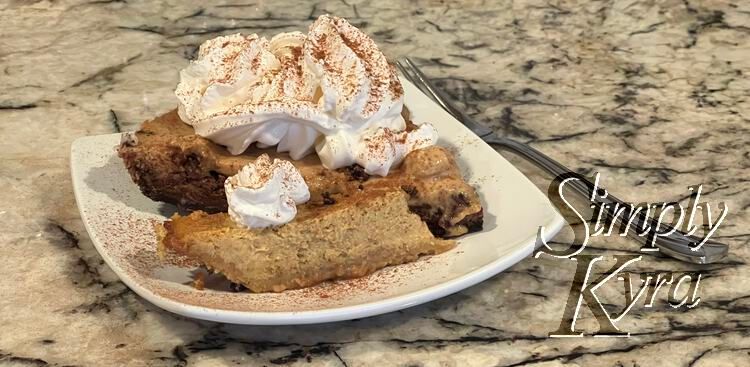
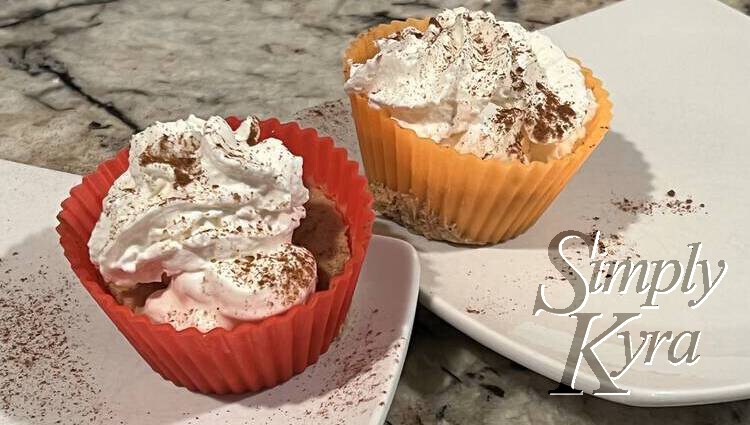
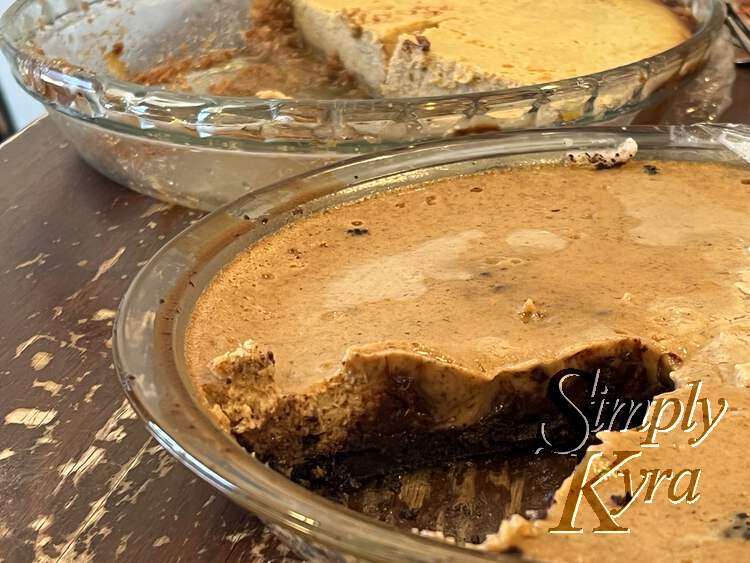
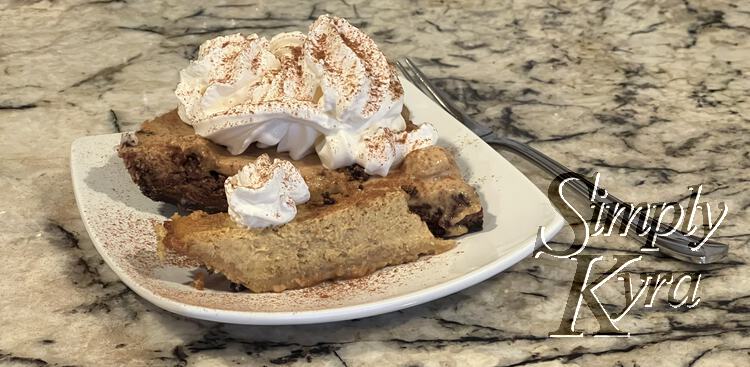
The recipe I came across, through the Struggle Meals Facebook Group, was the Easy Pumpkin Cheesecake recipe by Spend With Pennies. It was really simple as you only need to blend the filling up, pour it into the crust that was pressed into a pie plate, and bake. The hardest part of the whole thing was the fact that it called for room temperature ingredients… I messed this up both times and used mine straight from the fridge but baking the cheesecake longer (about five to ten minutes) seemed to solve that self-inflicted problem. Other than that I also substituted the half cup of sour cream, that I didn’t have, for my homemade plain yogurt. Once baked we let the cheesecake cool in the pie plate, covered it up, and then put it in the fridge for Thanksgiving the next day. It tasted incredible especially topped with fresh whipped cream and a sprinkling of cinnamon.
After trying the cheesecake I kept thinking about the rest of my can of pumpkin puree and how good the cheesecake tasted. I didn’t have any more graham cookies, the main ingredient in the crust, but I realized I could get around that by using our remaining Trader Joe’s Candy Cane Joe-Joes’ to experiment with. I then debated whether the cookies’ peppermint filling should be used in the cheesecake filling or it’s crust so I then searched online for peppermint, pumpkin, and chocolate. I didn’t get any results for all three ingredients but did confirm that pumpkin and chocolate goes well together. With that I knew I should use the outer cookie bits and leave the cookie filling out and so looked up oreo pie crusts for a better idea on how I should proceed. I can’t remember exactly which recipe I used so I’m not linking to anything and, as I was using the last of the cookies, I didn’t have enough to cover the sides of our pie plate. That said here is how I made the hacked pie:
Our Spin on the Pie
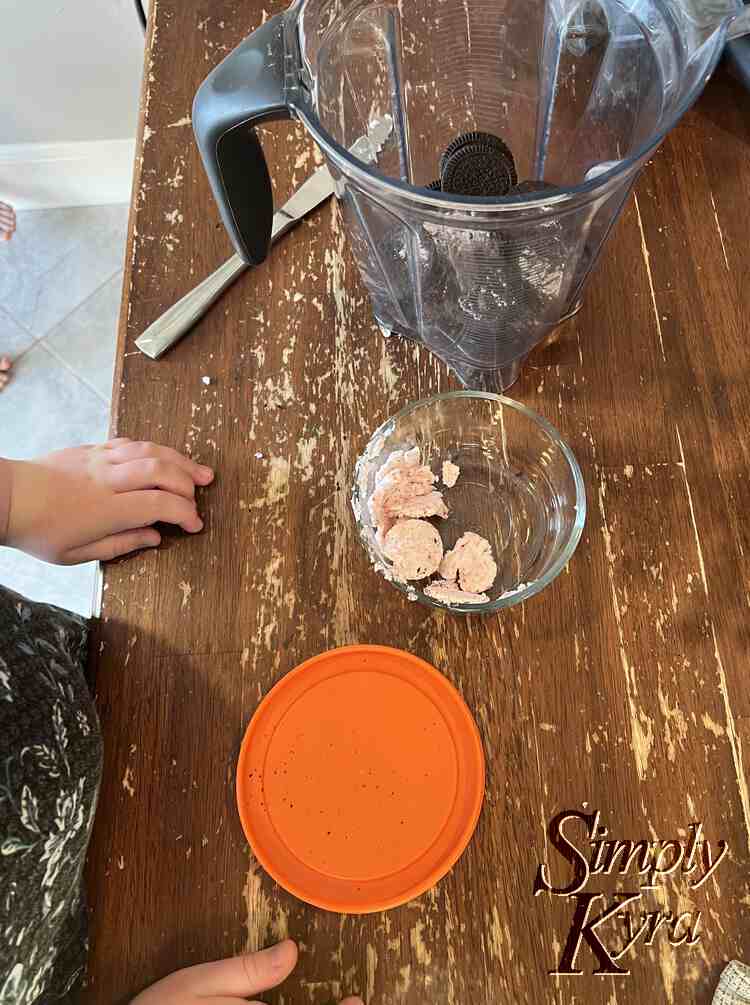
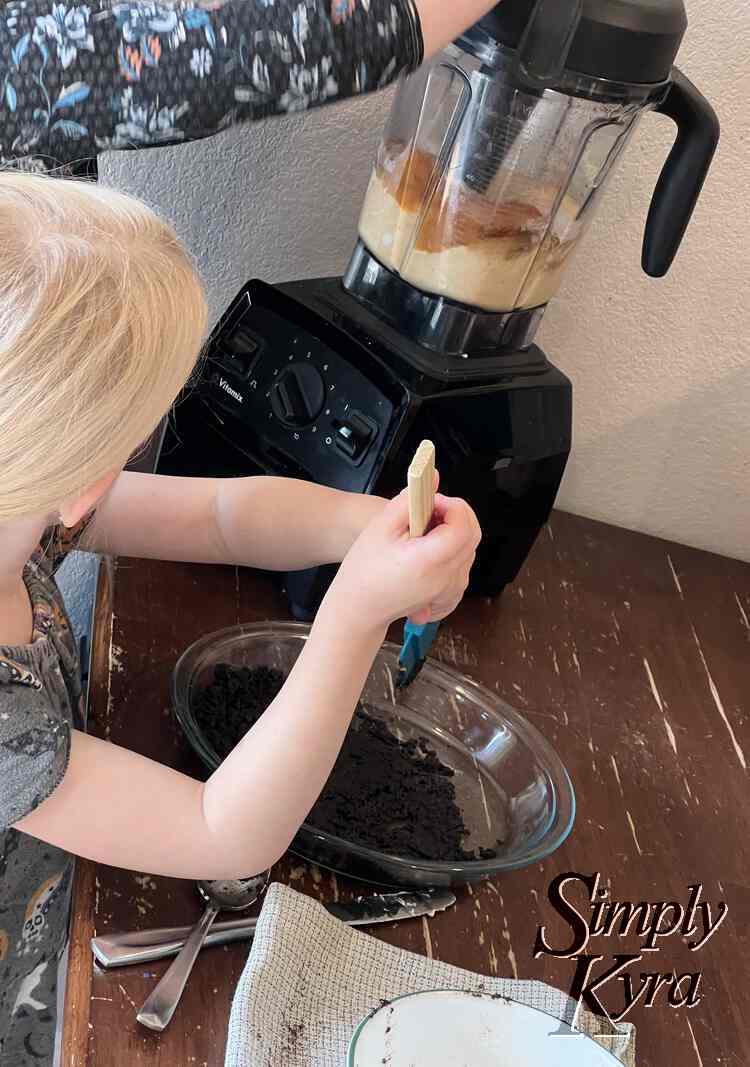
After setting the oven, so it could preheat, I grabbed my blender, the cookies, a couple cutlery knives, and the kids. I put them to work opening and scrapping the Joe-Joe’s so we could use the cookie part, in the blender, without the peppermint filling portion. Once all the scrapped cookies were in the blender we turned it on to make chocolate crumbs.
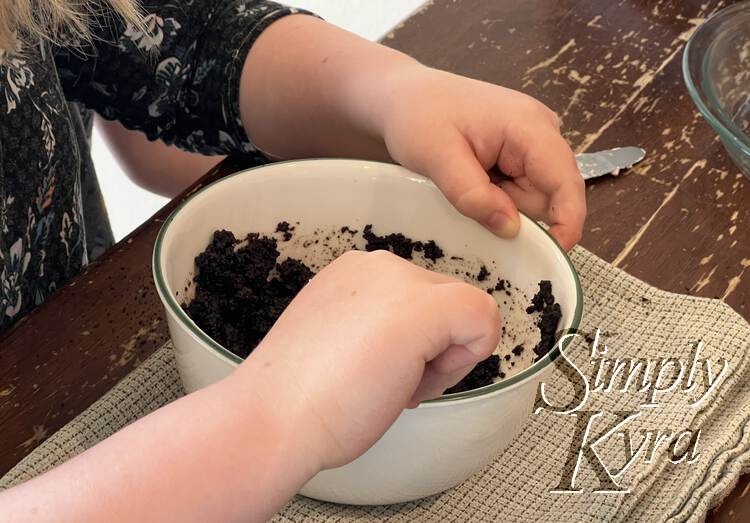
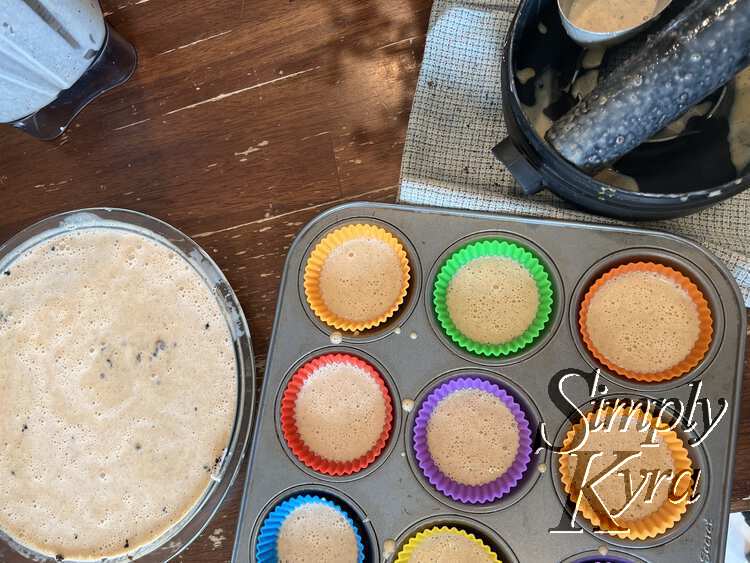
While they scrapped the cookies I melted some butter so, once the crumbs were ready, we dumped them into the butter and I set Ada to mixing the two together with a spoon. Once mixed I had Zoey press the mix evenly over the bottom of the pie plate. With the original recipe you press this along the bottom and sides but we didn’t have enough so I just had her coat the bottom of the pie plate instead.
While Ada mixed the two crust ingredients together I took the blender and added all the cheesecake filling ingredients to it. Like before I substituted the sour cream for yogurt while making the odd other change too. This time around I was lazier and thus only used cinnamon, rather than pumpkin pie spice, and dumped the remaining pumpkin puree in without measuring to confirm it was an entire cup (looking it up now a 15 oz can is 2.5 tablespoons less than two cups so I was under). With all the ingredients ready I was able to have Ada run the blender while Zoey pressed the crust into place.
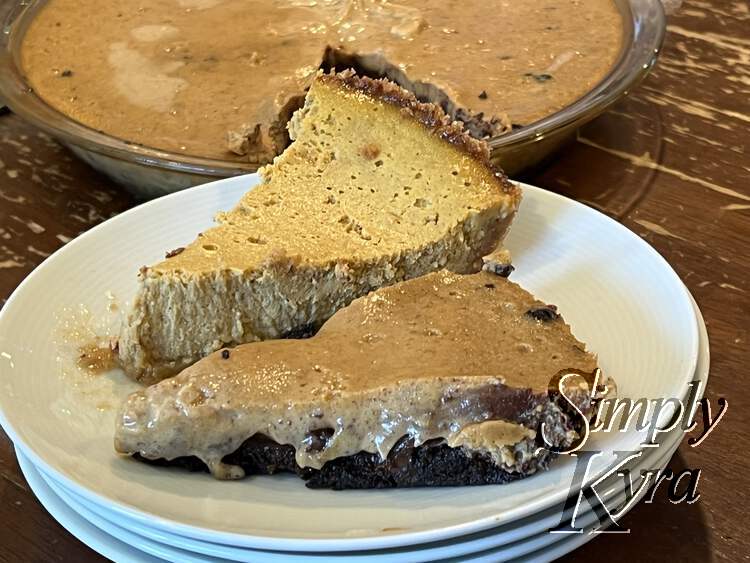
Once mixed I removed the blender from the base, noticed some pumpkin puree hadn’t been mixed in properly, and took that to indicate that we should add some chocolate chips to the blender before blending it some more. Once the filling is ready all you need to do is pour it into the prepped pie plate. Last time the filling fit perfectly but this time we used a different, potentially smaller, pie plate in addition to adding chocolate chips so we had excess filling. To mitigate this I quickly grabbed a cupcake tin and our silicon cupcake liners and, using a small measuring cup, moved the excess liquid from the pie plate to the liners before dumping the remaining chocolate chips that were still in the blender.
I’m not sure if it was, again, my lack of room temperature ingredients or if it was something else but I ended up baking these longer than before and still ended up underbaking the cheesecake. It was hot all the way through so we counted the cheesecake as done, let it cool, wrapped it, and put it in the fridge. Either way it tasted so good although the first one did look better.
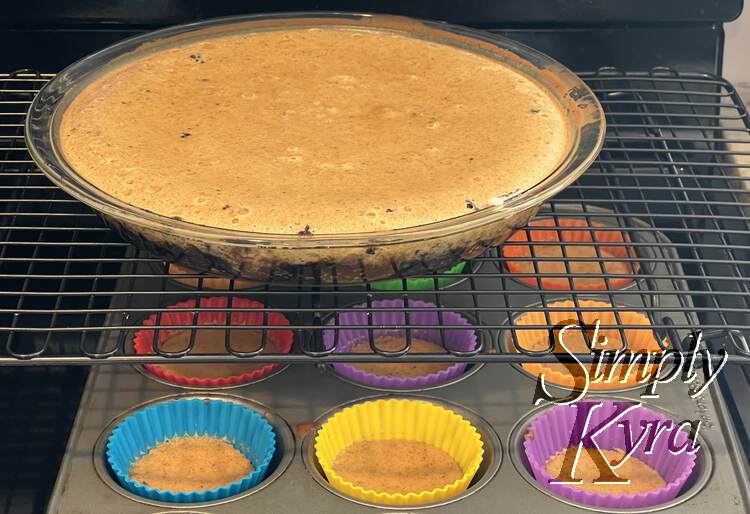
Although the pie itself turned out a bit underbaked it tasted incredible and, as we still had some of the original pie left, we were able to dish both and have a taste test. Personally, I think I prefer this recipe with the chocolate crust BUT wish I hadn’t added the chocolate chips as they all sunk to the bottom of the filling while it baked and was a bit much. The original filling was much better though how much of that was because of the chocolate chips, under measured pumpkin puree, minimal crust, or proper bake time who knows. I would love to make both versions again and see how they measure up…. but first I’ll give myself a break from this dessert.
I’ve been scared away from making cheesecake over the years and love how simple this recipe was to make. It makes me wonder if you know of another simple cheesecake recipe? Also have you tried this recipe? If so did you hack it to make it into something new? If it was a success I’d love to hear of new ways to make it. Either way feel free to share in the comments below.
Hope you’re having an awesome and delicious day!
If you’re interested in getting any of my future blog updates I currently come out with a new one every Wednesday and share them to my Facebook page and Instagram account. You’re also more than welcome to join my email list located right under the search bar or underneath this post.
Did this save you time?