
Simple Ways to Easily Change up Your Playdough Time

I seem to have so many playdough related posts already published on my blog and I hadn’t planned on sharing any more. That said, over the last several years I’ve been snapping photos of some of the things the kids and I have done with our playdough and although they don’t seem to be large enough, on their own, for a post I figured I should still share them here in case you’re interested. I hoped this would be helpful if you were looking for simple ways to change up your own playdough fun. Also I’d love to hear from you, in the comments below, if you have any other ideas on how to change up playdough.
Before I begin I wanted to give you an overview of all of my previous playdough related posts, so far, in case you need my playdough recipe or if any of these ideas better fit what you are looking for.
- My go to favorite recipe for making playdough.
- How to troubleshoot if your playdough is too wet or too dry.
- No food dye? No problem! Make plain white playdough and color it with washable markers.
- No food dye and want colored playdough? I went through using four types of my kids’ paint to dye our playdough.
- Do you want to make it smell good? Here’s how I used flavor extracts, essential oils, spices, and cocoa powder to change up the playdough’s smell.
- We added a playdough sensory bin to an orange-themed birthday party. This idea can happen easily for any color theme.
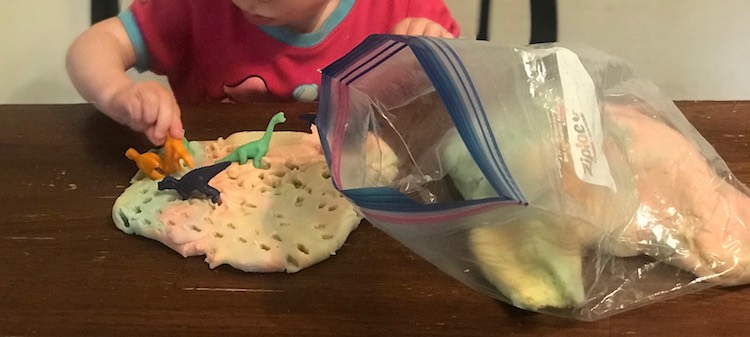
- We created a dinosaur footprints sensory bin using playdough and toy dinosaurs. This could easily be changed up with different toys.
- Used green, blue, and brown playdough to create a landscape and let dinosaurs stomp their way through it. We then reused that playdough to create a baking soda and vinegar volcano.
- Revitalized an old Play-Doh kit with a new batch of playdough.
- If you’re looking at splitting up a larger playdough kit I once bought a large set of cooking Play-Doh toys at Costco and split it up over several days for Zoey’s advent calendar.
- I’ve also included playdough, amongst other things, to make individual a sensory kits this last Christmas.
Change up the Toys for Your Playdough Using:
Your Kitchen Tools
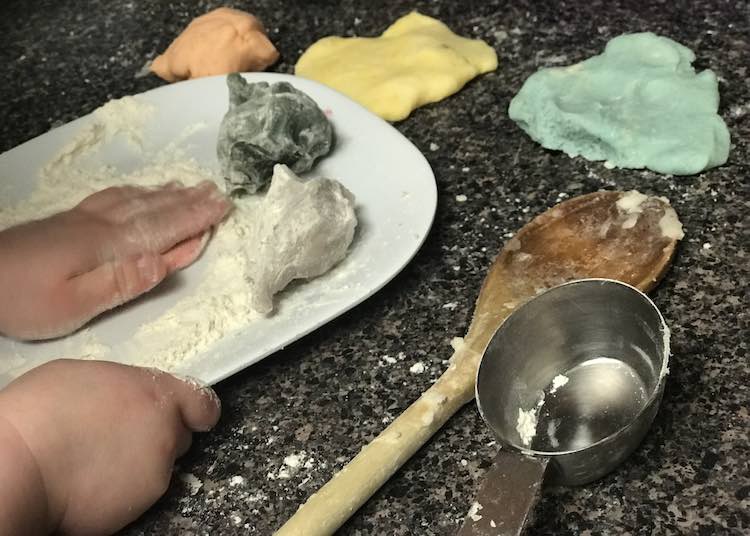
One very simple way to change up your playdough play is by changing up the toys that you use to play with it. The kids have gotten into the habit of making the exact same items each time they play with playdough so changing up the tools would force them to come up with a new way to use the playdough. Of course, with their increased independence they end up doing the exact same play when they go get the exact same tools or toys but maybe you can get an extra burst of creativity out of your kids before they think to ask. This change could range from buying new playdough toys to using items you already have on hand that they wouldn’t have otherwise thought to use. I know several times when the girls were younger they wanted to have the flour I used when making the playdough. They were happiest playing with their playdough when I added in my used measuring cups and the excess flour.
Play-Doh Kits Geared to Your Kids
Sometime before we last moved we were gifted a Play-Doh dessert set and, that previous Christmas, we had bought Zoey a Play-Doh Barbecue set. The combination of those two food-related sets, our toy kitchen, some playdough, and a set of markers gave us hours and hours of kid-happiness as they made so many food-related things. This was a needed distraction as I packed, cleaned, unpacked, and organized. The kids, even now, prefer to make food-related items out of all of the playdough ideas when they’re creating. What items would get your kids fired up?
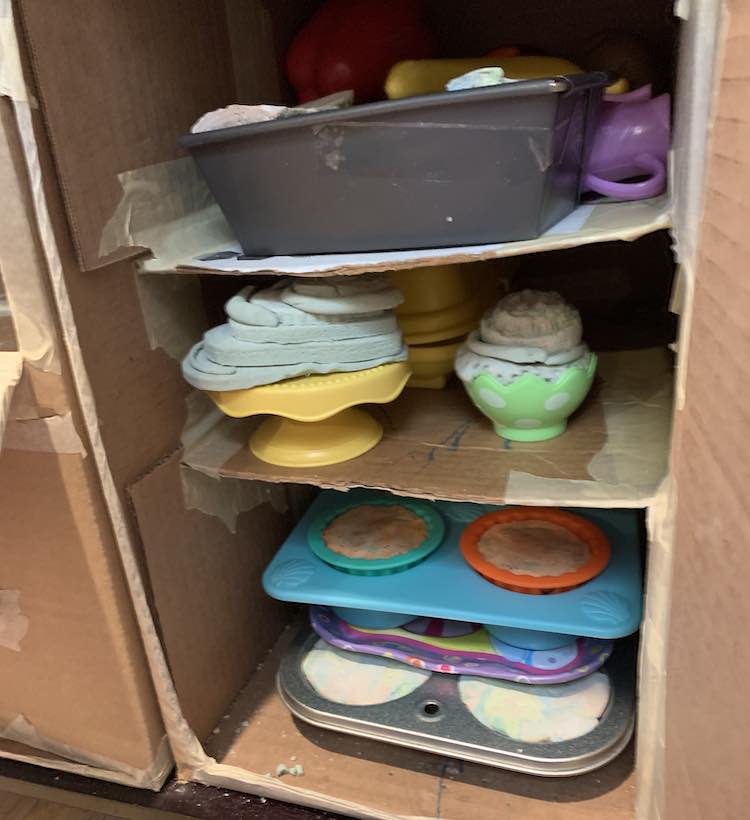
Non-Playdough Pretend-Play Items
Once at my friend’s house I noticed the use of her plastic kitchen set so the kids could ‘bake’ the playdough treats they were making. Later on, at home, I opened up our kitchen set to the kids’ playdough which resulted in items with incredible long bake times creating lots of hardened and adorable creations. Sometimes I find playdough crumbs in our kitchen set but the times they decided to play with their creations makes them all worthwhile.

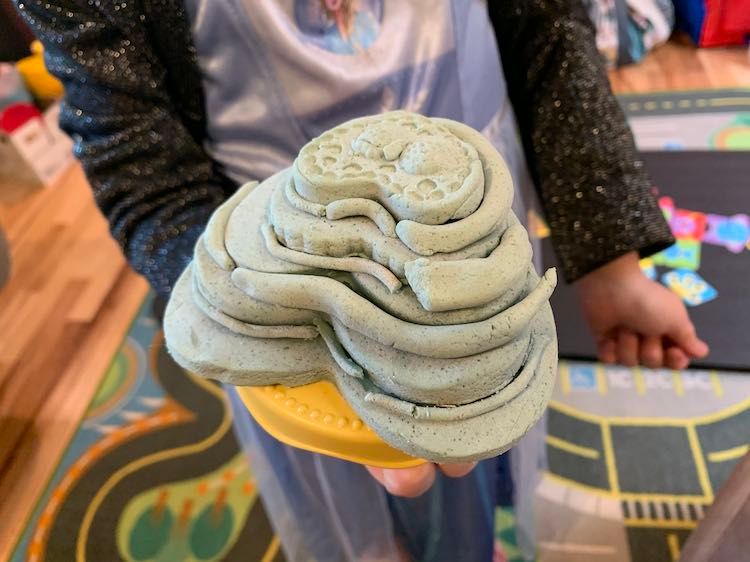
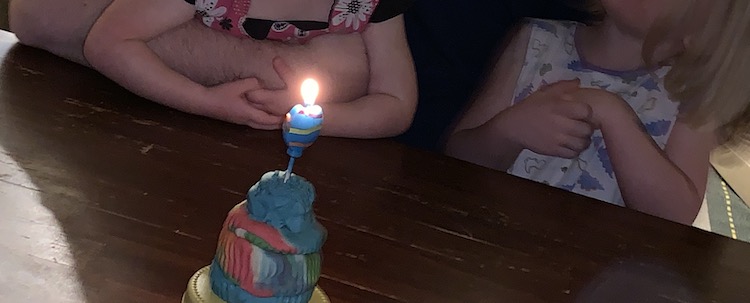
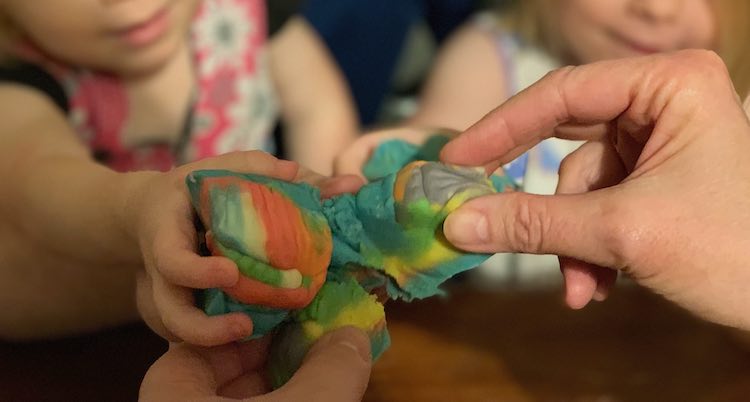
Candles
That same friend once pulled out candles so the kids could take turns singing happy birthday to each other and blowing out a real candle. They had an absolute blast but as I use sensory play as a break for me I never pulled out the candles at my home… until Matt’s birthday one time. That night, years ago, we had decided to celebrate by going out to dinner. When we came home, close to the kids bedtime, Ada became distraught once she realized Matt wasn’t planning on blowing out any candles. I, luckily, remembered what my friend did that time, quickly created a cake out of the playdough we had on hand, and grabbed a candle. We all sang Happy Birthday to Matt before removing the candle, cutting the cake, tapping our cake slices together while saying cheers, and then fake ate it down. The kids were happy that Matt had finally been sung to and it turned into an incredible memory.
As a quick aside I do need to warn you about birthday candles. Since that time I added an extra pack of candles to the kids’ playdough area thinking they could imagine lighting up candles for each other. The candles ended up being forgotten for awhile but were resurrected when the kids found them and created the most annoying sensory item I’ve had in the house: crushed candles. The crushed wax has been turned into a kitchen set item so they keep crushing and I keep finding pieces even though there was only one pack available to them. I even found a pile of the cleaned wicks although I can’t remember what they were supposed to be. Needless to say we eventually cleaned it all up, after giving them a few more days to play, and haven’t added candles back in yet.
Plastic Animals or Characters
We keep a bin of plastic animals and various other characters in our sensory cupboard. Sometimes the kids grab them, or some other plastic toy from their room, to add to their playdough fun. This could range from something simple to more involved. Once I had them create landscape out of green, blue, and brown playdough so they could add their dinosaurs to create a scene. Another time I had them create dinosaur footprints in their playdough.
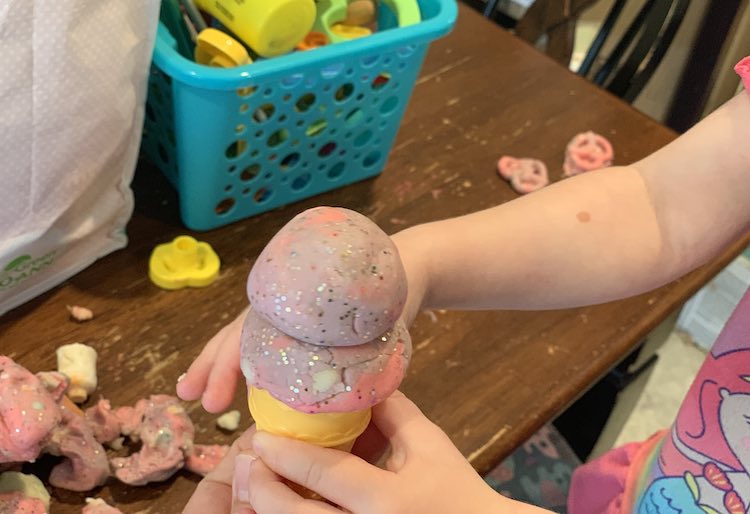
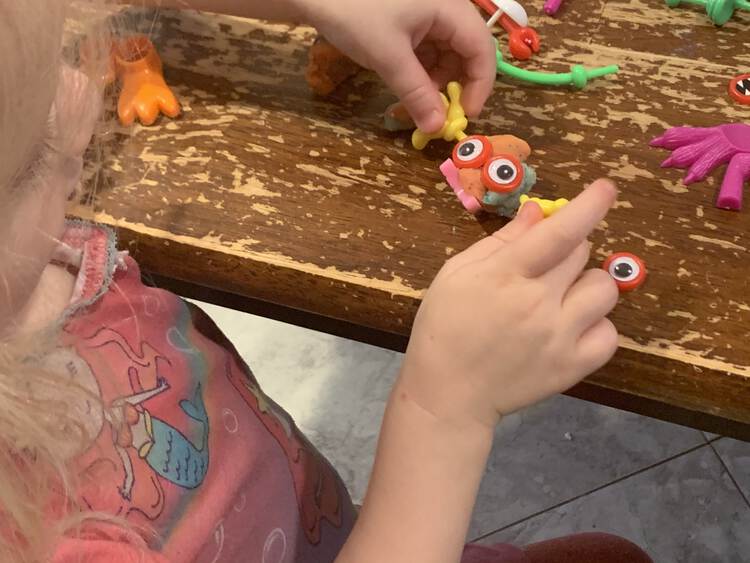
Little Pieces
Back in August I came across the Busy Little Hands: Art Play! Activities for Preschoolers by Meredith Magee Donnelly on NetGalley. I didn’t end up making most of the activities but, while flipping through with Zoey, we came across the playdough friends and Zoey got so excited and wanted to immediately go make them herself. Years ago we had bought create-a-monster slime sets that came with little plastic limbs and eyes so I grabbed the pieces I had saved along with some playdough we had on hand and both girls jumped right in. They had a blast! After I found a similar idea through The Artful Parent’s Playdough Monsters (And Other Fun Ideas with Poke-Ins) post where she uses various easily obtained items like pipe cleaners, dried pasta, googly eyes, and craft feathers for their monsters.
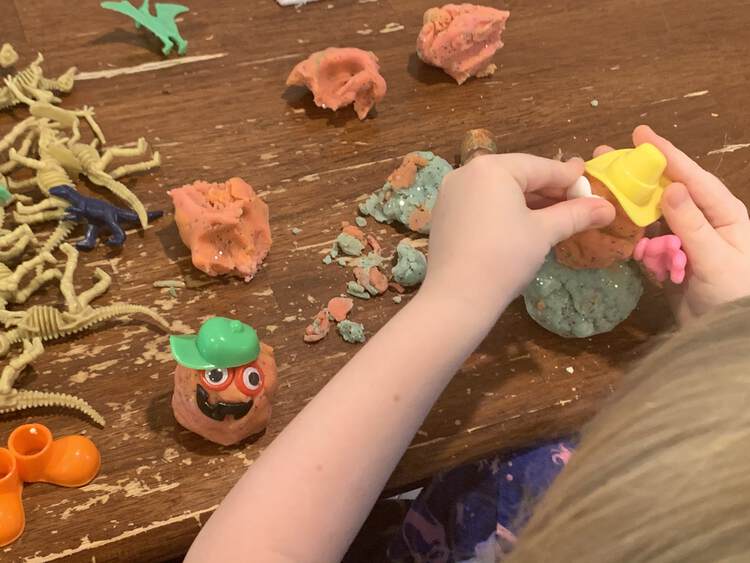
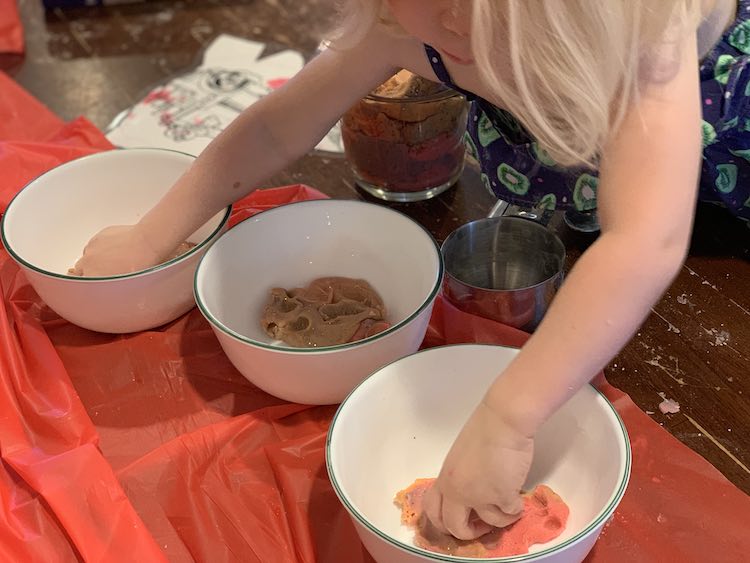
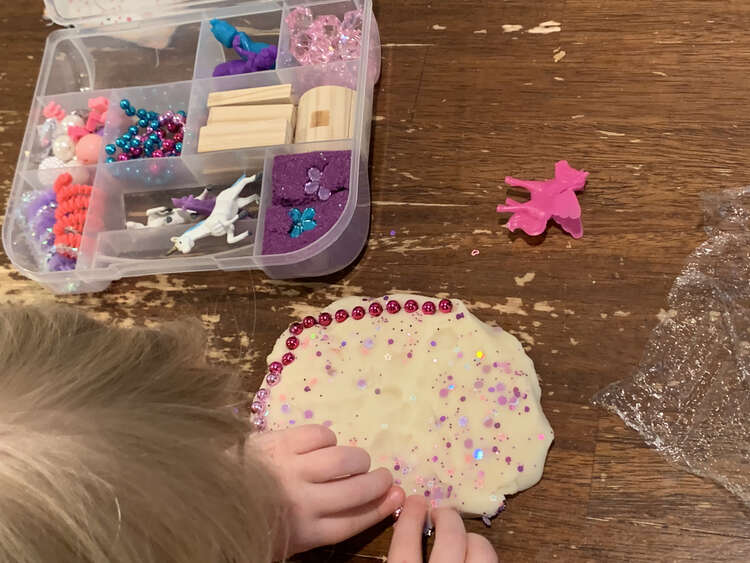
A Contained Kit
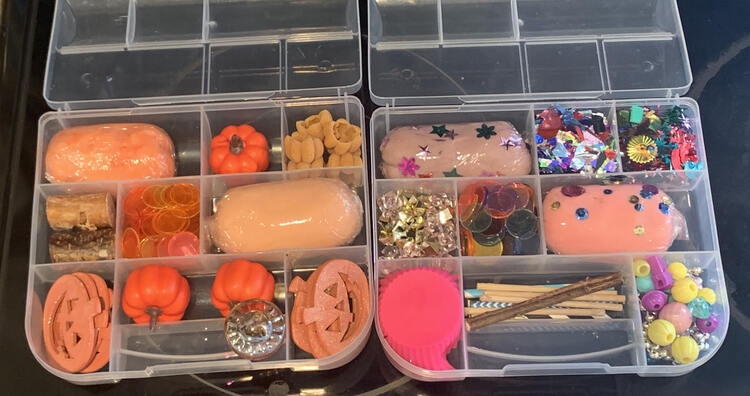
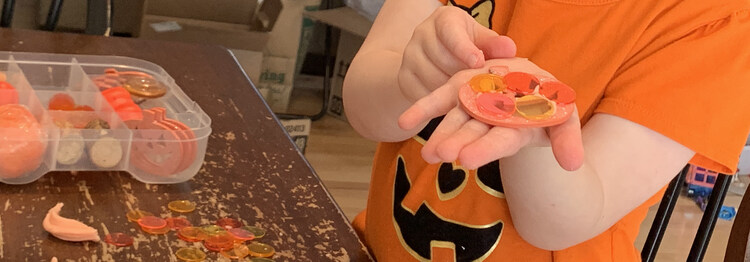
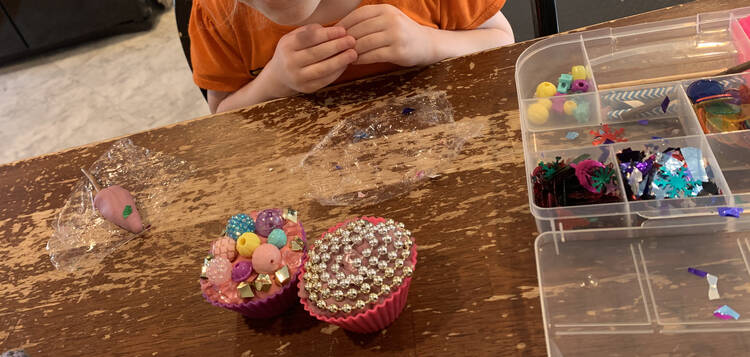
I found simple repackaging playdough with items the kids may not have naturally used can make playdough seem novel and fun again. Almost a year ago my girls were gifted, by a friend, two sensory kits from PlayAtHomeMomCo on Etsy. The girls absolutely loved their kits and over the past year or so I’ve been ogling all of the other kits she’s since put out on her Instagram page, but, with our full sensory bin area, I never could truly justified buying another. I ended up turning to the kits we already owned and considered emptying them out so I could add some of our stuff to it and make it seem brand new. The kids ended up going through stages of ignoring their kits, while I’d strongly consider repackaging it, but each time, once I was about to empty them, they’d randomly and unprompted play with them again and I’d put off doing it once again. Finally, just last month, I decided to make it happen. I told the girls my plan, had them do a final good-bye play, and then together we took apart the kits so the containers could be empty and the pieces would continue on in a new home in our sensory play cupboard. I took my time repurposing the kits making ones I knew both girls would enjoy but making sure Zoey would especially love them since she’s needed something to do while Ada was in school. I ended up combining freshly made playdough with items we’ve had on hand for years (like plastic bingo discs, foil confetti, sequins, and beads), items I’d bought more recently at Halloween (wooden pumpkin stickers, plastic pumpkins, and butternut squash pumpkin-shaped pasta), and finally items that came in the first two kits (glass sun, wood, jewels, and beads). It was so much fun to make. The first kit was the easiest to come up with. Zoey’s been loving the color orange and pumpkins in general for years now (see the jack-o-lantern and pumpkin Halloween costumes the last two years) so I made her kit using two shades of orange playdough (lemon and orange scented), a bit of each pumpkin-related item I had previously bought her at Halloween, yellow and pink plastic bingo discs (to make orange), some wood pieces to put the pumpkins on, and the orange sun since it’s orange and could help the pumpkins grow. The second idea took a bit longer to come up with but was quicker to throw together once I knew what I was doing. I decided to go for a cupcake dessert themed kit and added popsicles to the theme when I remembered that I had extra sticks of wood and straws from the first two kits. I made two different scented playdoughs and added sequins to them before rolling them up in plastic wrap so they’d be prettier. I added a couple of my silicone baking liners before filling up the remaining spots with jewels, foil confetti, sequins, and beads.
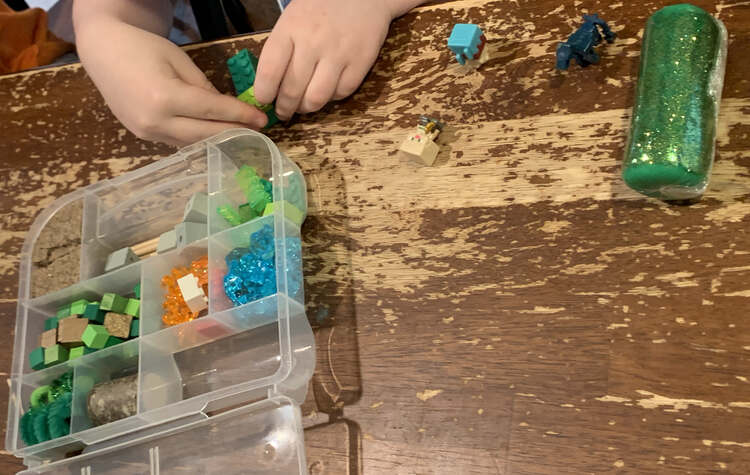
I ended up hopping back onto Etsy and finally purchased two more kits (a Minecraft and a unicorn one) so they ended up with, what felt like, four new kits while also getting to use the old dinosaur and space characters in new scenarios.
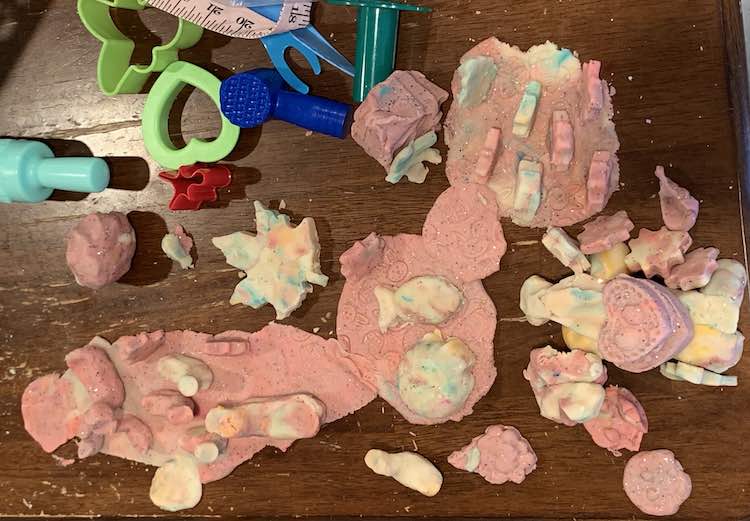
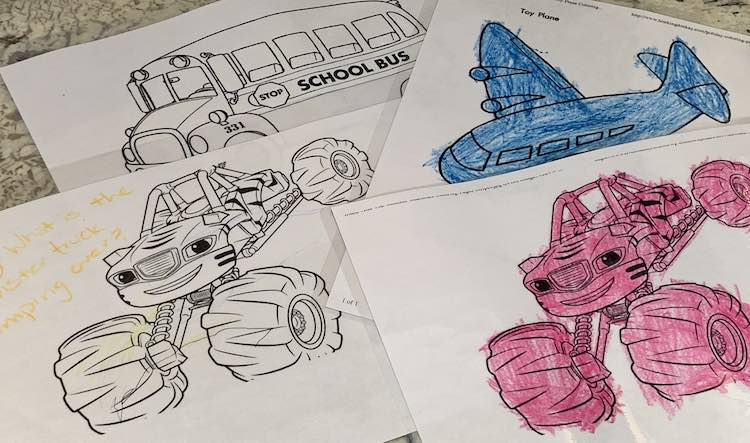
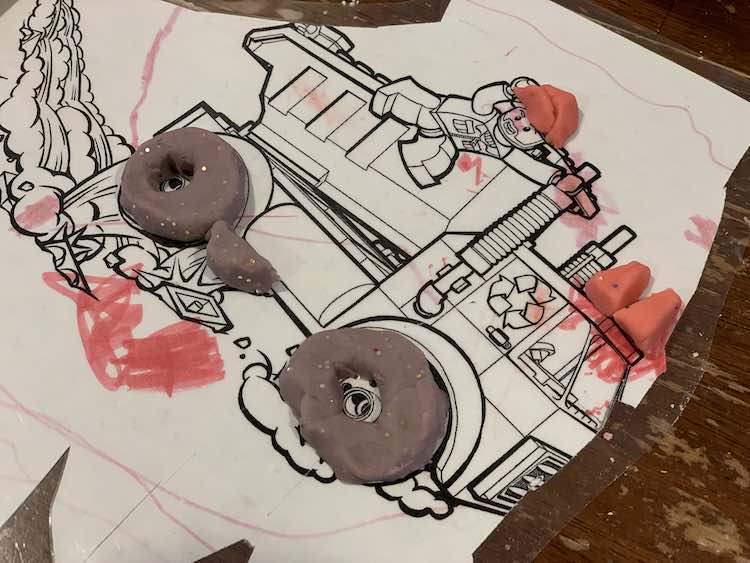
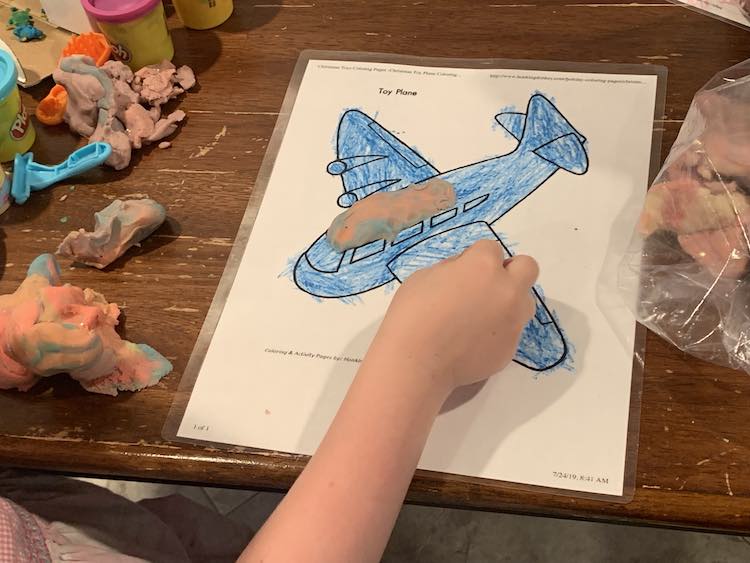
Playdough Mats
Two years ago for Zoey’s birthday party I laminated some LEGO®-themed coloring pages so the girls could use them as targets for their water shooters. Since then I’ve come across the idea of playdough mats so I used the same process to create some vehicle, unicorn, and princess themed playdough mats for the girls. The idea was to leave them plain and the girls could then color them in by laying pieces of playdough over those spaces. The level of difficulty could then be increased with more numerous and smaller spaces. Instead, after I explained the process to the girls, they decided the paper needed to be colored before lamination. I loved the playdough mat idea, but so far the girls haven’t gotten attached themselves. I love how if the playdough mats became a favorite toy I could easily laminate more to create new experiences along with using more educational pages, like many of Plato to Playdough’s ideas, by switching out the mat to letters, numbers, or even a clock.

I wanted to share all these random and small playdough ideas with you and hope that this helps you out if you were looking for some way to change up your playdough fun. Feel free to reach out and share any simple or more complicated ways you’ve used to change your playdough in the comments below. I hope your day is going well and something from this post makes your week just a bit better.
If you’re interested in getting any of my future blog updates I currently come out with a new one every Wednesday and share them to my Facebook page and Instagram account. You’re also more than welcome to join my email list located right under the search bar or underneath this post.