
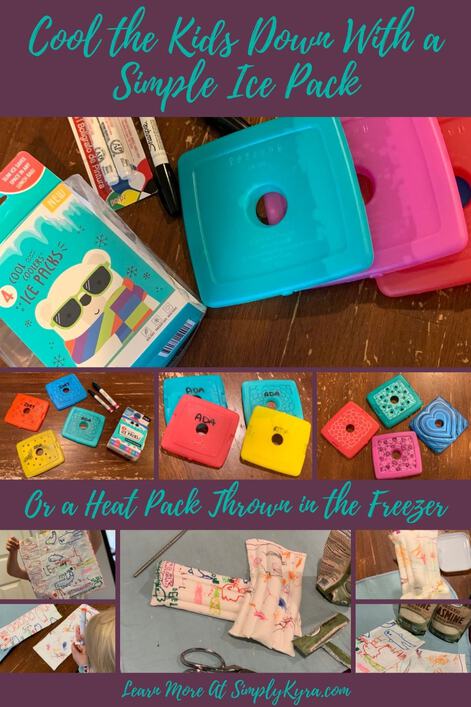
Cool the Kids Down With a Simple Ice Pack

Several weeks ago when it was hot where we live, I went out to buy another four pack of lunchbox ice packs. The girls love bringing a frozen ice pack to bed with them whether it’s for something to do or to simply cool themselves down. With summer here I realized I should get more so we don’t run out on a super hot night. With the current heat rocking the West coast of Canada and the United States, I figured I should share my little solution in case it could help.
Before I continue I wanted to share a warning. We haven’t had any issues with bringing ice packs to bed with us in the past but when searching online before starting this post I came across Sleep Sugar’s Why you shouldn’t sleep with an ice pack. The post was centered towards using ice packs for an injury so they mentioned that a long session of icing can lead to a worse injury along with pointing out that prolonged contact, like when you fall asleep with it against you, can cause skin damage and frost bite. Since we use our ice packs more to cool our beds rather than firmly pressing it against our skin we figured they’re safe to use but I wanted to point it out as a possibility just in case.
Ice Packs
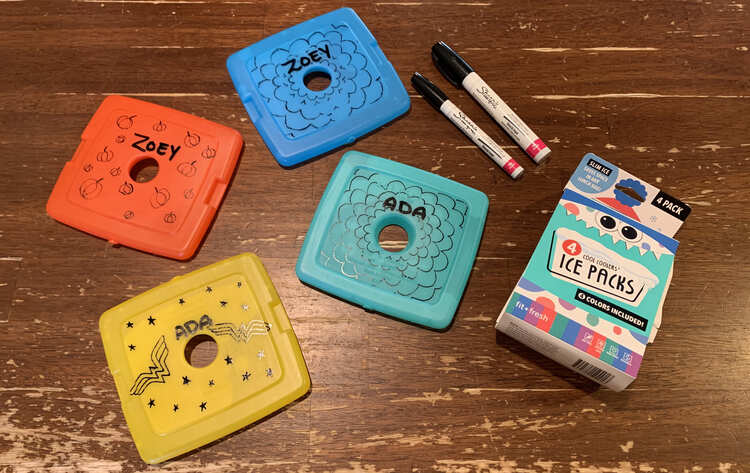
So, several years ago when the kids started complaining about growing pains right before bed I purchased a hot water bottle so whoever needed it could have something warm to help them with the pain. As time went on, the hot water bottle became more of a delaying tactic and comfort before bed rather than a pain remedy. We eventually purchased another one, so both kids could use it at the same time, and then, once we gained a microwave, switched to homemade rice packs so it was quicker to hand out. This lead to the kids sometimes choosing which option they wanted before bed. Two summers ago, when it started warming up for the summer, the kids were strongly in the I must have a hot water bottle before bed camp. With the heat I started worrying that the kids might overheat in their beds, especially with something so warm with them, and decided to cut them off. I needed to quickly pivot their bedtime routine and came up with replacing the heat with a simple lunchbox ice pack we had. I later went out and bought a nicer looking pack of four ice packs so we had a backup if the kids couldn’t sleep a needed a quick replacement or if they forgot to return it in the morning and needed one for the next night. This has become amazing! The kids know where to find them, most nights decide to chose one before going to bed, and, when they remember, can easily return them to the freezer. The only downside to this system is that sometimes the packs fall behind the bed and after a while we’re completely out until the kids choose to retrieve them and put them back in the freezer. As such, a couple weeks ago, I chose to buy another set of four ice packs, so we’re now up to eight, and I changed up, a bit, how we do this.
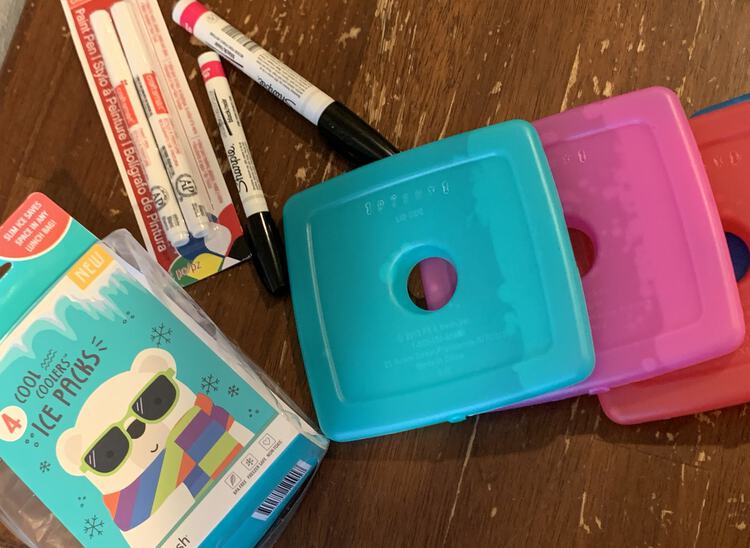
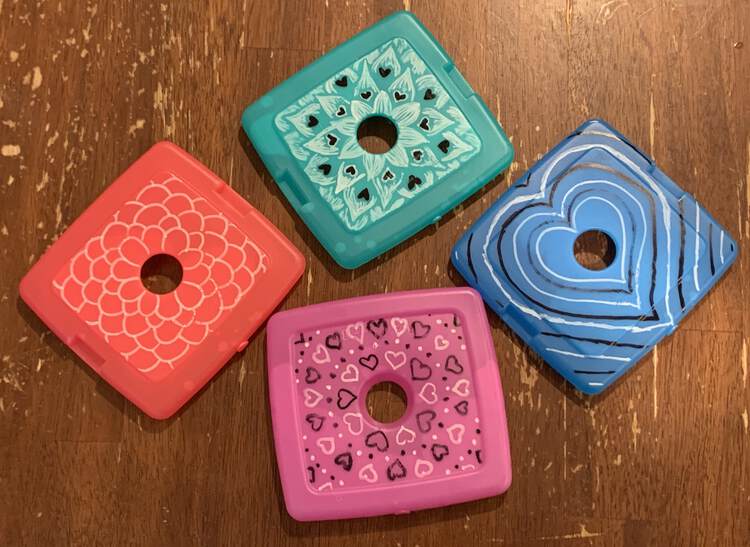
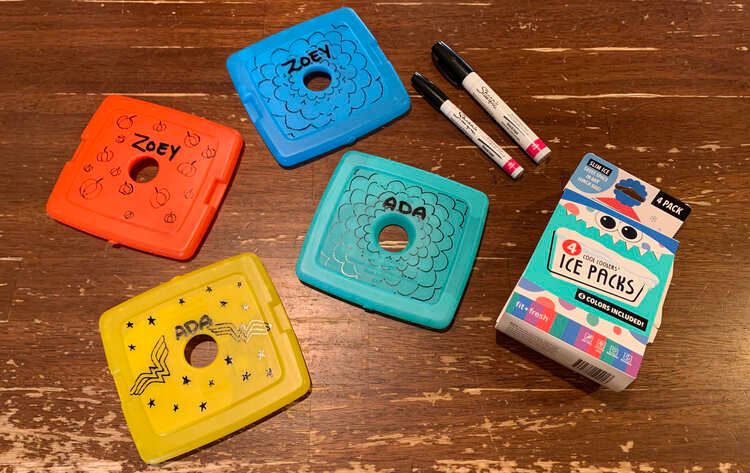
Of course, since I decorated the ice packs the kids sometimes draw out bedtime by arguing over who gets which design so for awhile there we rotated who chose first. As an aside they both fought over the two flower ones the most. Over time the oil-based paint drawings slowly faded but since frozen ice packs are hard to draw on I left them un-adorned and the kids still loved them. Recently, since the kids kept forgetting to return them and I was frequently out I decided to buy another pack. Rather than simply decorating them, like last time, I had the kids take turns picking out their favorite colors and then I used the oil-based paint pens to write their names on them and add decorations.
Over the next couple days I quickly realized that Zoey loses way more ice packs as they fall off of her bed while she sleeps. We had recently decided to donate her bed bumper pillow as she no longer uses it but as we hadn’t yet I was able to use it to plug the opening between her bed and the wall, tucked under her bottom sheets, so most of the ice packs would be prevented from falling. Our bolster is no longer available on Amazon but it looks similar to this one on the Traveling Toddler post. This isn’t a perfect solution so I wouldn’t recommend going out to buy one specifically for this purpose but since we had it anyway it worked and Zoey has lost way less ice packs since we implemented it.
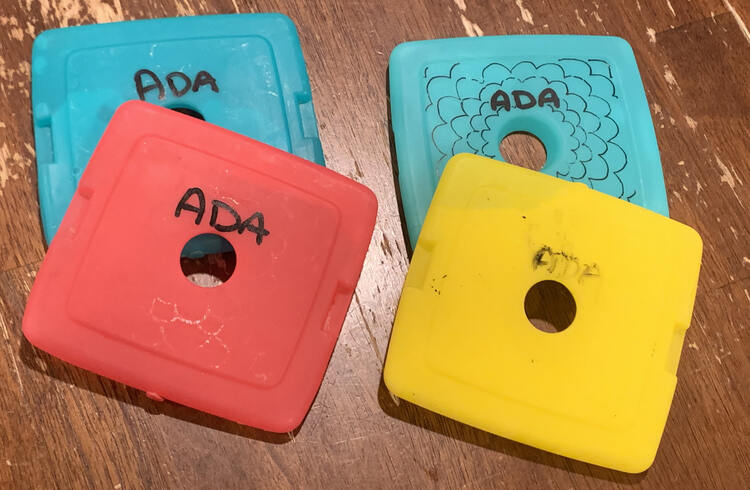
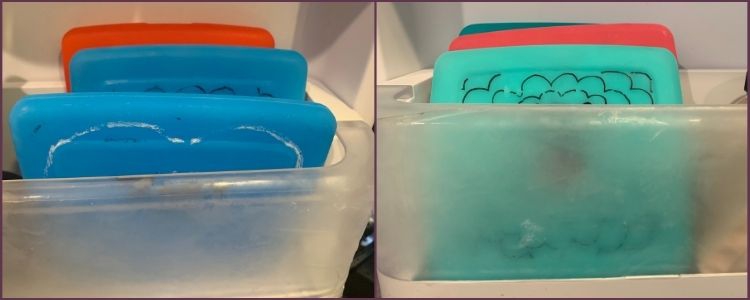
I then got the girls to dig out the first four ice packs from under their bed and while they were still thawed I assigned them to the girls and wrote their names on them. I then put Ada’s ice packs in one section of the freezer door while Zoey’s ice packs got another shelf which will hopefully make it quicker for them to choose one as they don’t have to rifle through them as much.
I know when it starts really heating up here I will appreciate being able to steal one to help cool my bed down so I’m so glad we now have eight ice packs. Plus I can always borrow them if we need to keep a lunch bag cold for a picnic or something too.
Repurpose Other Items for Ice Packs
While writing this I quickly looked online for similar options and came across Apartment Therapy’s Why You Should Sleep With a Sock on Hot Summer Nights where they filled up a sock with rice and kept it in the freezer for a similarly cooling idea. One commenter on the post mentions freezing a bottle of water and stuffing it into a sock for the same purpose. I must admit I also have several really old plastic water bottles in the freezer that I can easily pull out to cool down but that I wouldn’t really drink. Just a couple weeks ago I used one of those bottles in a water and ice sensory bin to help keep the water cold without wasting too many ice cubes and the kids loved using it as an iceberg (or hill?) for their plastic animals to climb. Once they were done I tossed the thawed bottle back in the freezer for the next time they need an ice hill in a sensory bin to cool down with.
Back in 2019 I sewed up several woven packs filled with rice to use as heating packs by warming them up in the microwave. Last summer when it was SO hot I tossed all the rice packs in the freezer along with a bean filled pack and some wet washcloths so there would be a plethora of cooling option I could pull out at anytime. I can see doing the same thing this year when it gets truly hot here.
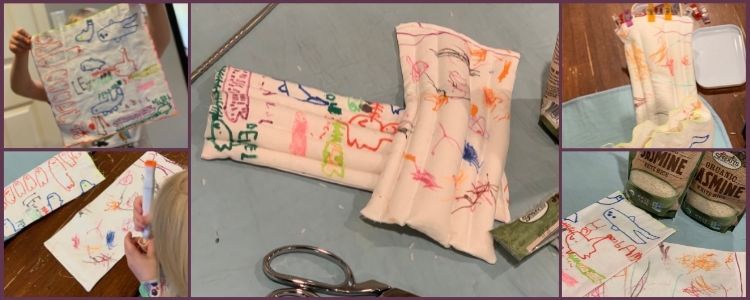
As a quick aside I did toss the rice packs in a freezer bag first so they would get cold in the freezer but not wet.
I mentioned above using wet and then frozen washcloths to help cool down in the heat. I don’t think I took any photos but I had read online somewhere that you can keep cool by having a cold washcloth around your neck. I decided to grab a bunch of the kids’ washcloths, got them wet, and then shaped them into curves on a Silpat lined baking sheet that I tossed into the freezer. Once the washcloths had frozen I transferred them to a large freezer bag so they were kept clean and frozen for whenever we needed one. I actually left them in the freezer all winter and finally, only a month or two ago, when I needed more space thawed them out in a sensory bin for the kids. Zoey was actually worried about the one with a jellyfish embroidered on it and I had to stop to run it under warm water so it could thaw out quicker.
I just looked online and found something similar through Kid Giddy’s Beat the Heat This Summer Frozen Washcloths Craft if you’re interested in learning more about this idea.
Some Other Ideas
If you have a fan we’ve cooled down in the past by placing a bowl of ice, or I recently read about, a cookie sheet with frozen water in it. This way the cool air from the melting ice is blown over you. One year we specifically ordered groceries so we could get some dry ice to put behind our fan and although it cause condensation everywhere on the floor it was amazing! Just the other day, in a Facebook group I’m in, someone asked about keeping cool in the current heatwave. Many suggestions were offered including:
- Opening up your home in the nighttime, to cool it down, and closing everything in the daytime to help hold in the coolness. For instance, during the day, using blackout curtains on the windows.
- If you have a basement turn on the furnace fan, with the heat off, to help cycle the cold basement air throughout your home.
- Icing your pulse points to cool your body quicker.
- Eating frozen berries. As another aside I love frozen blueberries with milk poured over top (so it freezes into a shell). Something like that can’t be eaten when it’s cold out so enjoy it in the heat.
- Get your clothing wet and let it air dry naturally to help cool you down. This was repeated frequently and ranged from putting wet socks on your feet to dressing in a swim suit with a long sleeved cotton top and jumping in a pool to make it wet.
- Wear looser clothing, like a caftan, so there’s an air layer between your skin and the clothing to kelp keep you cool.
- Notice which areas of your home are cooler and hang out there. The person sharing this also pointed out to watch your pets, if you have any, as they seem to know the warmest spots in the winter and the coolest in the summer.
Also last year I shared some Ideas For When It’s Hot Outside that include cold play (frozen water, washcloths, and oobleck), cold drinks, and frozen treats. Or if you’re simply looking for ways to entertain your kids I also created, last year, an overview of many of my sensory play ideas.
I hope these tips and tricks help you whether you’re currently melting where you live or are planning for an upcoming heat wave. I’d love to hear how you keep cool in hot weather so feel free to share your tips or tricks in the comments below for everyone to enjoy. Hope you’re keeping cool and doing well.
Feel free to share in the comments below. I hope your week is going as splendidly as it can in this time.
If you’re interested in getting any of my future blog updates I currently come out with a new one every Wednesday and share them to my Facebook page and Instagram account. You’re also more than welcome to join my email list located right under the search bar or underneath this post.
Did this save you time?