
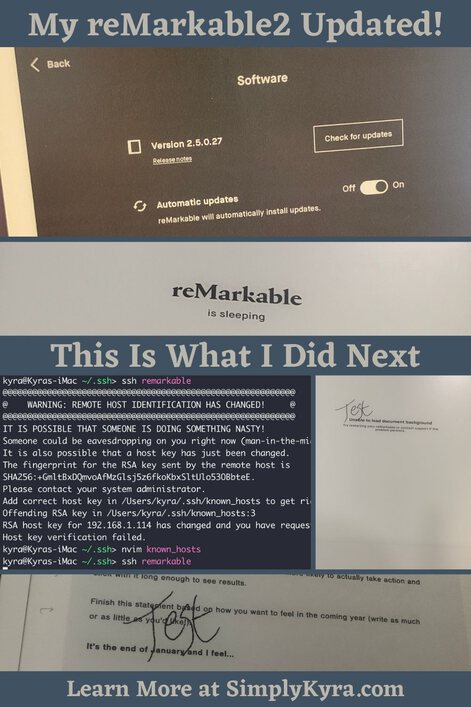
My reMarkable2 Updated! This Is What I Did Next

Ever since I first heard that the reMarkable was going to be updated from version 2.5 to 2.6 I was super happy. Sure, I was interested in what new features may be included in the update, but I had also heard that updates to the operating system would also stomp over any unsupported changes I had made previously like my new sleep screen image and custom templates. I was interested to see how quickly and easily I could return my reMarkable2 back to it’s previous state after the update. Now that the update has occurred, several weeks ago, and I’ve restored my custom changes to my reMarkable2 I wanted to share my process with you. I figured this would be helpful if you were looking to prepare yourself for any future updates or are wondering what to do now that a new update has happened.
I went through these steps using my Mac computer and the terminal. If you’re not on a Mac you could still do the same but you may need to download software to handle the file transfers. I haven’t used it lately but I hear FileZilla is good.
Backstory
Since first receiving my reMarkable2 I’d joined two different user groups on Facebook (specifically reMarkable usergroup and How to get the best of my reMarkable?) so I had heard several times that a reMarkable update would cause any custom changes to be removed. Since receiving my reMarkable2 I’ve chosen to make any custom changes myself rather than using one of the numerous third party applications as I wanted to know exactly what was changed, or not changed, with each addition on my device. Since posting about how I connected to my device, changed out the default sleep screen image, and added my own custom templates I’ve also written a bash script that makes my custom templates so much easier to upload. Specifically, it takes in my pre-defined directory and PNG image structure and automates the process by compressing them down in size and uploading them to my reMarkable2 for me before generating the needed JSON snippet that can easily be inserted into the needed templates.json file. This means each PNG image that becomes a template on my reMarkable2 is also saved in one easy to find location so that when the update occurs I could, ideally, simply run my script, paste in some text, and have my custom templates back up and running without any added trouble. Since the names of the image files hadn’t be changed my script would keep their location and name the same. This means that each notebook, on my reMarkable2, that used a custom template would still be able to find them, after the upload, so I wouldn’t need to go back and reset those custom pages’ templates individually.
With my process set up and ready to be tested I was excited when I heard that the 2.6 update was being rolled out. I also quickly found out that the reMarkable team rolls out the updates in random batches so it took some time before I happened to receive it. That said, it worked in my favor, when I realized at one point that I should create a large multi-page notebook, featuring many of my custom templates, as a test case so once the update came I could easily open it up to check their status without trying to remember which notebooks I used custom templates in. Additionally, with many different custom templates in one place, I could check if some templates had been resolved while other weren’t.
Software Version and Updates
If you’re curious what software version your reMarkable is running or if you just want to check whether your automatic updates are turned on or off you can do so in the settings. Once you’re in the settings you go to General, at the top of the left list, and then under Software you can see what version you’re running. If you tap on that version you’re next brought to a new screen where you can see the current version’s release notes, check if there’s a new update, or turn on or off the automatic updates. I kept mine on but still did a manually check every day or so as I was a bit impatient.

Settings, then General, and finally looking under Software. At this point I hadn’t received the 2.6 version yet.
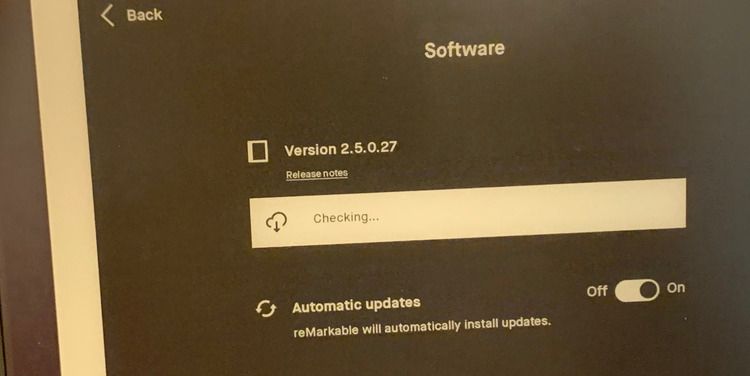
Software page. Here you can see the release notes, check manually for updates, and set your automatic updates on or off.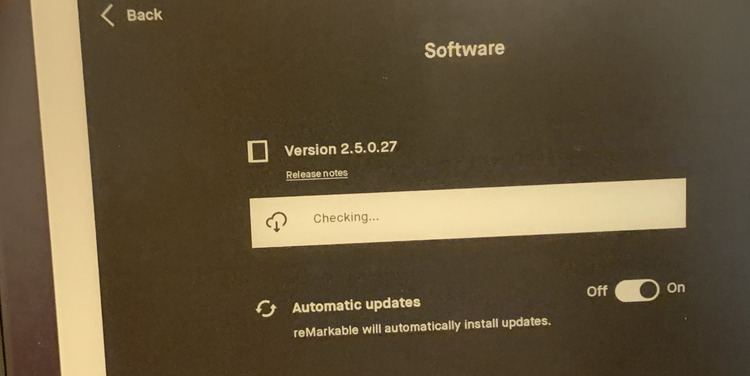
Check for updates you’ll see the button disappear and then underneath a white rectangle shows up saying Checking....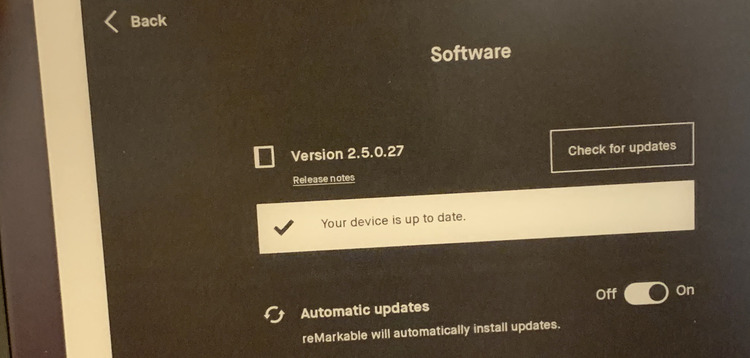
Confirmation After the Update
I had created a large notebook, before the update, with each page set to a different custom template I had uploaded previously. As soon as my reMarkable2 was updated to the new version I quickly opened it up and confirmed that each page was unable to load the custom template it was associated with. I next went into the page overview, thinking I could easily see all of the missing templates in one spot, but was surprised to find, from here, that the images still reflected the custom templates.
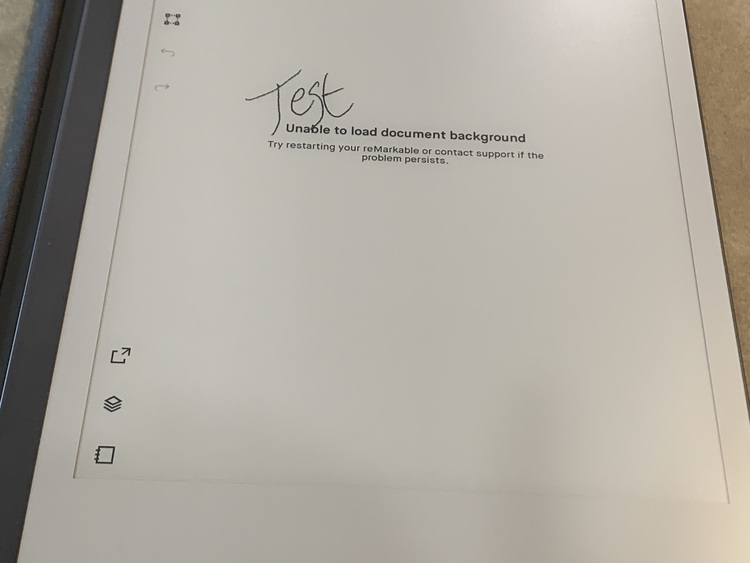
Test earlier showing the difference between the layer and the missing custom template below it.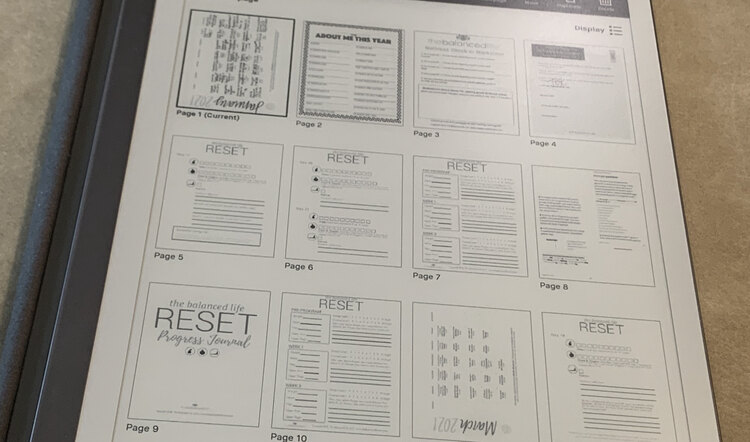
Getting the Templates Back
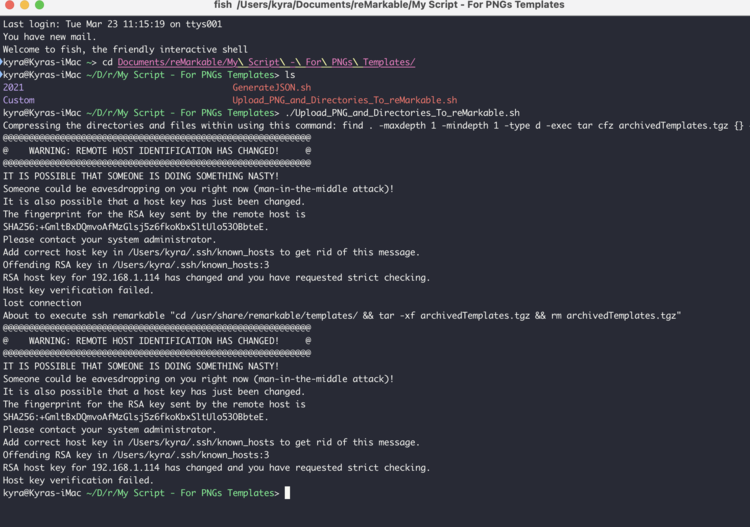
After confirming that the templates were no longer available on my reMarkable2 I quickly hopped onto my computer to run my script so they could be restored. Since I hadn’t renamed my image files I knew they’d keep the same name and be stored in the same location as before and thus assumed, rightly, that all my notebooks would be correctly restored after finishing. My script didn’t work the first time through as I hit a snag when I was unable to connect to my reMarkable2.
Hit an Issue
Once I ran my script I encountered a snag when the script failed as it couldn’t connect to my reMarkable2. I quickly opened a new terminal tab and attempted to ssh into my reMarkable2 to confirm and had the same issue again.
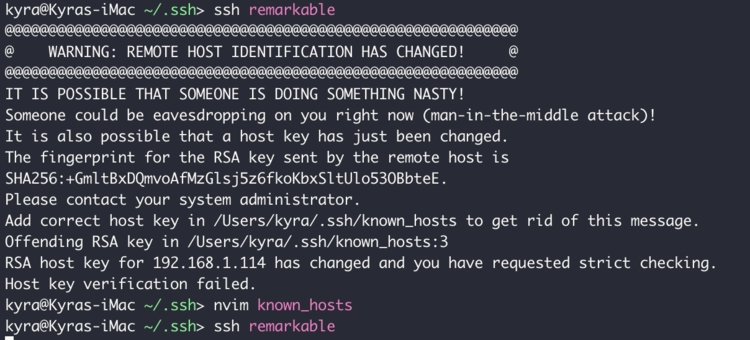
.ssh directory before attempting to connect with my reMarkable2 one more time with the same result. I then used neovim to edit the know_hosts file to remove the offending line.To fix this I needed to read the error and remove the offending RSA key from the .ssh/known_hosts file. In this case that means deleting the third line. For some reason; however, doing this and reconnecting didn’t work so I went through several attempts before trying this simple solution, again, and having it work. I’m not sure what went wrong the first times but in attempting to fix it I started following my previous post, learn how to access your reMarkable, so I could troubleshoot the shortcut I used and the public key connection. Anyway, long story short once I removed the offending line, for the second time, and attempted to ssh with my reMarkable2 I was asked whether I want to confirm continuing or not. Obviously, I did continue and thus the I.P. address was re-added to the known_hosts file again and I could re-connect easily whenever I want.
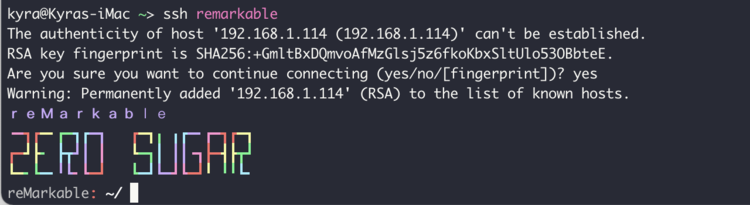
ssh back into my reMarkable and after confirming I wanted to add this I.P. address back to my list of known hosts I was able to continue.Back to the Script
Once I was able to connect to my reMarkable2 I went back to my bash script and ran it. It gave me the expected output, uploaded my PNG files to my reMarkable2, created a text file containing the generated JSON code snippet, and also added that snippet to my computer’s clipboard so I wouldn’t even need to open the generated file. For more information about the script you can head over to one of the two posts I made about it. I posted one about the directory layout and JSON creation before doing a second one about the image upload itself.

I then immediately connected to my reMarkable2 using ssh remarkable and then navigated to the /usr/share/remarkable/templates/ directory. Once there I used the command ls to list all the files within the directory so I could confirm that the 2021 and Custom directories, containing my custom templates, were there. I hadn’t thought to connect and check this directory before running my bash script so I don’t know for sure if the update removed these files and then my script re-added them or if they were already there but my reMarkable2 couldn’t see them as the JSON file was reverted. Whenever reMarkable sends another update I want to check this before running my script to confirm… if I remember. Anyway, I next used vim, since neovim isn’t installed on my reMarkable2, to open up the templates.json file. I then navigated to the bottom of the file, by typing G, and then moved the cursor up so I was within the last two closing brackets but outside of the last JSON template block. I then pressed i, to insert text, and then pasted, ctrl v, the snippet of JSON text that the script had added to my clipboard. Finally I pressed esc to exit insert mode and then :wq to save and exit. You can read more about creating custom templates and editing the templates.json file in my earlier post here. I then restarted my reMarkable2 by typing in systemctl restart xochitl and pressing enter although you could do this manually by going into the General Settings if you prefer. This way the reMarkable will see the changes made to it.
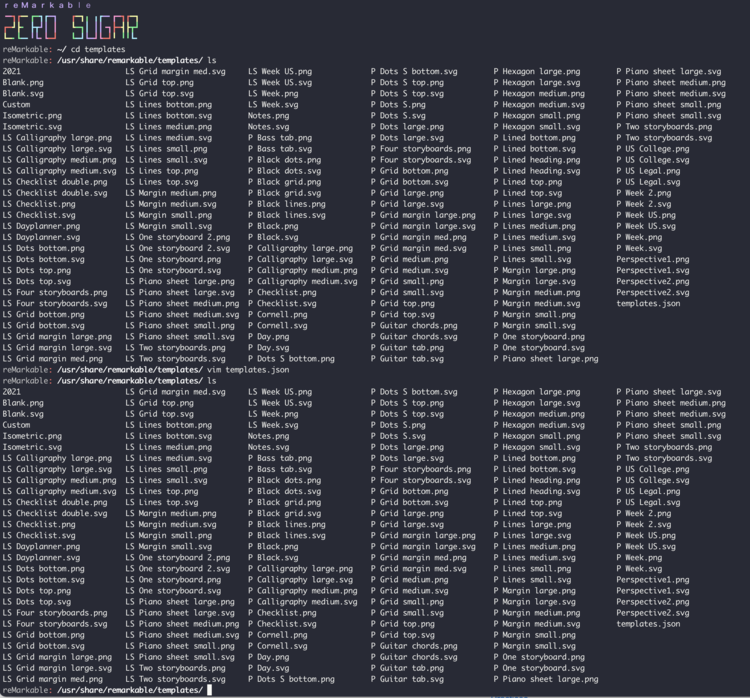
templates directory, and used vim to edit the templates.json file.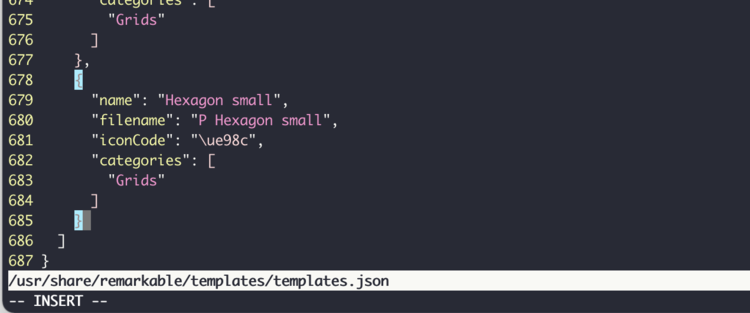
G, and then moved up to just outside the curly brackets ending the Hexagon small template and above the two final (square and curly) closing brackets.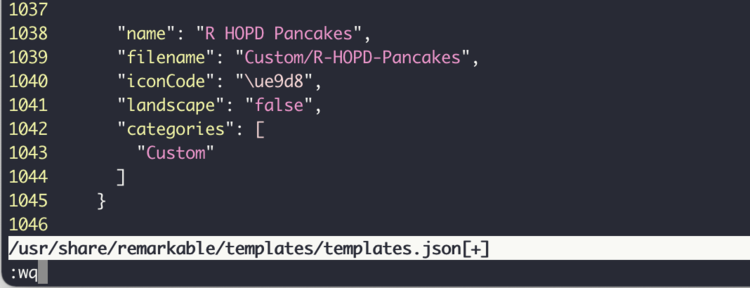
JSON code snippet, using ctrl v, before pressing esc and typing :wq to save and exit.Confirm It Worked
After my reMarkable2 restarted I opened the test notebook again and saw that the custom templates were properly showing up. Just to be sure I quickly swiped to the other pages and saw that they were all displaying properly too.

Test writing I had now shows up over the custom template below.If your template doesn’t show up that means your reMarkable doesn’t see it or link it properly so it might be named differently or stored somewhere it doesn’t expect. You could always manually change out the missing template page to the new version so it’s linked properly again and, unfortunately, you’ll need to manually switch out all other places you used it too.
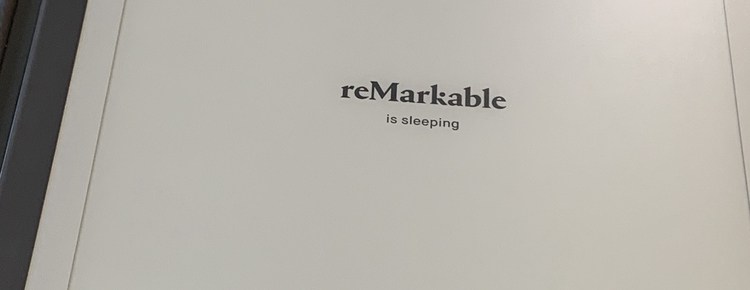
Sleep Screen
Along with the custom templates the reMarkable update also reset the custom sleep screen image I had uploaded. I loved my custom image so I knew I wanted to restore that too.
I navigated, on my computer, to where I store the two different sleep screen images I’ve made so far and picked out which one I wanted to use. I then opened up my terminal and uploaded the image, renaming it to suspended.png, to the proper directory on my reMarkable2. The sleep screen image needs to be located within /usr/share/remarkable/ directory and named suspended.png for it to be recognized. Within that directory there are other images which I haven’t replaced yet but you could if you want all the splash screens to be custom for your reMarkable. The reMarkableWiki: Customizing the Splashscreens shows the directory with these files and I’m assuming the process for each one is the same as customizing the sleep screen image which I went over in depth previously.

cp to copy the image so I could keep my original one and also have a copy named suspended.png. I then copied the copy onto my reMarkable2 using the scp command before deleting it. Instead of this I could’ve simply typed in: scp suspended-drawnSleepingCozily.png remarkable:/usr/share/remarkable/suspended.png.And with that my reMarkable2 was back to how I remembered it from before the update with all the fancy additions of the update. I’m so glad I backed up a copy of all my custom PNG image files in one location so I could easily re-upload them and get my notebooks back after an update. I hope this can help you whether you’re planning ahead for an update or just went through one yourself. If you have any questions feel free to ask in the comments below. I hope your day is going well.
Update: I’ve since come out with a video that combines several posts together including connecting via SSH, uploading the templates manually, and my bash script. You can find it here.
Feel free to share in the comments below. I hope your week is going as splendidly as it can in this time.
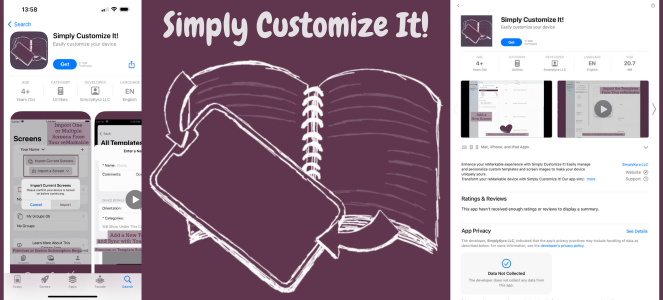
Make It Easier - Apple App
I've since come out with an iOS/macOS app that you can use to change out your templates and screens with a simple button press while remembering them for the next update. It will remember the screens and templates you've previously synced or uploading making it simple to recover from a software update. More information can be found about it here with a direct link to the App Store here.
If you’re interested in getting any of my future blog updates I currently come out with a new one every Wednesday and share them to my Facebook page and Instagram account. You’re also more than welcome to join my email list located right under the search bar or underneath this post.
Did this save you time?