
Switch Out Your reMarkable's Sleep Screen... Plus Easily Back it Up

Last December I bought the new reMarkable2 and even before receiving it I knew I wanted to change out the default sleep screen image with something more personal. Now that I’ve shared with you how I’ve connected, through the command line, to my device using ssh I want to go on to share with you how I’ve also backed up my device and have replaced the default sleep screen image with my own.

If you have any questions on how to connect to your device or how to simplify the process by using public keys (to forget the password) or shortcuts (to skip the username and IP address) feel free to check out my previous post here. It even mentions, at the bottom, how to close your connection if your device goes to sleep and freezes the terminal. And now onto my post…
Update: Apple App
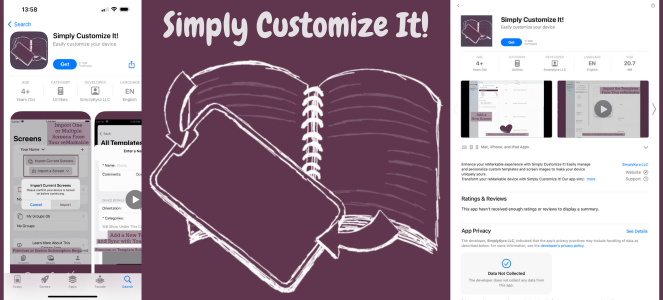
But first I've since come out with an iOS/macOS app that you can use to change out your templates and screens with a simple button press while remembering them for the next update. More information can be found about it here with a direct link to the App Store here.
First Backup Your reMarkable’s Software
Once I gained access to my reMarkable2 I worried about potentially breaking something so I started out by backing up it’s files to my main computer. This way, worst case, if something tragic happens I can always stomp over the changes and revert the files in my reMarkable2’s software back to what they were. I started to do this by navigating, on my computer, to where I wanted my reMarkable2’s files to be saved. I hadn’t taken any photos when I first backed up my device so I decided to create a temporary directory, or folder, called temp on my Desktop so I could show you how to do it. I then used one command (scp) to copy all of the files on my device over to my temp directory:
> scp -r remarkable:/usr/share/remarkable/ .And this is what it all means:
scpis the command you’re using.- The
-rmeans you’re copying the directories recursively (you’re copying EVERYTHING in each and every directory). remarkable:/usr/share/remarkable/is where you’re copying from (what you want to backup). I’m usingremarkableat the beginning as I created a shortcut earlier. If I hadn’t done this it would’ve instead look likeusername:IPaddress:/usr/share/remarkable/.- Finally where the
.is is where you want the copied files to go. In this case I’m running the command where I want the files to be hence the.essentially saying here. If I was running the command elsewhere this would be the pathway I want to use to save the files at. So, for example, if I was running this command in my home directory it would instead beDesktop/temp/.
If I hadn’t made the shortcut before and was running this command from my home directory the command would instead look like this:
> scp -r username:IPaddress:/usr/share/remarkable/ Desktop/temp/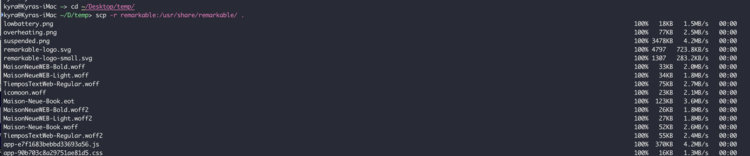
~/Desktop/temp/ by using the cd command. I next ran the above scp command and immediately the files started transferring over to my computer. If I hadn’t set up a shortcut (remarkable rather than username:IP_address) and used my public key (so it doesn’t ask my password) this command would’ve been a bit longer and needed a password confirmation before finally copying the files over.
ls command to list the files that are now in my temp directory. It only showed the directory remarkable so I navigated into it, using cd remarkable, and then listed the files again.
Desktop/temp.If you want more information about scp you can always check out Linuxize’s How to Use SCP Command to Securely Transfer Files.
After writing this post, but before publishing it, I came across how to backup your reMarkable on the reMarkableWiki (link removed... see below). It’s about midway down under the heading Making Backups if you’re interested.
Update September 26th, 2025: The above, previously linked, reMarkableWiki no longer works so I've removed the link. Thanks to the person that emailed to let me know! That said, when verifying, I've found the following that I wanted to link to in case they're useful to you:
- reMarkable guide: SSH
- Wayback machine snapshot if you want the original
- Two reddit post links in case there's more information in the future: Alternative (deleted but comments added) and Wiki Revival?.
- Found another tutorial site at remarkable.jsm1.info: SSH
Change Out the Sleep or Suspend Screen
Create the image
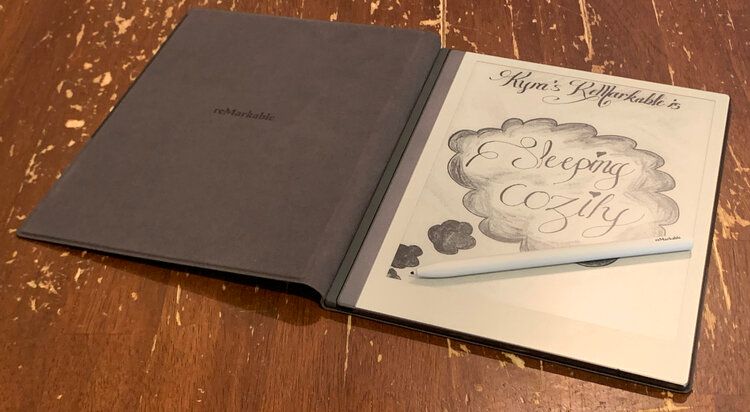
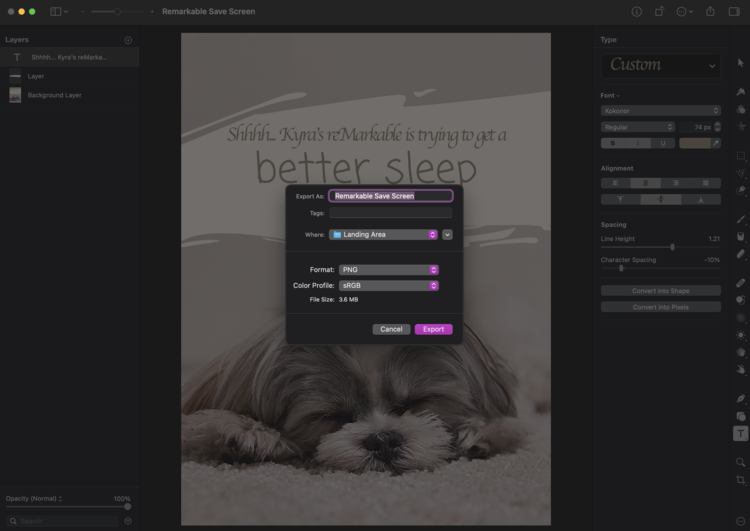
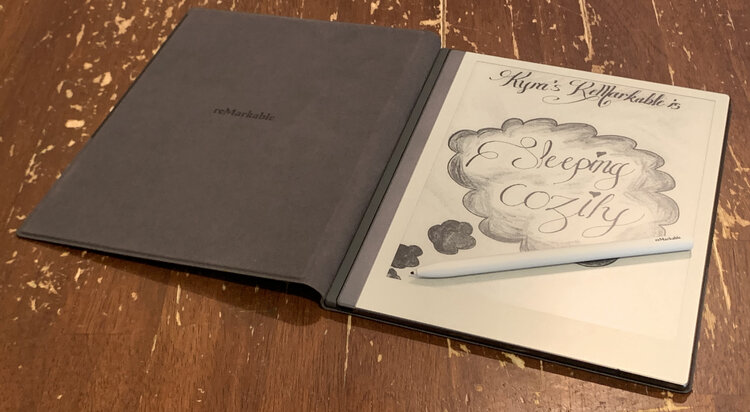
Now that you have easy access to your reMarkable you can make other changes. One thing I kept noticing within the reMarkable’s user group on Facebook were all of the amazingly incredible custom sleep screens that people were using on their devices. I wanted, no needed, to make my own too. Some of these sleep screens were really detailed but I decided to start out by making my own, rather than grabbing an already made image, and so chose to create it using my reMarkable2. This made it simpler as it was, by default, already in the proper grayscale with the right dimensions to fit my screen. Once I was done drawing I used the built in export option to email the PNG version of the drawing to myself so I’d have the image file on hand. I didn’t think to take photos of this process for you, but, a couple weeks later, I went onto Canva to create another sleep screen image. I figured I’d document the process, this time, to show you how I changed out my first image for my second.
If you choose to make your own sleep screen image you’ll need to make sure that it’s file type is a PNG whose resolution is 1872 by 1404 pixels (226 DPI). If you want more help on creating an image for your reMarkable I came across rM User’s website and their Customize Your reMarkable Screeens looks great. They go through creating your replacement image using several different editors before then replacing the original image using the WinSCP application (haven’t personally used) on a Windows PC. There’s also a Wiki page for Customizing the Splashscreens over on reMarkableWiki.

Moving the image to the reMarkable
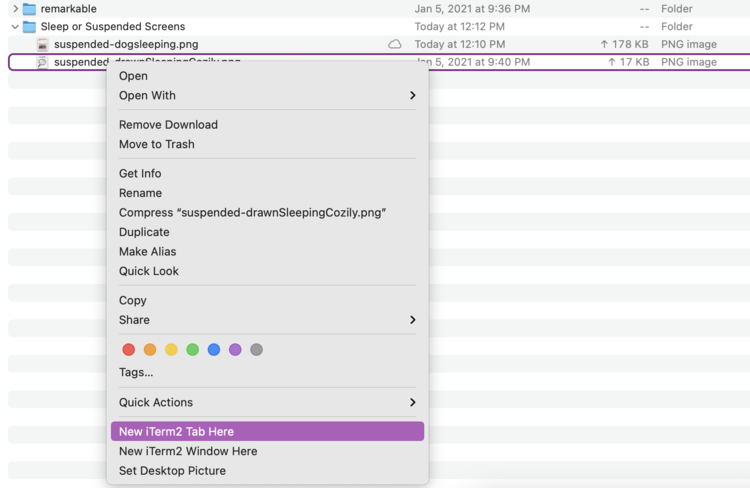
Once I had a sleep screen image I liked I created a directory to store it in, along with the original and any future ones, and moved it all in. I then right-clicked a file and scrolled to the bottom so I could open an iTerm window with this pathway already set in. If you don’t have this option you could always open a terminal another way and navigate to your image.
The first time I replaced my sleep screen image I started by renaming my image to suspended.png, the specific filename the reMarkable2 looks for, and then moved it onto my device. This meant the original image that came with the reMarkable was overwritten in the move. When replacing the sleep screen this time I didn’t rename the image before transferring it. This meant the uniquely named image didn’t overwrite my old one so they both existed at the same time in the same directory on my reMarkable2. To transfer the image I ran the scp command from the directory my image lived in so it looked like this:
> scp new_sleep_screen_image.png remarkable:/usr/share/remarkable/
Once the image was transferred I connected to my reMarkable2, navigated to the proper directory, and renamed my new sleep screen image, overwriting the old version, by using the mv (move) command. If I had copied over the image with the proper name already set I wouldn’t have had to do this step. Anyway this moved the old file (suspended-dogsleeping.png) to the new filename (suspended.png) and stomped over the old suspended.png image that was already there.
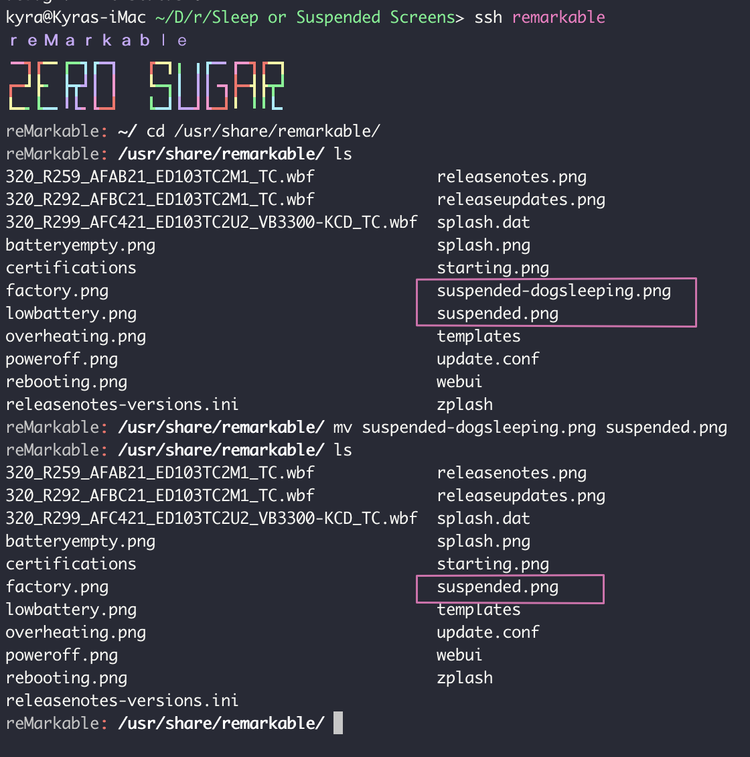
/usr/share/remarkable/) I was able to list the files (ls) and saw both the old and the new sleep screen images (shown with pink around it). I then overwrote the old image with the new one by running a move command (mv oldImage.png suspended.png). With another list command I knew it had worked (shown with the second pink outline).Since the reMarkable only pays attention to the files it’s looking for you could always rename the old suspended.png to something else before renaming your new sleep screen image so you could keep both handy. That way you could easily ssh into your device at a later time and switch out the the images by simply renaming them and not needing to upload anything else.
Assuming the sleep screen image on your computer is named suspended.png here are two versions of the command I used for you to simply copy if needed. The first assumes you’re using your username and IP address (so you’ll need to change this to yours):
> scp suspended.png root@XXX.XXX.X.XXX:/usr/share/remarkable/If you created the shortcut I shared before you could just use the name you created instead (in my case remarkable):
> scp suspended.png remarkable:/usr/share/remarkable/Confirmation
The time I moved my first sleep screen image onto my reMarkable2 it was properly named already and I knew it would overwrite, or stomp, over the original image. This made it seem a bit more untrustworthy on whether it actually worked or not so Matt showed me a cool way to confirm that the original image, on my computer, and new image, on my reMarkable2, matched. To do so you need to hash the file. If one of the files were different, for instance it wasn’t copied over so it was the original, or if I altered the original since then the two hashed files wouldn’t match up. To do this I ran two simple commands; one on my computer:
> shasum -a 256 suspended.png
537a1ce5ce8afc36c007aa723b047c3b982cd778fb3e00c116bdc16c07e7dd0b  suspended.png
and one on my reMarkable2:
reMarkable: /usr/share/remarkable/ sha256sum suspended.png
537a1ce5ce8afc36c007aa723b047c3b982cd778fb3e00c116bdc16c07e7dd0b  suspended.png
And as you can see the returned hashes matched thus copying the file over worked! If you want to learn more about using checksums you can check out this article by Chris Hoffman on How-To Geek called What Is a Checksum (and Why Should You Care)?. I also saw two different forum questions that dealt with this through Ask Different (How do I verify the checksum or hash of a downloaded file on the command line?) and Super User (How to take sha256sum of file and compare to check in one line?).
But did it work?
Before continuing check to see if you exited your SSH session first as if you put your reMarkable to sleep or restart it the session will freeze. Although if that happens you can use ~? to check how to exit (~.).
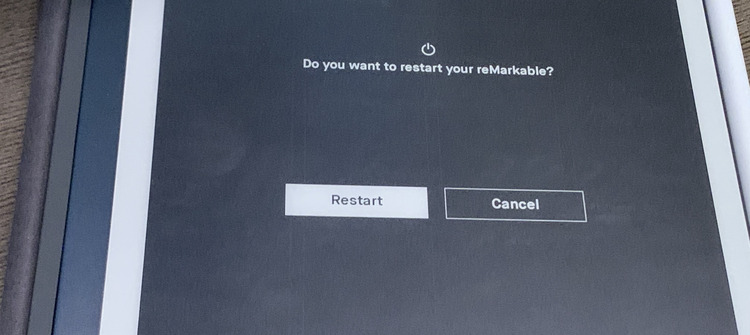
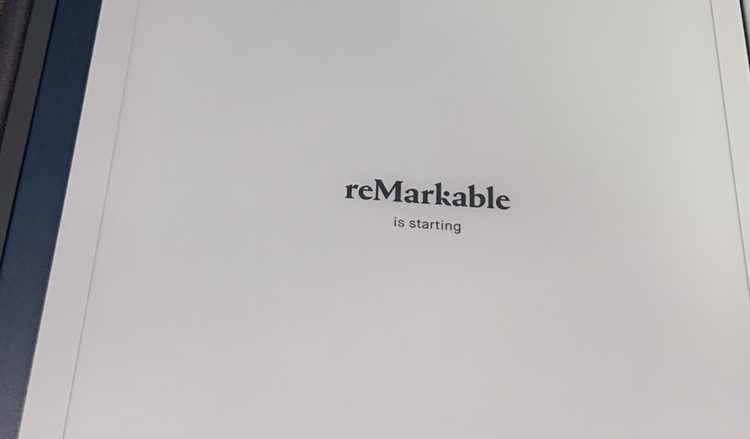
Once the new sleep screen image is uploaded and renamed you may immediately lock your reMarkable hoping to see the new image show up. I must admit that I did this both times… and both times my reMarkable2 hadn’t reloaded the new image so I still saw the old one. I’m not sure how long the reMarkable would take before the new image shows as I wasn’t patient enough to find out. Instead, I forced the reload by restarting my device. To do this you go into the Settings at the bottom left (looks like a gear), choose the restart button, and then confirm the restart. Once your reMarkable reboots you can lock the device and, if it worked, the new image will be shown.


I love that I’m now able to switch out my sleep screen whenever I want to whatever 1872 by 1404 pixel PNG I want. Whether this is an image I find online, for my personal use, or something I create it makes my reMarkable2 just a bit more mine.
Update and Edits
I’ve since come out with a video that combines several posts together including connecting via SSH, uploading the templates manually, and my bash script. You can find it here.
Whether you have the first reMarkable, the latest, or just ordered and waiting for it to ship I hope this helps you out. What sleep screen image are you going to use for your reMarkable? Let me know in the comments below. I hope your week is going well.
EDIT: March 22nd, 2023:
I lost my previous comments when moving my website over so I figured I'd move over previous helpful ones.
Back in August of 2022 Nigel Millar said
Thanks Kyra, I now keep a copy of my png sleep screen on the remarkable with a unique name as well as the suspended.png version because I found that my personal version disappeared when my ReMarkable auto-updated. Then its 2 minute fix to restore my version.
Thank you for your great resource
Back in August of 2021 kitty asked about splash.png and sleeping.png. I replied with
When I log into my reMarkable and view the files within “/usr/share/remarkable/” I don’t see sleeping.png. I think the sleep screen image (suspended.png) used to be called sleeping.png before they updated it. I’m assuming you can replace all the PNG images in that directory (I replaced one other once… I think the poweroff.png) but some may be hard to test out so I haven’t replaced any others. As for the splash.png/dat I’m assuming it’s for a splash screen but I haven’t looked into it before. When looking up splash.dat online I could only find this archived reddit post with no comments [now one comment].
If you’re interested in getting any of my future blog updates I currently come out with a new one every Wednesday and share them to my Facebook page and Instagram account. You’re also more than welcome to join my email list located right under the search bar or underneath this post.
Did this save you time?