
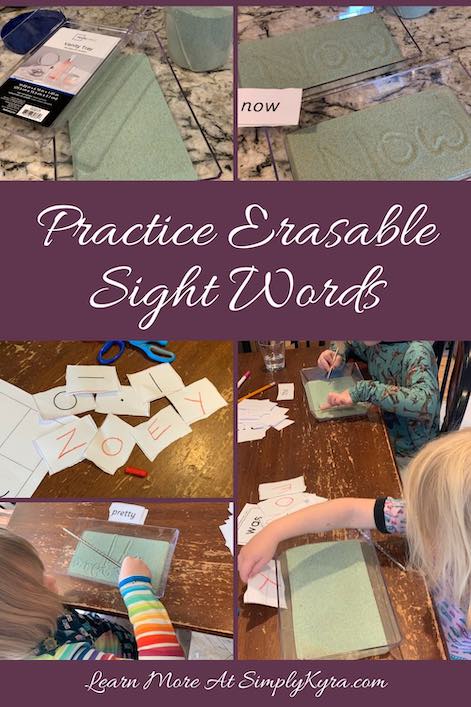
Practice 'Erasable' Sight Words

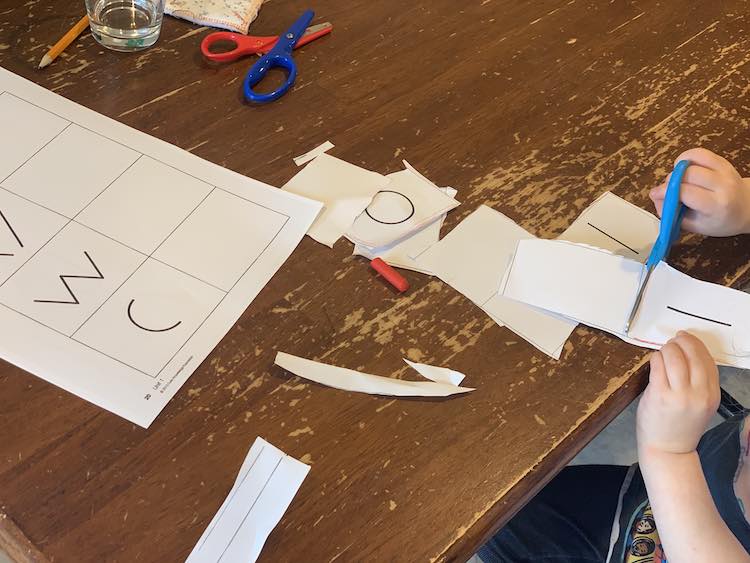
With the coronavirus disease of 2019 (COVID-19) keeping us indoors we’ve been working on Ada’s school worksheets. The packet from our school division includes two sheets of sight words for each week’s worth of school work other than cutting them out we’ve been ignoring them so I wanted some way to make them funner. During the second week home I finally remembered the trays I bought near the beginning of the school year to practice Ada’s sight words and hadn’t yet used. When I first bought them using them were contingent on Ada cutting out her sight words, that came home with her after our parent-teacher conference, so we could laminate them and do a ‘surprise’ with them. She never cared enough to cut them out so I never got around to setting it up and mostly forgot about it. Looking back I’m so glad we hadn’t as it was something new I was able to pull out to change up the girls school-work time.
I couldn’t remember where I saw this idea but I loved it enough that it stuck in my head. As it was bugging me where I may have gotten it from I just went onto my Pinterest boards and found what may have been the source: Miss Giraffe’s Class Short A Activities and Resources. In it she used an opened pencil box with colored craft store sand in the lower area and the sight word papers balanced in the lid. For me, I had realized I only needed a shallow dish, something sand-like, and a chopstick, or something, to use as a pencil.
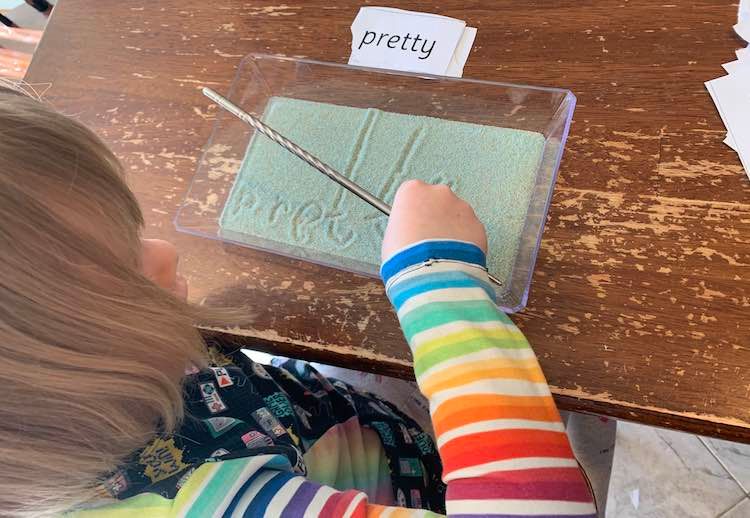
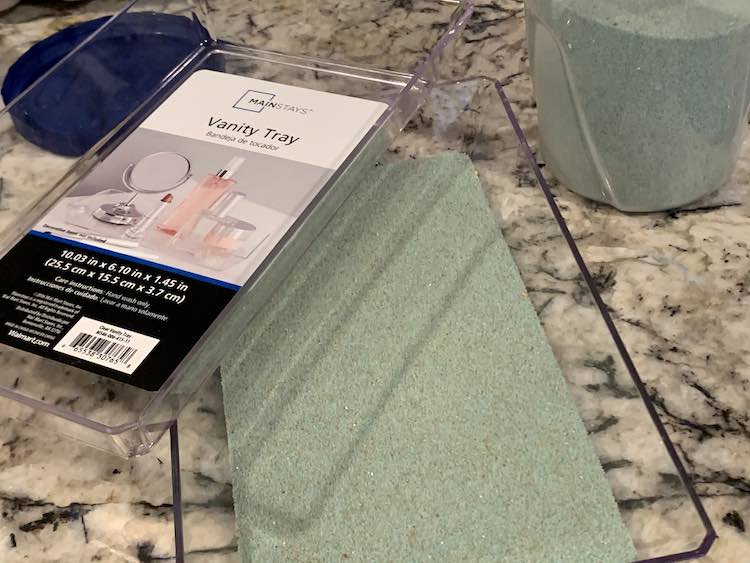
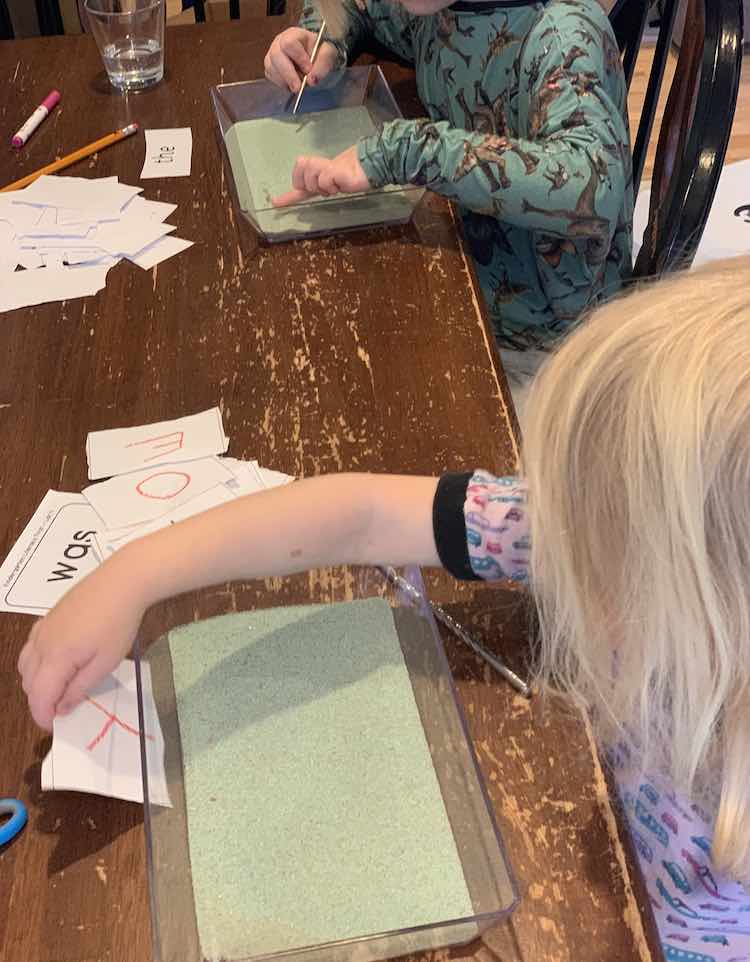
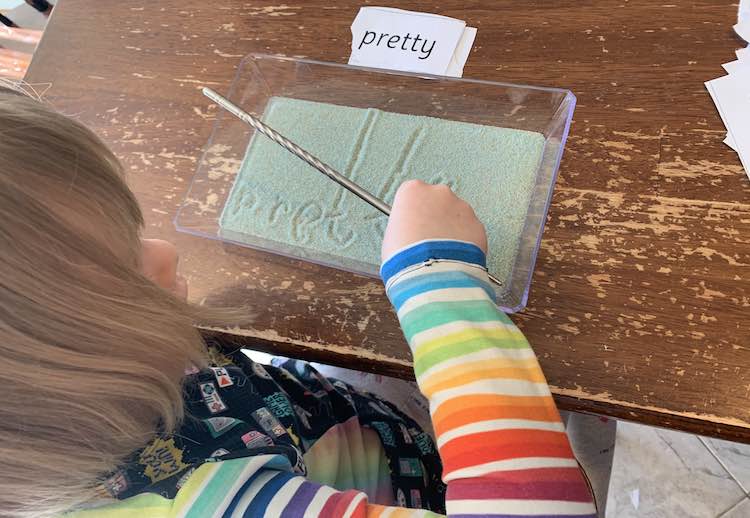
Close to the beginning of the school year I had started looking for a shallow dish we could use to create this ourselves and I came across the perfect thing, a plastic vanity tray at Walmart, and snatched two of them up. Since a thinner layer of sand seems to work the best you don’t need a lot of sand just enough to cover the bottom of your tray or dish. If you’re limiting your area to a single letter or number at a time you could easily use something smaller than I did like the lid from a yogurt container or even a plate. For the sand itself I had a container of colored salt I made years ago (thinking it was pre-blog as I have no photos). If you don’t have colored sand and want to make your own dyed salt I found this great tutorial on How to Make Colored Salt on Babble Dabble Do that uses food dye or liquid watercolors. For a drawing utensil I grabbed our metal chopsticks though for Zoey I’m also thinking of finding something much shorter, in the future, so she can more easily work on her pincer grip. Just a word of warning the metal chopsticks against the plastic tray with the salt can make some frightful sounds defeating any ‘relaxing break’ you may be attempting with this activity.
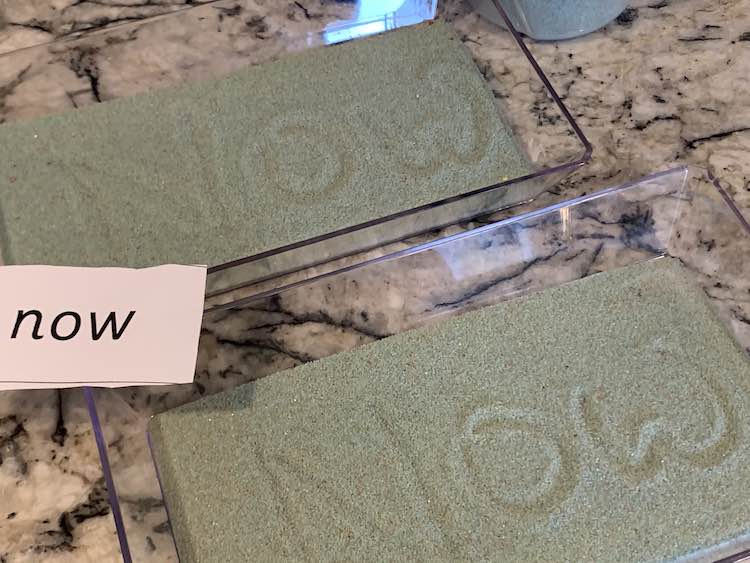
Since I bought the vanity trays at the beginning of the school year and had the sand and chopsticks on hand it was so easy to throw this together… once I finally remembered I had it. I started off by pulling the sticker off of the bottom of the tray, which was luckily really easy, and then poured the colored salt in. At first I filled it about a half way up but once I tried to trace letters I realized it was a bit too full and removed two thirds of it. Basically you want the tray full enough to see where you drew the letters but shallow enough that they don’t fill in too easily while drawing them. You can play around with the levels until you like where they’re at. I also didn’t want it so full that the kids, mistakenly, spill all the sand or salt everywhere.
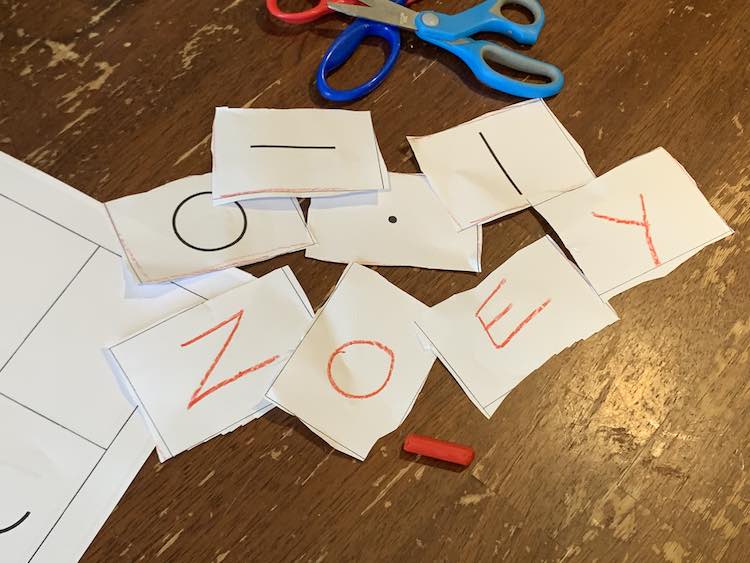
When I downloaded and printed Ada’s school packet I also downloaded the transitional kindergarten packet so Zoey had something similar to do at the same time as Ada; although, other than tracing the numbers on the number sheets I’ve been using the pages mostly to get Zoey to cut and color while I work with Ada on her worksheets. In the packet, however, I found a page that, I think, has the kid trace the shape on the left column and copy it onto the right column. I figured that was the perfect thing for Zoey to draw in her tray so I had her cut out all of the rectangles and then I used the blank rectangles to draw out the letters of her name. You could easily grab a sheet of paper and draw your own shapes, squiggles, letters, numbers, or words on them. Any word flashcards you have on hand would also be perfect here without having to make or find your own.
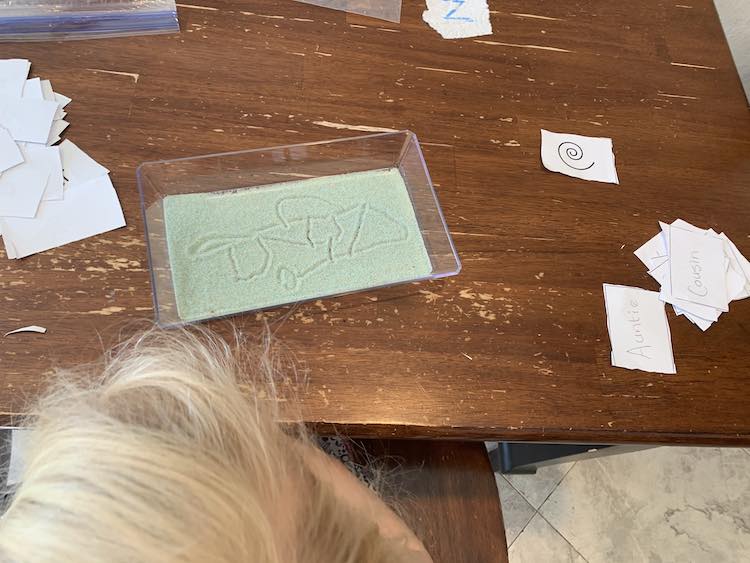
Once the trays were filled, chopsticks found, and papers cut it was time to get them started. Ada, five and a half years old, had a blast with the change of materials and went through the sight words drawing each one until she got bored. Zoey, three and a half years old, started strong by writing her letters and the shapes but then continued onto doing her own designs. Either way the kids had fun, loved shaking it to ‘blank’ the tray, and asked for it the next day too. I’m not sure yet if this will be used daily during the school-work time or not but I love that there’s a way to use the sight words and have the kids focus on them so they’re more recognizable in the future.
Once they’re done you can pour the sand, or salt, into a container and put it away with the empty trays. If you use a recycled plastic container you could store the sand in the container and then turn your writing tray back into a lid making this even simpler to clean up and store. I’ve been using a freezer bag for each kid to store their own sight words, and anything else Zoey wants to cut up, so they don’t get mixed up and are easy to pull out each time.

I loved how easy this was to set up and get going. Once they were done I poured the colored salt back into it’s container and put it and the trays in our sensory cupboard. The chopsticks went beside the sink to wash and the sight words were put away. I love how this can be as simple as you want it to be or you could make it more complicated based on what you like. You could even start with it being incredibly simplified and, once the kids love it, change out parts to keep it fresh and upgraded. I could see recycling a small lidded container (say for yogurt or cottage cheese) so you could store the sand inside and easily take off the lid for a writing tray each time you want to use it. You could extend the play over time by upgrading to a tray, changing the material you’re writing in, or changing how you’re writing by using a twig, popsicle stick, or even a toy. We’ve previously used playdough and a plastic dinosaur to make dinosaur prints which makes me wonder how playdough would work to write into… or if you could use a dinosaur tail to write.
Are you going to create a writing tray for your kids? Or have you already done so? I’d love to hear what you used to set yours up so feel free to share it in the comments below. If you’d like to share an image of yours feel free to post it through my Facebook page or Instagram account. If you want to be updated on any future posts you can follow either account or sign up on my email list located right under the blog search. On a wider screen device you can find the signup field to the left near the top (may have to pop it out with the blue arrows at the top) or if you’re on a smaller device it’s located below. I hope your week is, overall, positive and you’re staying healthy and happy.
Did this save you time?