

Dinosaur Fossil Dig

Ada’s fifth birthday, this year, was special because we’d assumed and kept telling her that kindergarten wouldn’t start until after she turned five. As August arrived we discovered that kindergarten actually starts a week before her birthday and when was Ada told she immediately asked to have her party before school started… so we did. At first I was going to keep it simple with the same sensory stations we had at Zoey’s third birthday party, earlier this summer, but after printing some new dinosaur-themed coloring pages to make the water gun area more in line with Ada I decided to look online to look for more dinosaur themed ideas that we could set up ahead of time and came across the dinosaur fossil dig on Pre-K Pages.

We hid our fossils in sand but if you’d rather not use sand you could use something else. We’ve dried out oobleck before to make a colored sand-like substance or you could use some other sensory material including lentils, popcorn kernels, or dried pasta to hide your dinosaurs in. Anything that isn’t wet should work as you don’t want your salt dough fossils to absorb the water. It could be interesting to have multiple materials and see how easily the fossils can hide in each one.
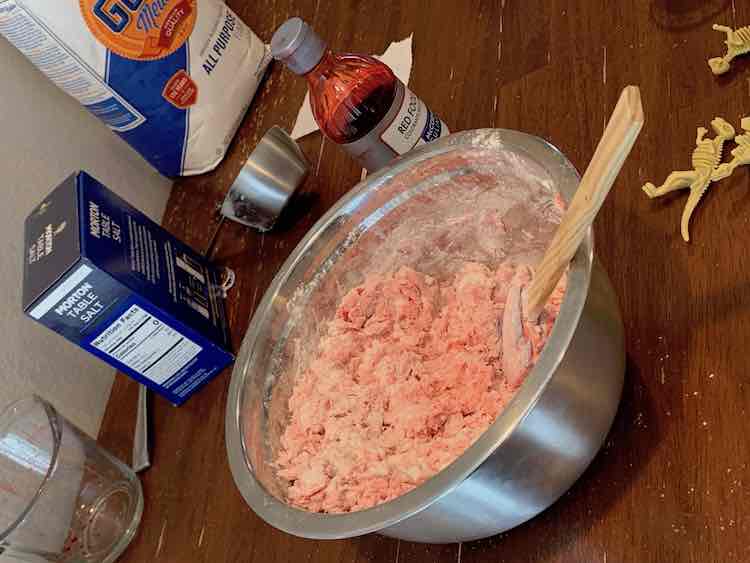
I based this sensory station fully on Vanessa Levin’s Pre-Ks Page “How To Make Dinosaur Fossils With Salt Dough” who used flour, salt, and water to make the salt dough and then used plastic skeletal dinosaurs to make the fossil imprints. After Ada agreed to have a dinosaur fossil dig I jumped on Amazon to buy sand and plastic dinosaurs while also making sure to grab a 10 lb bag of flour and a large salt the next time I ordered groceries… I later had enough leftover after the party to make several batches of playdough. While waiting for the supplies to arrive I found two silicon puzzle-like dinosaur fossil moulds on Amazon and also bought them for this project. Overall I ended up making a lot of dinosaur skeleton imprinted rocks and also ‘fossils’ using the silicon moulds I had. I doubled the first batch and then tripled (or quadrupled) the second batch so I ended up with a lot of fossils. If you make a single batch, according to Vanessa Levin, you should have about 10 fossils.
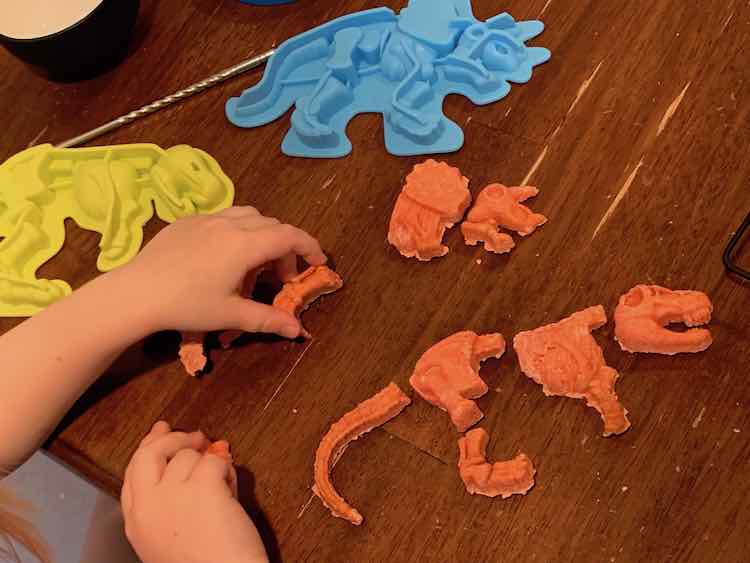
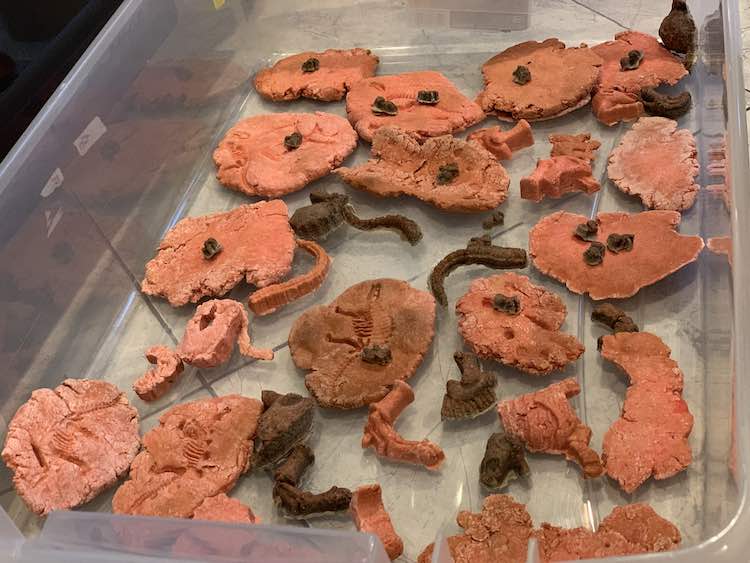
When we made our first, doubled, batch of salt dough I asked Ada if she wanted me to use black food coloring to make the rocks grey to look more like rocks, but she decided she’d rather have red so we ended up making a batch of pinkish fossils.
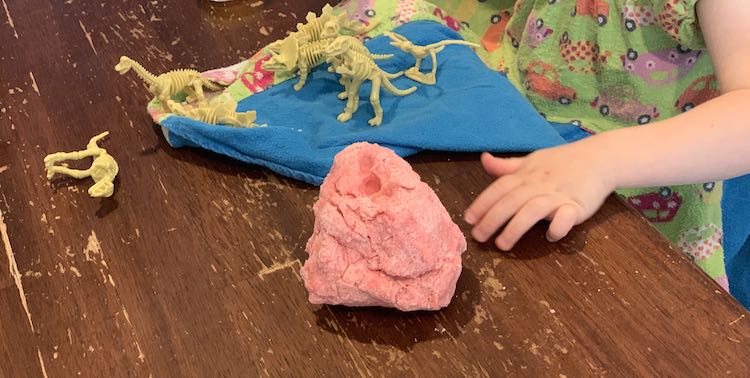
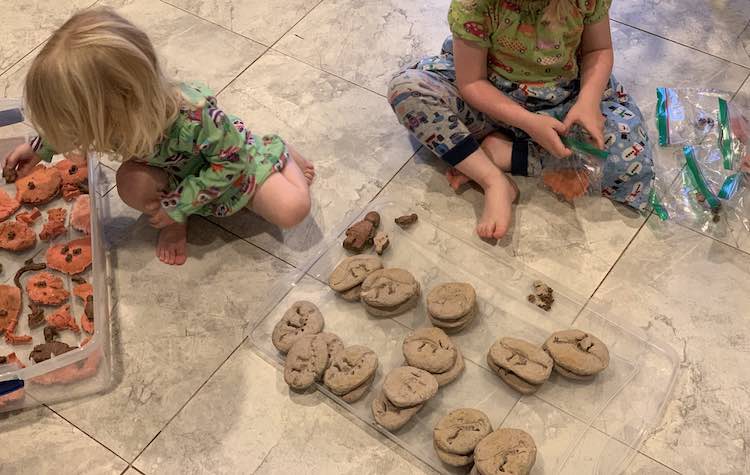
Once the dough was mixed up I gave Ada and Zoey both a chunk while keeping a larger chunk for me so we could all work on making the fossils. Ada had a blast making her fossils while Zoey preferred playing with the dinosaurs themselves. After I finished my fossils I helped Zoey finish off the last of her salt dough. Word of warning after making playdough so many times the salt dough was harder and drier to use than the kids were used to so if you want to simply make fossils without saving them you could always make ‘dinosaur fossils’ in a playdough station at your party instead.
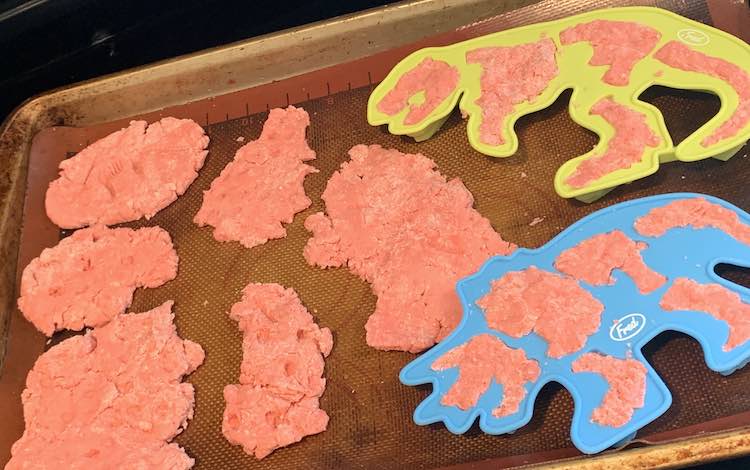
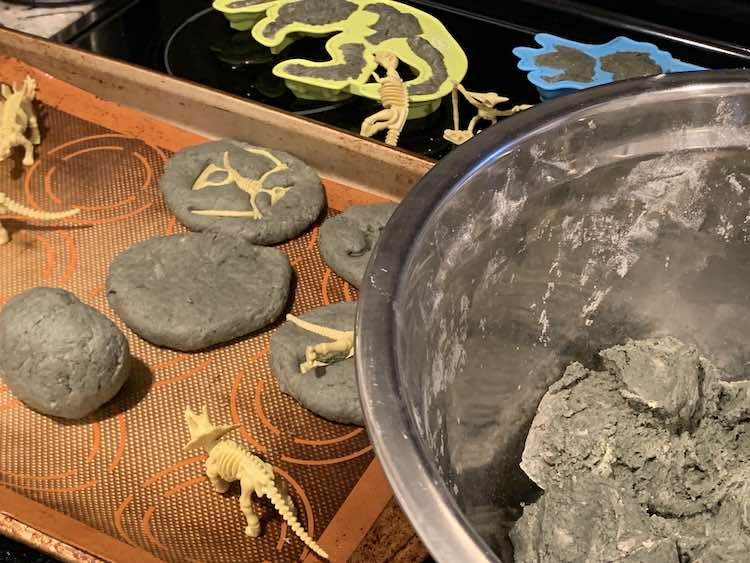
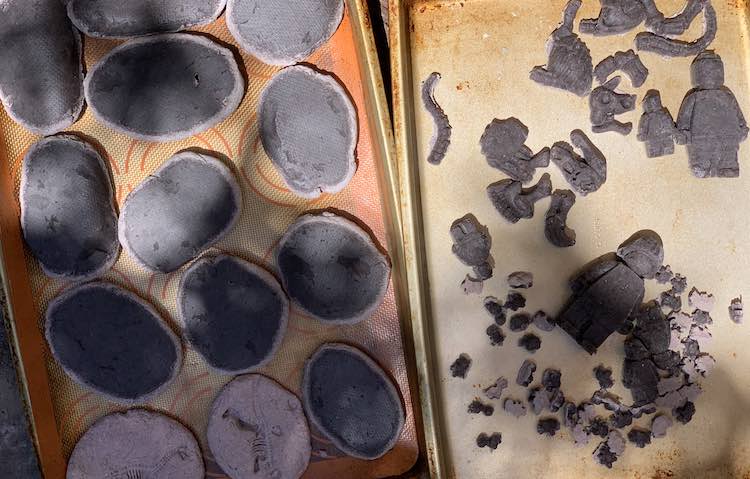
Once the fossils were made I threw them into the preheated oven and kept them in for longer than the Pre-K Pages website listed. For the dinosaur skeleton puzzle moulds I waited until the salt dough was dry on top, from the oven, before popping the pieces out, flipping them flat side down, and then baking them longer until they were fully dried out.
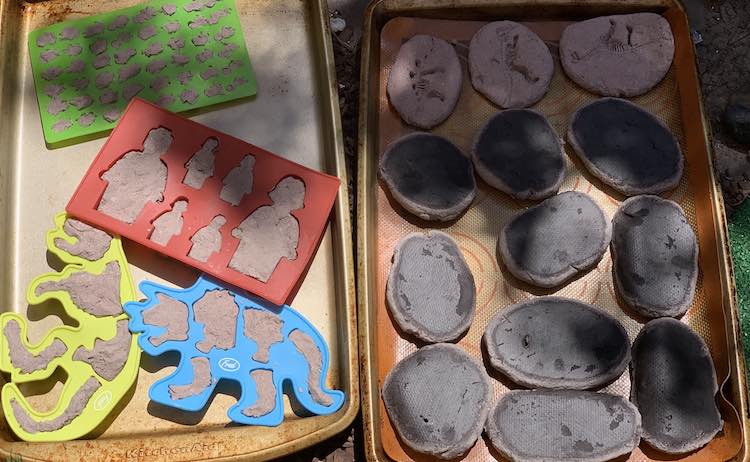
A week or so later while the kids were busy watching a movie I created a triple (or quadruple?) batch of salt dough using black food dye to make the fossil imprints look more rock-like. As before I started by filling the dinosaur skeleton puzzle mould, then started making round fossil imprinted rocks, before finally filling a couple other silicone moulds we had on hand.
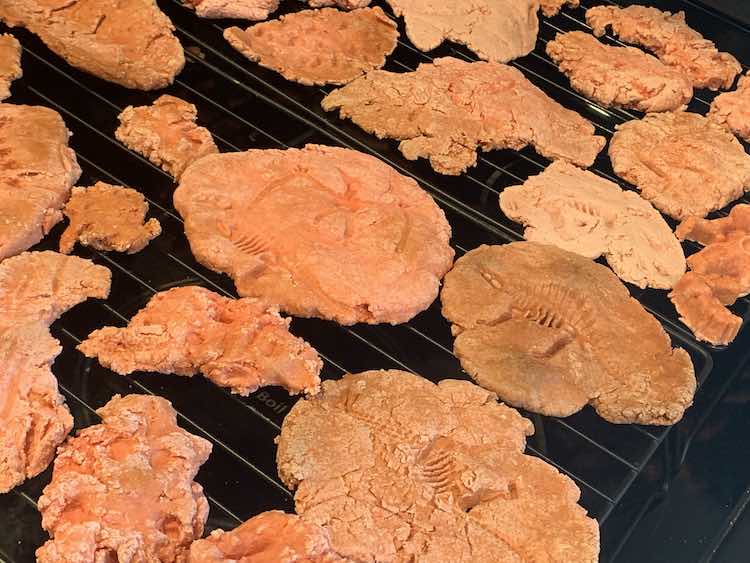
We were going through a heat wave as I was prepping the fossils and didn’t want to heat the house more by turning on the oven so I moved the cookie sheets outside. After a couple days, once the weather cooled down a bit and I couldn’t wait any longer, I finished the fossils off in the oven. I have to laugh now because it’s been several weeks since I made the fossils and I can still tell which Silpat I used as it now has darkened ovals showing where the rocks sat while outside.
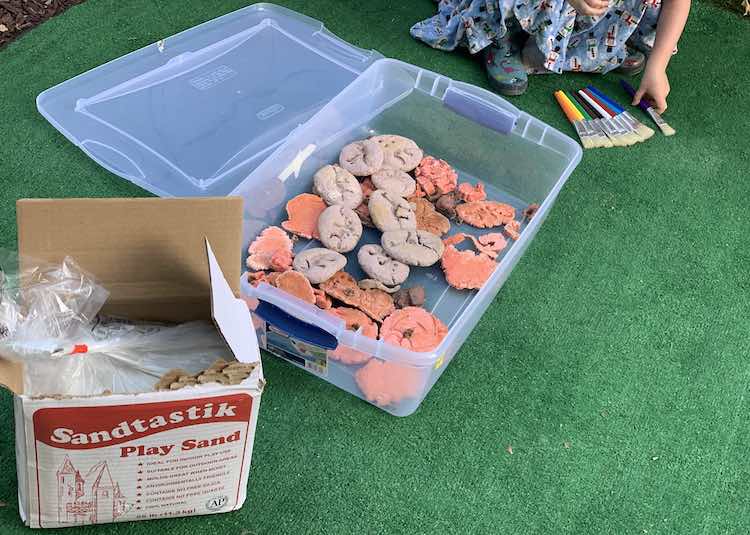
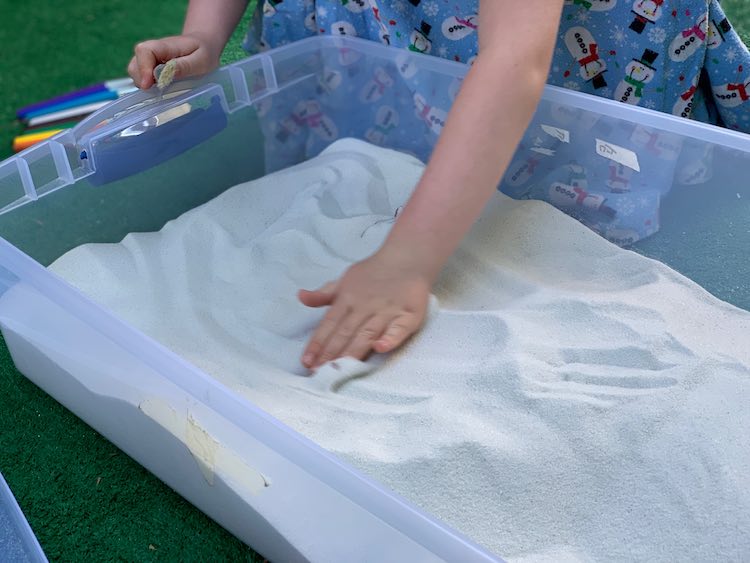
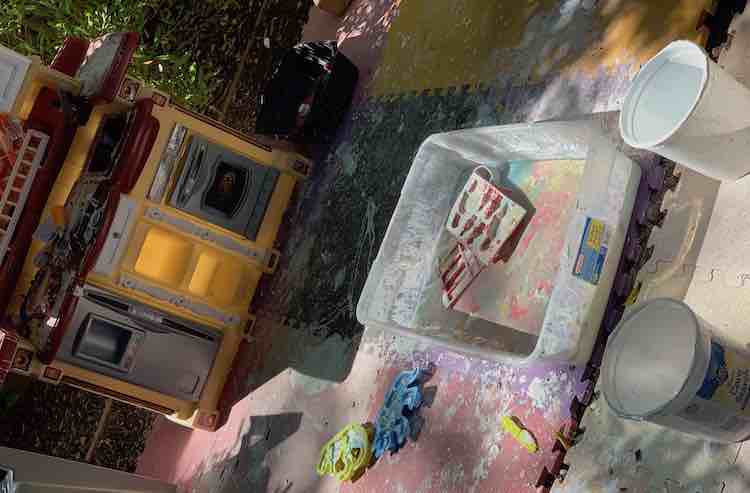
During this time I also thought about where we should put the dinosaur dig during the birthday party. If you already have a sandbox this would be a perfect addition to help revitalize it. We don’t have a sandbox so I started looking online at more long-term solutions for the girls. I ended up deciding to use a small plastic bin with a lid that we already had at home to do the dinosaur dig once I realized how small the 25 pounds of sand I ordered online truly was. I love that the kids can put the lid on it (if they remember) and they can sit in front of a dedicated sandbox now. Our Dollar Tree dinosaurs we bought last year are constantly enjoying the sand while the kids are outside now. While trying to decide what to use to hold the sand I came across some different ideas to create a covered sandbox that you may also be interested in. The three I liked the best are:
- Premeditated Leftovers – Using a plastic swimming pool for the sand and then buying a larger pool you can invert over the first to use as a cover. She used the larger one with water as a swimming pool but it then turned into a lid once the water was dumped out.
- What Shall We Do Today? – Also used a plastic pool for her sandbox but for her lid she took a round vinyl tablecloth, folded over the edges, sewed it down, and threaded elastic through the channel to create a waterproof lid that is easily cinched overtop after you’re done with the sand.
- What Have I Done Now? – She had a rectangular sand box already and created a lid by taking a tarp and a PVC pile to create a roll away sand box cover.
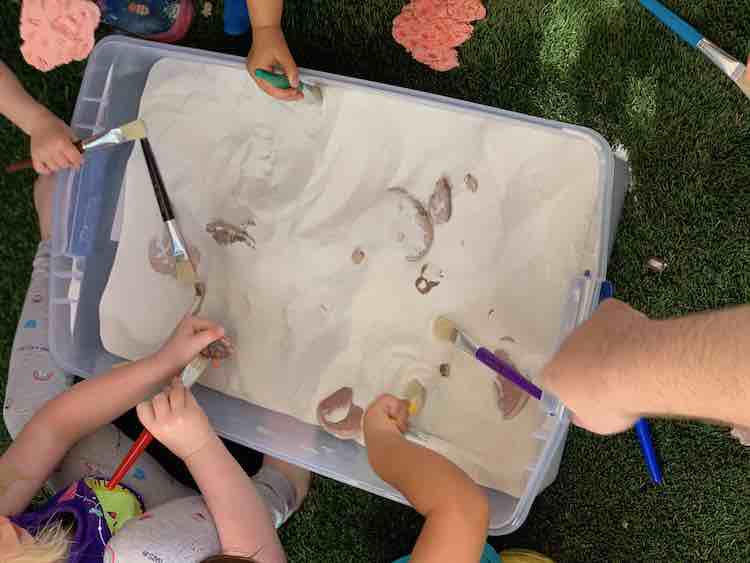
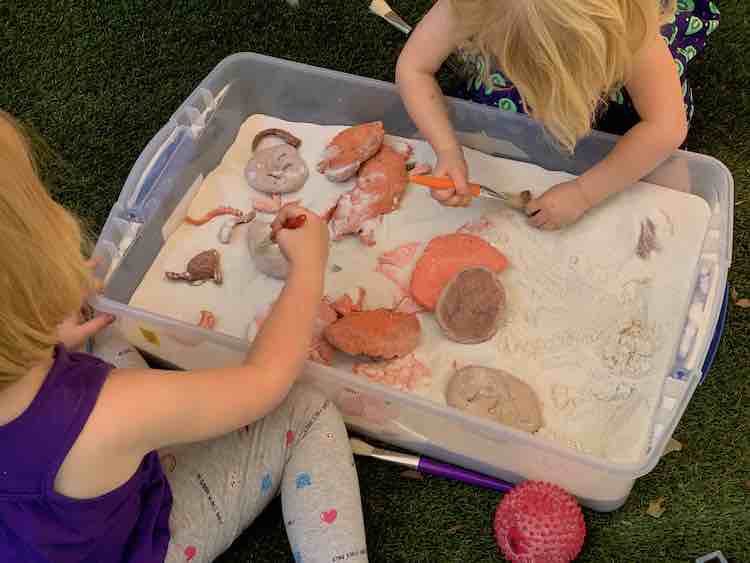
With the bin chosen, sand and paint brushes bought, and a bin chosen all we had to do was wait until the night before the birthday party when I pulled out the fossils for us to go through. The first step was to set aside some fossils for the favor bags. I had already counted and labelled enough sandwich-sized Ziploc bags for each kid so it was easy for Ada to help me fill the bags. I had Ada start by picking a pink fossil, a LEGO® person, and a couple mini fossils for each bag. As Ada filled the bags I gave Zoey the extra fossils to put in the plastic bin so we can dig them up later on. For the gray fossil-imprinted rocks we separated them by the dinosaur type before counting the total number of rocks and deciding how many should be put into each bag. Ada then picked which dinosaur species should go into each bag and all the extras went into into the bin for the party.
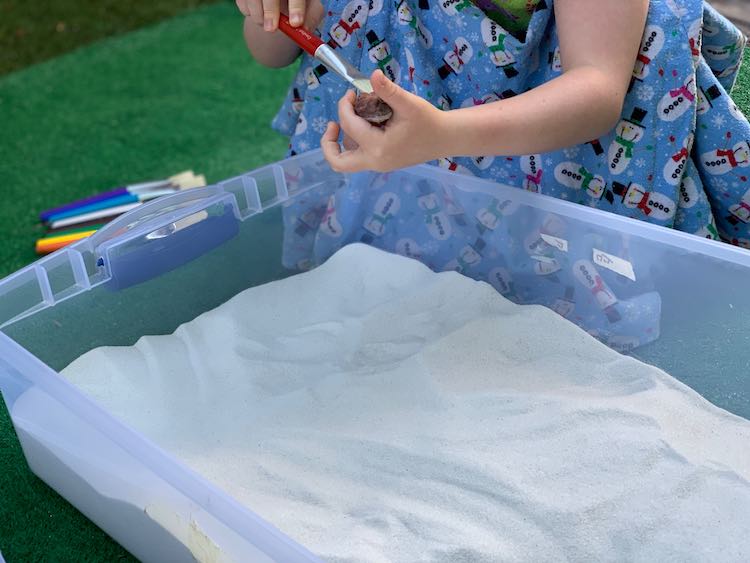
The morning of the birthday party Ada and I took the bin of fossils outside, laid out the paintbrushes, and dumped all the sand on top of the fossils. Ada couldn’t resist testing out the sensory station before we put the lid back on to wait for the party to start.
I hope this helps you out whether you’re looking to expand on a dinosaur theme for your birthday party or if you’re looking to change up your sand box at home. If you’re looking for more ideas we also set up a bin of white oobleck with frozen primary colored LEGO®, flower, and heart shaped oobleck to play with colors (like we did at Zoey’s birthday party) along with expanding on Zoey’s water gun shooting by adding some dinosaur targets to our back wall. After the birthday party we made a point of letting the oobleck dry out and the kids are still playing with the resulting ‘oobleck sand’.
Ada wanted to use our leftover LEGO® themed paper plates and napkins for lunch so we didn’t extend the dinosaur theme into the house. For food we kept it simple by ordering pizza. For the birthday cake we made regular Ghiredelli brownie cupcakes and topped them off with vanilla ice cream and LEGO® inspired brick candy to keep the dessert on theme.
I’d love to see and hear how making your own dinosaur fossils turned out. Did you end up changing up what your used to create the imprints and/or fossils to fit your theme better? Did you add something else to your salt dough? If you did I’d love to hear what you did and what you’d do differently next time so please share in the comments below, on my Facebook page, or through Instagram. I hope making them goes great and your party, get together, or overall fun activity goes great!