Splitting Up a Large Toy For Your Advent Calendar
As mentioned in Saturday’s post we bought a lot of smaller toys last year for our advent calendar and spaced them out with a mixture of sensory activities. We had planned to also include some Christmas-related outings too but the kids got just sick enough that we ended up staying home and defaulted to the toys, books, and sensory activities. Growing up I don’t remember doing an advent calendar, but Matt grew up with chocolate advent calendars and it was a tradition that looked fun. Several years ago I came across a wooden advent calendar at an art store that I painted and turned into a failed tea advent calendar (kept forgetting to use it) that I then set aside and finally put into use after Ada turned one. If you’re interested in advent calendars and as curious as I was about how they came about I looked up a Mental Floss article going over a brief history of advent calendars.
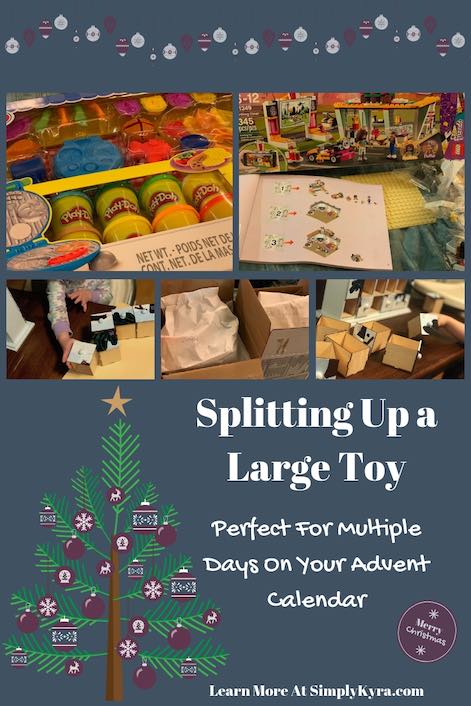
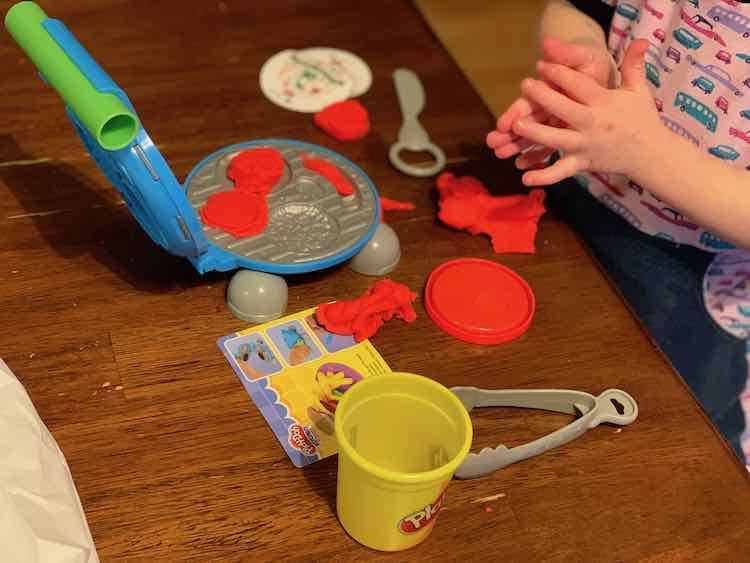
A while back I read about someone buying a small LEGO® kit and splitting up the instruction pages and LEGO® bricks to spread the toy out. I mostly forgot about it until I was walking through Costco and came across their LEGO® advent calendar on the shelves. At this point Ada’s only introduction to LEGO® (beyond our Duplo collection) has been two LEGO® Junior kits we bought her for her birthday in August. The first time Ada built the kits she had alot of help but over time she took more and more of it apart before rebuilding it. I decided this might be similar and grabbed it but then while we were walking down the toy aisle I saw a LEGO® Friends kit that would give us a bigger bang for our buck and wouldn’t be obviously Christmas-y a couple months into playing with it. Ada also saw it and immediately mentioned the car on the box and I switched them out (after warning her it would be more difficult than her current one). Now we needed to hunt something down something for Zoey. Zoey’s been loving play dough so we ended up choosing a Play-Doh barbecue set. I love this age when you can still buy some things for them while they’re shopping with you and they mostly forget (or at least don’t bring it up since you said “For Christmas.”).
I lost track of time as we got closer to December so I ended up splitting the toys two days before December started and decided to just go with that and what we packed away from last year for toys. I was originally going to cut up the instruction book and divide the LEGO® kit that way, but after deciding the instructions were too pretty to destroy (Ada also loves instructions) I decided to give her the instruction book the first day. Since the Play-Doh looked easier to split I ended up doing that first and then went through the LEGO® kit and split it into equal amounts so each day we handed them out both kids would get their own gift.
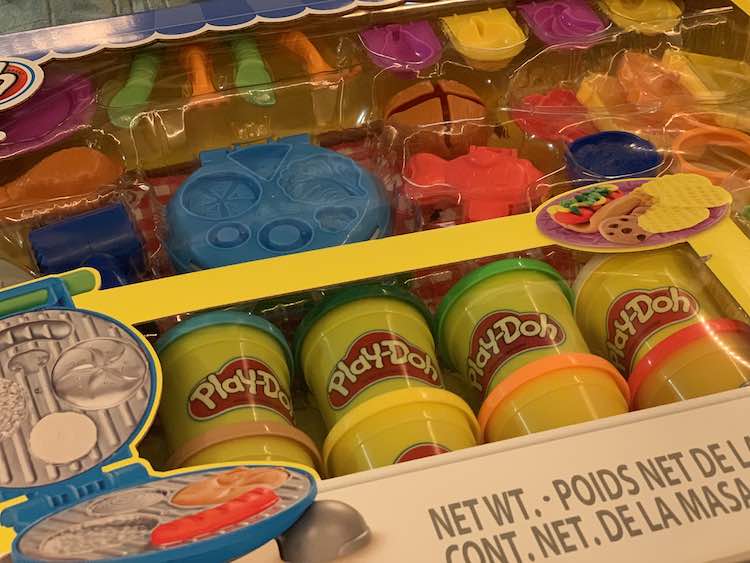
Deluxe Play-Doh Barbecue Set
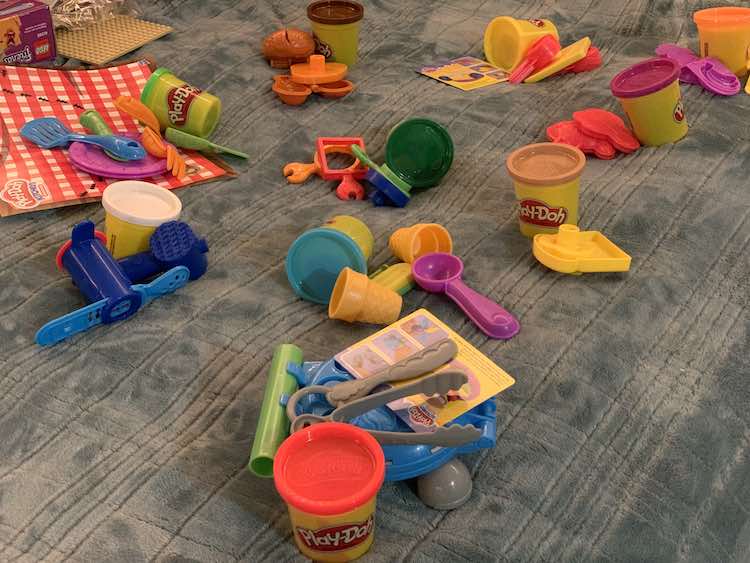
The Play-Doh set we bought came with ten containers of Play-Doh so I quickly decided to split it into ten sections for ten of the days on the advent calendar. I started by taking all the pieces out of the package and tried to split them up into ten groups based on what type of food each piece made.
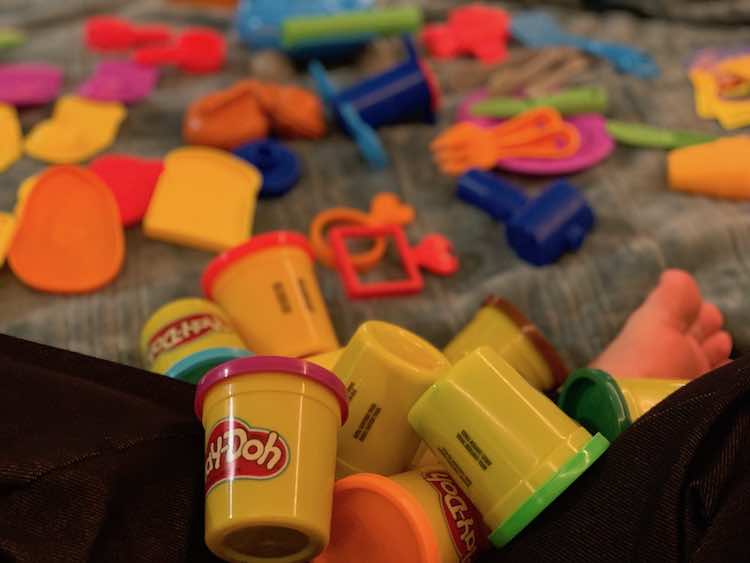
I then assigned a container of Play-Doh to each pile of toys. Some toys were easier to split up (ice cream cones, scoop, and popsicle mold) or assign a color to (brown for the meat, green for both the lettuce and pickle molds) while others were more hard.
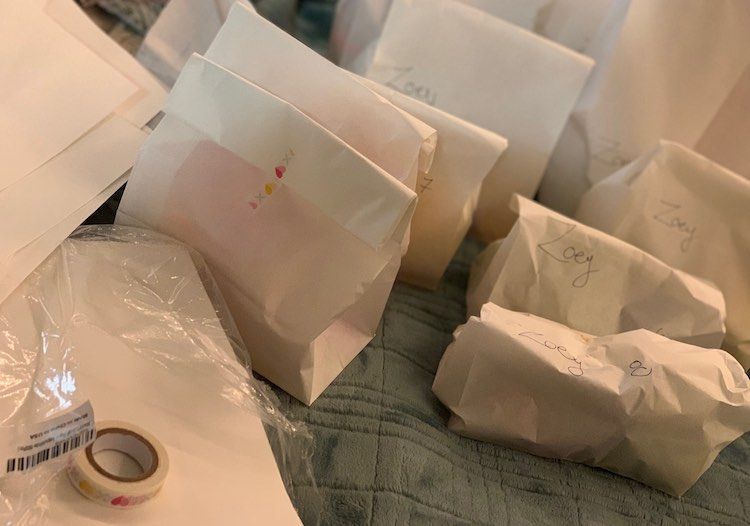
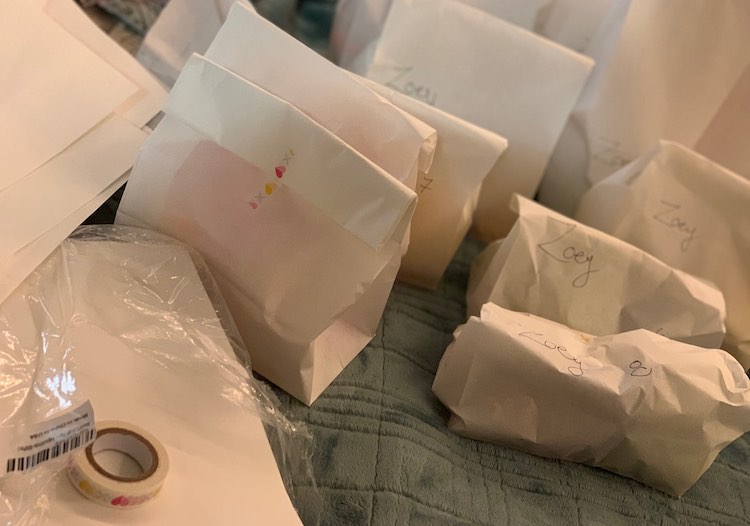
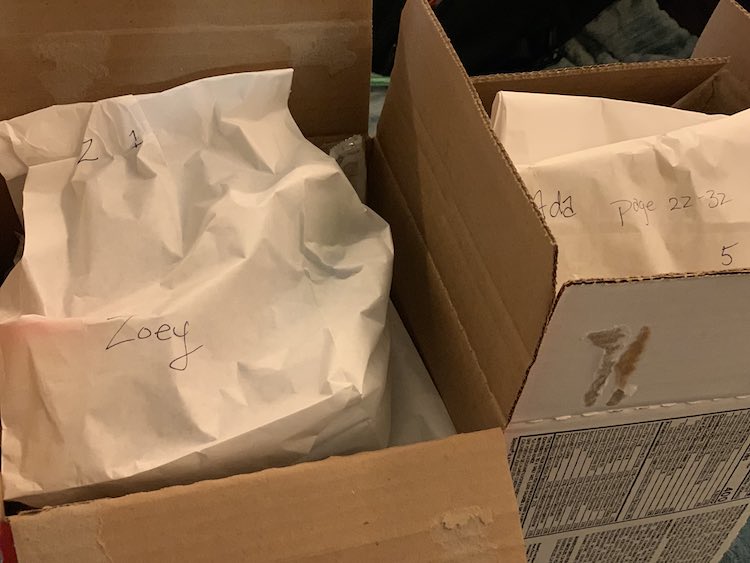
I then took ten paper bags and labeled them with Zoey’s name and then numbered them from one to ten. I then looked over the piles to determine if there was any specific ordering needed and put each pile into it’s own bag. The barbecue went into the first bag since so much depended on it and I left the ice cream related stuff for the last bag so Zoey would get the best for last.
LEGO® Friends
Originally, I was picturing a smaller LEGO® set and was going to cut the instructional book into sections so Ada wouldn’t be able to look ahead. I was going to tape the book back together at the end. Instead as I was looking at all the small pieces Matt and I would have to keep helping rebuild and how pretty the instructional book was I decided to not cut it up. I chose to put the instructions into the first day’s bag and Ada can choose if she wants to look ahead as she’s technically seen the box before. Just a heads up… in case you decide to cut up the instructions, end up losing them, or they become art fodder you can always get the PDF of the LEGO instructions online to help build it again (easiest if you saved the set number). In case you bought Mega Bloks I’ve found you can download the PDF on your kit page under the heading ‘Where to Buy’.
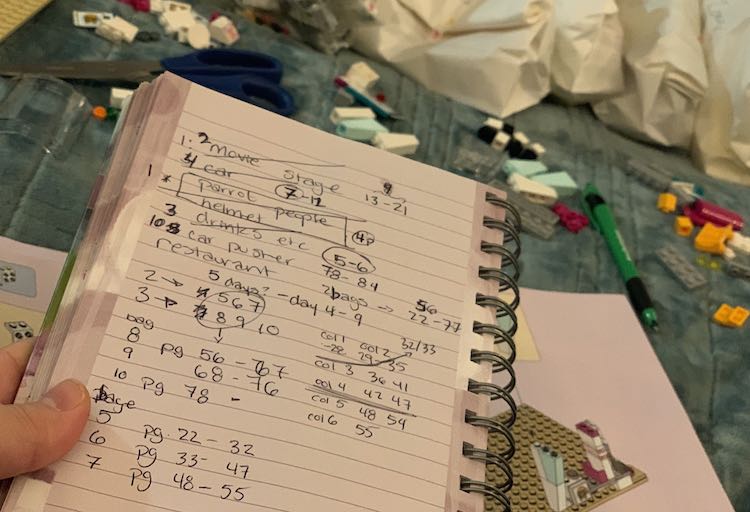
I started by writing down the main elements of the set: characters, movie screen, car, drink stand, car launcher, and the main (large) restaurant. I then tried to determine which order I wanted to give it to Ada. At first I wanted her to build the car launcher right after the car itself, but the instructions had it at the end which made me decide it would be the perfect ending for her LEGO® adventure. After all my deliberation I ended up going in mostly the same order as the instructions except for moving the movie screen to an earlier step.
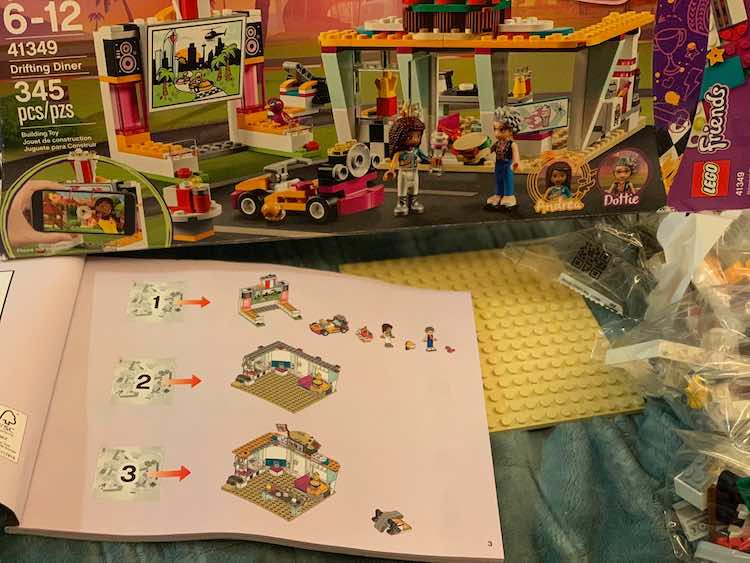
Since I wanted Ada to get this in ten installments to match how I split up the Play-Doh I next had to figure out how to get to ten. I wrote out the page numbers for each section to help determine their relative length. I also noticed the LEGO® bricks were separated into three plastic bags (now labelled packages to not confuse with the advent calendar paper bags) with package one containing most of the extra characters/buildings/car, package two the first three fifths of the main building, and the third package being the rest of the main building and the car launcher. With the page sections totaled and LEGO® packages factored in I decided to make the movie screen one day of building and divide the restaurant into five days.
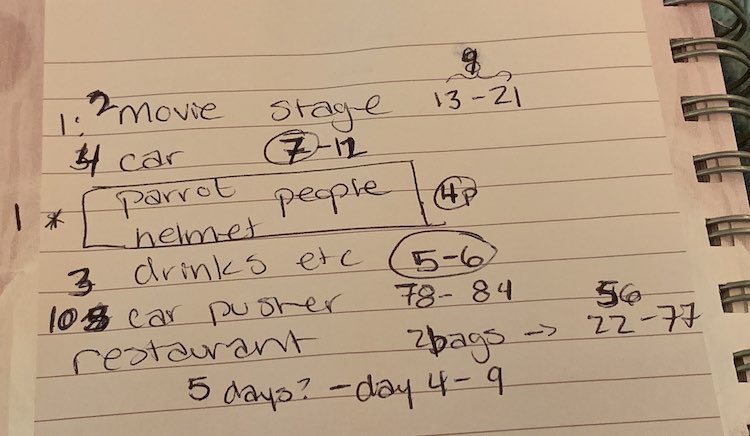
With that decided I was able to start labeling each of Ada’s bags with her name and a number (like Zoey’s) and then took it a step farther but adding the corresponding page numbers for future reference. For the main restaurant I left the page numbers off since I hadn’t figured out at which point I would divide them up yet.
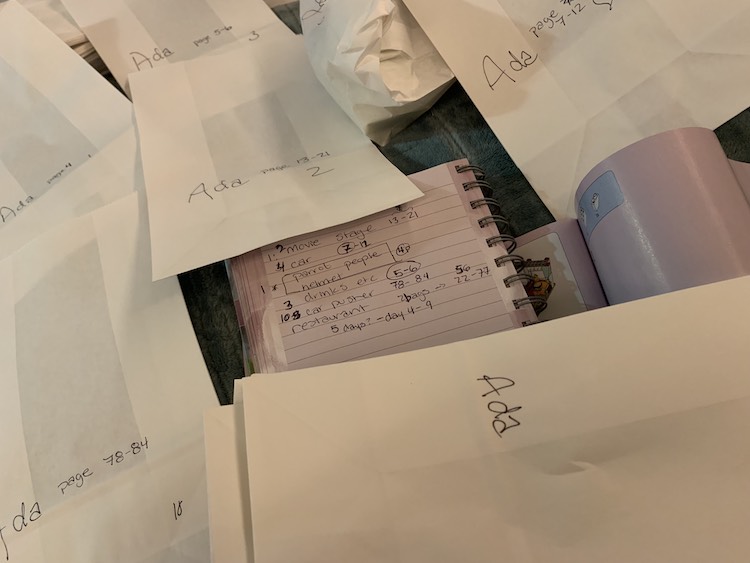
Since the first package was the simplest I started with it and opened the instruction book to the beginning. I started by taking all the character pieces and put them into the first bag. I then went on to divide up the rest of the pieces in the first package by going through the instruction pages and putting the pieces into their corresponding bags.
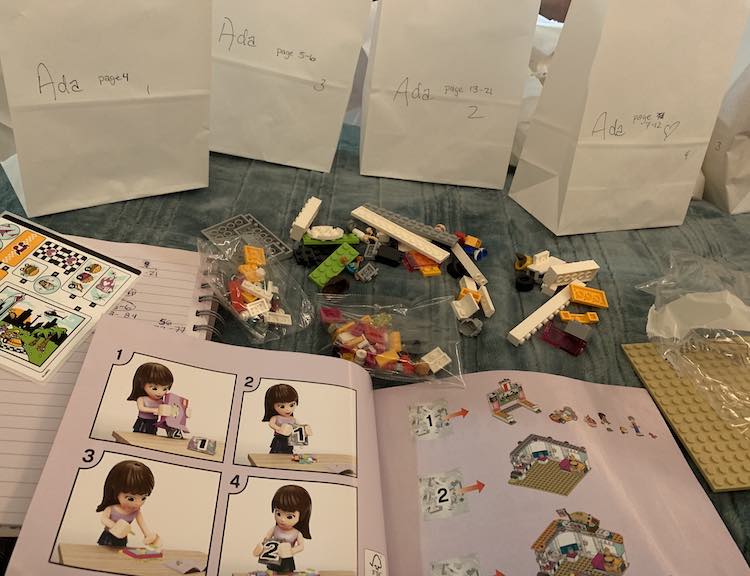
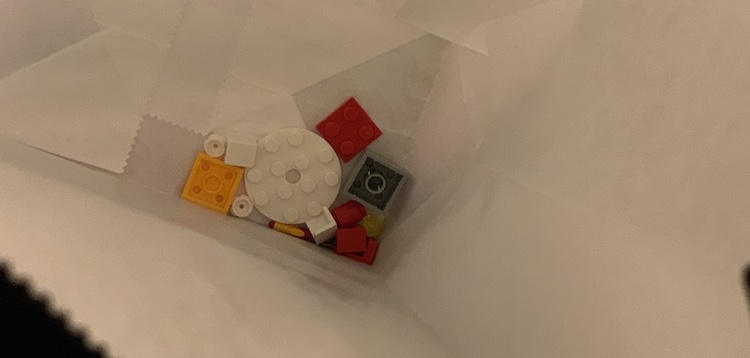
I was originally going to put all the LEGO® bricks into Ziploc bags but after separating the Play-Doh I ended up going with the paper bag… though the final pieces looked so small inside the bag.
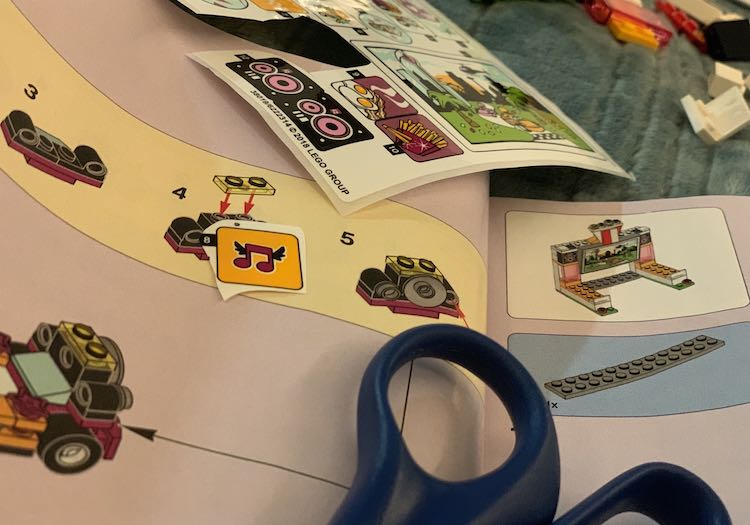
When I came across a sticker being used I marked a small circle next to it in case there were other stickers nearby that were needed for that section. Once I got to the end of the section I cut out any stickers called for so Ada could use them without having to see all of them.
After finishing the first package of LEGO® bricks I packaged up all the extra pieces for later, taped all the paper bags closed leaving the first bag open since it needed the instructions added when I was done, and set them all aside.
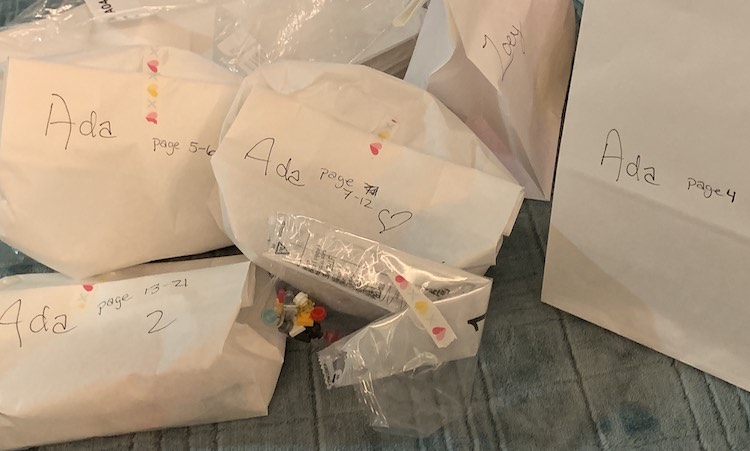
I then made the mistake of opening the third LEGO® package before the second one so I jumped to the last third of the kit so I wouldn’t have two packages of LEGO® bricks opened.
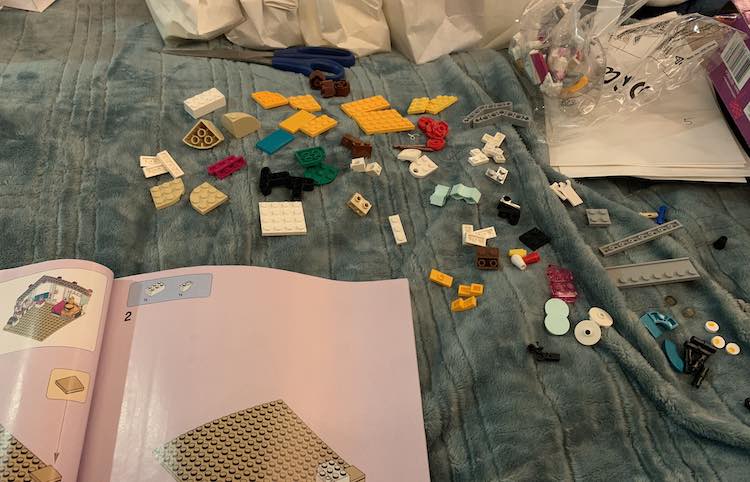
For this package I assembled the last paper bag first since the car launcher made the separation easier. I then went back to where the third package was opened in the instructions. As I went through the instruction steps I created a piles of pieces. When I came across a sticker I cut it out and added it to the corresponding pile since I wasn’t sure at what point the LEGO® bricks were going to be divided at later on. Each page of steps became a pile of LEGO® underneath the previous page’s pile. When there was an obvious stopping point (or I ran out of room for a column) I started the next page’s pile in a new column beside the previous. After I went through all pages I decided where it would make sense to split it up and then went back into the instructions to figure out the corresponding page numbers. I wrote out the page numbers on the corresponding paper bags, filled them up with the LEGO® pieces and stickers for that section, folded the top of the bag down multiple times so nothing would escape, and taped them closed.
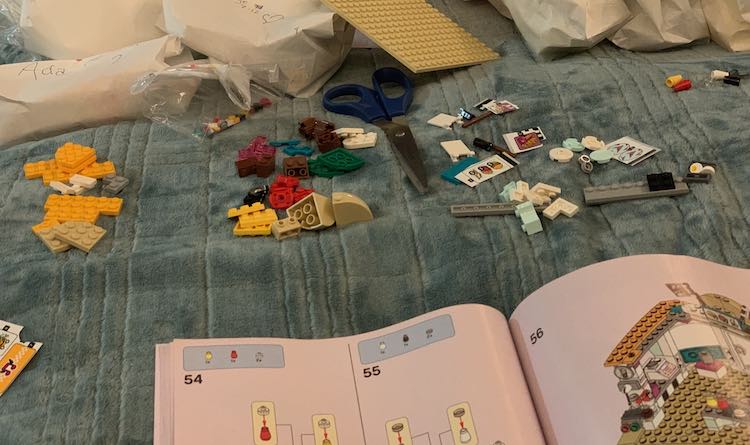
I then went onto the second, and final, LEGO® package. I laid the pieces out based on when they were used in the instructions, split the pieces into three sections, and put each section into it’s corresponding labeled advent calendar bag. This time around I had kept track of the starting and ending page numbers for each column I created so it would be easier to divide the pieces into thir advent calendar bags.
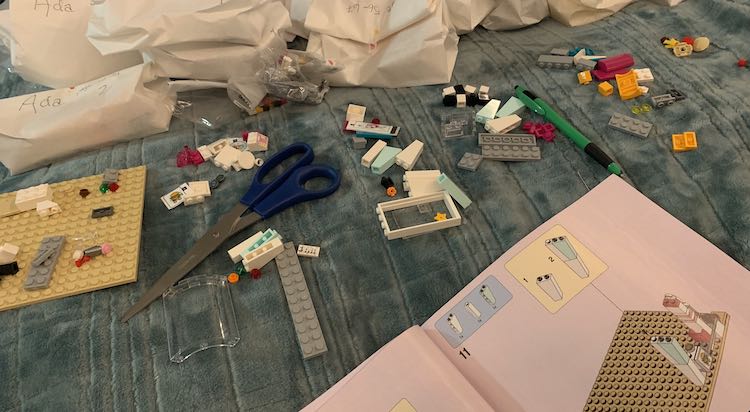
I then added the instruction book to the first advent bag and sealed it up.
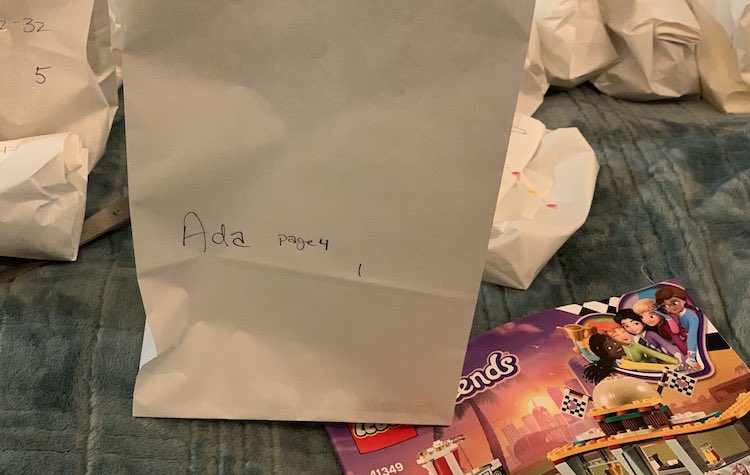
All that was left to do was hid the bags in two cardboard boxes. I started layering the bags in the box by starting with both the number ten bags, then nine, and onward until I ran out of room (switched to other box and continued) or reached the first bags. This way when it’s time to hide the next allotment of advent calendar toys I can grab the top two.
At this point we’ve only opened the first day, but it’s seemed a success so far. I love how both girls get something although Zoey did want the LEGO® once the Play-Doh charm wore off so we’ve told Ada she doesn’t get to play with Zoey’s Play-Doh and both partial kits get packaged up separately when they’re done with them. I like how their advent calendar toy can be enjoyed and there’s not more miscellaneous small stuff like last year.
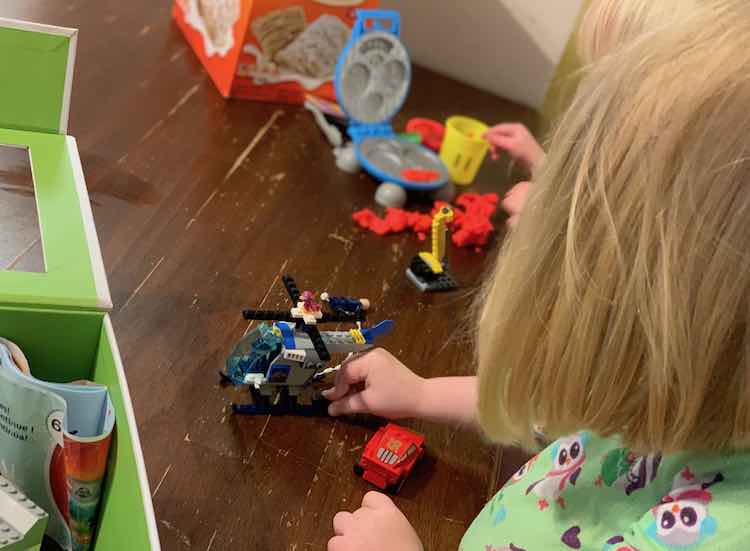
For the rest of our advent calendar we have some Christmas books I packed away last year and I’m planning on including Christmas-related crafts and events. We’ve already done both a Christmas Caltrain and a Christmas tree lighting this weekend and Ada has requested making more Christmas tree ornaments and Christmas cookies. I’ve bought Christmas fabric for the girls (that Ada’s excited about and they’ve chosen/agreed on which garment they want) so I’m still planning on sewing them each a shirt that I’ll add to the advent calendar of whichever day comes after I finish them.
If you want to create your own advent calendar you can download my printable from my 2017 post here or go directly to the download here:
Get this printable (and more!)
All my templates and printables live in one easy member hub.
Go to DownloadsWhat are you planning to do over your holiday break? I’d love to have more ideas. Feel free to share yours in the comments below, post on my Facebook page, or connect with me on Instagram. I hope you have a great holiday!
Did this save you time?

