
Patching and Extending Toddler Pants
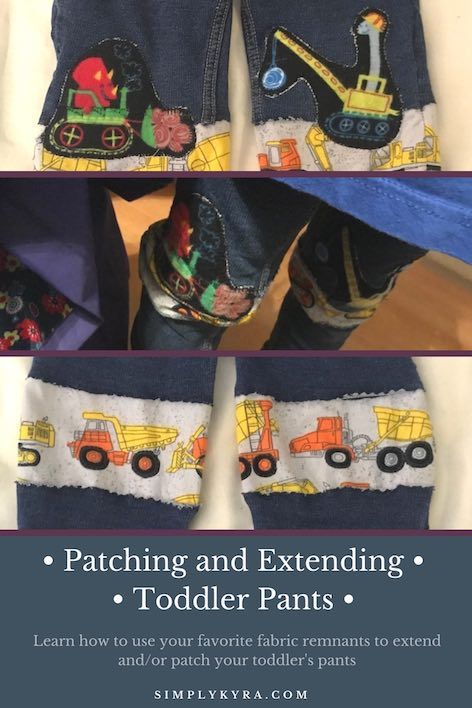
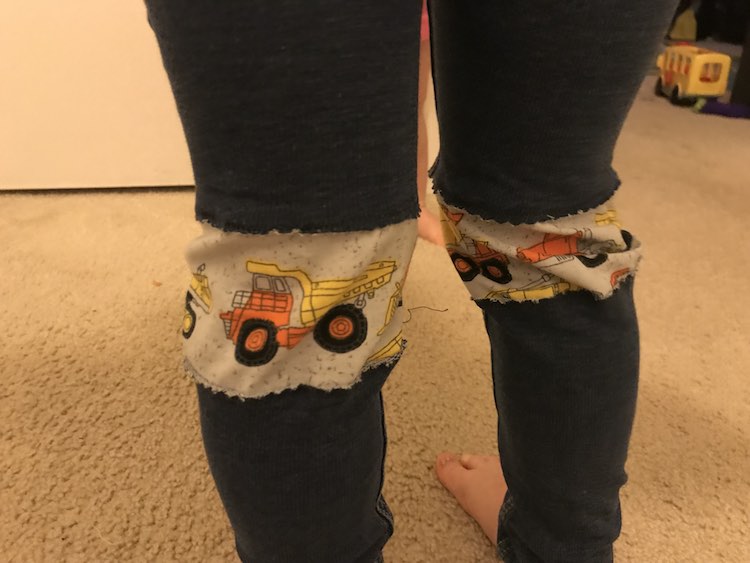
A couple weeks ago I noticed there was a hole in one of Ada’s jeans. I kept putting off patching them because I kept forgetting, wanted to research it, and was a bit afraid of them especially as they where skinny 3T pants with a bit of spandex for stretch. I knew the jeans were too skinny to fit around my machine and I haven’t had to open jeans up before. While I kept forgetting about the pants I ended up making some patches for Ada’s Bubblegum dress which we ended up not including, but I ended up with some adorable patches laying around. At this point Ada’s pants were only now starting to get short so I decided since I was cutting into her pants anyway I might as well add an extension too so she wouldn’t have to give them up anytime soon. I had looked up ideas online and came across a pin on Pinterest where a stripe of horizontal fabric was added to extend the pants. I lost the pin before I went to the website, but while searching right before I made these I found a pin (that may have been a different one), had the browser translate it from German to English, and found that there were no directions on how she did it and only pictures (Manchmal muss man auch Monster austauschen).
The happenstance of the patches combined with the approaching 52 Week Sewing Challenge’s make something green made me decide to just go for it; especially when I realized I haven’t really sewn with green and have always had trouble finding something in my closet when St. Patrick’s day rolls around each year. Luckily when I had Ada pick her patches she chose one green one since the main woven fabric I chose had none.
Materials Used
- Pants maybe with a hole to justify the hack
- (optional) Fabric if you’re doing the extension
- (optional) Patch for the hole or to add over the extension
- Seam ripper
- Sewing machine
- Sewing pins to attach the patch though you could use Heat’n Bond too
- Dritz disappearing ink pen
I started with a regular pair of 3T pants with a fiber content of 95% cotton and 5% spandex.
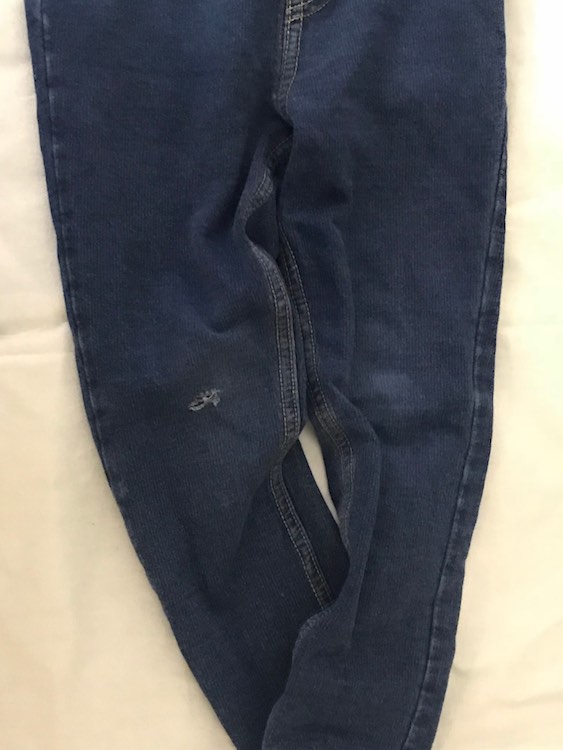
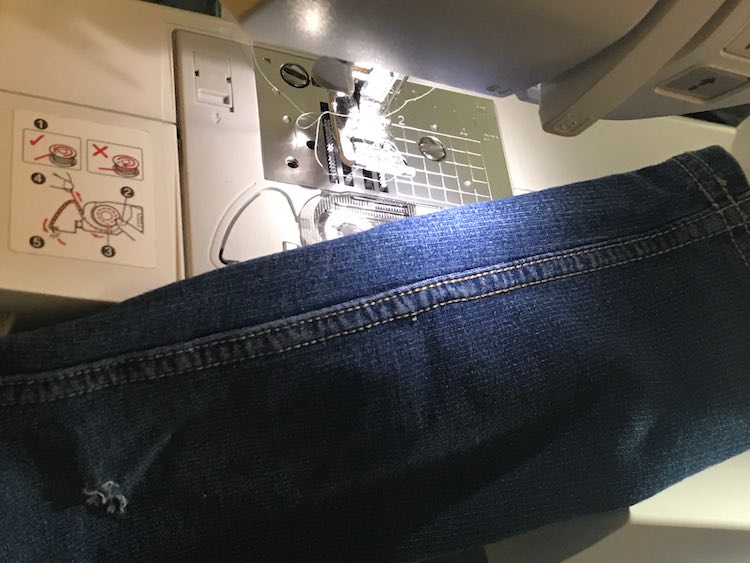
I confirmed that the pant leg was way too skinny to fit around my sewing machine. Though if it magically did I wouldn’t have had a lot of flexibility so either way I probably would’ve decided to continue on by opening up the side seam for better access.
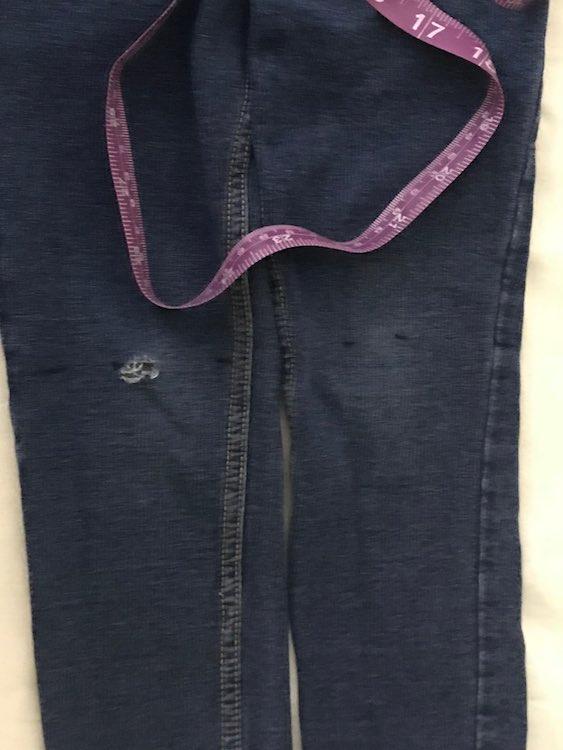
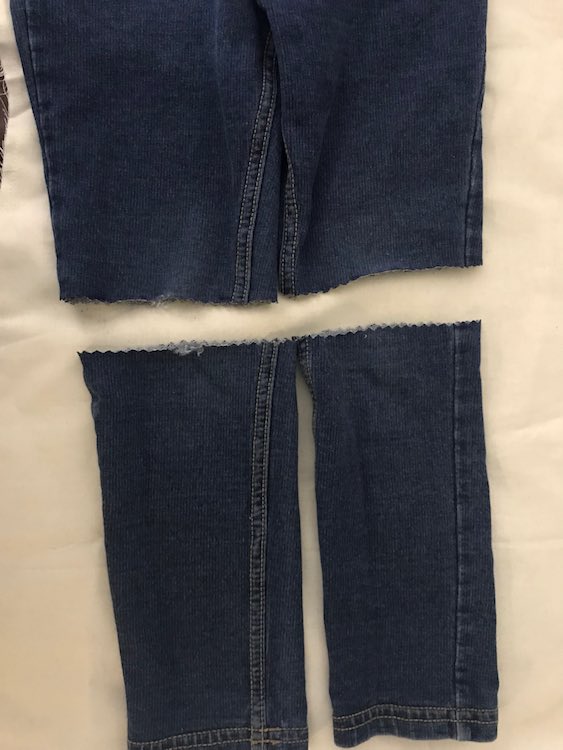
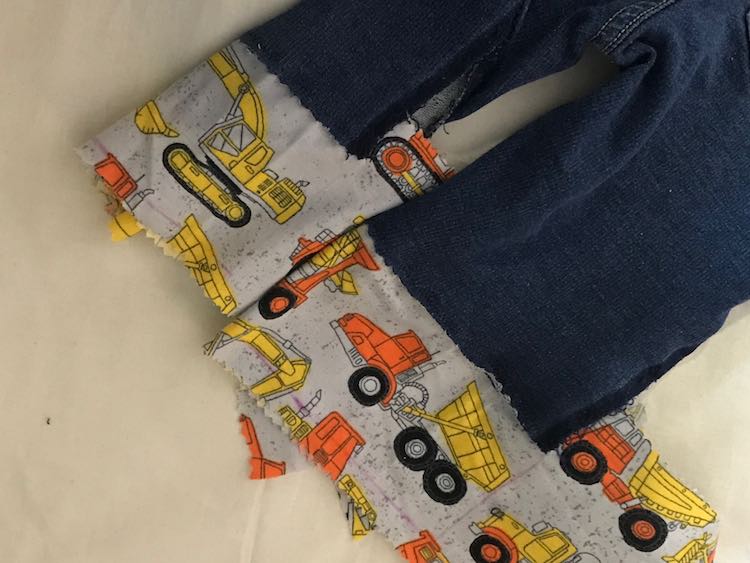
The next step was cutting the pant legs off where I wanted to add the fabric extension. I used my tape measure to find out the distance from the bottom of the pant hem to the center of the hole. I then used my disappearing ink pen to mark that same distance all the way across the front of the pants which I went on to cut with my pinking shears.
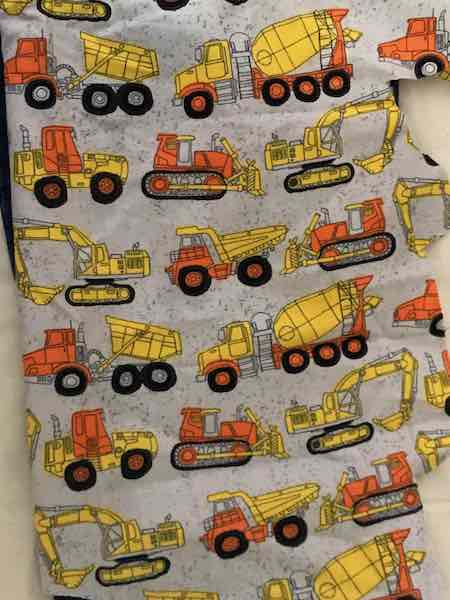
I then took the fabric I had picked out to go with my patch and confirmed it was wide enough to go around the leg of the pants. I knew Ada would be good with this choice as we’ve bought it on two separate occasions now… as evidenced by the projects that it keeps being used in: Peppermint Swirl Dress, Upcycled Construction Truck Shirt, and the Bubblegum Dress.
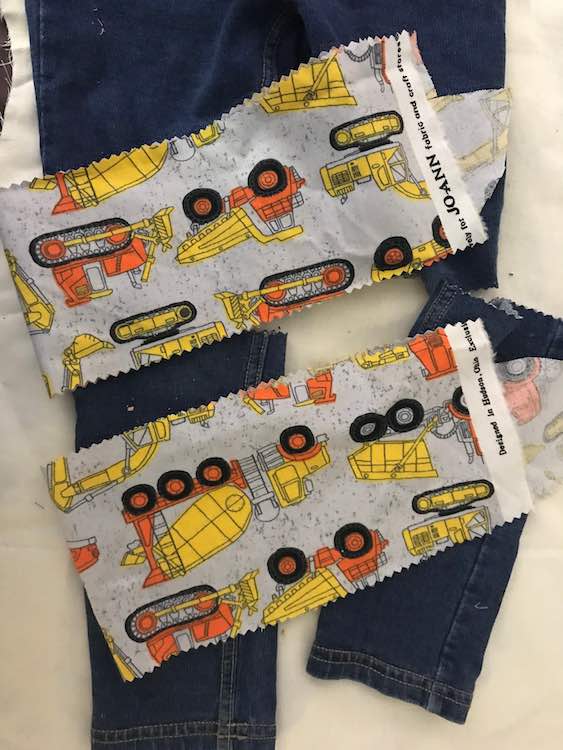
If you have an exact idea of how much longer you want your pants to be I’d measure the difference and subtract the loss from your planned seam allowance. I hadn’t thought of how much longer I wanted the pants so I decided to not measure and instead used my fabric to decide on the height of the extension. I cut the fabric with pinking shears and cut through the middle of the row above and below what I wanted to show on the pants so I’d be able to show the full height of the construction vehicles.
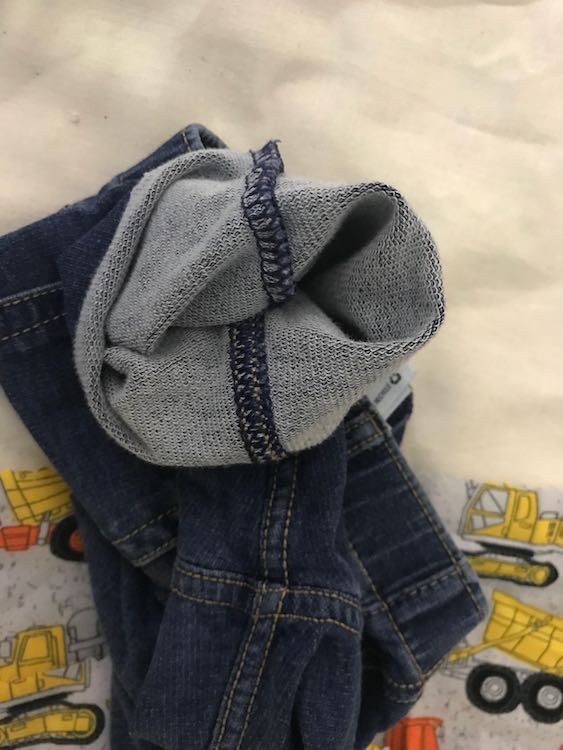
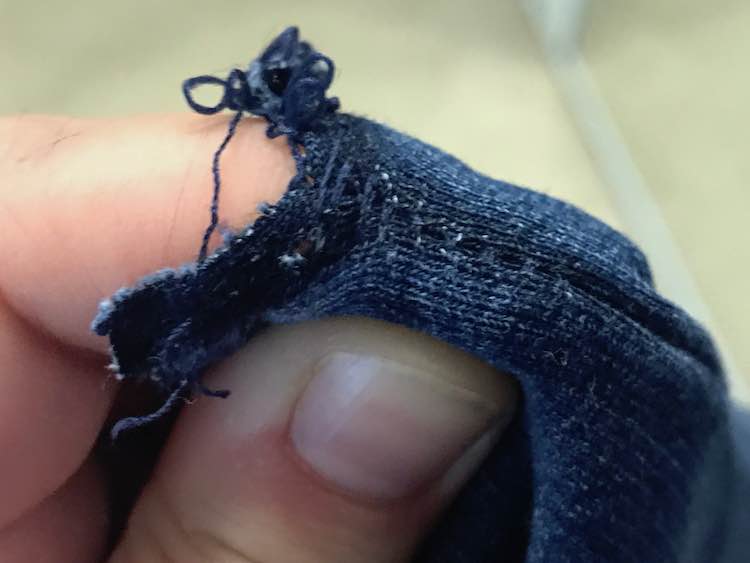
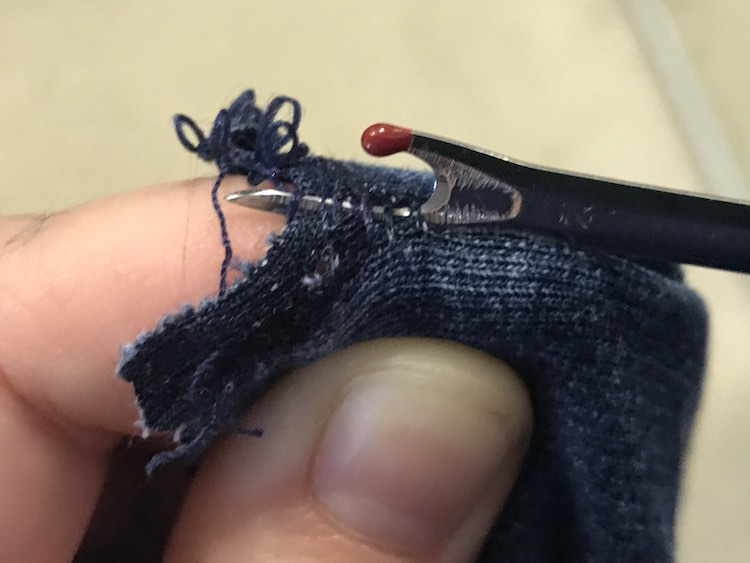
You can’t ignore the pant seams any longer; it’s now time to rip them apart. I had read in my preliminary research that one seam is sewn in really good while the other seam is easier to rip and sew back closed. I looked at both and ended up ripping into the inseam. I found it was easiest to rip when you use one finger on the back of the seam and push it up while pushing either side of the fabric down and away from the seam. Once the seam was exposed I went in with the seam ripper, cut the visible stitches, pulled the two sides of the fabric apart, and then went back to stretching the seam a little further down. You don’t have to rip too far; just enough distance away from your cut that you can flatten that section of your jeans enough to be able to sew in the extension and/or the patch without sewing into any other part of the jeans. Remember if your patch is lower or higher than where you’re putting in the extension fabric than you’ll want to rip further along past that area too.
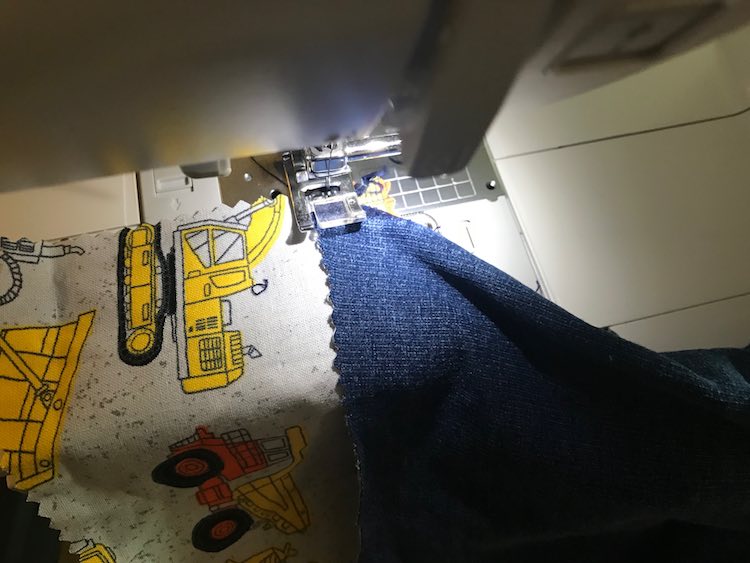
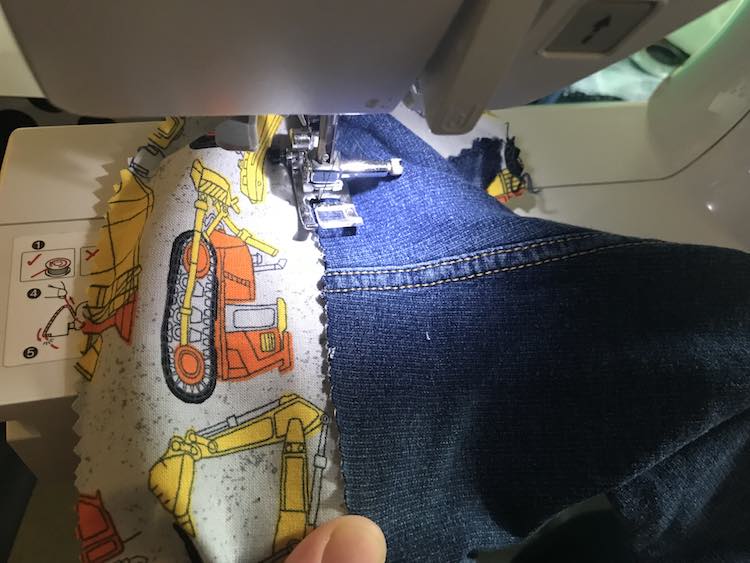
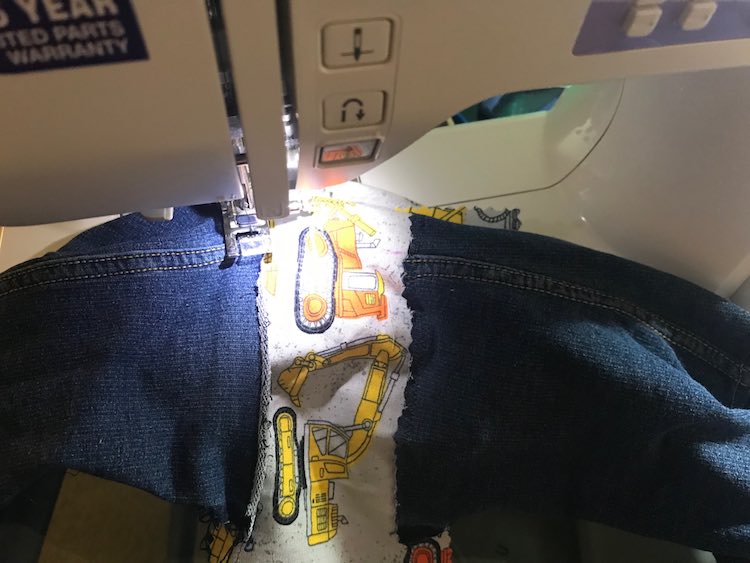
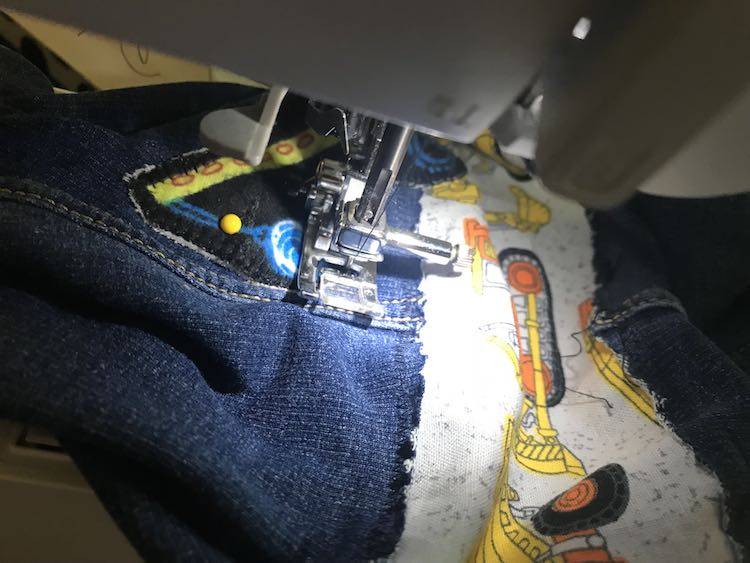
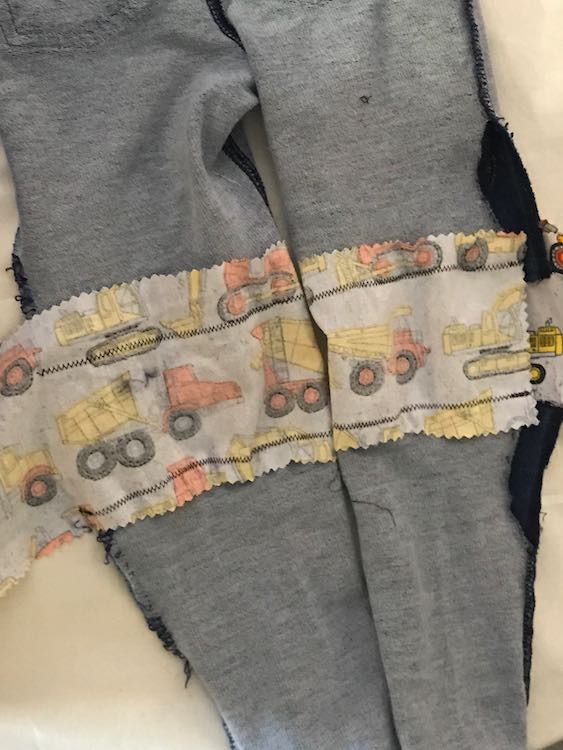
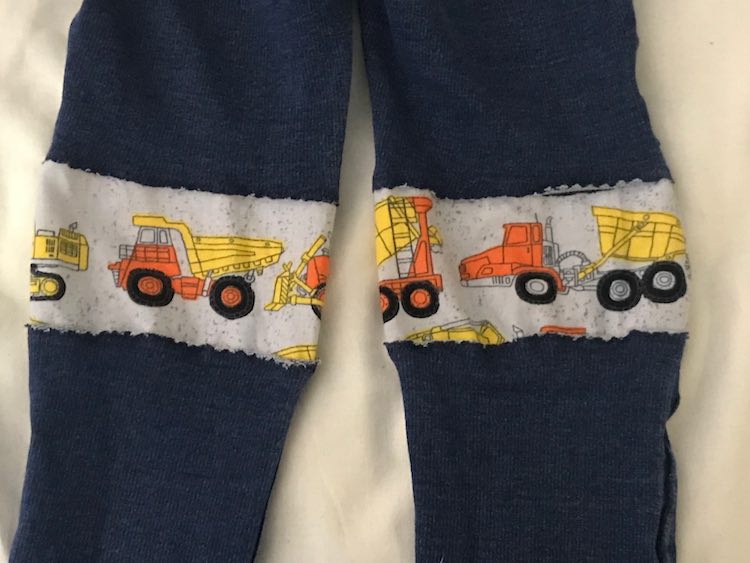
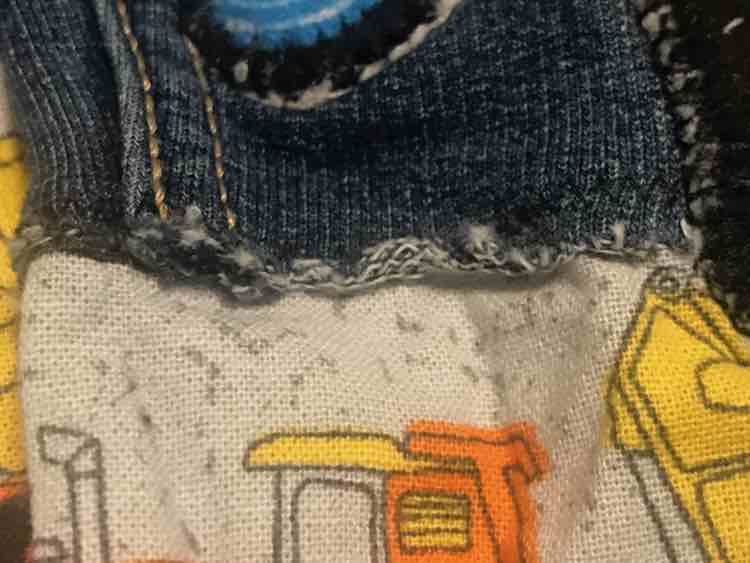
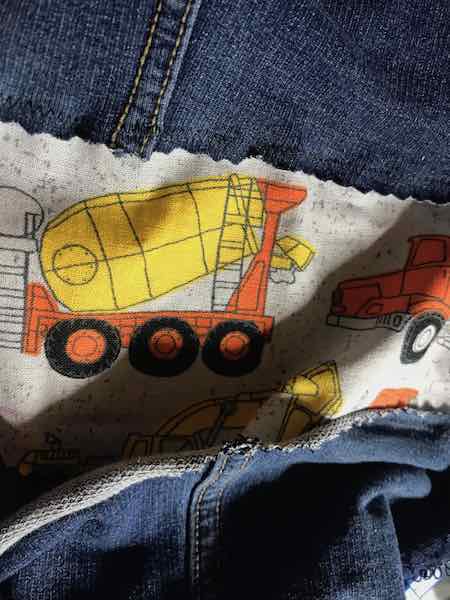
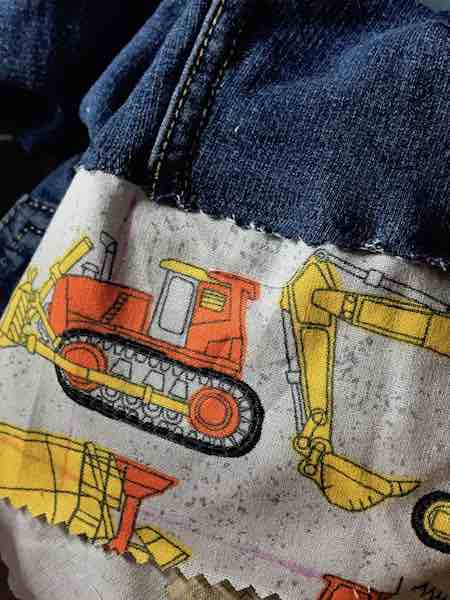
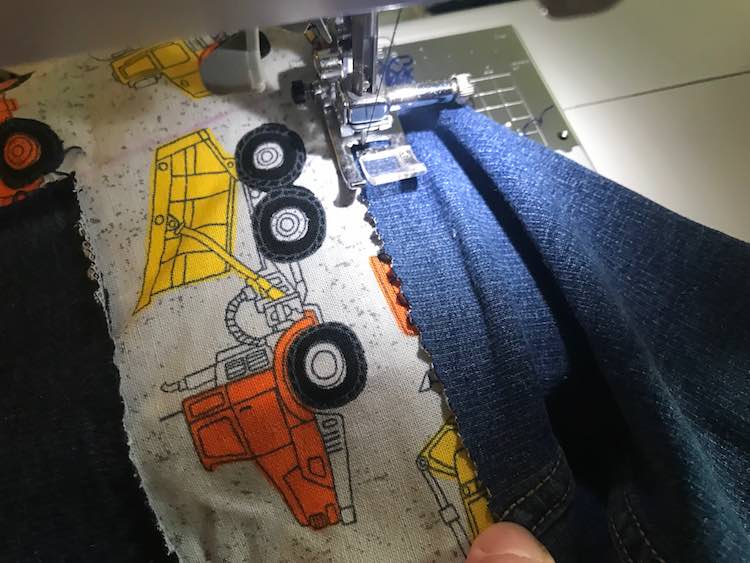
I then sewed my woven cotton fabric to the jeans. I decided to lay the jean fabric overtop of the woven so both of them are facing upward and then use a zigzag stitch to sew them together. This way I figured there’d only be the one fabric sticking out from the seam on the inside of the jeans against Ada’s skin (woven construction vehicles) and the jeans on the outside of the pants will only curl as far as the zigzag stitching allows. I made sure to line up the two fabrics with the woven having a little more excess out the back as I can always trim it down but I didn’t want it to be too short. After the first couple of stitches into the fabric I paused to line up the fabric making sure the row of construction vehicles directly above my visible row was hidden while also making sure to not hide my current row. When I cut the stripes from my woven construction vehicle fabric before I made sure they were too long just in case the jeans stretched while sewing so I just kept lining it up and once I got to the end of the jeans I backstitched before cutting the threads; while leaving the rest of the woven fabric alone for now.
I then went on to measure how tall I wanted the extension to be, based on how tall the construction vehicles were, and then measured along both legs marking that distance so both legs would match. I also drew a line down from either side of the jeans along with from the center seam so it would be easier to know when to start or stop sewing the bottom of the jeans on.
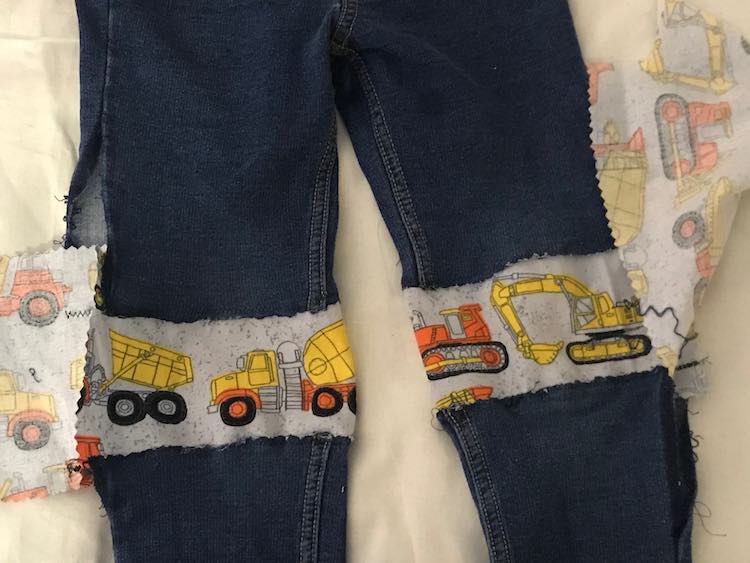
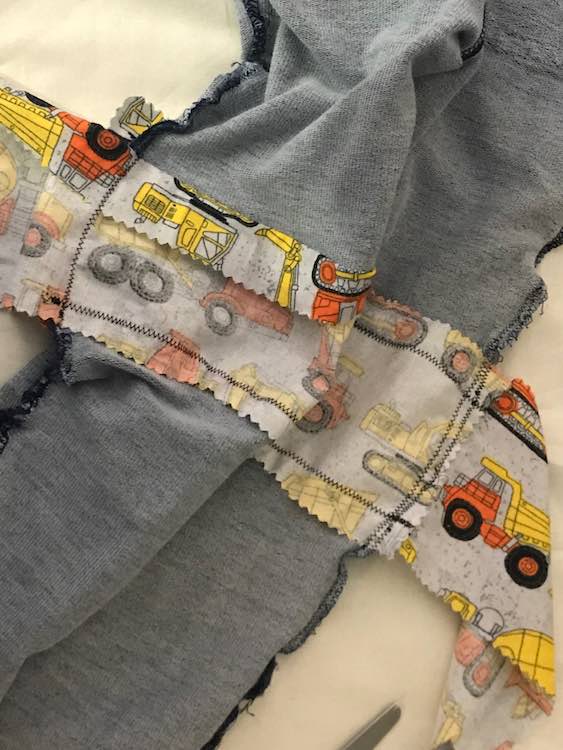
I could see the above picture being an adorable pair of cropped pants if you finish the bottom by hemming instead of adding the rest of the jeans back onto it. You could sew the seam together and stop a bit before the bottom of the pants so there’s a little slit in the hem too.
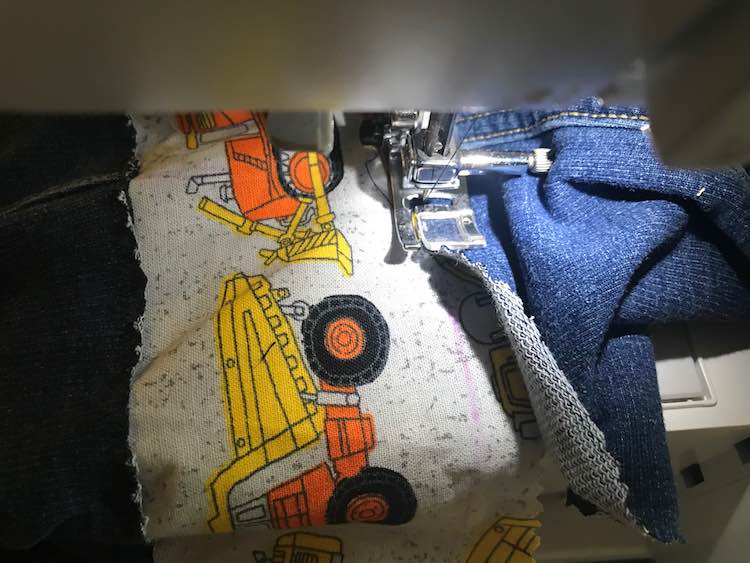
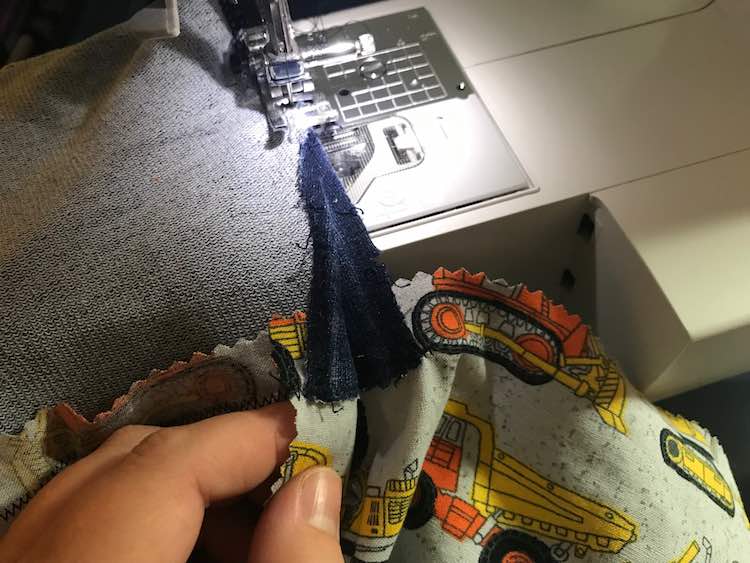
Instead I continued by adding the bottom of the jeans back on. I started by marking my woven to make sure that the pants wouldn’t be mismatched. I ended up measuring the height of the one of the construction vehicles and then went around the fabric marking that same distance so the height of the woven in the pants would be the same height all the way around. I also marked a vertical line down from either edge of the pants and from the unopened seam so I could use those points to line up the pants. To make sure the bottom of the pants were lined up with the top I matched up the seams that I hadn’t ripped that were right in the middle of the flattened pant leg. For these jeans the seam pointed the opposite way if you matched the left leg with the right leg, or vice versa, so I knew for sure I was matching the proper legs together. After lining up the seams I started sewing by going over that seam and continued sewing going outward (or from the center of the flattened pants going towards the edge). After I sewed down that side of the pants I then flipped the pants around, centered the pants overlapping the original seam going in the other direction, sewed over the seam again so there’d be a bit of overlap, and then continued sewing to the other end of the jeans. While sewing the bottom leg on lined up the two fabrics by making sure the jeans were just covering the marks on the woven and allowing it to go too high or too low.
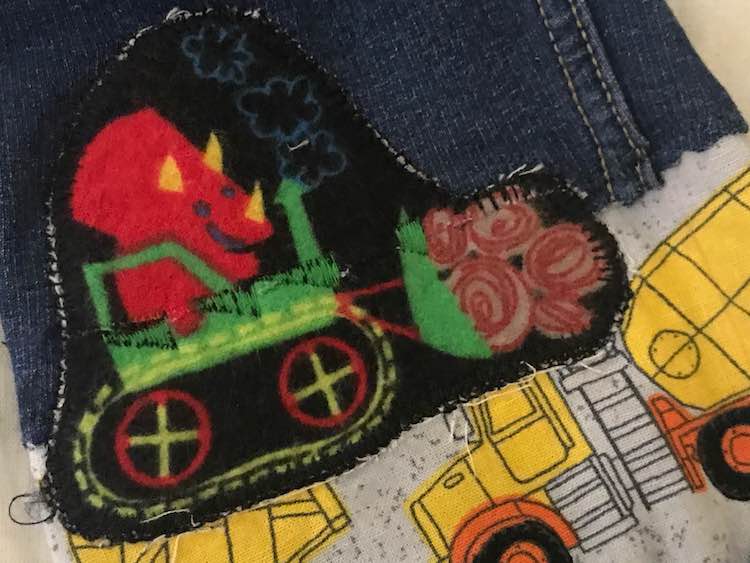
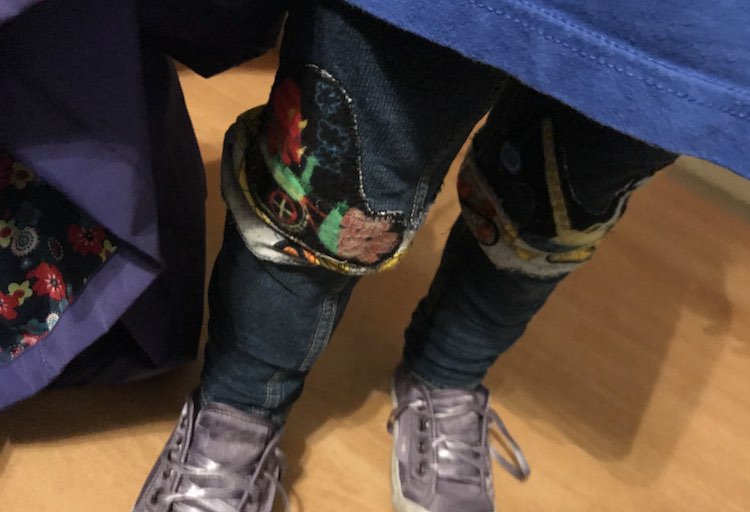
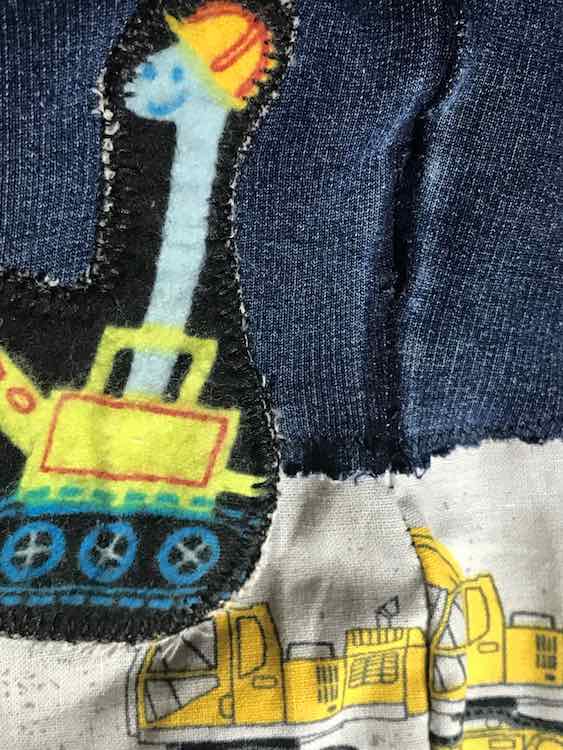
I then consulted my photo from when Ada showed me which dinosaur patch I should put on which knee, figured out where on the knee they should be and at which angle, pinned them in place, and then used a blanket stitch to go along the edges of the dinosaurs while being careful not to sew into any of my folded over jeans.
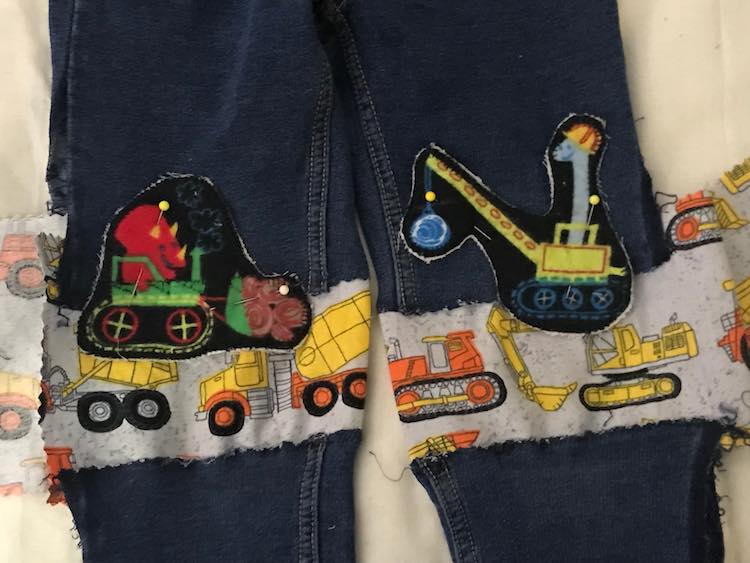
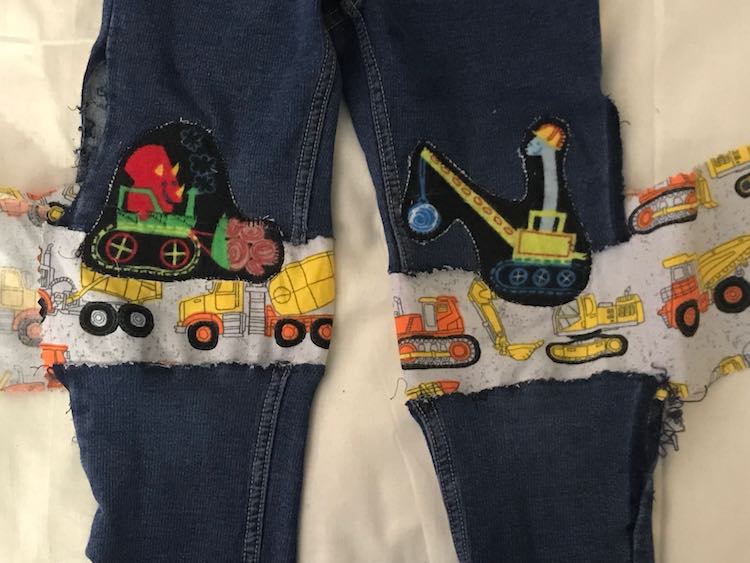
Your alterations are now complete and you just have to sew the jeans back up. I put the jeans inside out, overlapped the original stitching, and zigzagged down the side of the jeans. As I went I made sure to line up the jeans by matching up the top and then the bottom of the woven extension. After you sew the first leg closed I then confirmed it looked okay by putting it right side out and tugging at the seam. Once you’re done go onto the next leg, close it up, and confirm. When you’re absolutely sure you’re done trim the excess fabric and put it right side out.
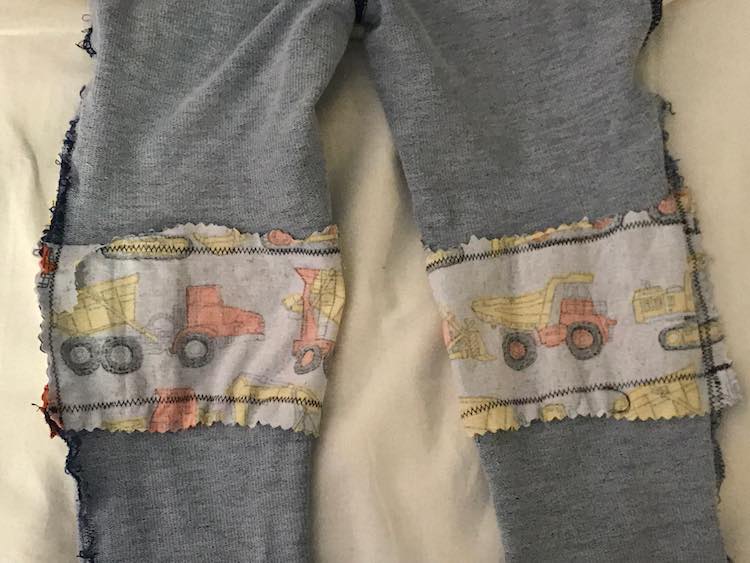
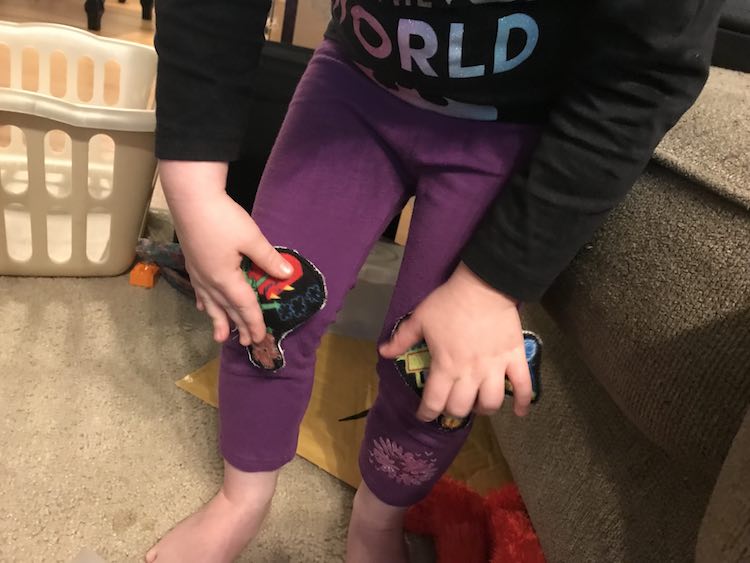
And marvel at the finished jeans.
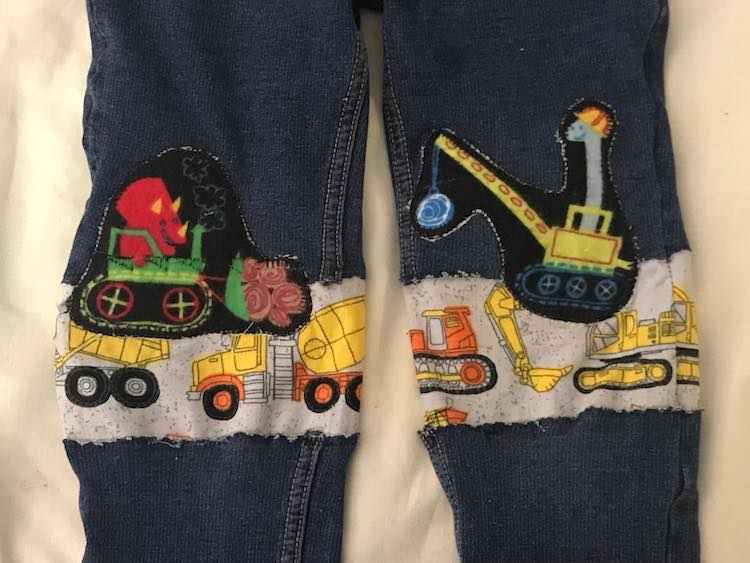
And here is my (only) something green on the jeans for this week’s 52 Week Sewing Challenge. It happens to have decorative green stitching added too that you can read about in my previous post: Creating a Patch from Fabric Remnants.
Done!
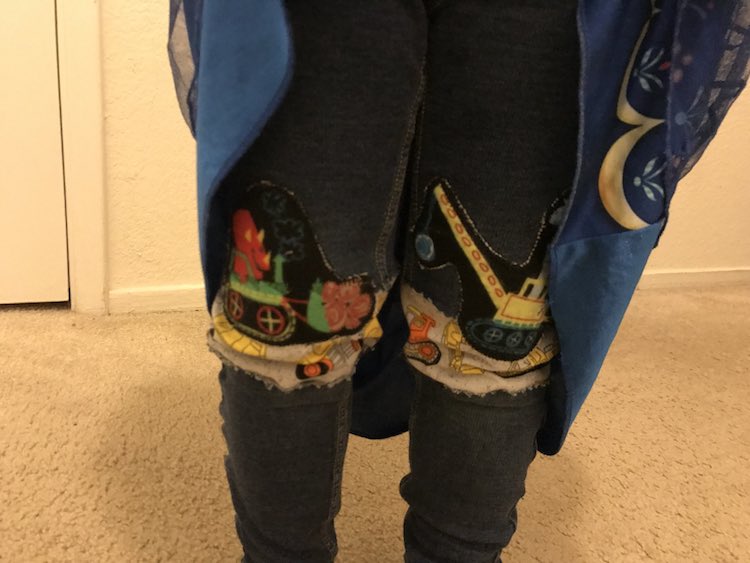
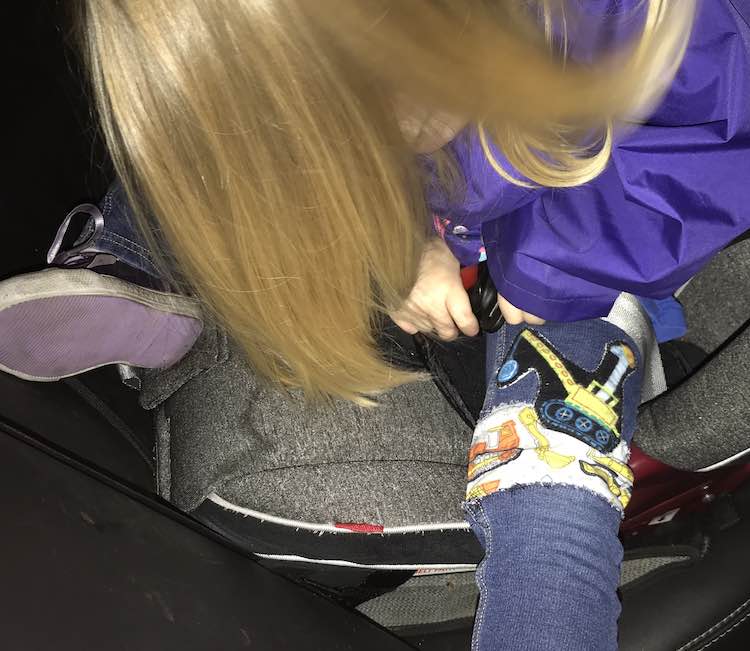
Ready to try on and enjoy.
Some mistakes I came across… or what I’d do differently next time
- When I first sewed the bottom of the pant leg on I started sewing on the edge going across instead of from the center. By the time I got to the center of the leg I realized the inseams didn’t match up. At first I thought the top pant leg stretched more than the bottom of the pant leg so I decided to rip the seam out and started sewing from the center of the leg working my way outward like I described above. While lining up the inseam before sewing it I realized the seams on either side of the pants went in different directions so I switched pant bottoms so the seams matched and then sewed them on. When I was finished both legs I saw the cut edge matched each one perfectly and my seam ripped fabric was on either leg so I think my issue was just mismatched legs. I’m wondering if starting from the side would’ve worked the first time if I had matched the proper legs together instead of using mismatched pant legs.
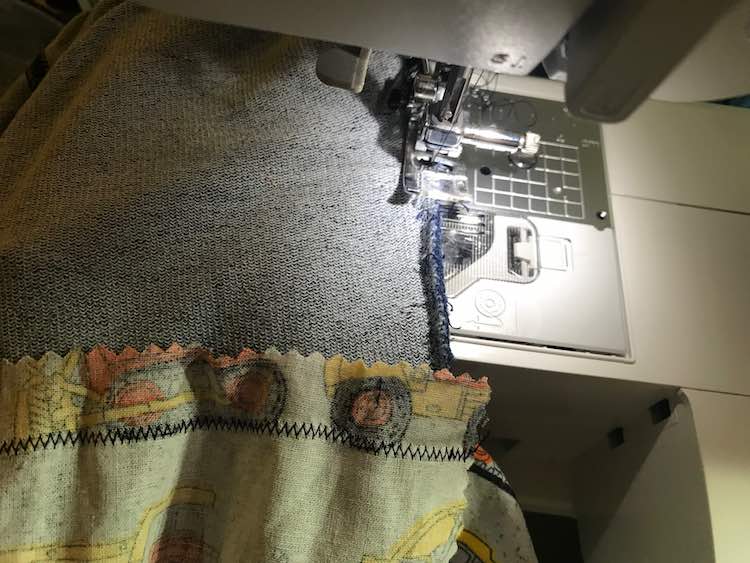
- My other slight mistake was the first pant leg I sewed closed. I used a zigzag stitch along the edge of the fabric and once I put it right side out realized I hadn’t sewn as far inwards as I needed to. I put it inside out again and sewed along the inner side of the old seam so you wouldn’t be able to see inside the ripped seam when it was put right side out.
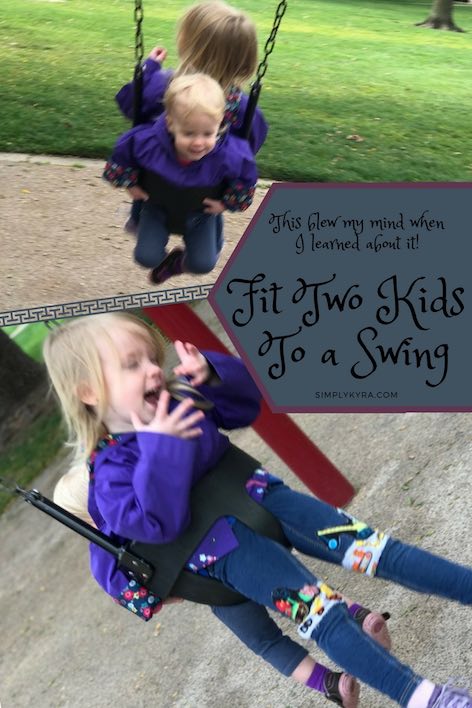
And as a bonus since I have extra photos while trying to get cool knee shots while swinging at the playground… Did you know that you can fit two kids in a baby swing? My friend told me about it and it’s amazing! It works if there’s only one swing free and you have two kids. Also works for two friends that want to swing together. We’ve fit two (newlyish) three year olds together once. For me I put Ada in first (as she’s bigger), get her to put her arms in front of the handles (you may have to tilt the swing towards her and wiggle jiggle her down), and then put Zoey in facing the other direction. I started doing it so much that when I put Zoey in by herself she looks so small and fragile. It’s perfect for keeping your littler one upright as long as your bigger one doesn’t force her body forward by pushing back.
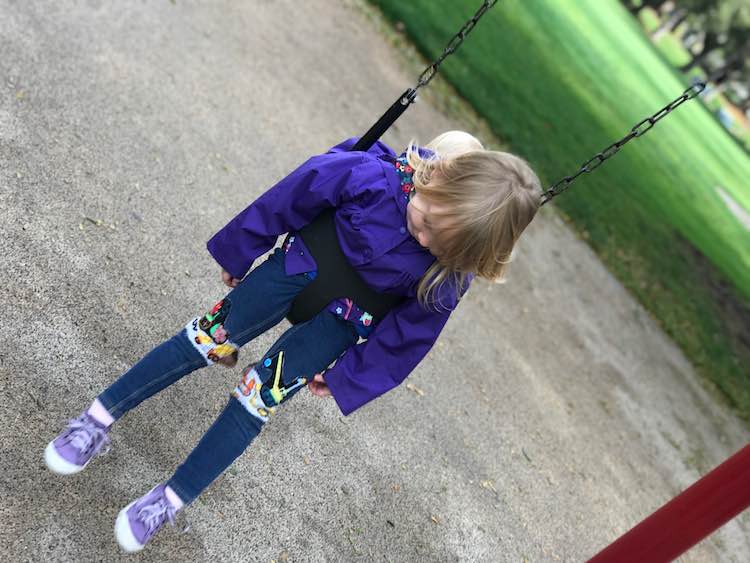
I would love to see what you decide to add to your pants. I thought it would be harder than it was, but I’m so glad I tried it. I’m also curious… did you know about the swing hack? I can’t believe it’s not shouted from the rooftop!
Feel free to share in the comments below, through a post on my Facebook page, or by tagging me through Instagram. I’d love to hear from you.
Happy Saint Patrick’s Day.

