

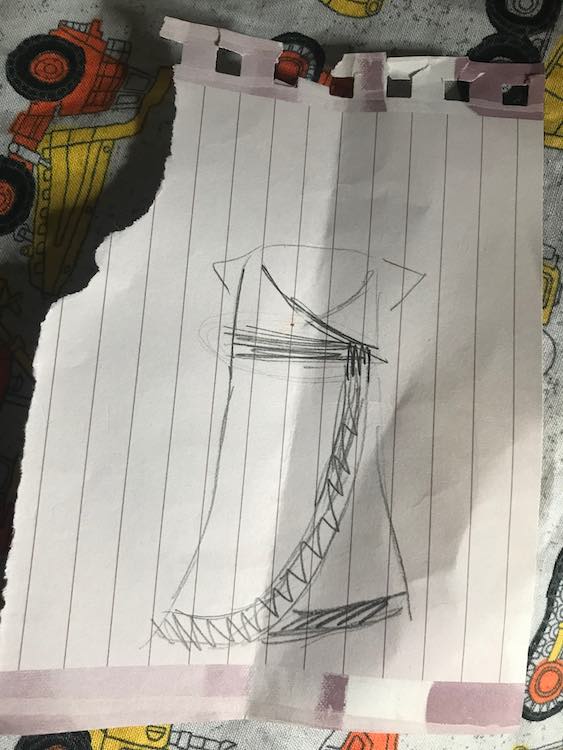
Bubblegum Dresses and My First Attempt at Color Blocking

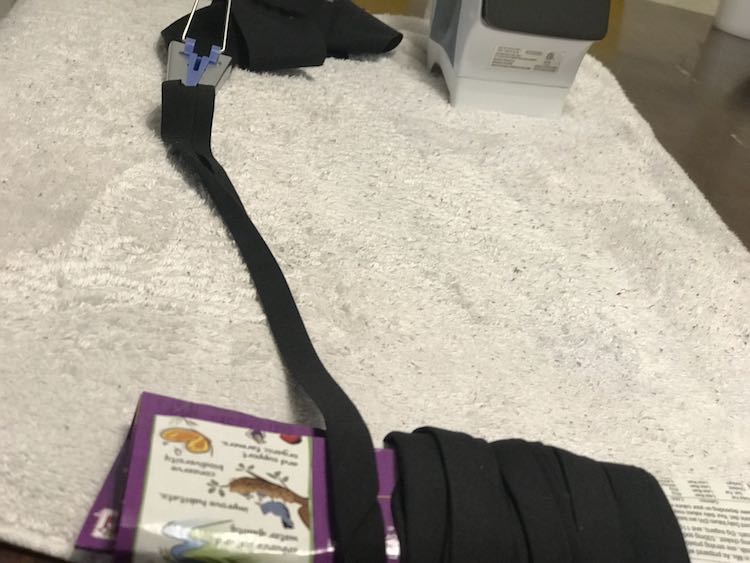
When I heard about the Bubblegum dress sew-a-long hosted through the Candy Castle Patterns Facebook group I jumped on it. I hadn’t actually participated in a sew-a-long before… though I have joined a couple just to see the colors but this was my first time keeping up. I loved the Candy Castle peppermint swirl dresses, I’d bought the soda pop shirt (at this point I hadn’t started it yet), loved how instructive the other pattern’s directions were, and there was a discount through the group for the dress pattern. The best part was I had just bought a bias tape maker the last week and the bias tape version of the dress called for about 5 yards. I had bought a small package of bias tape to try out before, and hadn’t had a chance, but I didn’t have 5 yards on me so this became the perfect time to try out the maker.
Materials
- The bubblegum dress pattern
- Bias tape, I made my own with a bias tape maker, or you can do a hemmed dress
- Fabric – woven or knit… endless possibilities
- Sewing machine
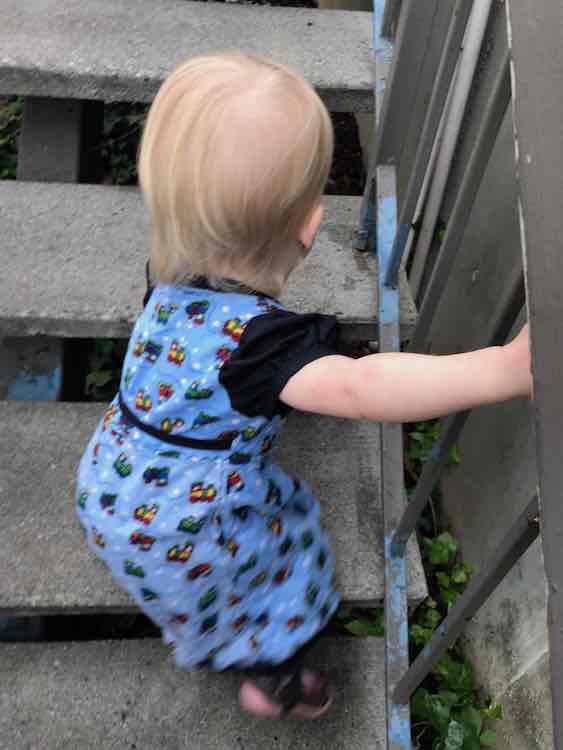
Zoey’s Dress
For my first bubblegum dress I followed the schedule through the sew-a-long. I loved seeing what everyone else did and seeing the many color possibilities along with the colorful bias tape people matched to their dresses. I also started making a point of sewing during Zoey’s nap, since each section was so small, and then letting Ada decide what to do for the rest of naptime. I loved this and have tried to continue to do a bit of sewing (or sewing prep) during Zoey’s nap since.
After choosing my fabric I decided to go with black bias tape as I already had the cotton fabric on hand and it complemented the dress. I was able to get enough bias tape from, almost, one session for both dresses and still have more left over. If you want to see a video on how to make your own double fold bias tape I watched MADEeveryday’s tutorial before beginning; though afterwards I came across her technique if you want to try to save as much fabric as possible. Basically I cut stripes of fabric on a 45 degree angle, place them 90 degrees overtop of each other and sew them together (angled) to get one long stripe, cut the tip of the stripe at an angle to easily get it into the bias tape maker, pull the bias tape maker along while ironing the folds (this is single fold bias tape), fold it over so the first folds are in the inside, iron it again, and then wrap it around something (I used an empty Annie’s mac and cheese box) so it’s secure. I can’t wait to make really pretty bias tape with this technique… though my technique and ironing session over a towel may have heated the table a bit too much… but it’s all good as the white marks are disappearing!
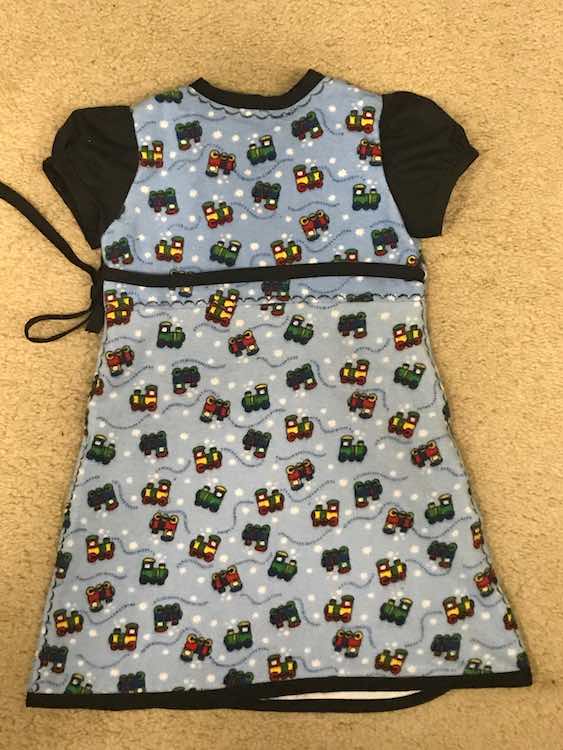
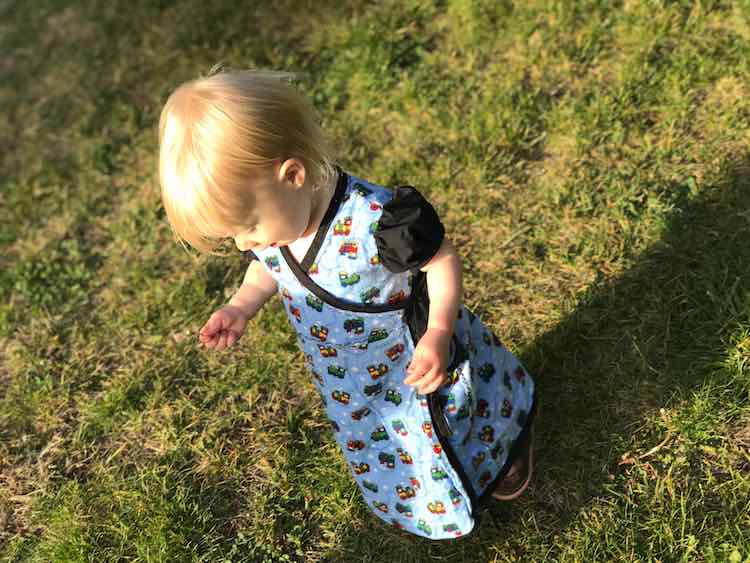
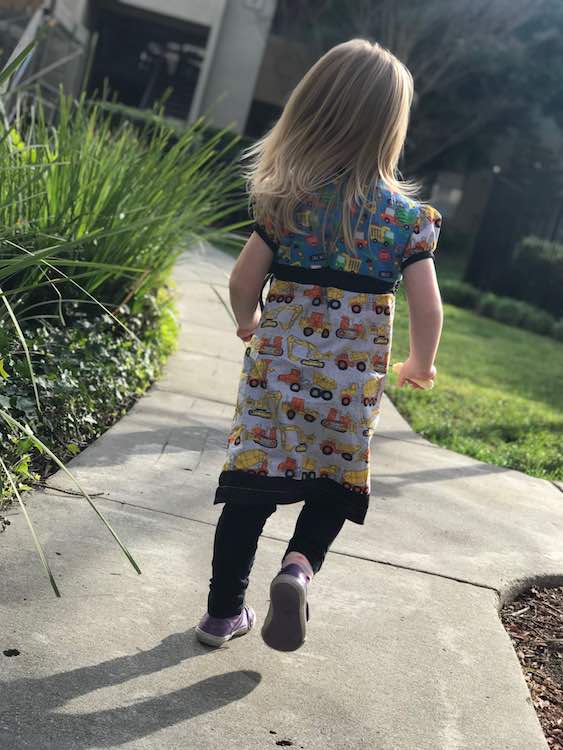
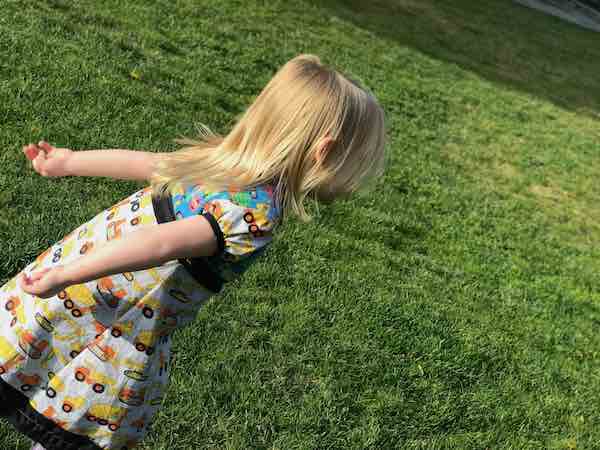
This sew-a-long took place right as we were getting colds. Luckily Zoey’s small enough I was able to shop through my stashed fabric and I settled on using my train remnants I bought from Joanns which meant that we didn’t have to leave the house. I had two remnants, but unfortunately the second remnant bundle was lighter than the first. While cutting the pattern pieces I had almost enough fabric, but not quite so the back skirt panel ended up being lighter than the rest of the dress. This ended up working out as I decided to frame the back panel, because of the color difference, with a decorative scalloped stitch and ended up continuing the stitching by topstitching the seam between the skirt and bodice along with along the top of the bodice. I love the effect the extra black stitching added to the dress when paired with the matching bias tape and black sleeves. I ended up making an 2T size dress and found it long on Zoey but it’s wearable now and with the wrap component on the bodice I’m guessing Zoey will be able to wear this dress for a while.


Ada’s Color Blocked Dress
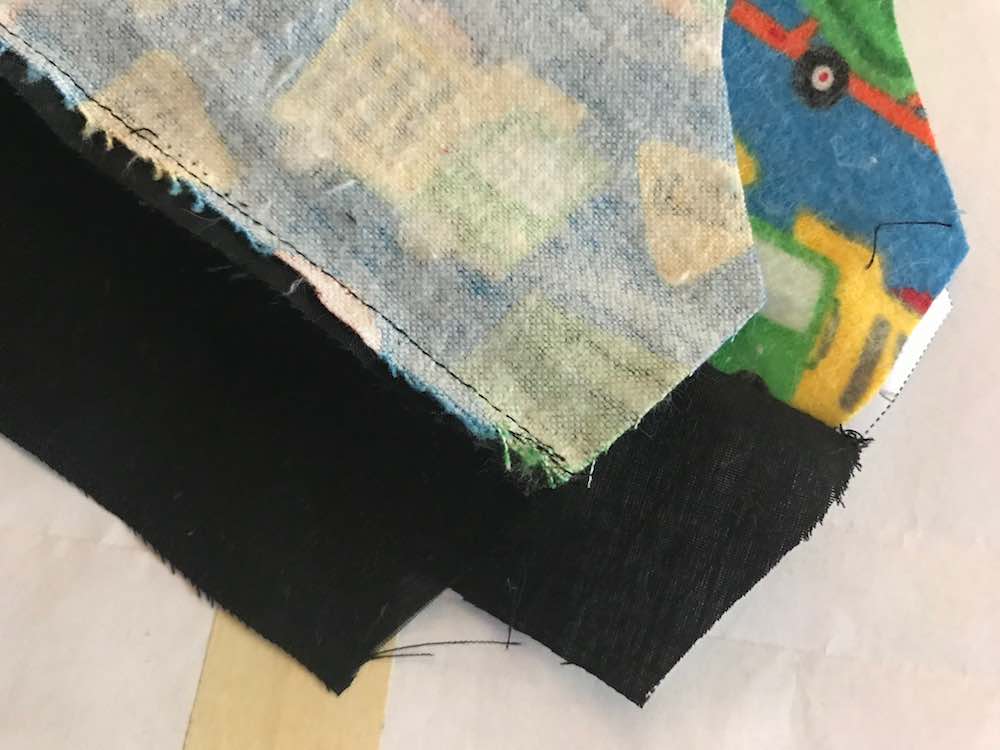
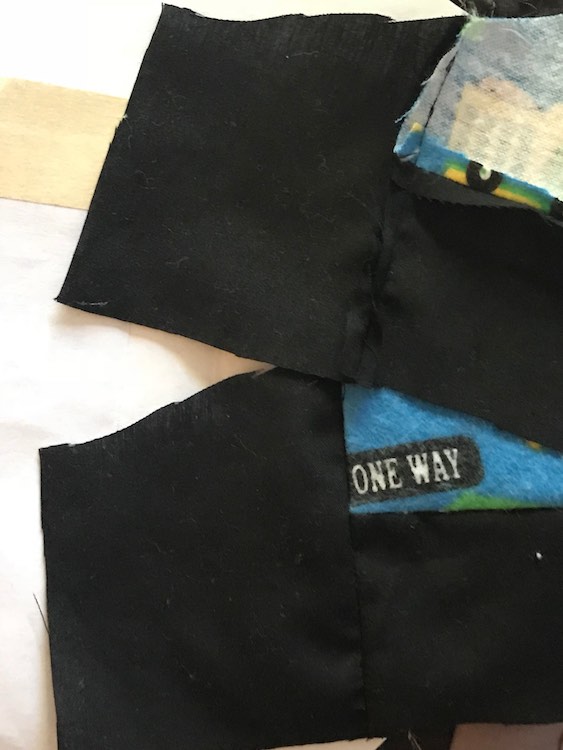
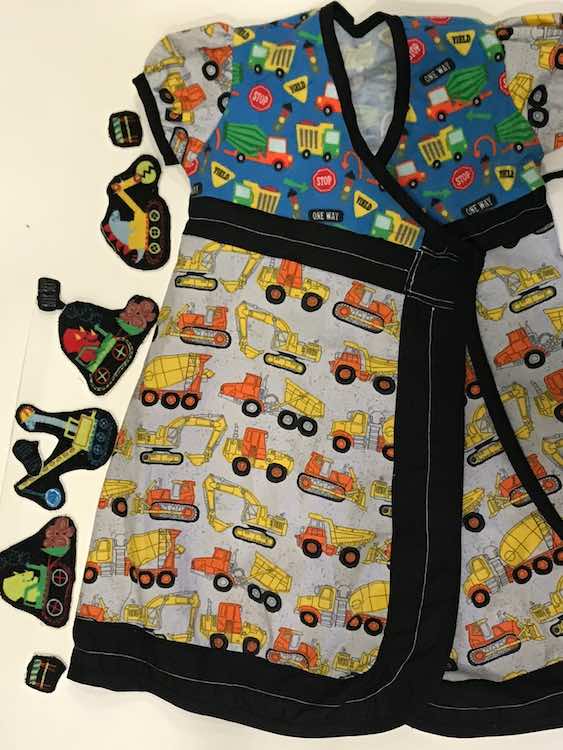
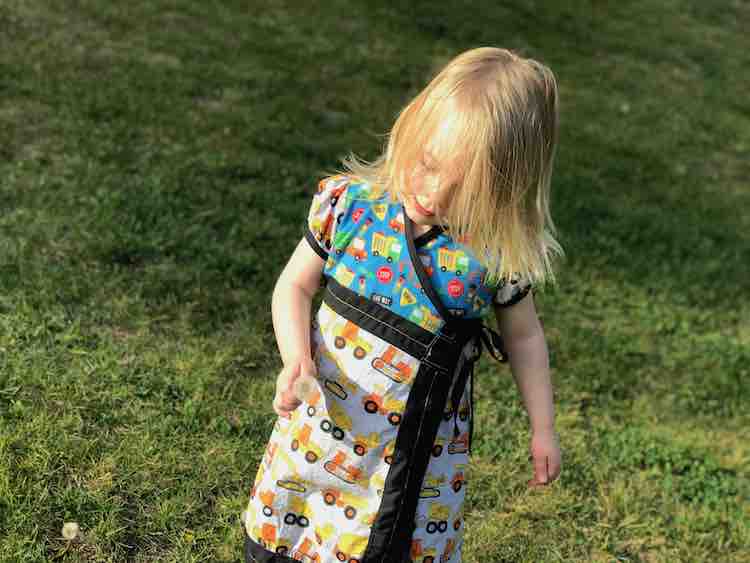
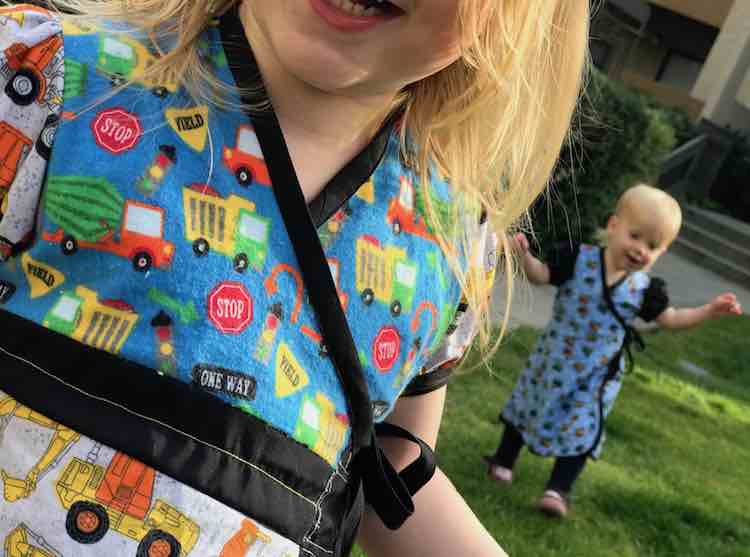
This week’s challenge for the 52 Week Sewing Challenge I’m a part of on Facebook is to use color blocking. I decided to do the bubblegum dress since I had recently made Zoey’s dress. Originally I was thinking about doing sections of fabric going down the dress at an angle, but once I started thinking I realized I really wanted to add a road to the dress and maybe Ada could drive cars along it. After I came up with a fuzzy plan I brought out all the vehicle fabric we owned and talked over the plan with Ada; while drawing out the simplified design so she’d understand where the road would go. She ended up choosing the blue flannel construction vehicles for the top, her woven construction vehicles at the bottom, was disappointed we didn’t have enough of the dinosaur construction vehicles, and then got tired of deciding so I was supposed to ‘surprise’ her with the fabric choice for the sleeves. I had enough of the blue flannel to stretch the entire width of the three bodice pattern pieces but my fabric was too short so it was a simple decision to add the black woven fabric to the bottom of the bodice pieces instead of the top of the skirt pieces. I had also decided to add the black fabric to the bottom and sides of the side skirt panels and to the bottom of the back panel so the road will also go along the bottom of the skirt and up the dress to the edge of the bodice instead of ending abruptly.
Before color blocking I taped and cut my PDF pattern printout as I normally did. I then took the pattern pieces I wanted to color block, marked where I wanted to do the color changes (by measuring 2 1/2″ from the edge of the pattern piece all the way along), marked a 3/8″ seam allowance on either side (also going from the edge of the pattern piece), folded the pattern at both seam allowances (to make the next part easier), and then traced the pattern piece onto wrapping paper to make the new pattern pieces. For each new pattern piece I traced/cut the piece along the furthest seam allowance so when I sewed the pieces together the middle actual line will become the new division. I made sure to mark each new pattern piece with the same information that was on the original piece (name of the piece, the grain line, fold edge) along with the number for the pattern piece (for instance if one pattern piece became three I marked it off as 1 of 3, 2 of 3, and 3 of 3). The front bodice pattern became three pattern pieces as I wanted the road going up the edge and along the base, while the back bodice and skirt pieces only became two with the road add-on.
The next step was to sew the pieces together. I assembled them by sewing the fabric pieces that made up that part together before each pattern piece was used in the directions. If you have more than two pieces for the pattern piece you’ll have to think of what order you want to sew them in. While assembling, I realized I forgot to trim an end off of one of my smaller new paper pattern pieces and the fabric was too large. I ended up centering it, sewing it together, matched it up with the original pattern piece, and then trimmed off the excess. After each pattern piece was sewn together I laid it out over it’s original pattern piece to make sure it ended up the right size. I’m glad I did this as my bodice pieces ended up being too tall so I trimmed off the excess from the bottom (the road) while my skirt panels ended up the perfect size; because of this the road is slightly skinnier along the top and wider along the sides and skirt… let’s just call them different types of roads.
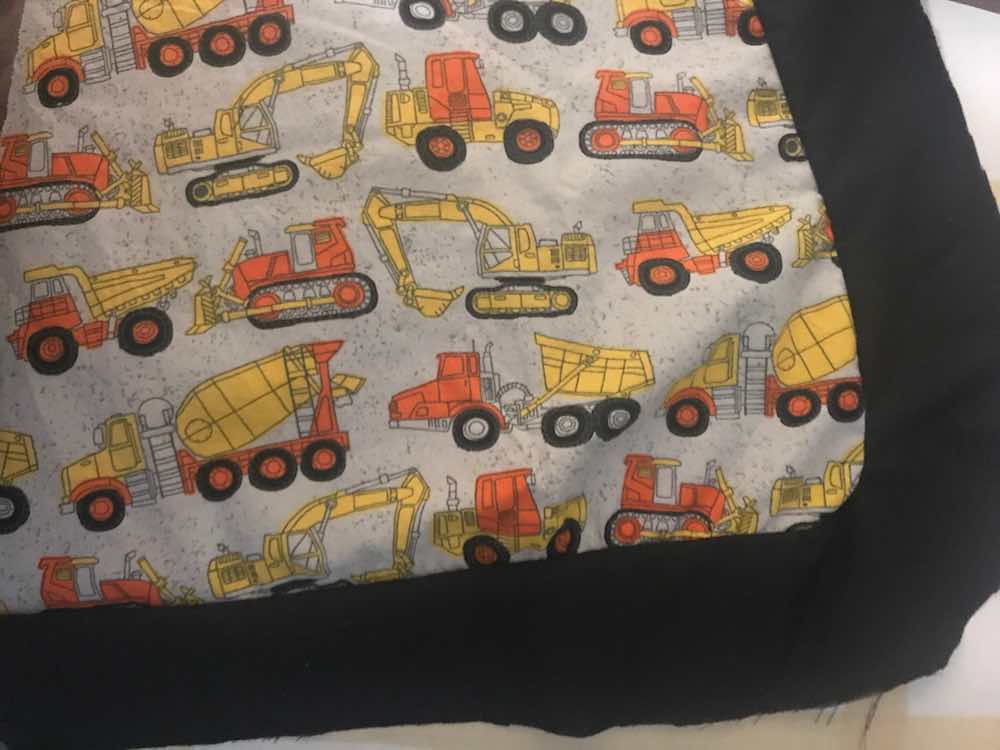
The skirt was the hardest to do as it was on a curve. When I made the pattern piece I kept measuring from the edge of the paper pattern and continued measuring all the way along the bottom, the curve, and the side of the skirt marking every couple inches along the bottom and side while I measured, at least, every 1/4″ along the curve. I went over it once for the finished width of the road I wanted (2 1/2″) and twice for the 3/8″ seam allowance (2 1/8″ and 2 7/8″). I then traced the pattern piece onto the wrapping paper. For the first skirt piece I cut along the edge of the regular pattern piece for the two straight unblocked sides and then cut along the 2 1/8″ marking for the other two sides. The second skirt piece (the black fabric) went from the color blocked edge of the pattern piece to the 2 7/8″ marking. I then went on to cut out the fabric using my altered pattern pieces.
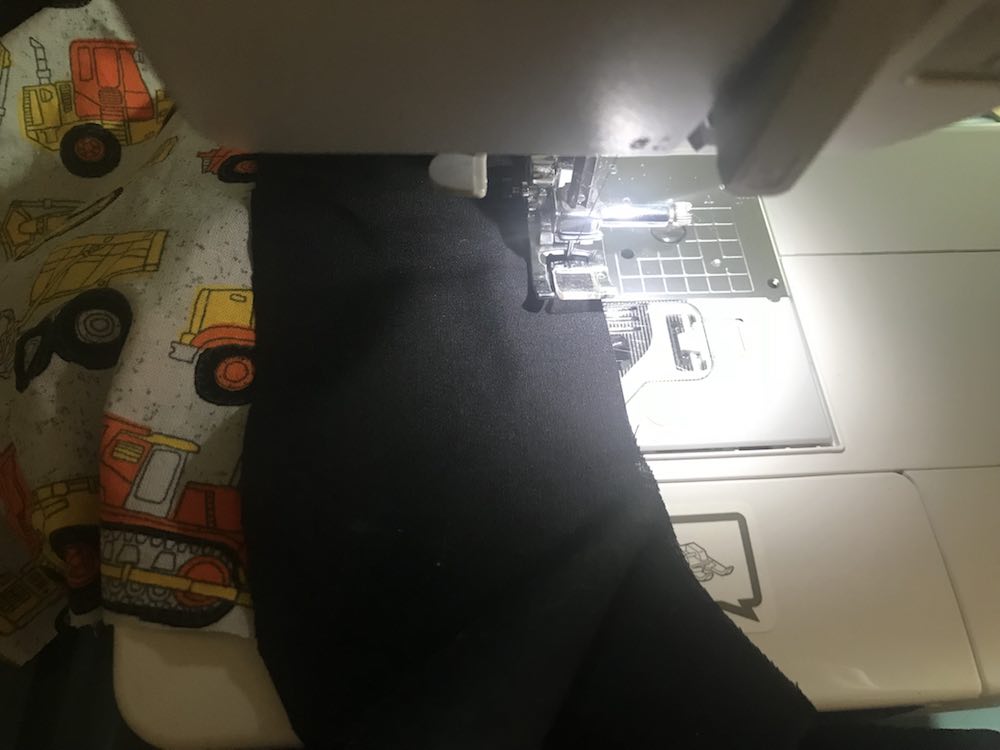
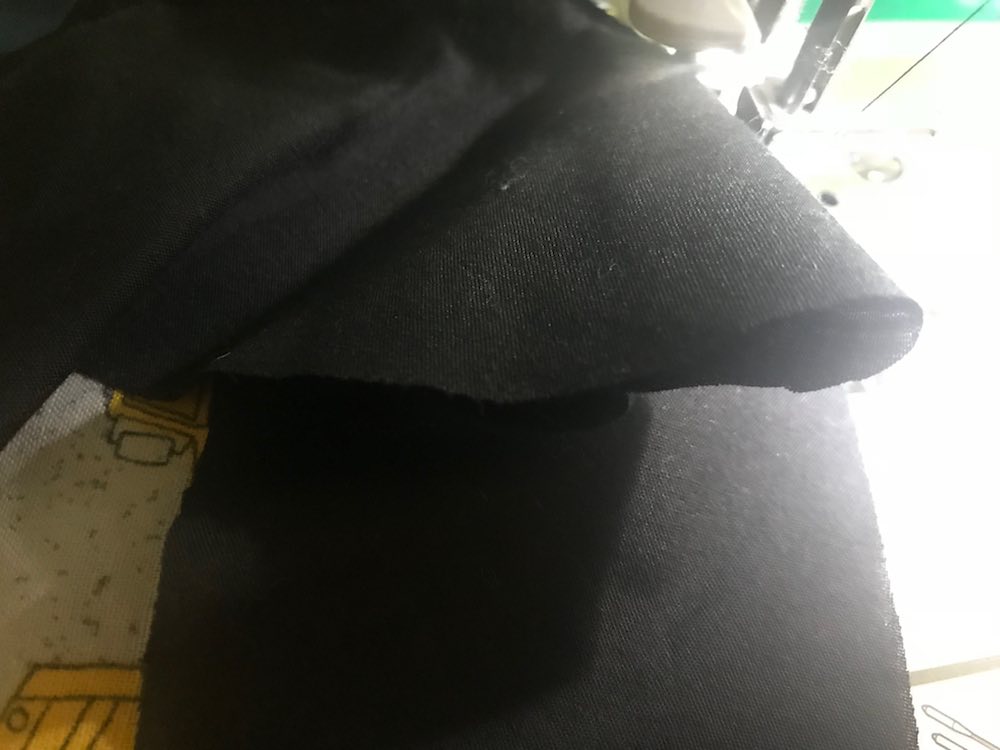
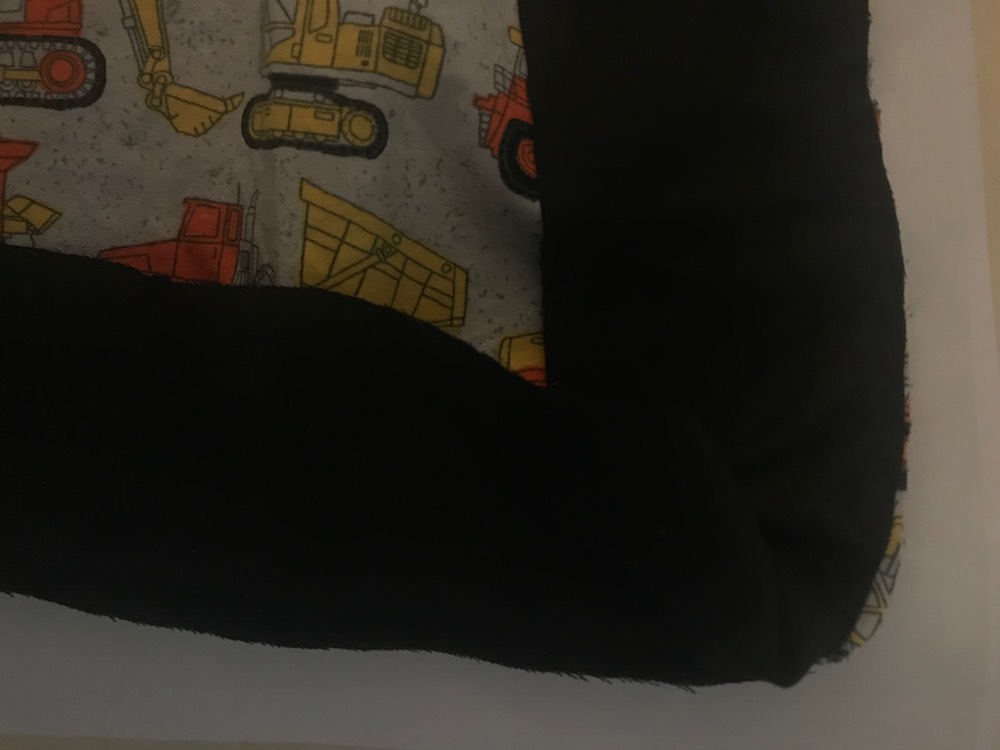
Before I could assemble the skirt according to the directions I had to sew the black fabric onto the main construction vehicle fabric to get the original pattern piece size. When I went to sew it the black fabric went in a completely different direction from the panel (a more extreme version of the really fun peppermint swirl skirt). Because of this these pieces were the only ones I ended up not pinning; instead I started at the top, lined it up, sewed, and every couple of inches I stopped to line it up before continuing. When I got to the corner I only went a little bit before lining it up each time so it was slower going. As I went, the black bunched up beside, but I kept lining it up and continuing.
Once I got around the corner I noticed I had more fabric remaining for the construction vehicles than I had for the black road. I ended up holding both corners of the two fabrics together, pulled the black taunt, and trusted the feed dogs to gather the construction vehicles enough so that the two fabrics ended up being equal in length. When I went around the other side of the skirt I had the same issue with their being more construction vehicle fabric left than black. I ended up back stitching, cutting my thread, and flipping the skirt around so I could finish on the more awkward side but with the construction vehicles down. Both times it worked and if you look close you can see small gather points. I heard about this trick through the Sewing Out Loud podcast where they said to keep the baggy side down (I just started listening through the Overcast app on my phone).

By then all the color blocked pattern pieces were made and I continued with the pattern’s directions to finish the dress. Right before you add the bias tape they mention to add all your embellishments. At that point I sewed crosswalks into the two intersections with white thread and then went down the center of all the roads with yellow. For the intersections I tried to topstitch over the seams or in the seam’s ditch if there was a seam there; otherwise, I added the two rows of stitches in a similar placed spot as the other ones. I then added the bias tape and was going to finish by adding some dinosaurs riding construction vehicles to the roads (that I spent a night adding interfacing to and stitching), but I ended up giving Ada the choice and she didn’t want to include them.


Tips and Tricks
- When I was taping and cutting my pattern for the first dress I tried to distract/occupy Ada by giving her paper, all the stripes while I cut them, scissors, and some tape. It didn’t work as well as I’d hope, even after making a popup, but after Zoey woke from her nap she climbed up and started playing with the paper so it ended up distracting both of them together longer than Ada alone.

- The sewing machine is in my bedroom so since the sew-a-long (where it was sectioned into small tasks) I started giving Ada toys that only live in the bedroom to distract her with on the bed while I sewed. Sometimes she plays for a bit, sometimes she asks for the iPad, sometimes she keeps switching toys, and sometimes she comes and helps me with the pins and watches me sew. Last weekend I went to Target so she’s currently on a small plastic jar of dinosaurs and wooden lacing spaceships.
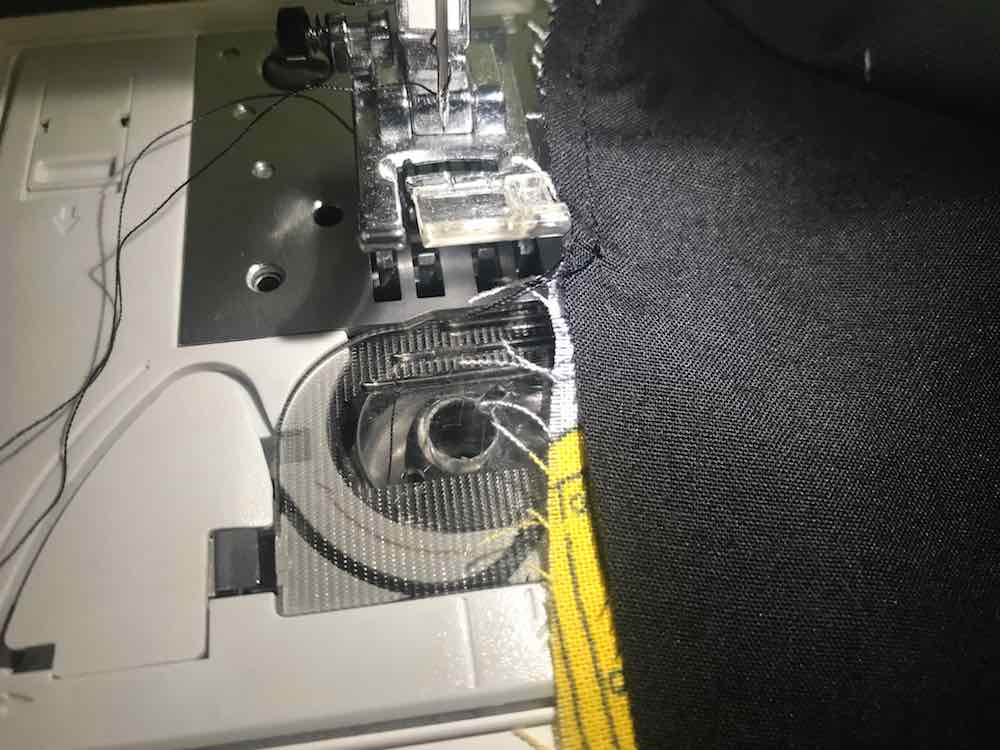
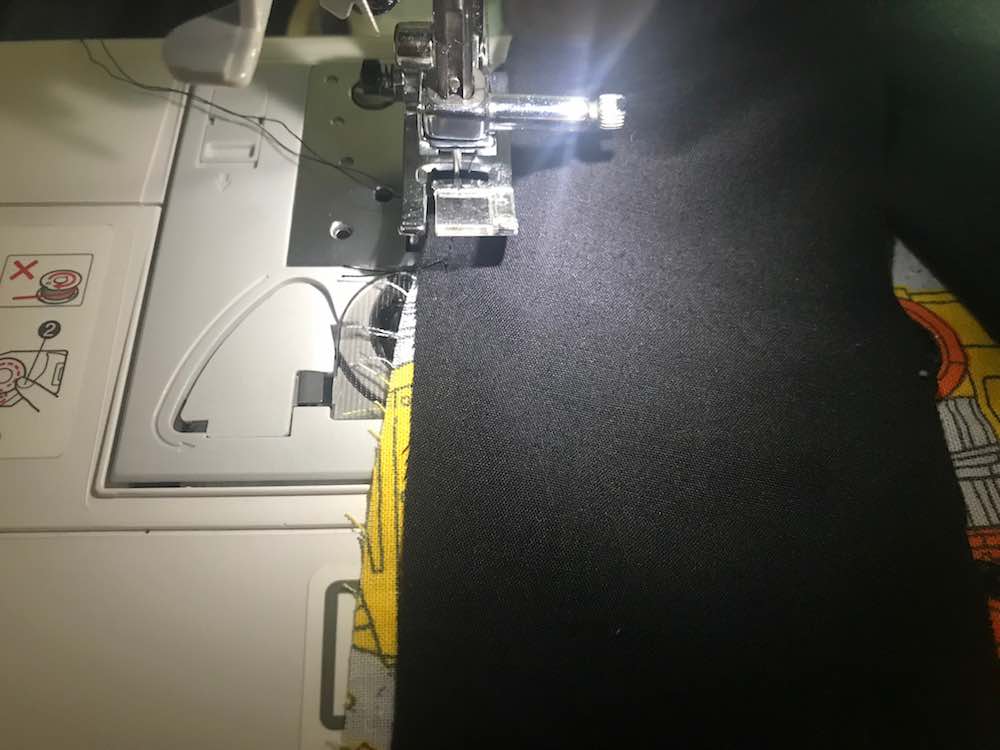
- For the first bubblegum dress, and before, whenever the sewing machine tried to eat my fabric I’d put a piece of tissue paper underneath. Since then I heard on a Youtube video that the tissue paper might make an even bigger mess if it’s eaten. For Ada’s dress whenever the machine tried to eat my fabric I then started sewing the seam a couple inches into where I wanted to sew, finishing it up, returning to where I started, overlapping it, and finishing the seam going the other way. The excess fabric behind the sewing foot makes it easier to get going and if, by chance, your machine tries to eat it you have something to grab onto and pull to make it go. I’ve also heard you can tear away embroidery interfacing though I haven’t tried it yet.

- The fabric seemed to try to bunch up along where I color blocked the skirt. I ended up deciding to topstitch it down with a zigzag while slightly pulling the black fabric away from the seam to flatten it. You can’t even see the zigzag stitch unless you look close and the seam feels much better. Like before I started to stitch it a couple of inches in and went back to complete the stitching after I finished the first bit.

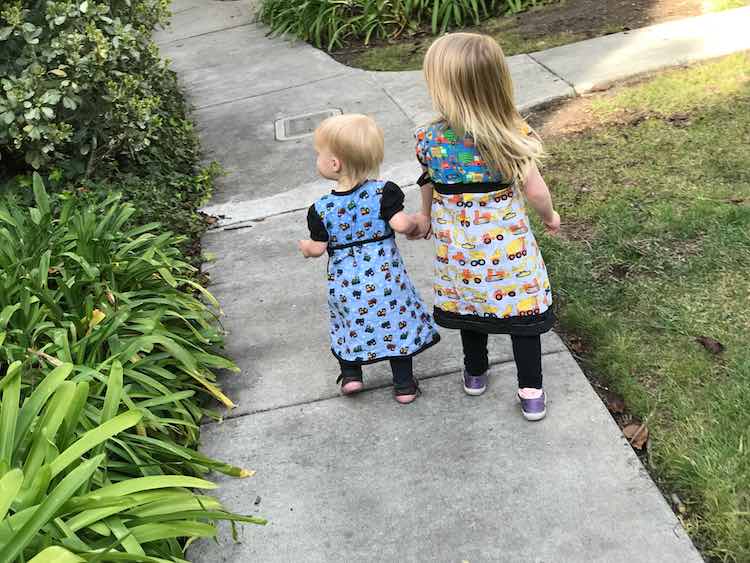
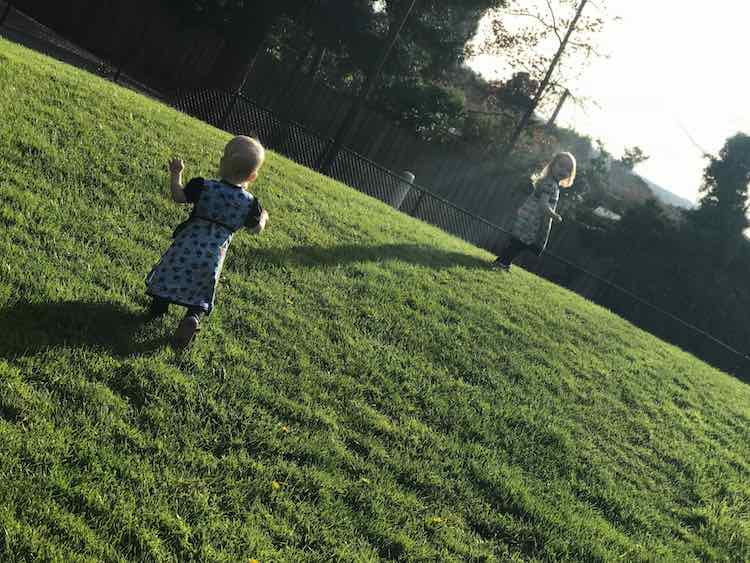
And you have two finished, slightly matching, dresses for the vehicle-obsessed sisters!


I would love to see your bubblegum dresses and how you incorporate color blocking. It’s fun! I can see doing angled vertical patches of fabric that match going from the skirt to the bodice. That might be my next one for the girls; we’ll see. Feel free to post what you did in the comments below, through a post on my Facebook page, or by tagging me through Instagram.
Did this save you time?