
Simple Ways We Got Our Backpacks School Worthy

With school approaching it was time to set the girls’ backpacks up. Here’s what we did. Maybe it can also help you prepare for your own year.
At the end of last year’s school year I had the girls empty out their backpacks and then I removed all of the extra ties and toys before running them all through our washing machine. I used a mesh laundry bag for all the loose small parts and later hung the backpacks up to dry so they wouldn’t get damaged. After returning the keychain stuffies to the girls I set aside the backpacks so they’d all be ready and waiting to go for the end of the summer.
Add-Ons
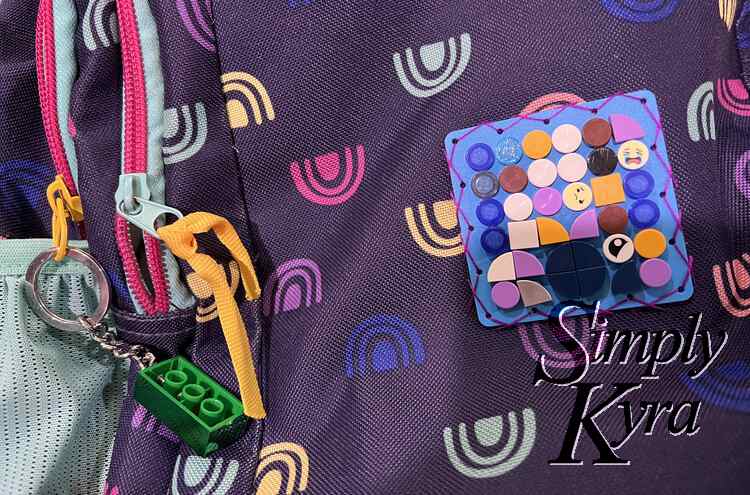
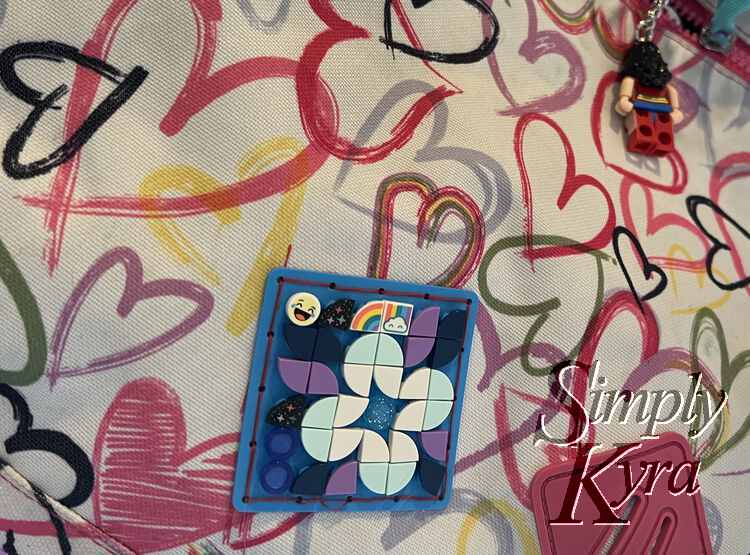
LEGO®
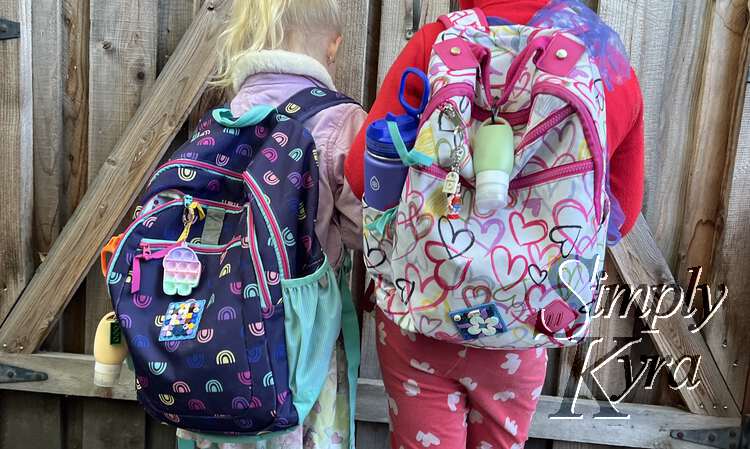
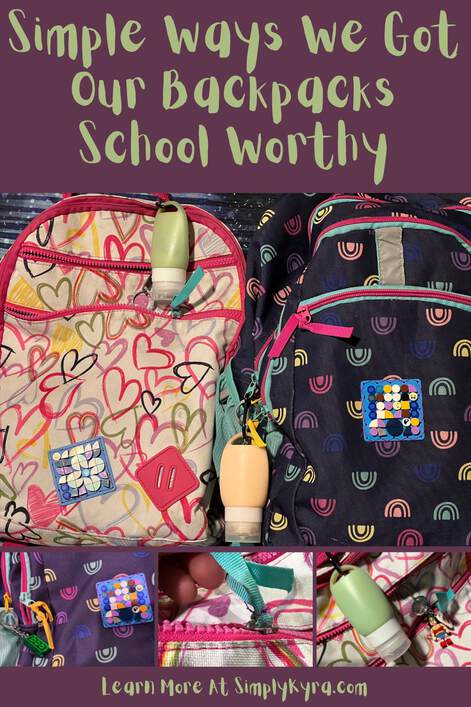
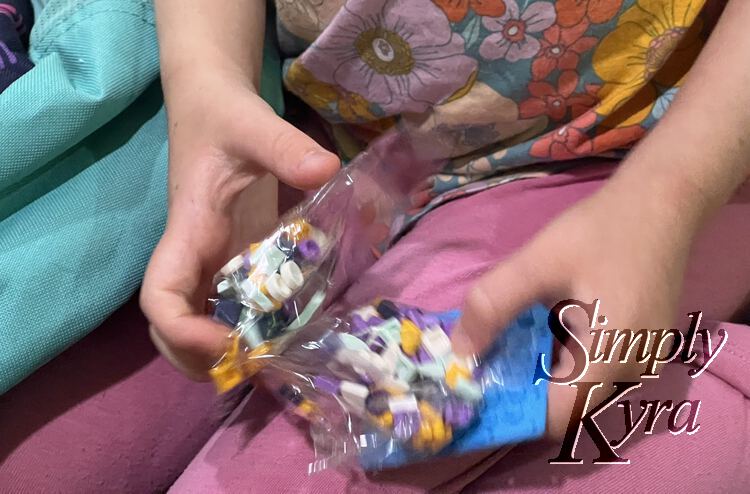
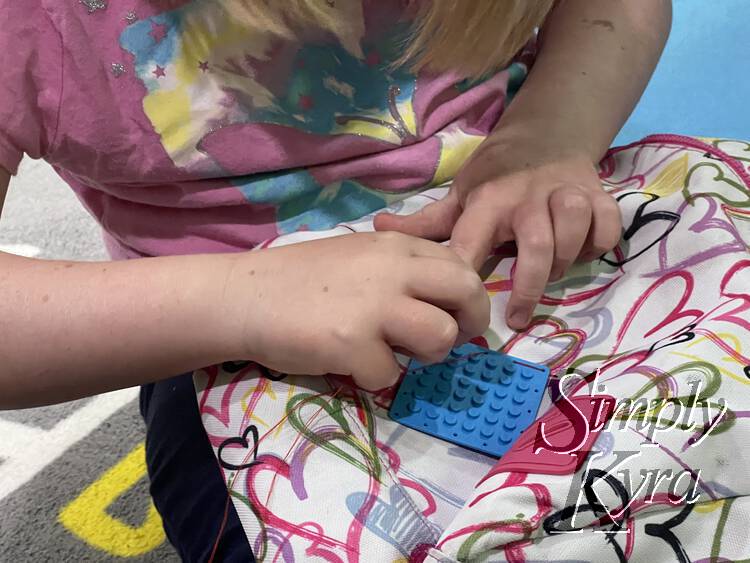
When Ada entered kindergarten she quickly realized she could add keychain toys to her backpack. She then went through all of our stuffed animals and put the three small animals she did find onto her backpack. Last year, when Zoey started school, I made the girls pick their favorite toy (we somehow still had the same three) and then added a LEGO® keychain to each. Over this last summer they each chose another LEGO® keychain but I also came across some sew-on LEGO® patches from Target that I decided to surprise the kids with too. They loved them! Especially once they realized they also got to chose which thread color, where the patch should go, and in what pattern it should be sewn on. Ada had fun stitching hers on and then had me take over while Zoey didn’t want to try. They both adored looking through their LEGO® Dots to further customize their patch. Going forward I’m curious if the patches will stay the same all year round or whether they will get updated and how often this might happen.
Writing this up I just realized that the girls haven’t gone looking for their old stuffies so right now their backpacks are just adorned with their new LEGO® items. That said, for fun decorations, any keychain works. Since starting this post the girls were gifted with mini popping fidget keychain toys and they requested it on their backpack too.
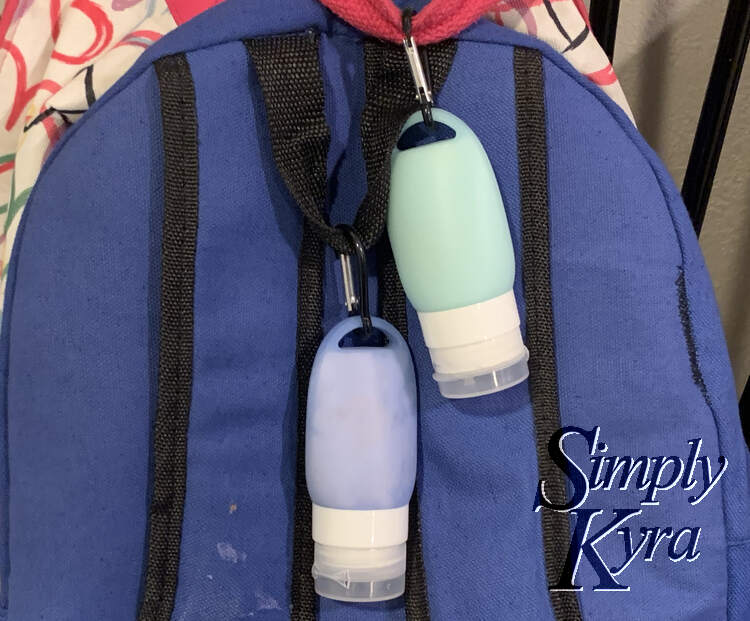
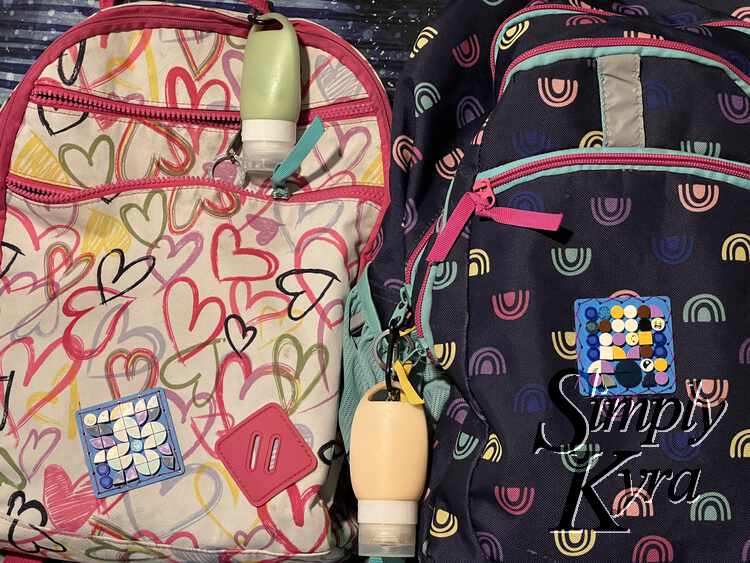
Sun Screen Lotion
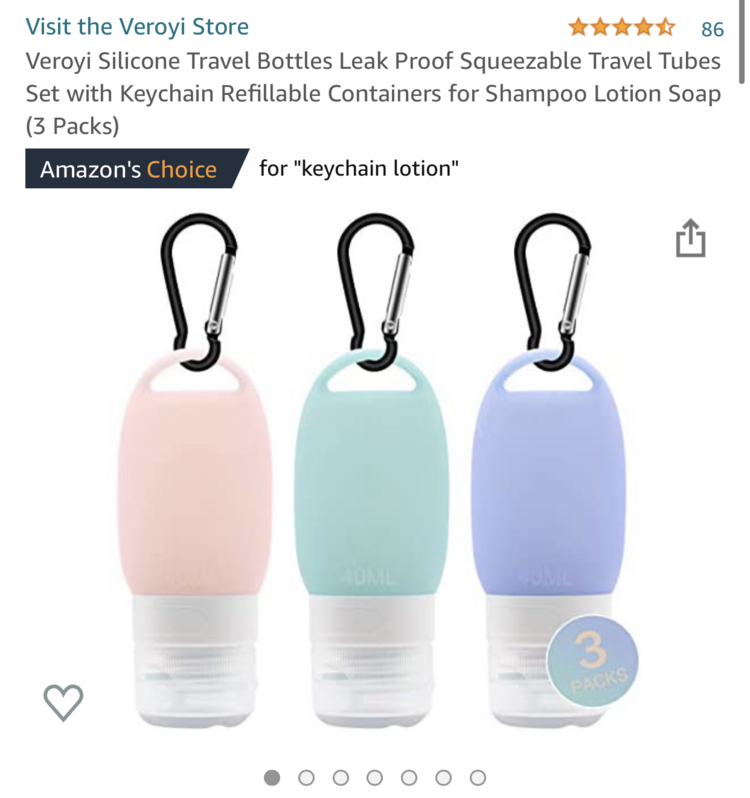
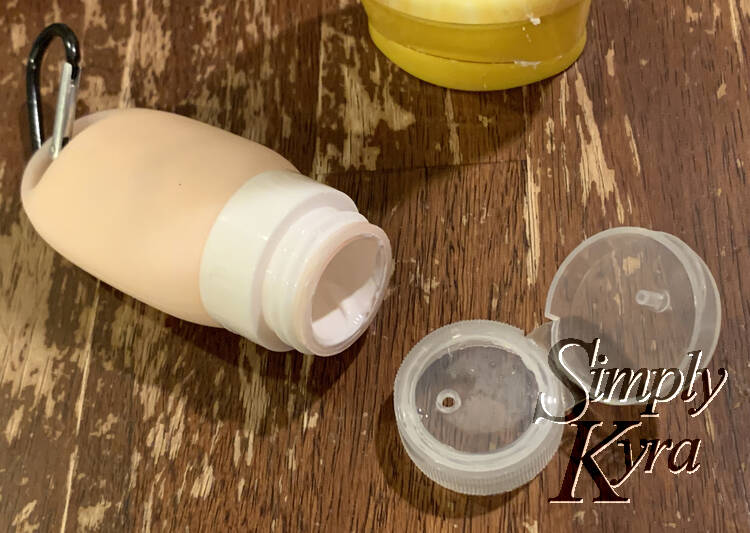
Back before COVID and this whole pandemic we had issues with Ada getting burnt at school so we threw a bottle of sunscreen lotion into her backpack along with a hat and hoped they were used each day. Last year, with both kids in school, we needed an easier option so about a month or two in I found some squeezable silicon travel tubes on keychains and bought the pack of three. I filled two of them with sunscreen lotion and clipped them to their backpacks so the sunscreen would be easier to access and thus hopefully be used more. Over the year we only had one loss. The only negative I had was trying to clean them out at the end of the school year as the sunscreen had expired and I figured I should fill it back up with fresh closer to when school started again. That said it was a small price to pay for easier sunscreen access for the girls plus they were easy to grab and fill when we ended up needing them for summer camp.

Fixing Up the Zipper Pulls
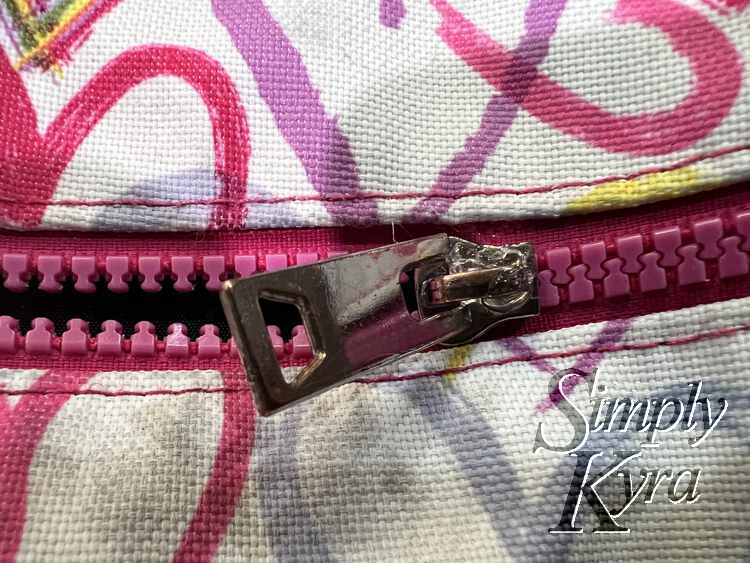
Ada’s backpack is now three years old and over the course of last year she lost two of her three zipper pulls as the zipper pull base itself opened up just enough for the pulls to slip off. As such, for this year, I decided to pull out my hot glue gun to close the hole and make that last zipper pull more secure and, hopefully, last the year. I was careful to not glue the pull itself, so it can still be angled any which way, and reminded Ada to watch the glue bits and let me know if it comes off so I can fix it again. I repeated this glue gun process with each of her pulls so all the extra toys would also be secure. This does mean, looking back, that I can’t add more keychains to the pulls that were completely closed up.
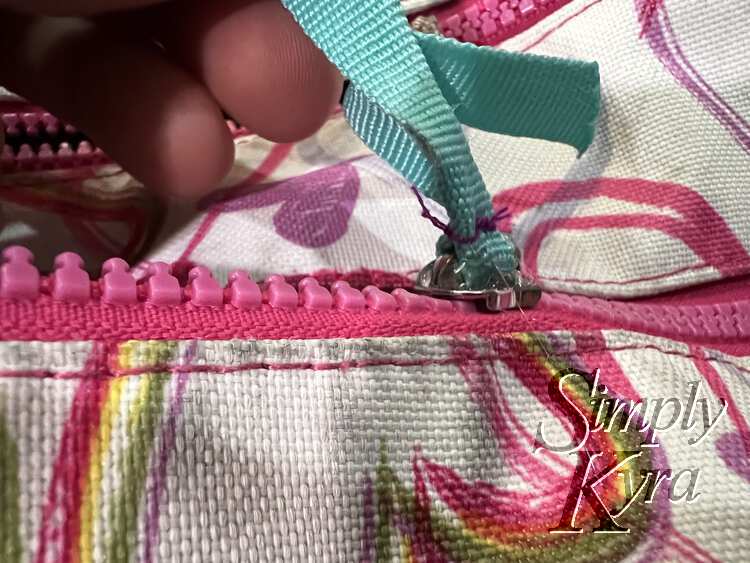
When we bought Zoey’s backpack last year it came with ribbons on each of the zipper pulls that, over the course of the year, kept loosening and falling out. When we cleaned the backpacks I carefully removed the remaining ribbons and used a mesh laundry bag to keep them together in the laundry. While setting up the backpacks this year I gave them back to Zoey and she chose to give two of them to Ada so now both girls have two ribbons each. Like last year Zoey just wanted them knotted on even though I recommending sewing them together so they don’t fall off this time around. Ada agreed to the sewing and after switching to purple thread I carefully threaded the ribbon through her chosen zipper pulls, scrunched them in so they’d fit, sewed them on, and used my hot glue gun so they wouldn’t slip off like the prior pulls.

The Inside
Last year I made a mask command center for my girls so they had agency over which masks they wanted to wear to school and when. It included two zippered clean mask bags and five cinched dirty mask bags as I assumed they’d be switching out masks daily. They didn’t but they did have clean masks on hand for the odd time they did need them so I’m still glad I made it. This year I figured I wanted the option open so I had them grab one zippered bag, choose four masks to go inside, and grab a cinched bag for their backpack.
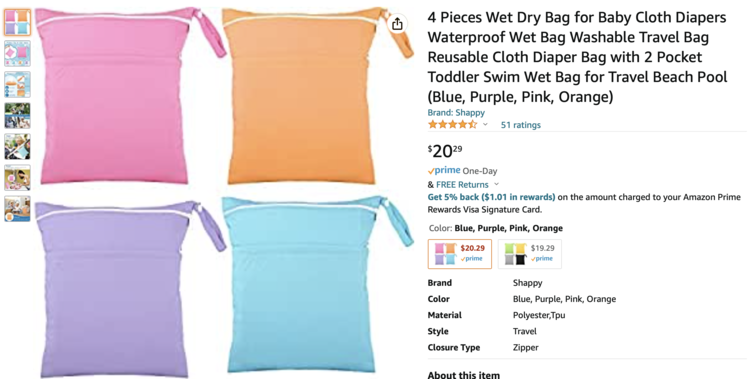
In kindergarten the girls were asked to bring a change of clothing to school just in case. I figure with the heat outside, PE (physical education or gym class), and potential spills at lunch they may still feel comfortable knowing they have a change of clothing on hand. Thus at the beginning of the year and over Christmas break I have them choose a set of clothing they don’t care as much about and we lay it out in a pile and carefully roll it up for school. Throughout the year they can change the clothing out but they never seem to do so hence the not favorite selection. I then use a zippered wet bag, leftover from our cloth diapering days, so it stays clean and secured in the backpack. This way the wet bag can also be used to bring their potentially wet clothing home without worrying about anything in their backpack getting wet. Actually as I type this out I realize how handy these wet bags are and just hopped onto Amazon to buy a four-pack so the kids can choose which bag they want with extras for the beach or pool.
With the clean backpacks festooned with toys, the sunscreen at the ready, and just in case clothing and masks inside the backpacks we are now ready for the first day of school!

Whether you are preparing for a new school year to start or are already within a year I hope this post helps. And if it does feel free to comment how in the comments below. I’d also love to hear any tips for future years!
I hope you’re having an awesome day!
If you’re interested in getting any of my future blog updates I currently come out with a new one every second Wednesday and share them to my Facebook page and Instagram account. You’re also more than welcome to join my email list located right under the search bar or underneath this post.