
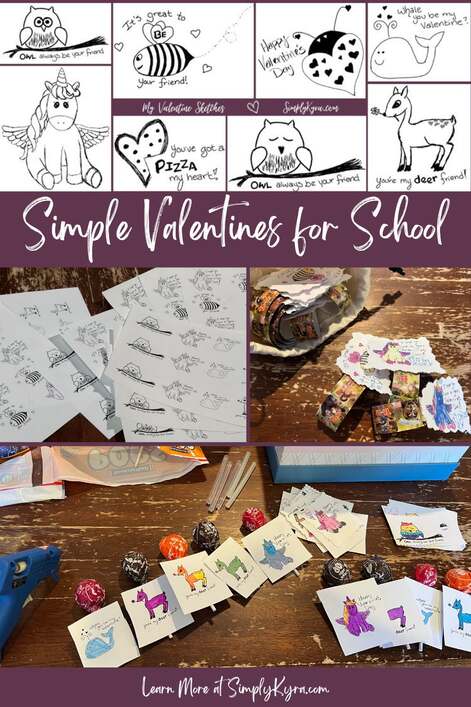
Simple Valentines for School

Last year, as Valentine’s Day approached, I started wondering what to do for the kids’ cards. I remembered the previous year when I took the girls to Walmart where Ada chose scratch art Valentines while Zoey choose Gabby Dollhouse-themed ones. I briefly considered doing the same but hadn’t yet gotten an official headcount from the school, remembered repeatedly calculating box sizes versus class sizes, that the kids changed their minds so many times, and worried the selection in stores would rapidly dwindle by then. I then remembered seeing someone share a simple heart design repeated on paper through Facebook or Instagram and decided to do something similar with my kids. Here’s what we came up with.
Designing the Cards
Before presenting this idea to my kids I wanted to sketch out some potential ideas so they’d know what I meant. Before starting I went online for inspiration and found these:
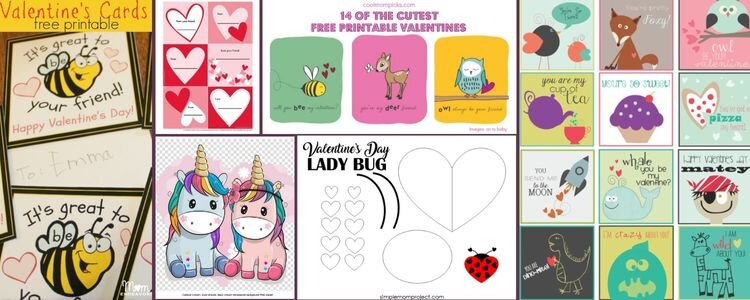
Starting from the left image and going clockwise around the screenshots above were taken from:
- A Pinterest geared image showing their It’s great to be your friend bee themed cards through Mom Endeavors
- A six by two collage of simple hearts. I loved this idea but didn’t use it in the end. I found this on Pinterest and managed to find the URL here but it links to a legal services now.
- Another overview image showing the most adorable animal cards. This image was at the top of a list of Valentine’s Day card ideas on Cool Mom Picks. This specific listing links to Susie O and seems to have changed since then.
- A collage of 12 card ideas. I found them so adorable and needed to share. This printable is through World Label here.
- Although I didn’t plan to do a craft I did love this loving ladybug and had to include it through Simple Mom Project.
- And finally these alicorns. This didn’t come up in my first search but the girls requested an alicorn card and thus I found this for inspiration; through Hi Clipart here.
With all these images open for inspiration I grabbed my reMarkable and sketched some simple ideas. Once done I told the girls about it and showed them the pages. I had expected them to choose only one or two images that I could easily collage to a page and print out. Instead Ada rapidly chose four before I cut her off. When I asked Zoey what she wanted she did the same before choosing the bee and demanded a second one with an alicorn saying I hope you have a good Valentine’s Day. Ada realized she loved that idea but wanted the alicorn to instead say Happy Valentine’s Day. Thus I looked up cute alicorns, sketched out another card, and once again showed the girls for a final critique. Here’s the favorites:
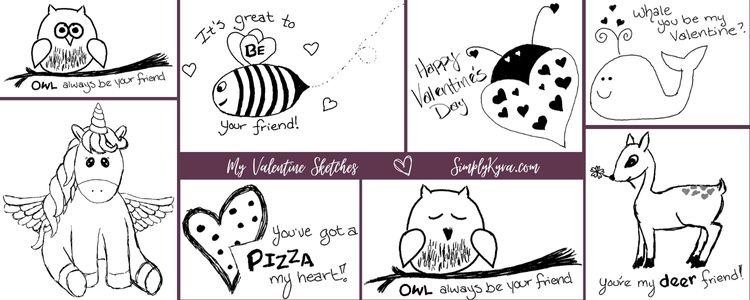
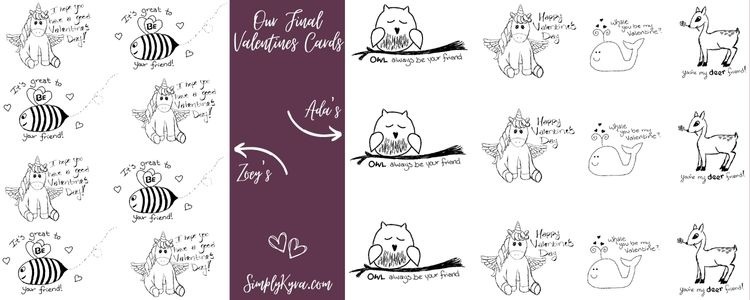
They loved all the images. Zoey chose the bee and alicorn while Ada insisted on four unique images. With the final choices given I went back to my reMarkable and moved the images around so each girl had a single page with a grid of her chosen images on it. Zoey’s final result had eight cards to a page consisting of two repeating and alternating images making a two by four grid. Since Ada had more images I decided to put the paper in landscape mode so I could fit all four across. I then adjusted their size so I could have three rows. Thus her page has a total of twelve images consisting of four unique ones. Here are the final results:
I exported the final results from my reMarkable to my computer before test printing it onto normal paper. I realized 100% scale wouldn’t work and instead checked off the fit option and tried again. I then ran it past the girls to get a final go ahead before calculating, based on their class numbers, how many pages I’d need, rounded up, and printed both pages out three times each onto cardstock.
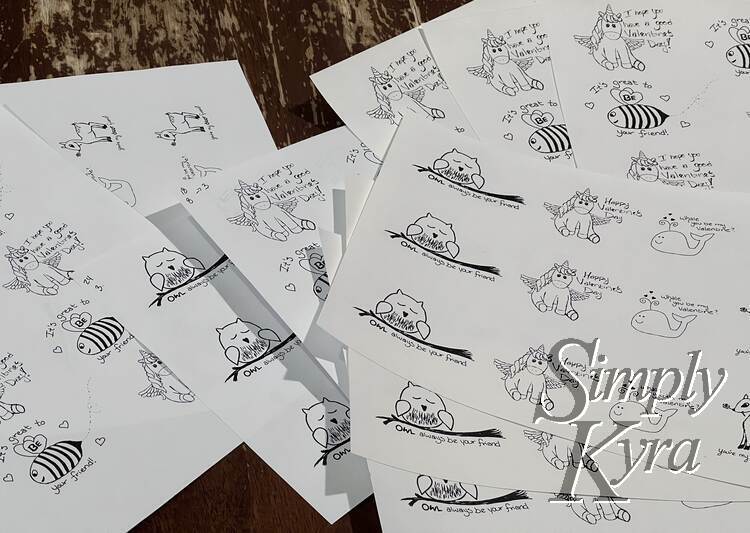
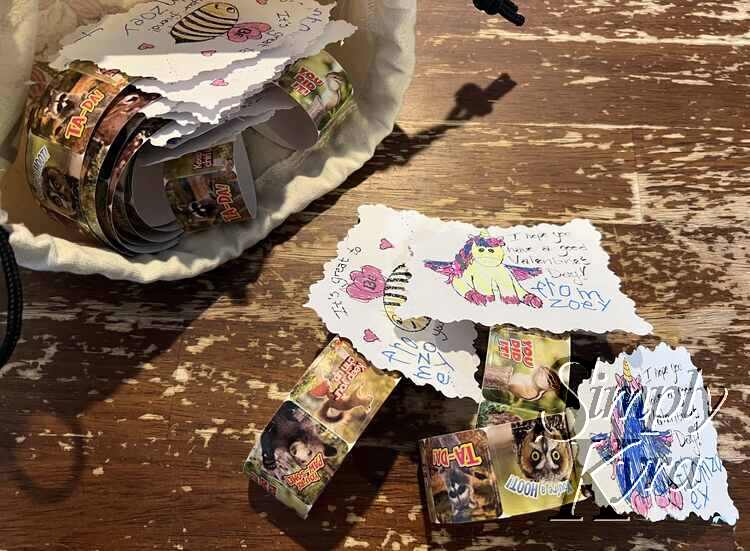
With the cards printed it was now time to pass the task to the girls who got to cut them out, color them, and write their name on it. I let them set up on some plastic lap tables which hung out in the living rooms so they could work on it on and off over the next week or so. I got them to complete the cards the weekend before Valentine’s Day so we wouldn’t be rushed the night before and I’d have time to attach the add-ons to the card. I absolutely love, with this method, how if we forgot to count someone I just need to print another sheet instead of rushing to the store and hoping they had more of whichever one the girls picked.
If you want to do the same you can download these Valentine’s printouts here:
Add-Ons
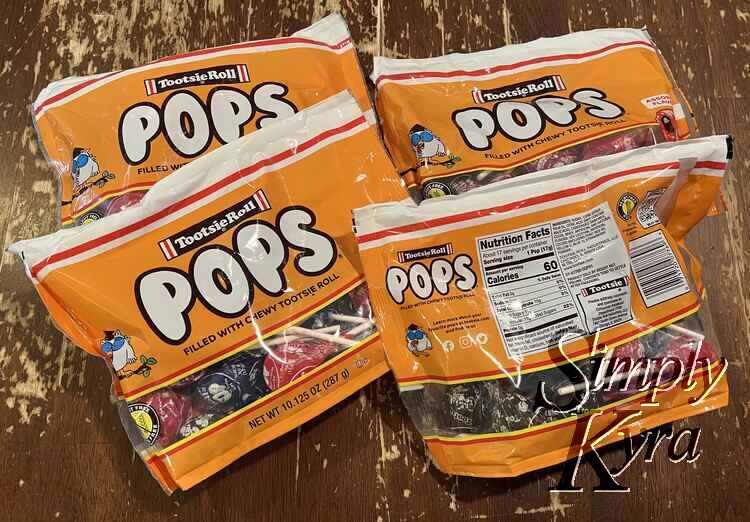
Although I loved the idea of the cards I wanted to add something to them. I briefly considered buying packaged chocolates but realized it would simplest to attach the item to the card using hot glue which would melt the chocolate. Instead I considered using suckers or lollipops instead as I could glue the stick to the card without damaging the candy part. I headed off to Target and chose some Tootsie Roll lollipops as the kids loved them at Halloween.
Five days before Valentine’s Day, a week after getting the class count, we got an email from Zoey’s teacher saying no food. I told Zoey she couldn’t bring the lollipops which she was surprisingly happy with as she had already realized that meant we got to keep more and thus she could have more lollipops for herself. After checking with Ada and confirming that food was good for her class I knew we could still proceed with the lollipop idea for Ada. I had considered leaving Zoey’s class with just the cards but then looked through my stash of kid stuff and found a roll of animal stickers. Thus after her cards were done I handed her the roll of stickers and some tape so she could cut four stickers out for each person and tape it, using the backside, to each card. She loved the stickers and I had to cut off a selection from the roll for the girls’ too.

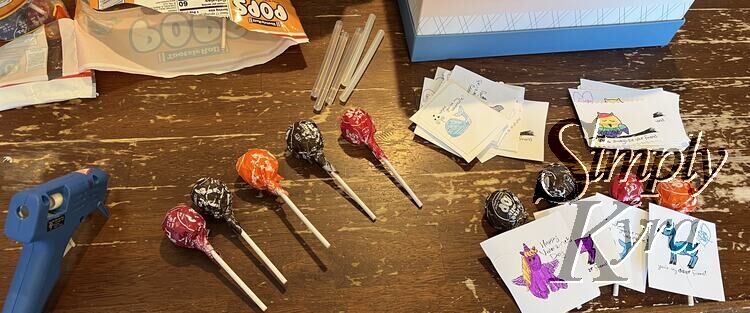
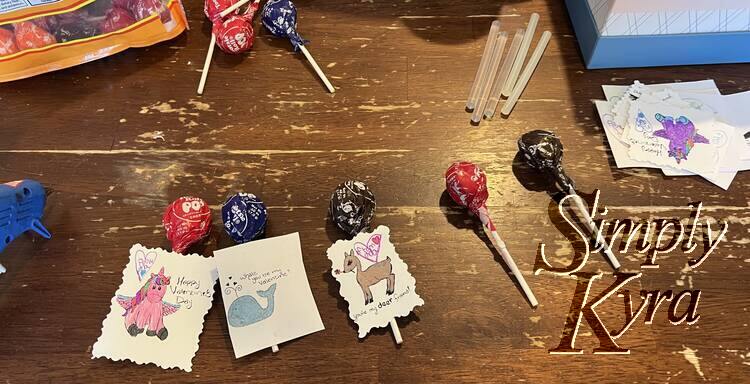
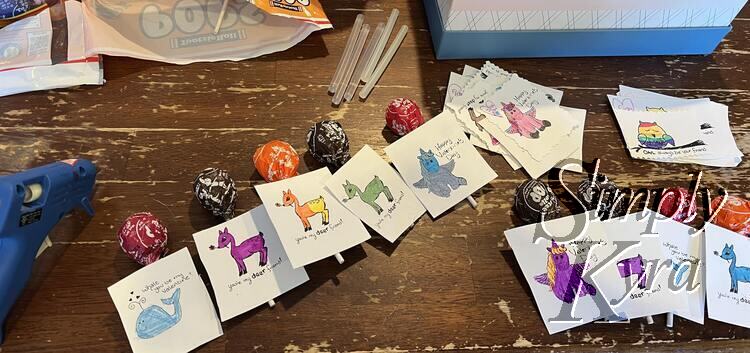
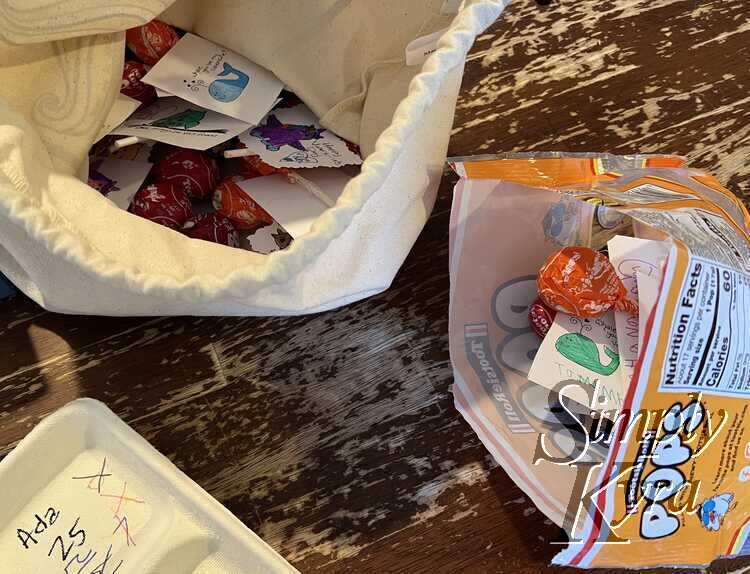
For the lollipop cards I set up a station at the table where I laid out four to five lollipops in a row, added glue to each stick, and then pressed a card to each lollipop. Once the batch was secured I moved it to a bag and did the next set. This process was simple but I did get glue on the table so you might want to put down some cardboard or something first.
Downloadable
I designed these cards on my ePaper reMarkable device which allowed me to move each image around to tile them onto a page. I can’t remember who it was but the original post that gave me this idea used a text editor to tile their images. I could also see using Canva to tile an image and/or design Valentine’s from scratch. If you choose to go this route I’d love to hear what you make and how you go about it so feel free to share what you did in the comments below. It might help someone wanting to do the same.
That said, if you’re interested in these specific Valentine’s themed printouts I shared them here:
If you’re looking for colored printables I saw, last year, that The Space Gal had the most adorable science-related Valentines on her site. It’s a double sided colored Valentine that comes with an experiment on the back. If I hadn’t already started this idea and I had a color printer I could totally see buying them.
I hope your month is going well and you have a great Valentine’s Day!
If you’re interested in getting any of my future blog updates I normally share them to my Facebook page and Instagram account. You’re also more than welcome to join my email list located right under the search bar or underneath this post.