
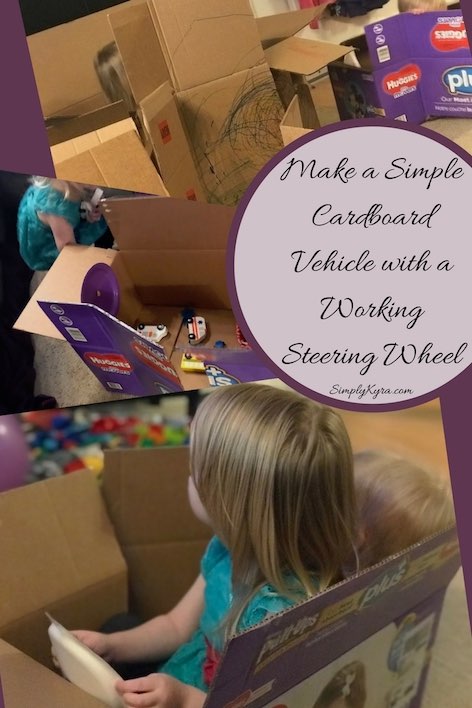
Simple Cardboard Vehicle with a Working Steering Wheel

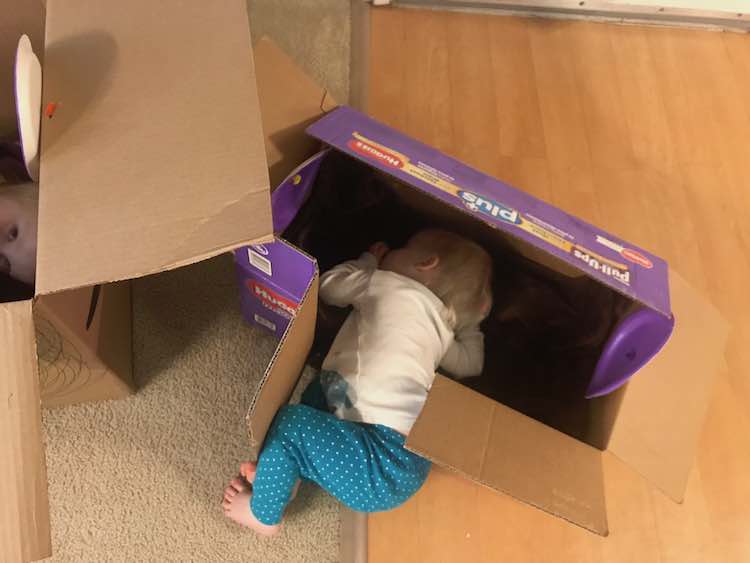
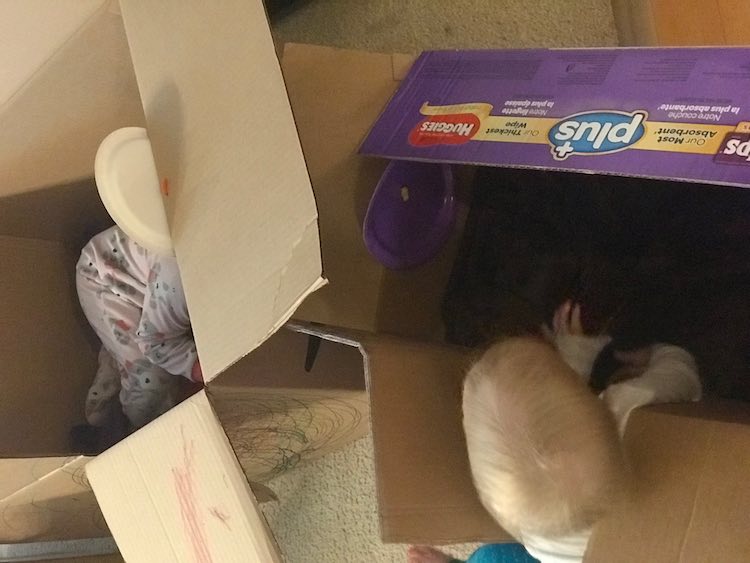
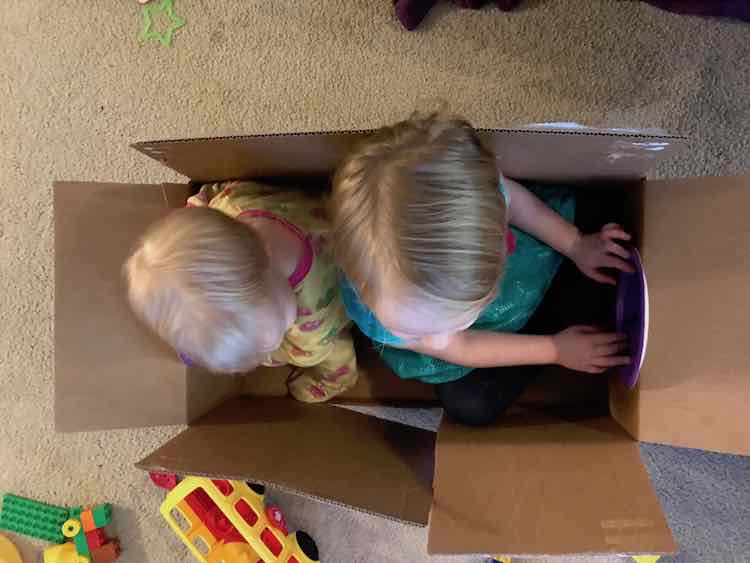
One lazy day at home we decided to turn our empty Huggies diaper box into a vehicle. Last time we did this I drew the window and other details on the box with a sharpie and cut a door out. This time I figured details wouldn’t show up easily on the outside of the box as the box was already printed on and something made me remember the extra paper plates we had in our cupboard so I added a turnable steering wheel to the vehicle and kept it simple with a single door on the side. Having two kids that both prefer using the same toy at the same time I decided to go with two wheels, one on either side, so they can both drive the vehicle at the same time.
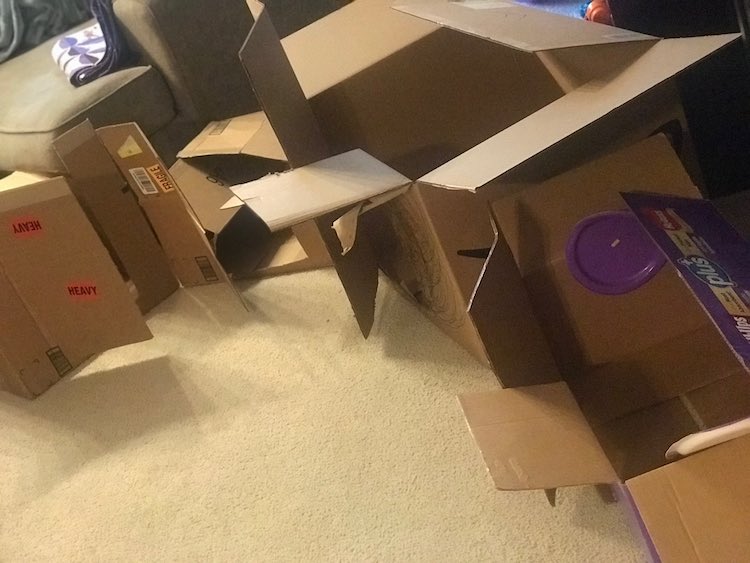
As we accumulated more boxes I decided to use the opportunity to use more paper plates and pipe cleaners to make a cardboard box train…. as the living room felt smaller and smaller the train slowly became shorter, but it was a fun project to do and the paper plates (with the threaded pipe cleaners) are ready for the next time we have boxes and need a distraction.
Materials
- Large cardboard box that your child can fit in
- X-acto knives
- Paper plates for the steering wheel(s)
- Pipe cleaners to secure the wheel to the box and let it easily rotate
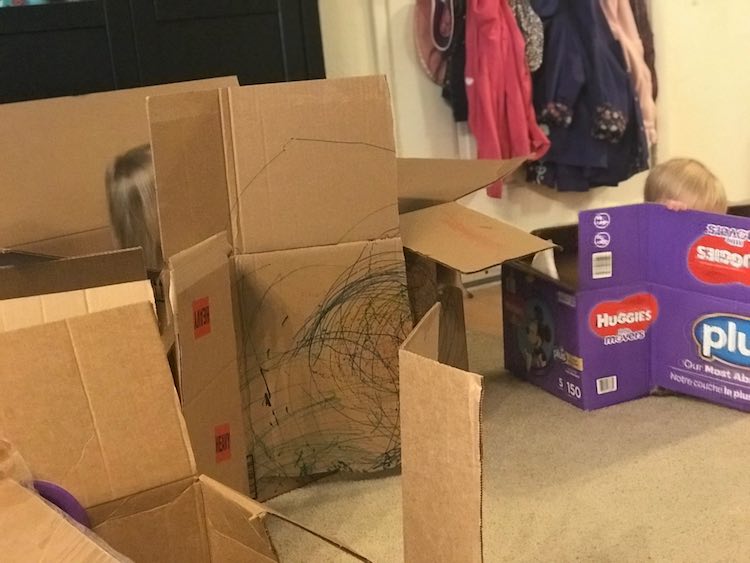
- (optional) Sharpies, felt pens, or crayons to decorate the inside or outside of the box – windows, tires, people in the windows…
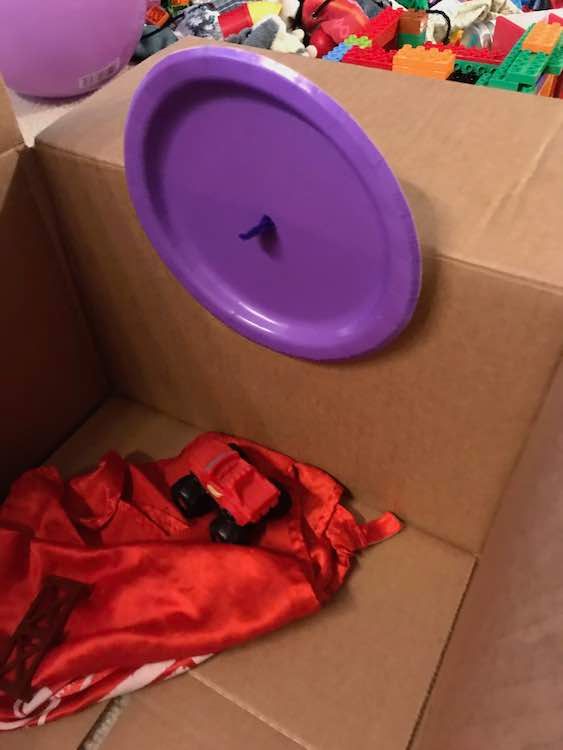
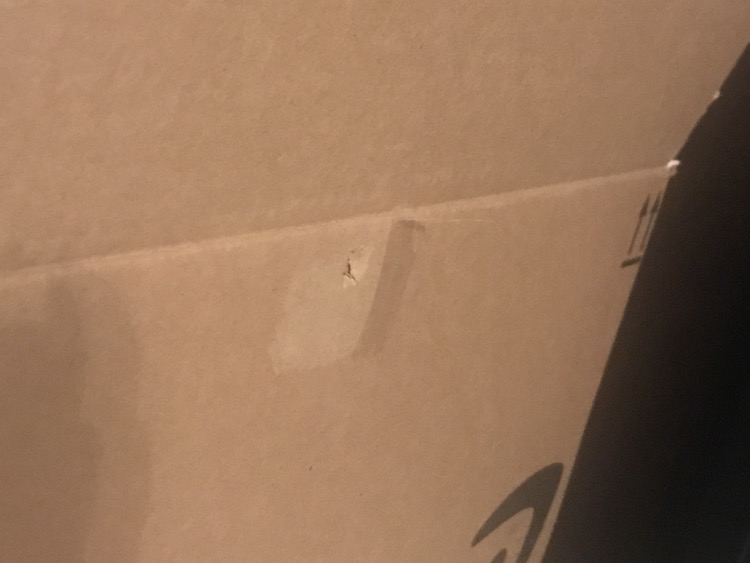
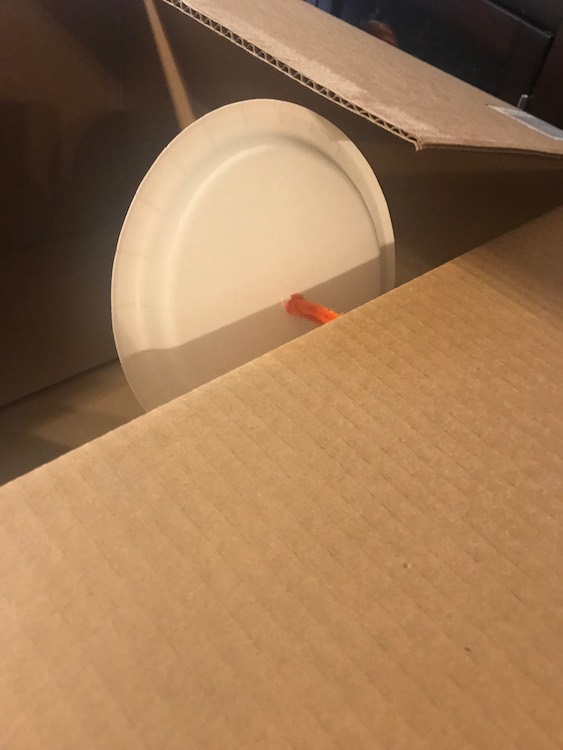
To create the working steering wheel I started by cutting a hole in the cardboard box where I wanted the paper plate wheel to be. I ended up centering it at the top of the end of the box. To create the hole I cut an ‘X’ with my x-acto knife.
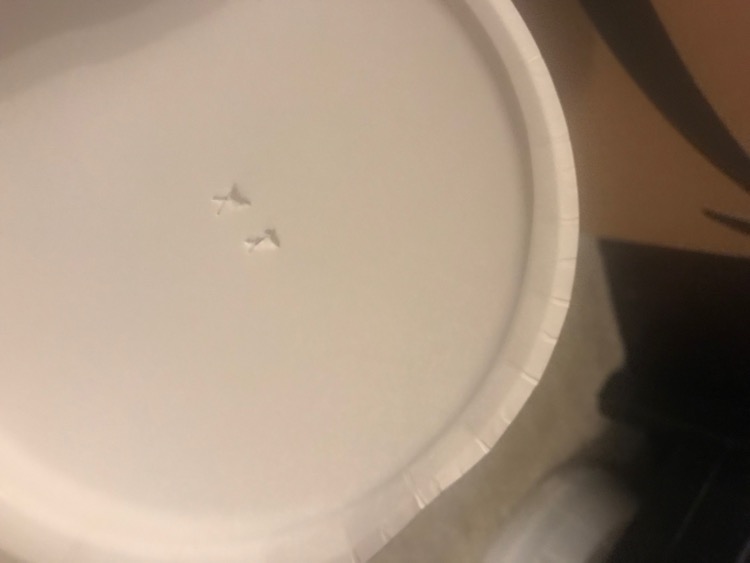
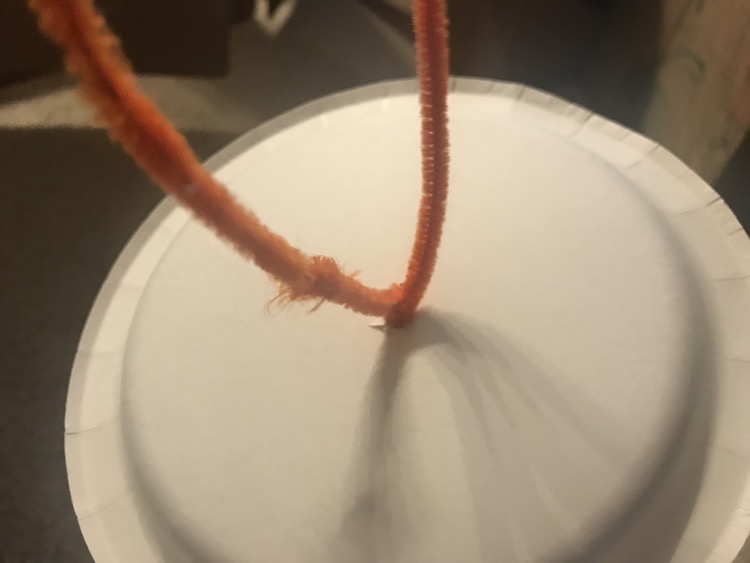
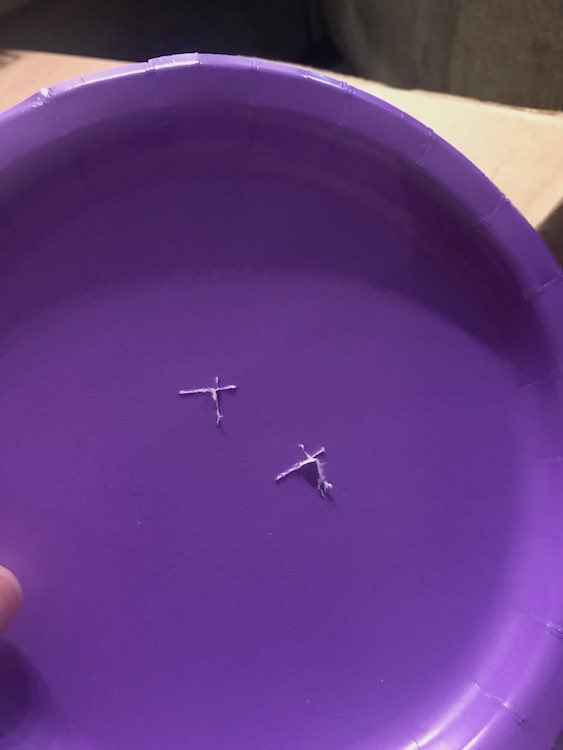
I then cut two side by side holes in the center of my paper plate.

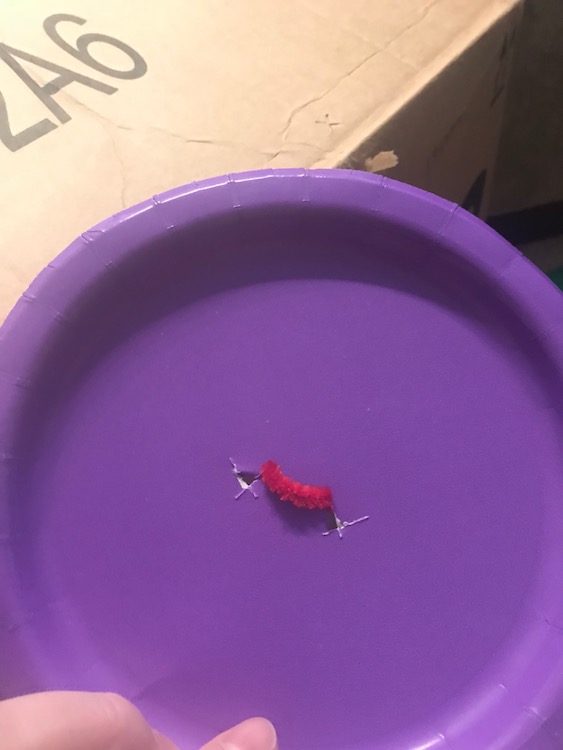
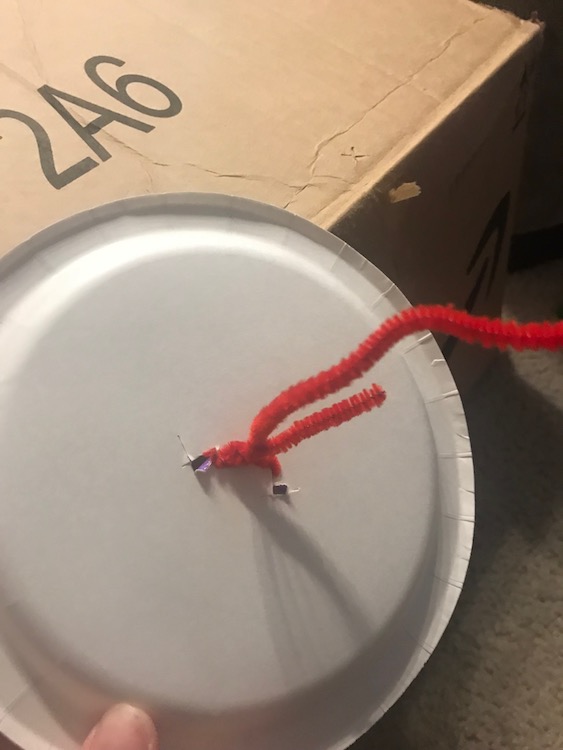
I found the center of my pipe cleaner and brought either end through a hole on the plate from the front to the back.
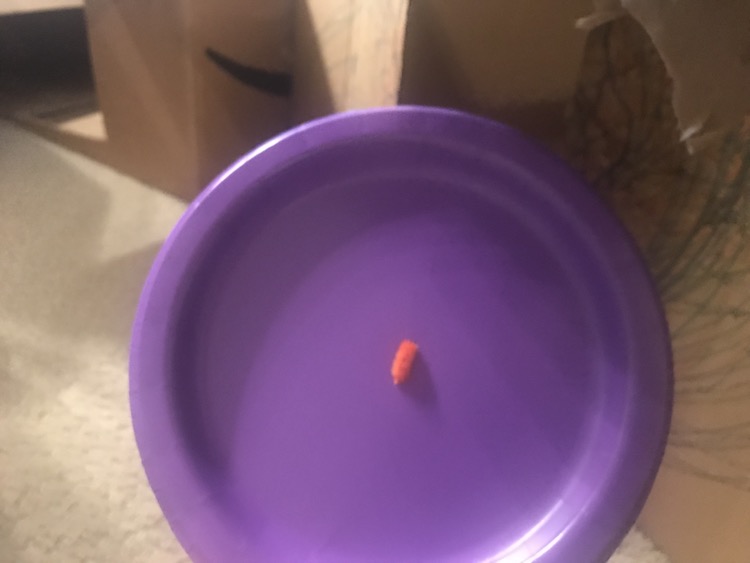
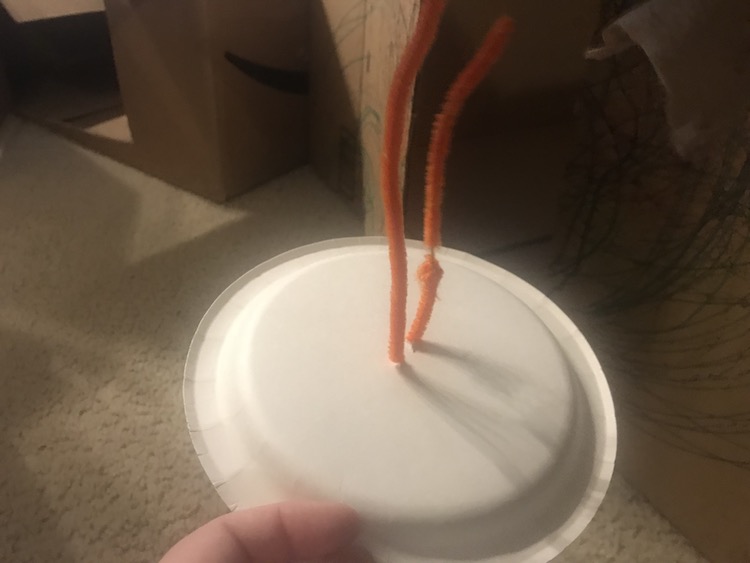
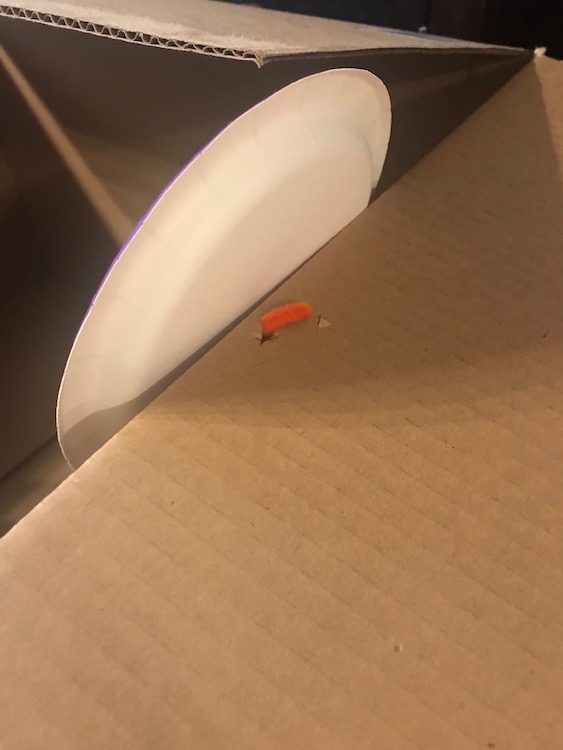
I then twisted the two ends of the pipe cleaner around each other so it would be secure and, more importantly, the wheel will be spaced a little ways away from the box interior so it doesn’t scrape when being rotated.
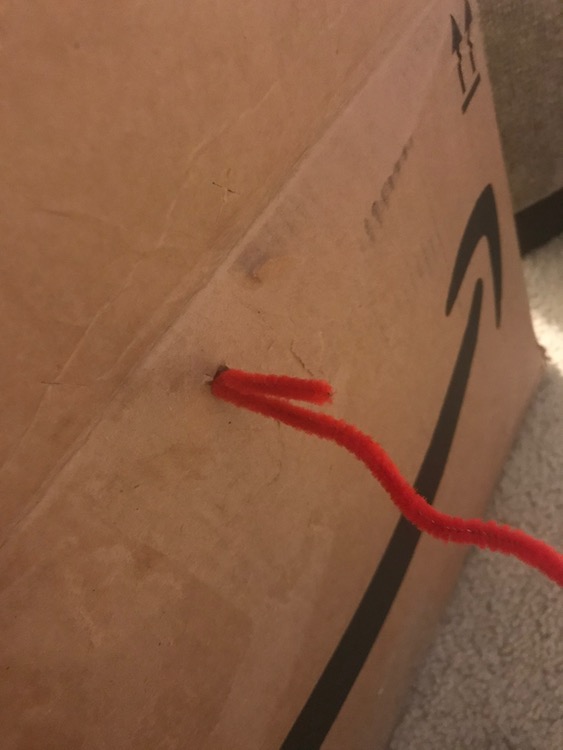
I then brought the ends of the pipe cleaner through the side of the box, from the inside to the outside, and attempted to secure it by tying a knot.
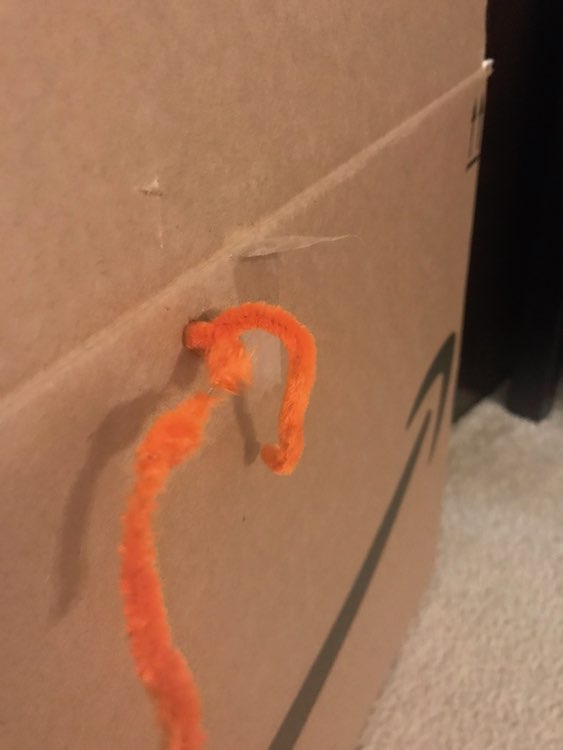
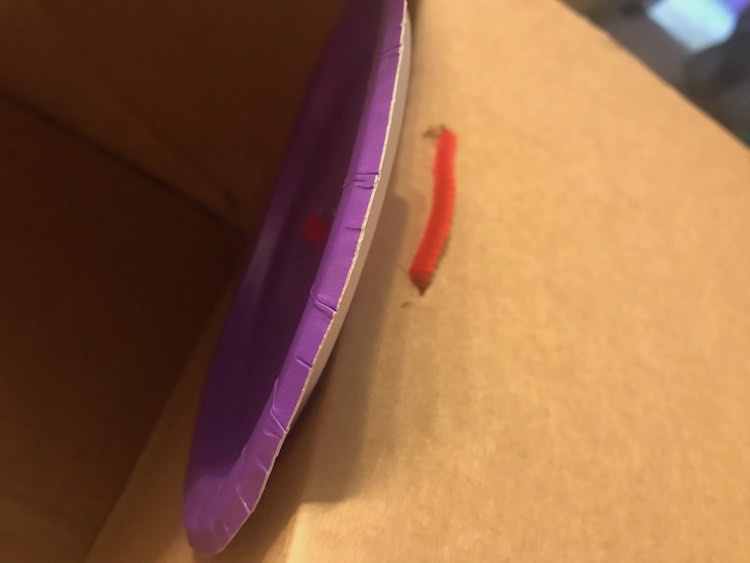
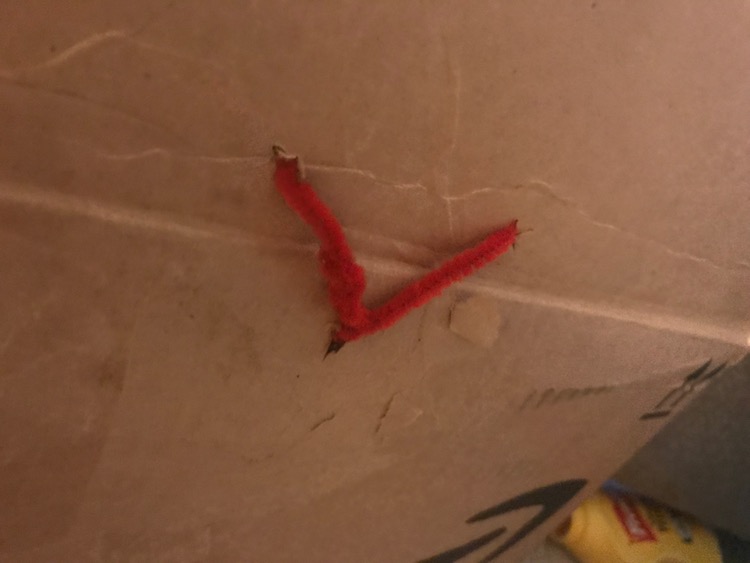
To make sure it was fully secure I decided to create a couple of holes in the box flap and bring the pipe cleaner end through it before twisting the ends together again.
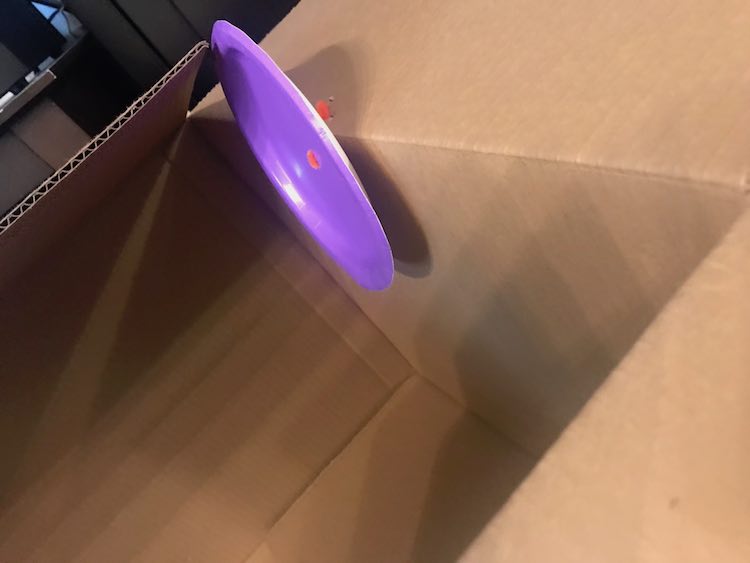
And there you have a working steering wheel in your cardboard box vehicle. All you need now is to create a door by cutting a vertical line on the side of the box and then cutting into the box horizontally before bending the newly created cardboard flap to have a working side door.
As I attached more paper plate steering wheels to the other cardboard vehicles I changed up my method a bit. I figured I’d share so you can decide which way you prefer. On this box I started by cutting three ‘X’s in the box; I cut one centered at the top of the end of the box and then cut two more above the first in the box flap.

I still cut two holes in the center of the paper plate steering wheel.
Like before thread the pipe cleaner through the paper plate. Unlike before I didn’t center the pipe cleaner first and instead had one long length out the back and one much shorter one. Like before I twisted the two pipe cleaner ends together on the back of the plate to allow it to stand away from the cardboard box.
I brought both ends of the pipe cleaner through the single hole in the end of the box. I then brought the long end of the pipe cleaner through one of the holes in the box flap and then back through the other hole before securing the two ends of the pipe cleaner together.
And all you need to do is add the door and perhaps decorate the vehicle.
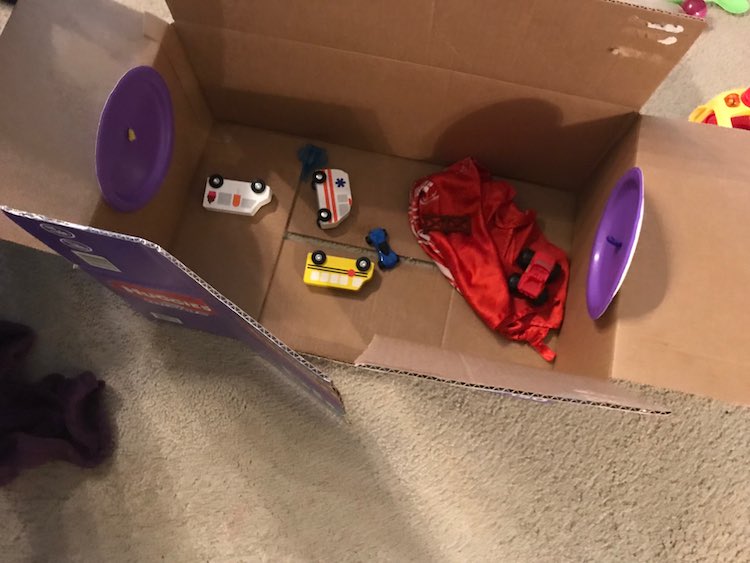
I then lined up all the boxes so we had a cardboard box train with fully working train cars to ‘drive’.
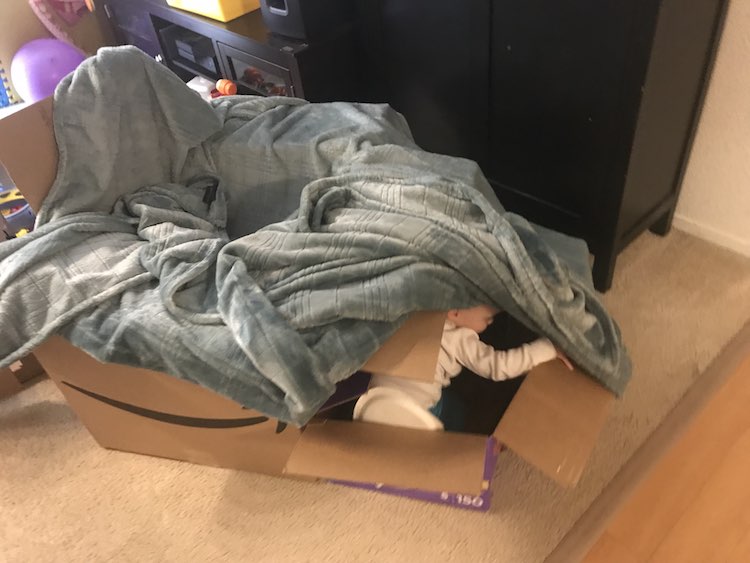
If you need extra cushioning for a quick break you can easily fold up a blanket to line the floor of the vehicle.
I hope this idea gives you a quick, simple, and cheap toy you can make with materials you have lying around the house. I especially hope it gives your kids many hours of fun while you get to accomplish other wanted tasks or sit back with a book and coffee. If your kids are older I can see giving your them markers and having them decorate their vehicle. I’d love to hear and see what you and your kids come up with. You can contact me anytime through the comments below, through a post on my Facebook page, or tag me through Instagram.