

Personalizing Clothing With Fabric Markers

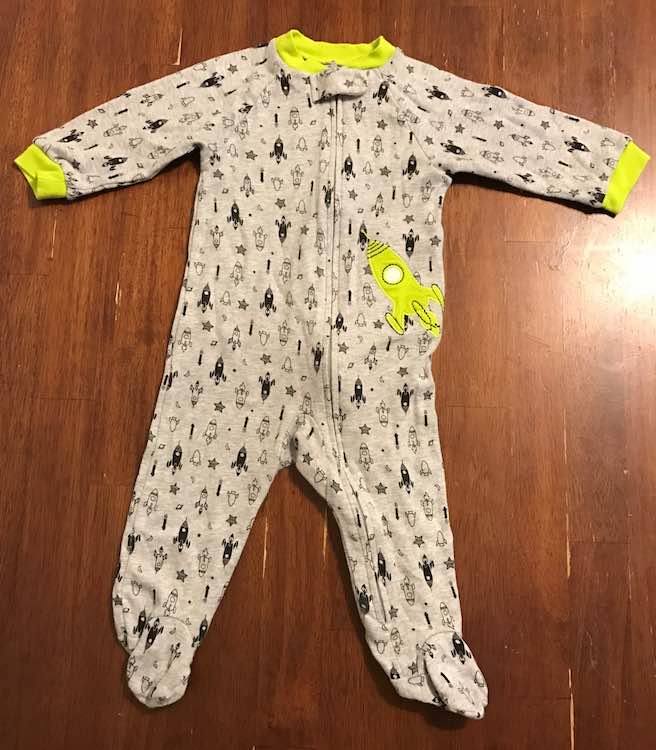
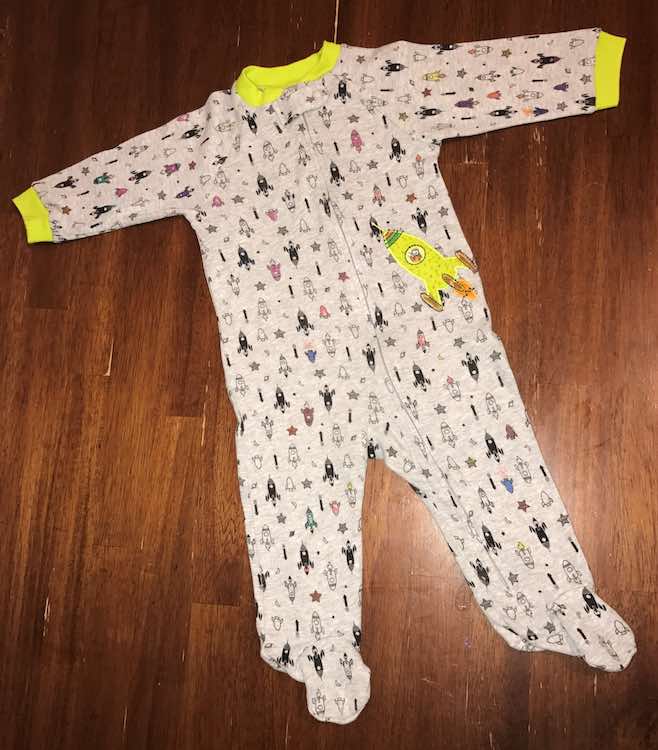
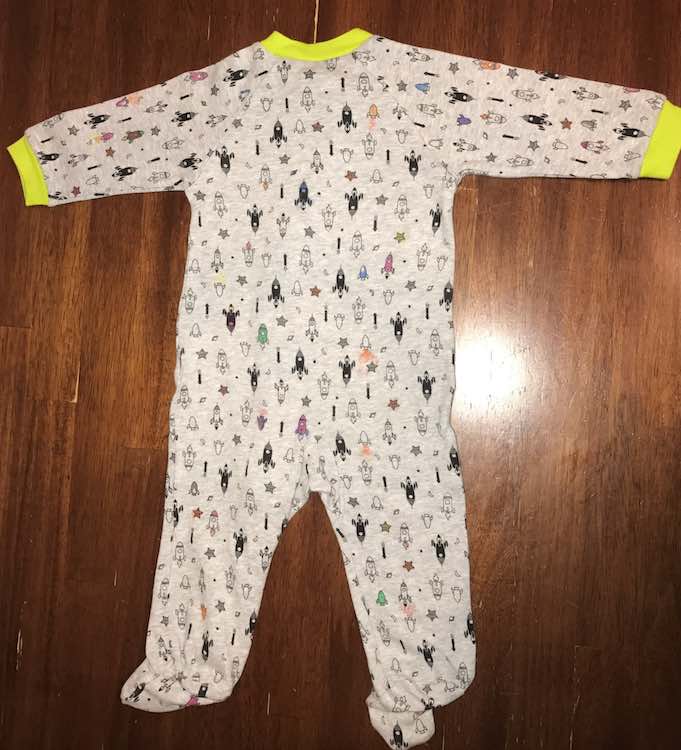
Between my first and second daughter being born our family moved somewhere much warmer, from Canada to California, and I’ve found I’ve been dressing the kids differently because of our location. For Zoey she spent a lot of her time outside in her baby carrier so I preferred putting her in her footed onesies so I wouldn’t have to worry about losing socks; especially when wrangling my toddler into the car and out of fun places to go home. Anyway… when browsing through Kid-To-Kid one day I found the most adorable footed AND zippered onesie for under $3! The outlined spaceships on the onesie were calling to be colored and I was also hoping the added color would combat the fluorescent yellow ribbing. I decided to color just enough of the space ships to be adorably cute, combat the yellow, and, as a bonus, add just enough ‘girl colors’ for everyone thinking I had a boy. I set the ink by ironing the onesie; something I had never thought I’d iron especially as I never really iron my own clothing.

I love that this onesie was cheaper than buying it new elsewhere and with the customization it become unique and one of my favorite outfits to put her in. Plus, I can always add more colors after the fact if I ever feel it’s lacking.

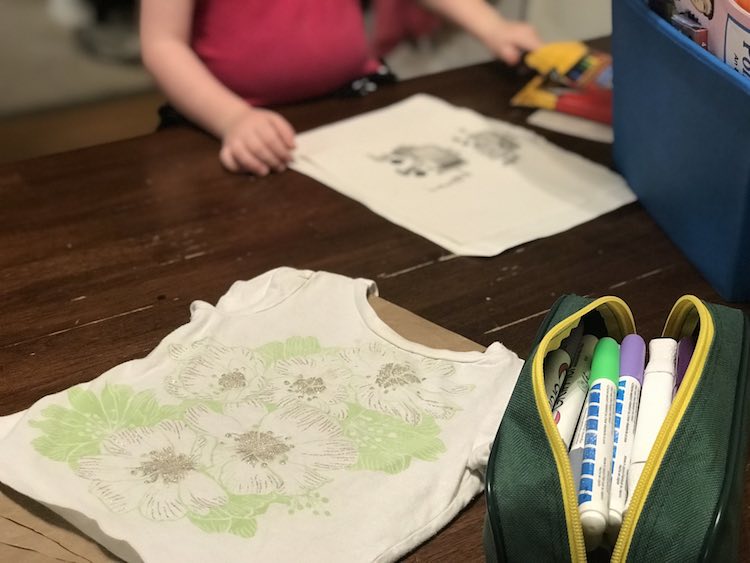
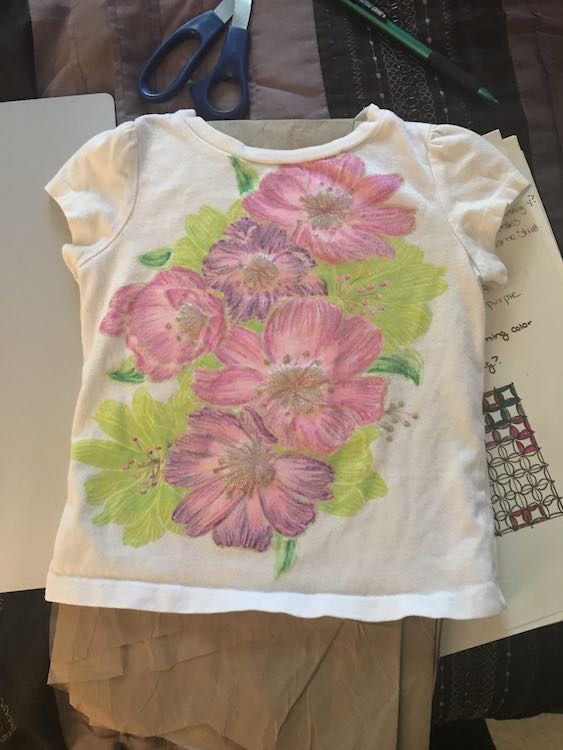
Later on I received a t-shirt, also for Zoey but two sizes up, that also screamed for color. This shirt had sparkles on the petals of the flowers so I wasn’t sure if it would work but I charged ahead and it came out beautifully. After coloring and ironing the shirt the sparkles are still visible and blend in well on the petals. The background green flowers support the main flowers instead of drawing the viewer’s eye away from them. I colored the flowers first, added yellow to the green flowers to help tie it together, and then added a few supporting leaves outside the edges.
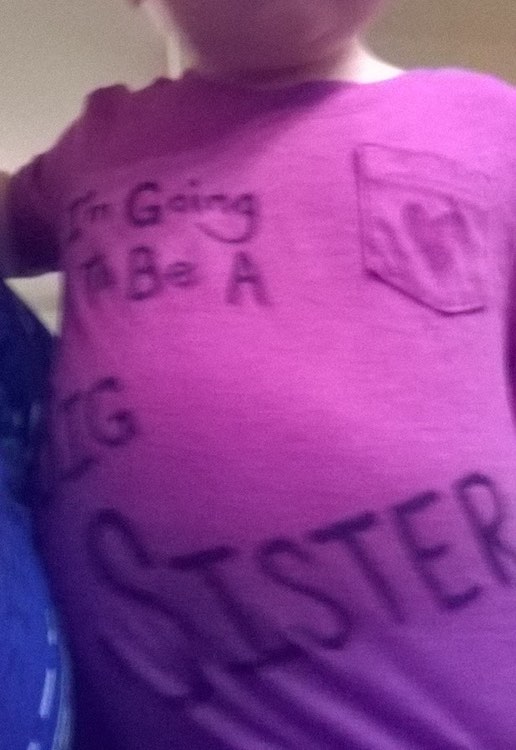
If you want another example of customizing a shirt you could always take a plain shirt and add text to it. I started coloring on fabric when we discovered we were pregnant the second time as I wanted to come up with a unique way to announce the pregnancy to our family and friends on Facebook. I ended up buying my first set of fabric markers (if you do this maybe go with fine-tipped instead of the wide ones we got) and then an iron when I discovered I had to set the colors with an iron. We have an ironing board but I find it easier and quicker if I throw a folded over towel down on the table or counter and iron on that.

I can’t wait to see what other shirts I come across that I can make truly ours. I’m especially excited to see what requests come from Ada and Zoey when they get older. It’s a simple way to customize a shirt through either text or added colors. Plus Ada gets to color with me (just with our own stuff).
I’m excited to see what you end up customizing. You can tell me in the comments below, post on my Facebook page, or tag me on Instagram,