
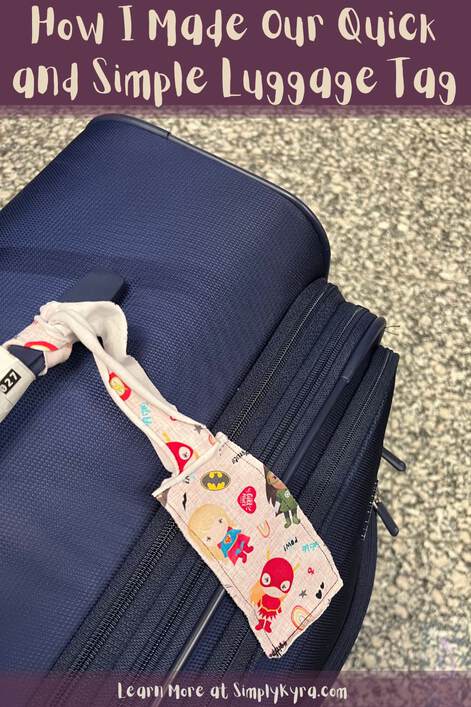
How I Made Our Quick and Simple Luggage Tag

Over the Christmas holidays we took a flight together to visit family and as our suitcases were so old I bought a new set from Costco. As the flight time approached I pictured confusing our suitcase with someone else’s since the girls’ Costco jackets matches so many other ones at their school and I imagined the same issue with suitcases. Last minute I quickly looked up luggage tags online and decided to whip up a simpler version to make our suitcase stand out from all the others. This isn’t the more traditional one as I didn’t care about a removable card with information and only wanted it to be recognizable to us. This is what I did to create two tags in under fifteen minutes.
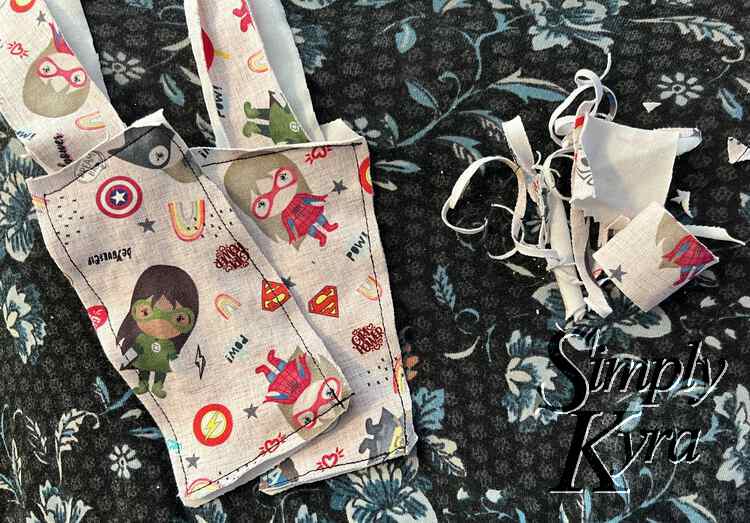
Note: At the time I wasn’t sure if we were checking one or two bags so just in case I made two of these quick luggage tags. As such all progress photos will show two tags.
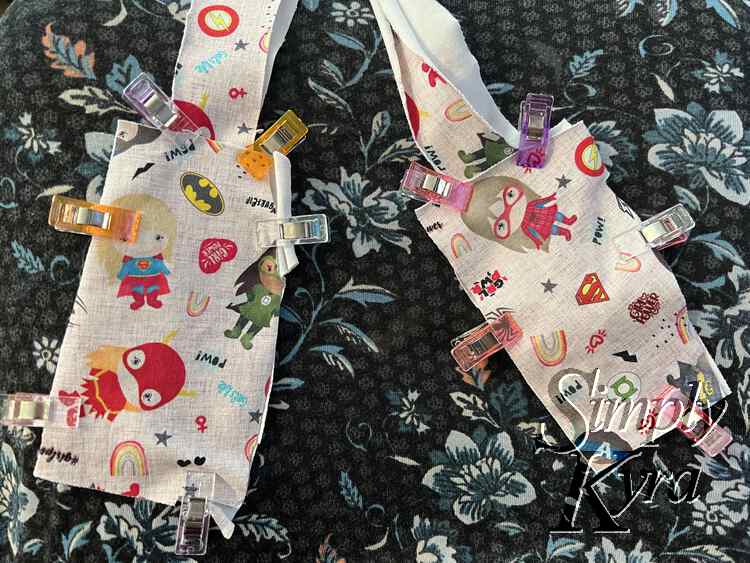
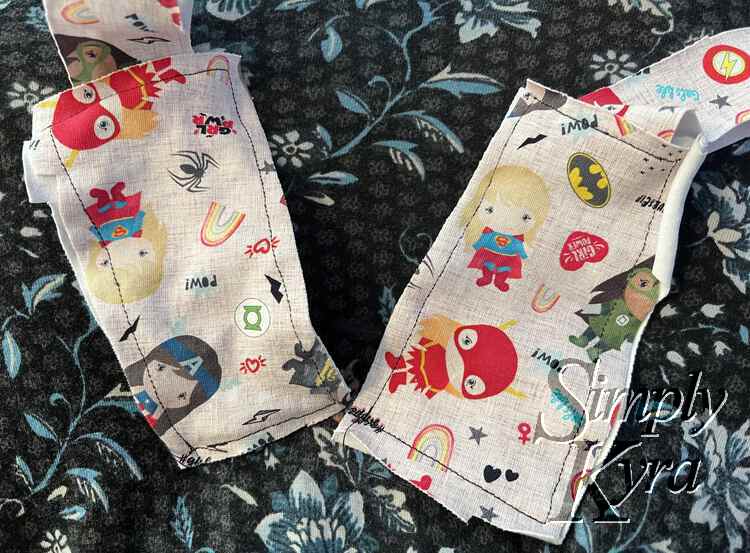
Before starting I momentarily debated carefully sewing two rectangles right sides together, turning it right side out, pressing it flat, and then topstitching it to close the hole and look amazing. I then looked through my leftover fabric scraps, saw the cotton lycra super heroine fabric, and figured who cares how perfect it looks let’s just get it done. As I chose a knit fabric I knew the edges wouldn’t unravel so I decided to go even more simplistic and leave the edges unfinished. As such I just needed to cut out two rectangles, slap them together right sides facing out, insert a loop of fabric at the top, and sew along all four sides to keep it all in place. Once sewn I trimmed the excess fabric from the edges being careful not to knick the strap or stitches and I was done.
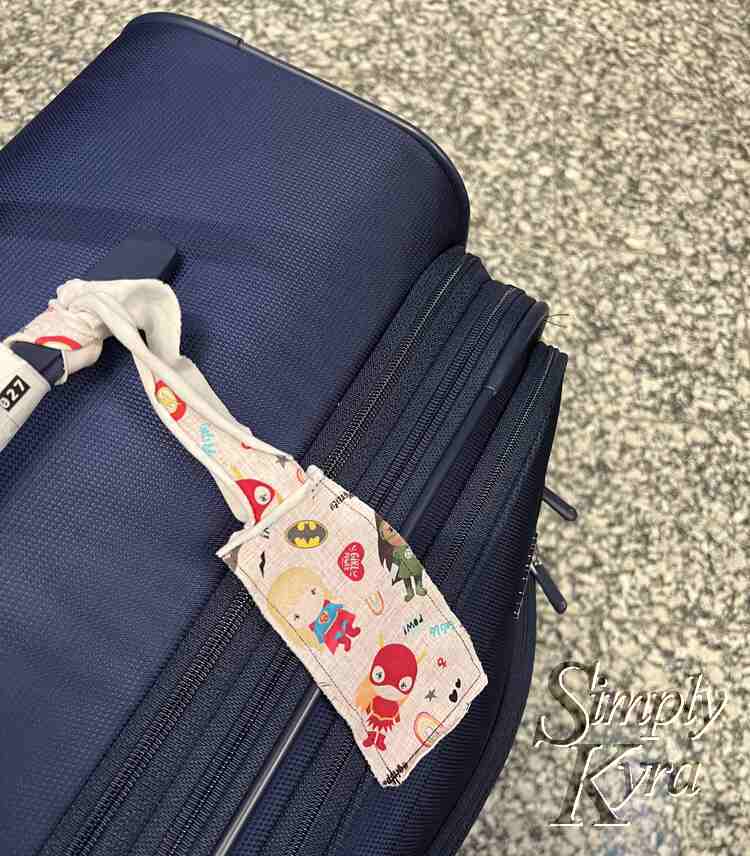
Once made I set the finished tags aside and later, once the single suitcase was packed, I attached one of the tags to the top. To attach the tag all I needed to do was string it under the handle, pull the tag part through the strap’s loop, and then pull everything tight. And it worked! The tag stayed secured to our suitcase the whole trip and made it easier to spot when it came time to claim our bag. Voila a recognizable suitcase!

And with that I had two luggage tags that were unique enough that I’d easily be able to spot my suitcase(s) in the future and it only took fifteen minutes in total. I also love that I used a fabric I adored and that the two tags matched so if we had needed to take two suitcases I’d only need to keep an eye out for one type of tag.
Have you ever tried to make your own luggage tags? Did you make the more official looking ones with a spot for personalization or did you make one more simple and personalized to you like I did? I’d love to hear about it so feel free to share in the comments below. Hope you’re having a great day.
If you’re interested in getting any of my future blog updates I normally share them to my Facebook page and Instagram account. You’re also more than welcome to join my email list located right under the search bar or underneath this post.