

Hacking The Passport Wallet - Using Different Fabrics On Either Side Of The Pockets

In the past, I posted about my first version of the Rebecca Page Family passport wallet but have since made four more passport wallets and altered the pocket so the inside would be different than the outside. It’s a simple hack but I wanted to share.
While planning this set of wallets, I had somehow forgotten how the passport wallet was sewn together so I became fixated on having white front facing pockets with some adorable passport stamped fabric peeking through from inside the pockets themselves. I loved the passport fabric but absolutely adored the idea of a white interior for the holder so the wallet could be customized in the future with the places you’ve been to truly make the passport wallet your own. By the time I remembered how the pockets were truly made I was disappointed… but then decided to follow through with my original plan and came up with this.
Since the whole point of making these was to have a passport wallet that can be easily customized with fabric markers I started by testing out the new fabric markers I bought to go with the new passport wallet. I had wanted to include the markers with the gift and then forgot to add it to the parcel when they were mailed out. To test them I grabbed two excess scraps of white cotton that had been pressed to fusible interfacing, jotted some stuff down with the fabric marker, waited a couple hours, and threw them in the washing machine to see if they’d fade. I did this because my original markers had you set the ink with an iron before washing but all the later markers I bought didn’t include directions so I wanted to confirm that the passport wallets wouldn’t lose their ink later if they weren’t heat set. The only drastic difference between the two after going through the washer and dryer was how well (or not well) the quilting cotton stayed stuck to the fusible interfacing… the fabric marker stayed the same.

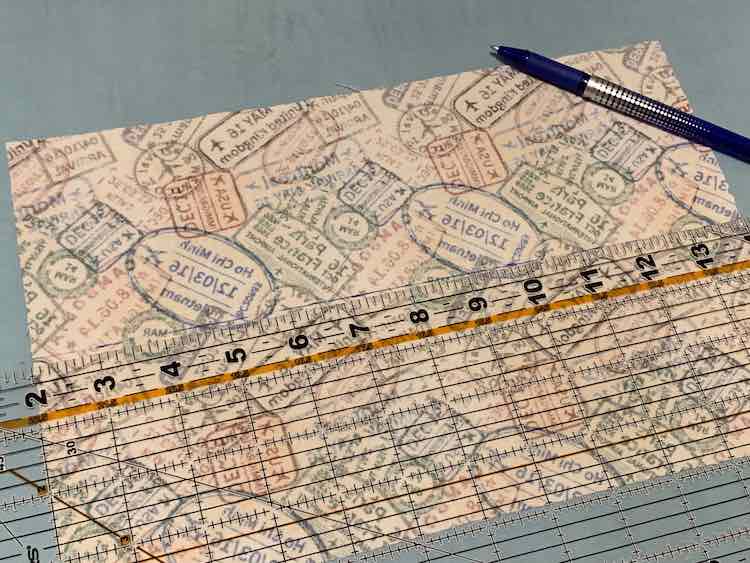
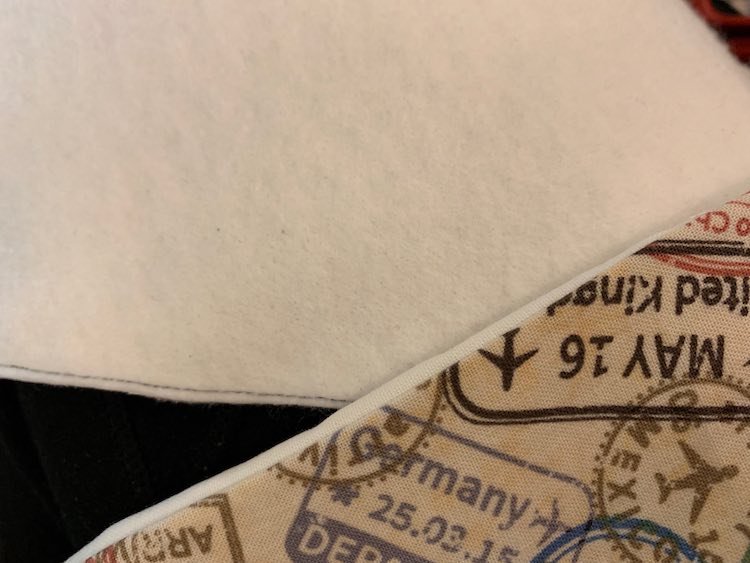
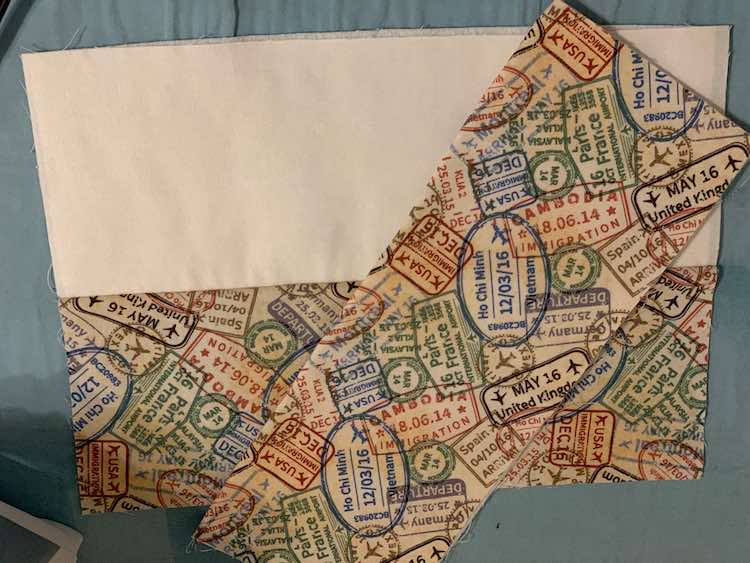
Normally the pockets in the passport wallet are made from one piece of fabric with interfacing folded in half wrong sides together. I wanted these pockets to use different fabric for the front and back and have only one layer of interfacing. To do this I cut the pockets to the same size as the instructions dictated but then deviated. Specifically, for each wallet, I cut a boarding pass and passport pocket in white and then cut another boarding pass and passport pocket in the passport stamped printed fabric. I then added interfacing to my white cotton fabric and marked the center line (where the fold would’ve been) on my printed fabric. I used a thicker interfacing so I only wanted one layer once ‘folded’ instead of two.
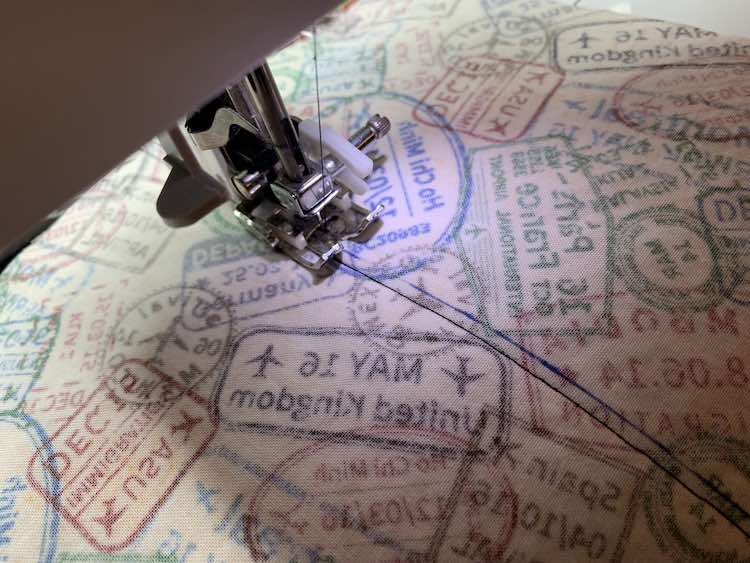
I put both rectangles of fabric together, right sides together, and clipped them in place on either end so they wouldn’t shift. I then sewed alongside the line staying close but not touching, rotated the fabric 180 degrees, and then sewed down the other side. The trick here is to stay close to the line so you don’t lose pocket height, yet also stay far enough away you can still cut between the two rows of stitches later.
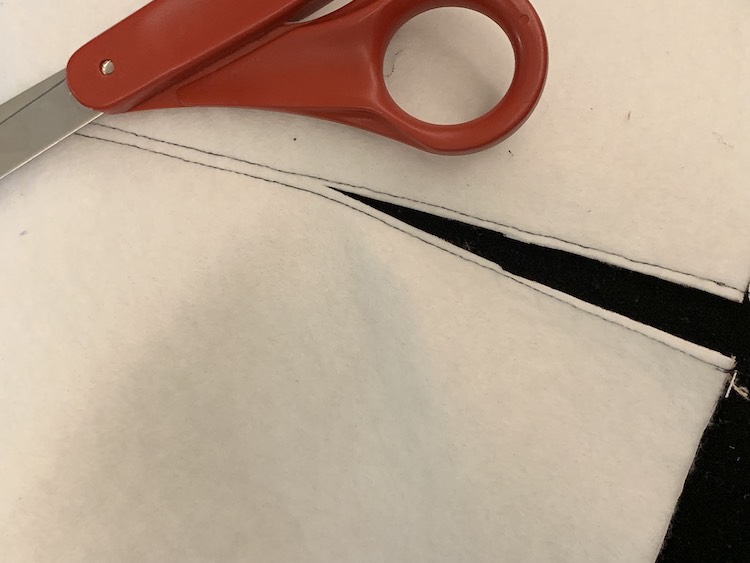
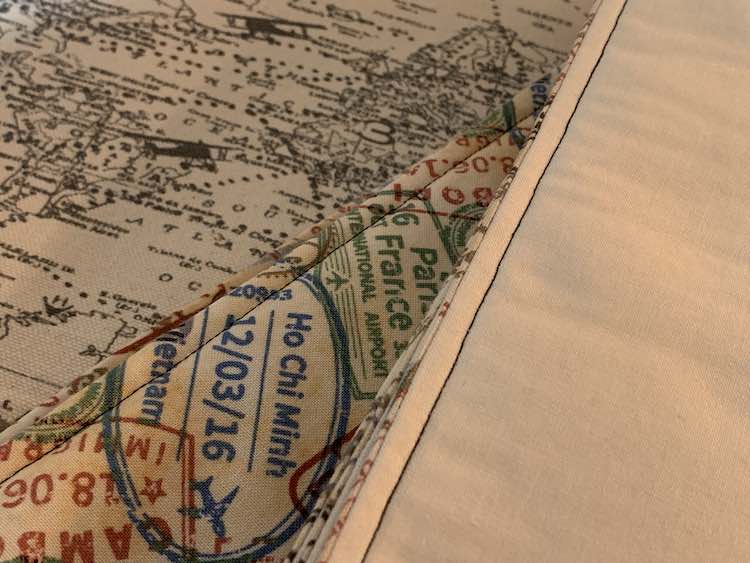
I then opened the two layers, pressed the seam allowance towards one side, folded it in half with the wrong sides together, pressed again, and topstitched along the top. And here you have your altered pockets. This was my alternative way to do step 1.1 in the directions. I did this a second time for the other type of pocket so I ended up with two identical boarding pass pockets and two identical passport pockets.
I then followed the rest of the directions, as written, to create four family passports using the white cotton fabric, with all it’s decorative and traveling possibilities, with the passport stamped fabric peeking out.
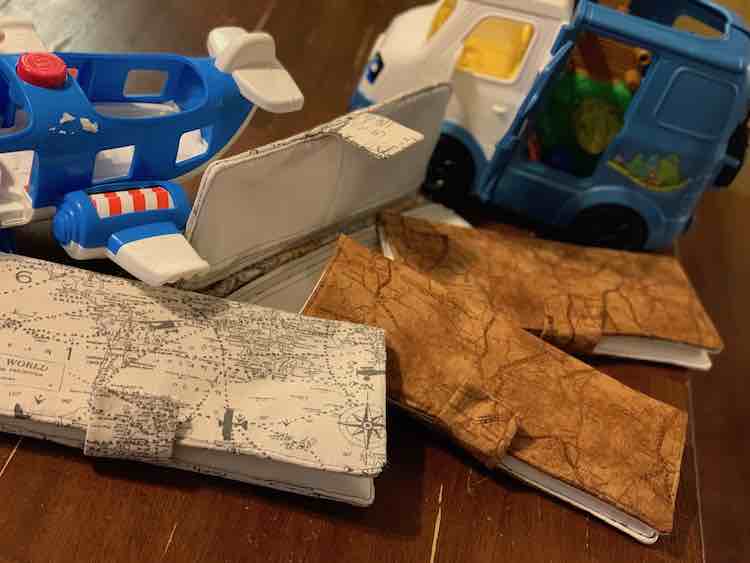
I love how customizable the inside of the passport wallets ended up yet when you open them up and see the spine or peek inside the pockets you can still see the stamped fabric. For the outside I made some with map fabric with flight lines and planes for the people in my life more liable to travel via the air while the other two were made with road map fabric for the more probably road trips and perhaps camping vacations. Overall, I love how no matter what you choose to do in the future you can customize the inside by adding city or country names that you’ve visited or doodling monuments from your trips.
I’d love to hear how you’re planning to customize your passport wallet. Are you going to do it through fabric choices, embroidery, or fabric markers? For my first passport wallet I customized it by labeling the pockets with the name of the person (so we don’t have to go searching if we only need a single passport) along with a couple favorite items. I’ve also shortened a later passport wallet to only hold two passport and can post that shortly if you’re interested. I hope you have a great day! Feel free to share what you did or plan to do in the comments below, on my Facebook page, or through Instagram.