
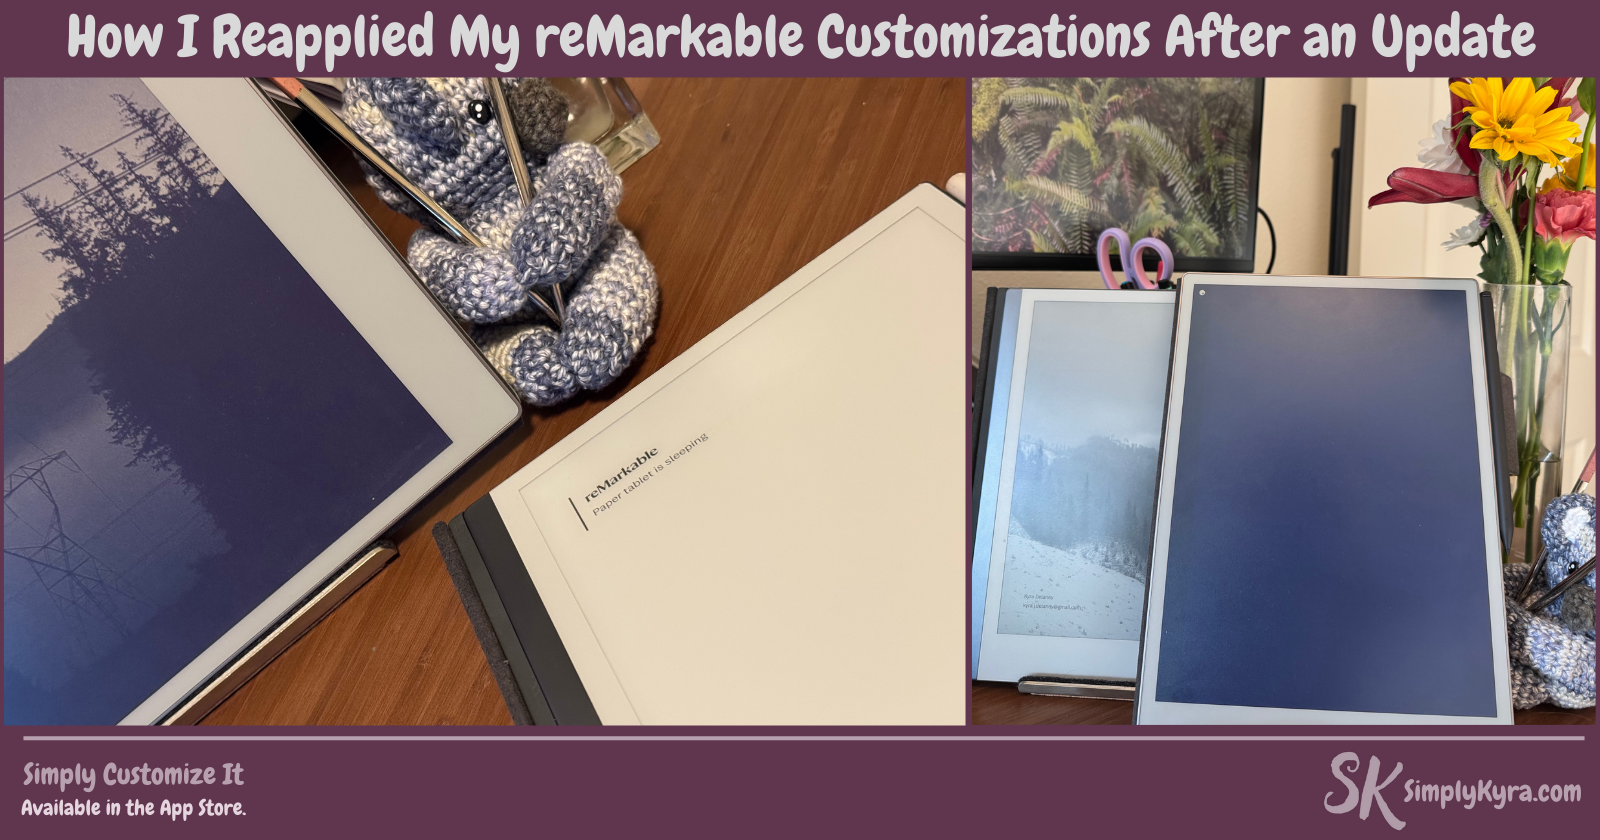
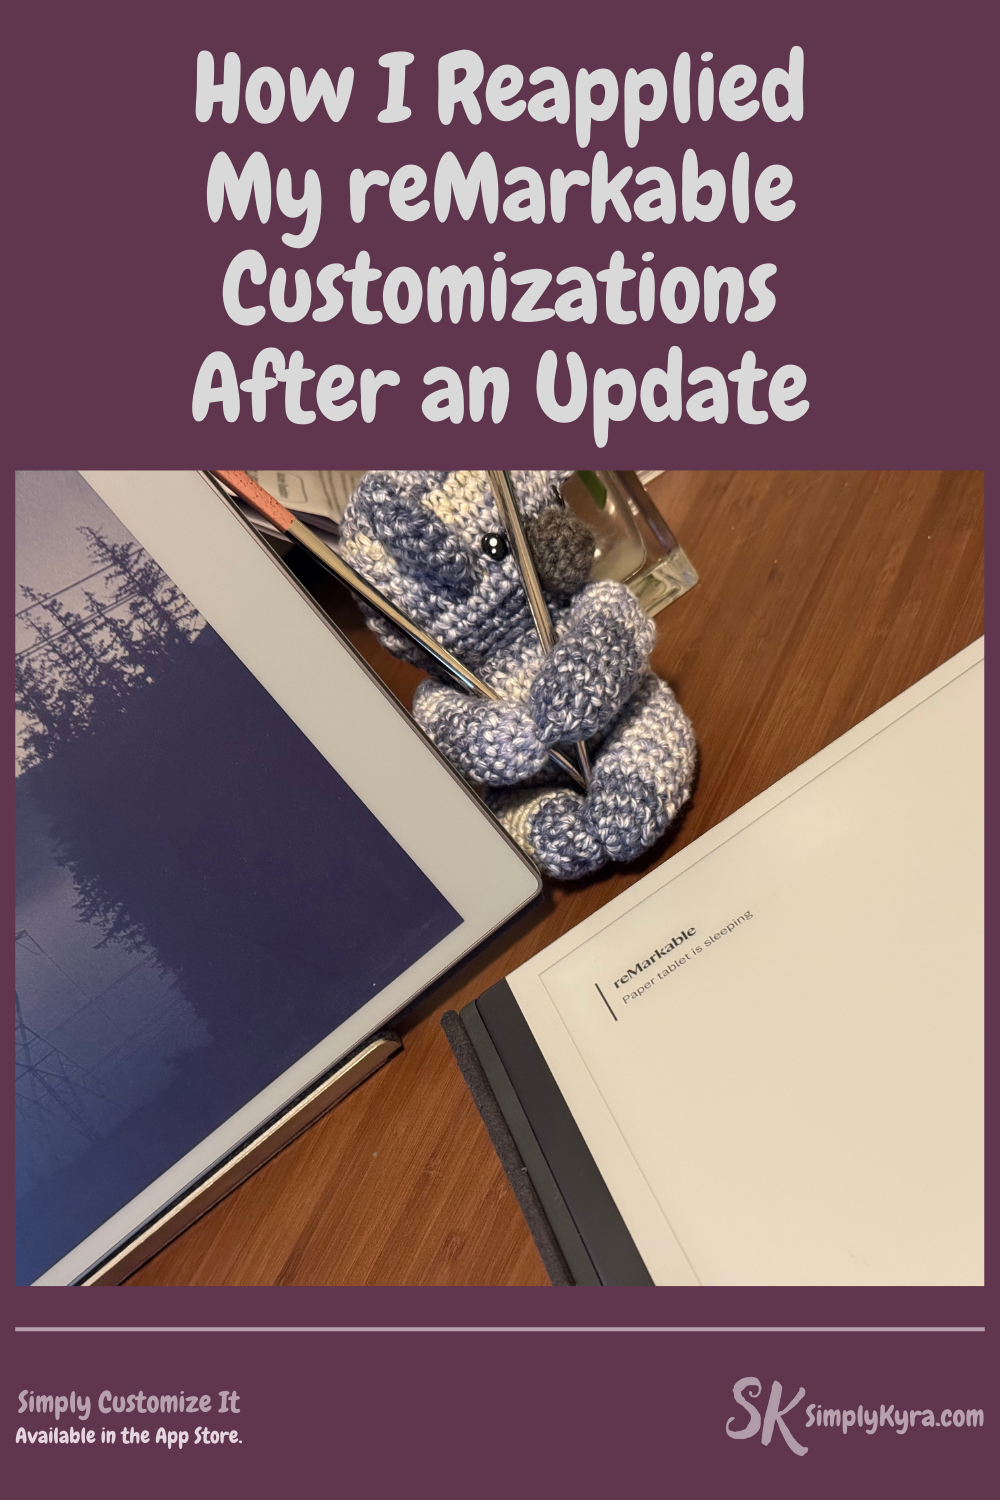
Restoring My Custom reMarkable Setup After an Update

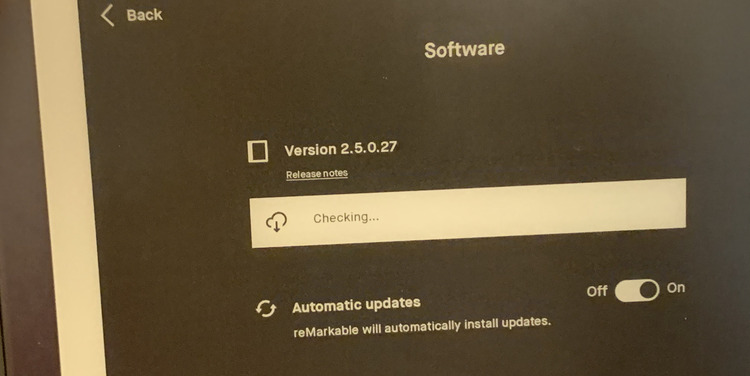
Both my reMarkables updated recently which meant my custom templates and sleep screen were wiped. Thankfully, restoring them with my app Simply Customize It was fast and easy. Here’s the exact process I followed and why I personally prefer to set the sleep screen first.
How I Did It
Both my reMarkables (my reMarkable2 and my Paper Pro) updated recently and I wanted to walk through how simple my post-update process was using my app, Simply Customize It.
If you’ve ever customized your reMarkable before, you probably know that when you update your templates, the reMarkable doesn’t show the changes until it restarts. But a side effect of updating Simply Customize It to support the Paper Pro meant that a restart was no longer required for screen images. Because of that, I personally like to start with setting the sleep screen first.
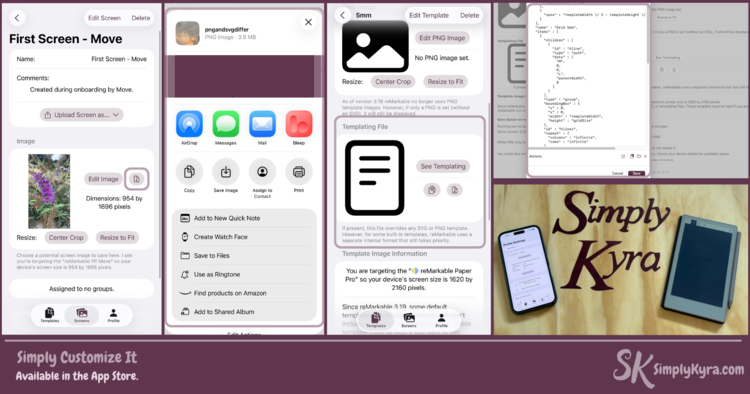
Step 1: Download Screen Images
I begin by downloading the current group of screen images. This gives me a clean copy of what the reMarkable is currently using just in case they added something and it lets me reset back to default later if I want.
Step 2: Upload My Screen Image(s)
I next choose my favorite sleep screen image or quickly add a new one if I want to change it up. After going in the screen I can use the dropdown and select the screen I want this image to replace. Once confirmed it's uploaded directly to the reMarkable. Once completed and confirmed you can lock your reMarkable, if choosing a sleep screen, to see it in action!
Don't forget if you prefer setting two or more screens after an update you an create a custom group to make it easier to replace them all at once!
Step 3: Clean Up Templates
Once the screen(s) are set I switch to the Templates tab and use the Clean Up button.
I added this feature a while ago when reMarkable began moving away from using SVGs in many of their templates. If a PNG, SVG, or even their JSON templating file is no longer in use this button sees it's not needed and removes it from the app. If reMarkable isn't using it then there’s no reason to store it. Beyond keeping your system tidy this also preventing unnecessary files from being re-uploaded later on and taking up excess space on your reMarkable.
Step 4: Sync Your Changes
Once things are cleaned up, I tap the Sync button. This checks for any new templates added by reMarkable during the update, imports them into Simply Customize It, and then applies your own templates to the reMarkable. Once that write is finished the app sends a command to restart the appropriate processes on your reMarkable so it can see the changes.
That’s it!
Sleep screen? Set.
Templates? Cleaned and re-synced.
Everything is once again working and feeling like mine.
This whole process now feels calm and quick which is exactly what I want from a tool like this.
Video Walkthrough
Want to see the process in action? Here’s a short video showing exactly how I restored my custom sleep screen and templates after a reMarkable update using Simply Customize It:
If you use a reMarkable and like to customize your setup, I hope this makes it easier. And if you’re new to this and want to try it out, you can find my app Simply Customize It here!
Don't have my app yet?
If you use a reMarkable and want to simplify your customizations Simply Customize It is designed to help.
It’s free to download, and I offer a free trial of up to a week or even a full month depending on which subscription you choose. The subscription helps me keep the app updated as reMarkable evolves (like adding support for the Paper Pro, recent changes to how templates work, and upcoming support for the Paper Pro Move).
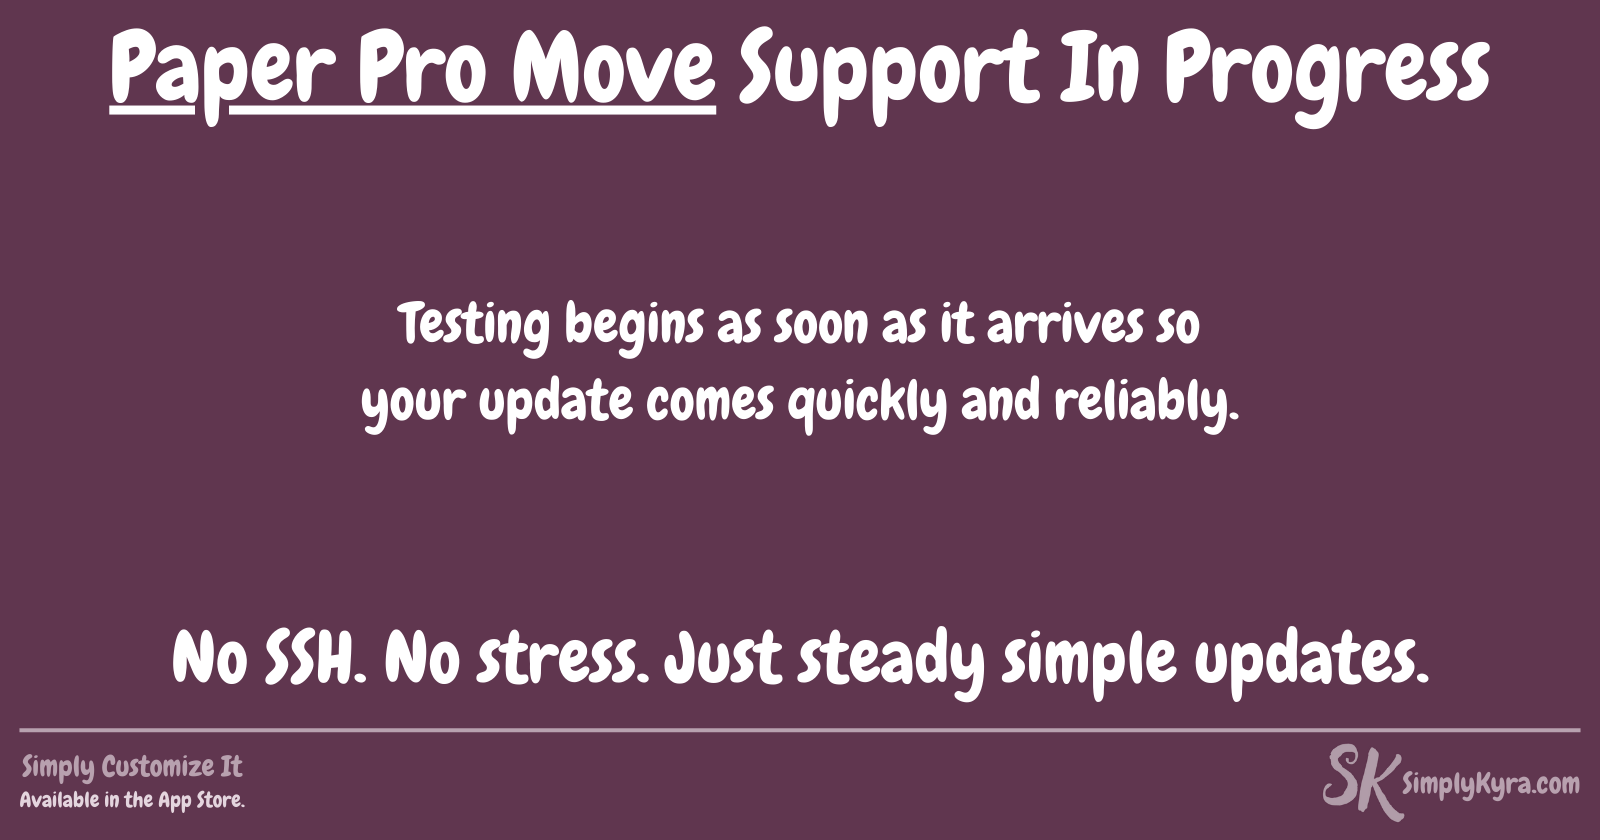
I just ordered the reMarkable Paper Pro Move with the hope of fully supporting all three reMarkable devices in Simply Customize It. That way, no matter which model you’re using, updates stay calm, steady, and simple.
UPDATE: The app works with the reMarkable Paper Pro Move!
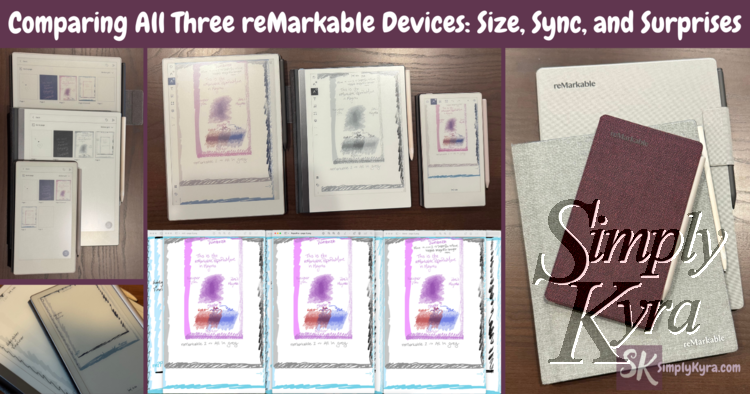
Comparison after I received it.
And the app update after confirming it all worked!
Onboarding is Simple
You’ll start with a clean black sleep screen (gel pen vibes!) and then upload your favorite image... mine are usually nature shots I’ve taken. You can go even further with custom templates, grouped screen sets, and more.
Still unsure?
I also wrote up my manual process when my reMarkable 2 updated in 2021 so no app required. Check that out here:
If you’re interested in getting any of my future blog updates I normally share them to my Facebook page and Instagram account. You’re also more than welcome to join my email list located right under the search bar or underneath this post.
Did this save you time?