

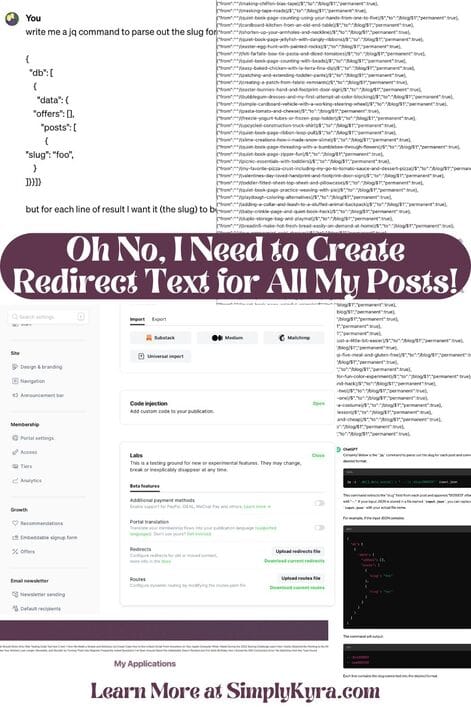
Oh No, I Need to Create Redirect Text for All My Posts!

A bit ago I realized I needed to generate redirect text for each of my current blog posts. This seemed to be an overwhelming task but after talking it through both my husband and I came up with two potential ideas. I did his way first but later wrote out mine so both are shared here in case either one can help you!
Just a quick disclaimer. These redirects were generated for my website so be cautious if just plugging and playing. Additionally, with the first data manipulation way, I discovered my page slugs were included along with the expected post ones so alway look over the text to be sure.
Looking back it would've been quickest for me to just do the handlebar code method, mentioned second, as I have more experience with that. That said, both ways were doable and since whichever way you're most experienced in is probably simpler I decided to simply include both. And if you have a better way? That's awesome! Please share in the comments below so we can all learn from it too. And without further ado let's go over redirects in Ghost quick before creating that text!
Redirects in Ghost
A redirect is when you want to send someone to a different URL than the one they just typed in. For me I wanted to do this back when I migrated from Wordpress to Ghost and again when I changed my posts' url to better organize my site. This meant that any links currently set no longer worked as they now pointed to the old location with a 404 Page not found error and I needed to redirect them to the new location.
To do this redirect, through Ghost, you need to find the redirect file by going to your domain and then typing in /ghost/#/settings/labs immediately afterwards. In my current website, running version 5.82.3+moya this looks like:
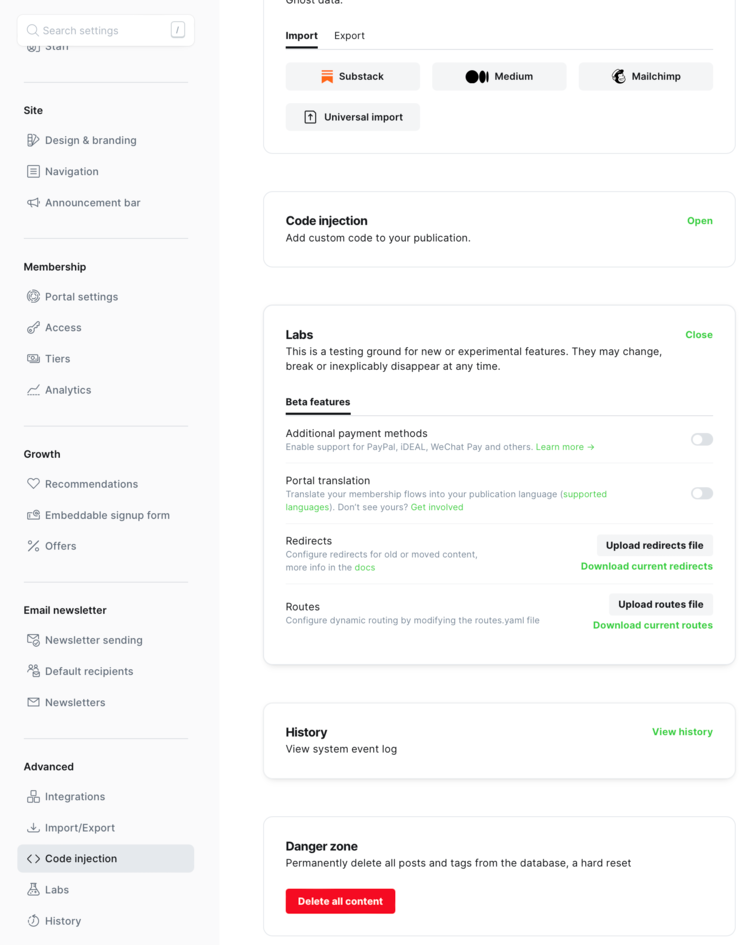
Labs section with the beta features including Redirects below it. Here, beside Redirects, is a bolded button to upload the file and below, in green, you can download the current version. While my localhost instance, still running version 5.39.0, instead looks like:
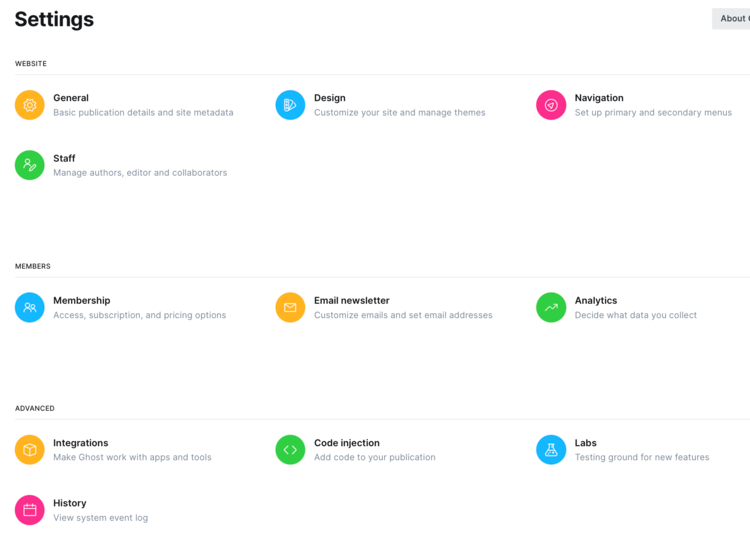
advanced and press Labs before you see the same thing.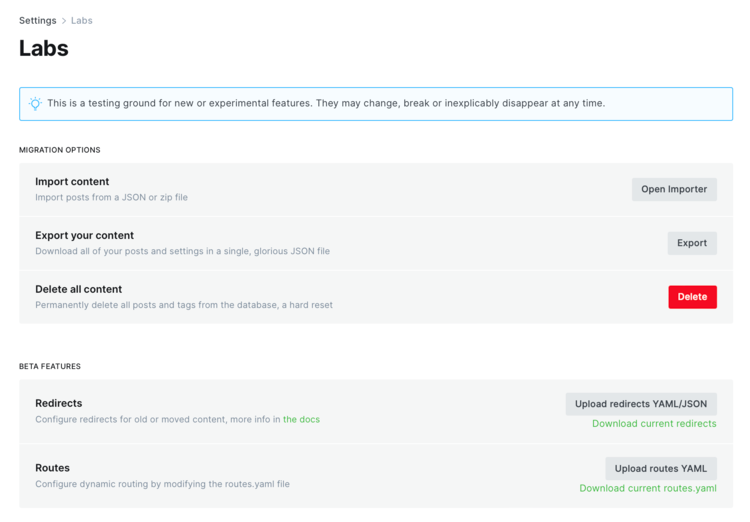
Labs it looks pretty similar to the new way.The redirect file itself is essentially just an array [] where each object is a single redirect consisting of the from, to, and whether it's permanent or not. So, in my case, it looks something like this:
[{"from":"/2017/10/16/halloween-costume-chuggington-onesie/","to":"/halloween-costume-chuggington-onesie/","permanent":true},
{another redirect},
....
{another redirect},
{"from":"/2017/11/25/make-your-own-playdough/","to":"/make-your-own-playdough/","permanent":true}]
Once you download and edit the file you can upload it back to your website through the same page and... there you go. If you do want more information about this you can check out Ghost's documentation on redirects or their tutorial about Implementing redirects.
Method #1: Manipulating Data
Word of warning I was tired when doing this, it was all new to me, wasn't working, and I easily got frustrated. As such it's a bit of a journey but I figured I'd share my process in case something in it I may have otherwise omitted helps you out.
Get the Data
To use this method you need your website data so I started out by exporting it through the migration portion of the settings page for my website: yourDomain/ghost/#/settings/migration.
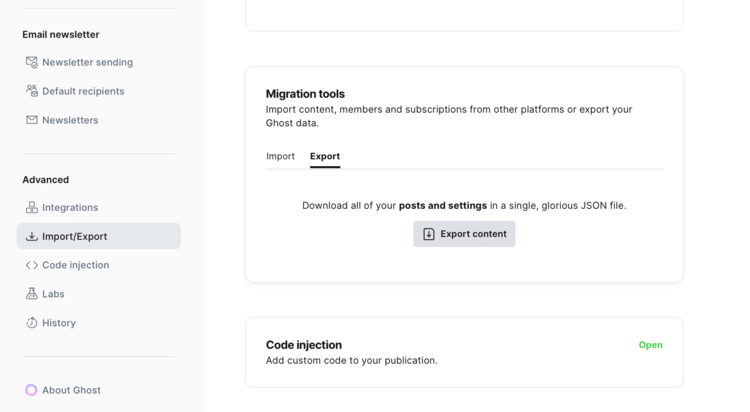
/ghost/#/settings/migration. This view is from Ghost running version 5.82.3+moya.Parse the Data
Once I had my data I needed to extract each of my posts' slugs. We decided to go with using jq, a lightweight and flexible command-line JSON processor, to get that information but before we did that we first needed to figure out what the command itself, used to parse out that information, should be. To figure it out we opened the data and used ctrl+f to look for a slug and then worked our way back up resulting in the following structure:
{
  "db": [
    {
      "data": {
    "offers": [],
        "posts": [
          {
          "slug": “foo”,
  	}
]}}]}
This is the json code from the Migration Export part of the Settings with only the information needed... I marked it as yaml as then it looks nicer.
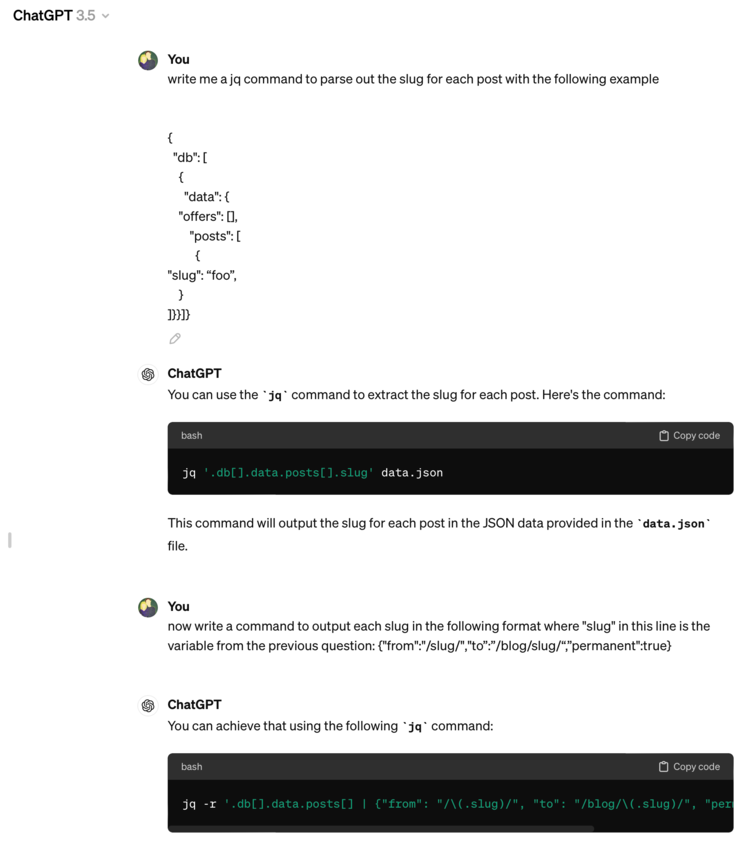
With that json structure found we next turned to ChatGPT and asked it to create the jq query I needed which gave me the command: jq '.db[].data.posts[].slug' data.json. I used that to test out the results and further iterated through versions hopefully getting closer to what I wanted.
Downhill
The resulting yaml from the command worked on localhost but didn't work on my main website as I had way too many redirects there. I next went back and forth with ChatGPT constantly trying to fix the yaml resulting in, at times, decreasing the number of redirects and a 404 error. In the process I got frustrated and switched over to json so I could use the pattern matching mentioned in Ghost's Implementing redirects and thus switched over to wanting the json output to look something like:
{"from":"^\/(slug)\/$","to":"/blog/$1","permanent":true},The Command
During this process I was getting frustrated but looking back, at some point, I was using this command where each section's results were piped | as input into the next section.
cat simply-kyra.ghost.date.json | jq '.db[0].data.posts[] | {"from":"^/(.+)/$","to":"/blog/(.slug)","permanent":true}' | pbcopyExplained below is each section:
cat simply-kyra.ghost.date.json: Displays the contents of the downloaded data file from Ghost.jq '.db[0].data.posts[]: Takes the file's contents and parses out the slugs for each post.{"from":"^/(.+)/$","to":"/blog/(.slug)","permanent":true}': Converts the list of slugs to the contentstringI want consisting of this text.pbcopy: and then sends the output to my clipboard so I can paste it into my actual redirects file and upload back up to my website. Just a heads up this is only a Mac command!
Got It
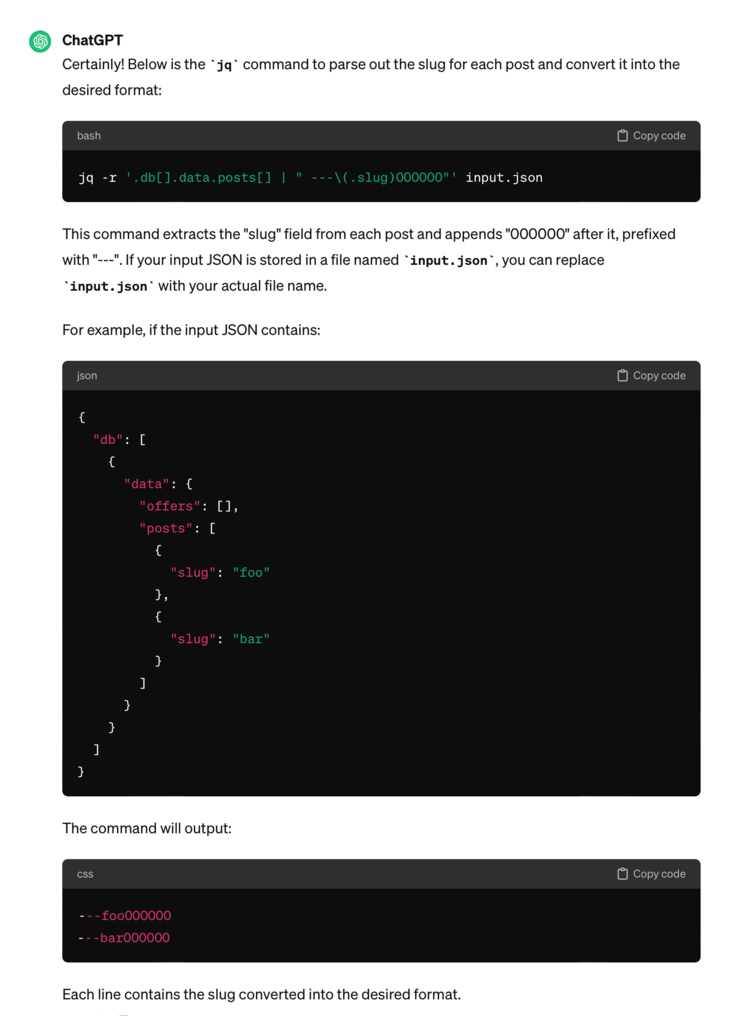
I kept having trouble with mismatched brackets and the like so I decided to simplify the automated part of this process by switching out the complicated special string I wanted outputted and instead padded each slug with several dashes on the left and lots of zeros on the right. I had the idea that I could simply do a find all and replace on the results without worrying about the brackets themselves. With this change the new ChatGPT reply went something like this:
Which resulted in the following command:
cat simply-kyra.ghost.date.json | jq -r '.db[].data.posts[] | " ---(.slug)000000"' | pbcopyThis command extracts the slug field from each post and appends 000000 after it while also prefixing it with a triple dash. For example, if the input JSON contains:
{
  "db": [
    {
      "data": {
        "offers": [],
        "posts": [
          {
            "slug": "foo"
          },
          {
            "slug": "bar"
          }
        ]
      }
    }
  ]
}
This command would output:
---foo000000
---bar000000
And then I'd do two find and replace all commands so the 000000 is replaced with )\/$","to":"/blog/$1","permanent":true}, and the triple dashes are replaced with {"from":"^\/( leading to these results:
{"from":"^\/(foo)\/$","to":"/blog/$1","permanent":true},
{"from":"^\/(bar)\/$","to":"/blog/$1","permanent":true},
Warning
During the find and replace portion I happened to notice a page title and realized the posts' section in my data file didn't just include posts but also included all of my pages thus meaning I needed to further mine my file to remove all of the page-related lines that didn't need to be redirected. Luckily I didn't have too many pages but after uploading the new file I realized I missed my about page and it was now redirecting to a location that didn't exist. That said, I'm happy it was just the one file and I was able to fix it by simply renaming the page url (and then fixing the linked menu button) and now it's all good to go... that said, while writing this I realized any previous links to my about post no longer work but at least the menu offers a simple correction for this one.
Method #2: Handlebar Code
As I used the previous method to generate my redirect code I didn't need to fully implement this method yet I still wanted to see if it was valid so I quickly coded it up on localhost to confirm it generated what looked like the right output but didn't work on it beyond that.
The Plan
My localhost is about a year behind in content from my current website so if I wanted to use the output of this I would've needed to, temporarily, have this run on my main website. My original plan, after confirming this worked locally, was to create a hidden non-linked page, connect it to the handlebar code, push to website, confirm the resulting text looked good, copy the results to my redirect file, upload, confirm a couple redirects worked, and then undo my code and page changes.
Warning
As I haven't tested this in my redirect file and your website is probably set up differently please confirm it's right before using it yourself.
The Code
I first wrote this up using the redirect text generated in the first method using pattern matching resulting in this code:
{{#get "posts" limit="all"}}
    {{#foreach posts}}
         {"from":"^/({{slug}})/$","to":"/blog/$1","permanent":true},<br>
    {{/foreach}}
{{/get}}
After looking at my earlier redirect text from when I first moved my website from Wordpress to Ghost I updated the text within the get and foreach loops to not use pattern matching and instead used the slug itself in both the from and to sections:
{{#get "posts" limit="all"}}
    {{#foreach posts}}
        {"from":"/{{slug}}/","to":"/blog/{{slug}}/","permanent":true},<br>
    {{/foreach}}
{{/get}}
With either of the code segments you get, hopefully, working redirect text that you can quickly copy, paste into the file, look over, and upload.

get and foreach loop showing the {{title}} only before adding the limit="all", <br>, and then fixed the output to use the {{slug}} in the entire redirect text I wanted. Just don't forget to remove the code from your website when done!
And with that there are now two ways you could use to hopefully help create the contents of your redirect file. Of course I'd love to hear if you have a better way as I could see this becoming more and more complicated in the future as I publish more posts.
Hope you’re having an incredible day!
If you’re interested in getting any of my future blog updates I normally share them to my Facebook page and Instagram account. You’re also more than welcome to join my email list located right under the search bar or underneath this post.
Did this save you time?