
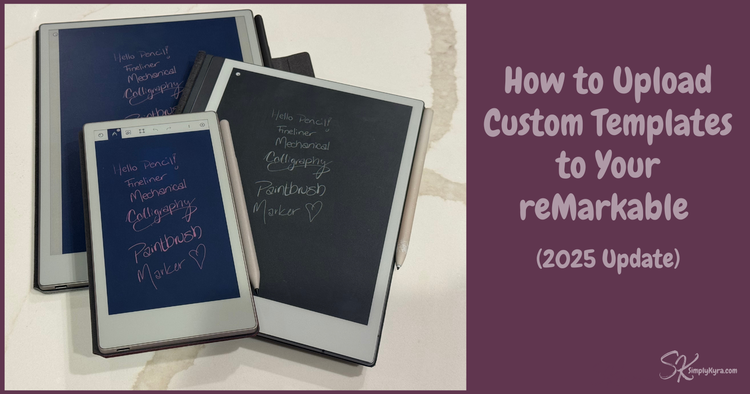
How to Upload Custom Templates to Your reMarkable: 2025 Update

If you’ve ever wanted to add your own planner pages, custom layouts, or handwritten-style designs as templates on your reMarkable you’re in the right place.
Whether this is your first week with a reMarkable or something you’ve been wanting to customize for a while, I hope this helps.
Backstory
I first wrote about custom templates back in early 2021, and since then a lot has changed... especially with the release of the reMarkable Paper Pro in 2024.
When the Paper Pro came out, I created a new version of How to Access Your ReMarkable to account for Developer Mode and disabled WLAN access. After that, I was asked to update my Sleep Screen post as well. At the time, I considered rewriting my template posts too, but once you were connected to your device, the older instructions were still technically accurate.
That said, templates continue to be my most popular post, and between Developer Mode, WLAN changes, new screen resolutions, and internal template changes, it felt like the right time for a cleaner, simpler, more up-to-date guide.
This post is that refresh.
Before You Start
This post walks you through how to upload templates yourself and works across the reMarkable 1, 2, Paper Pro, and Paper Pro Move. Once you’re connected to your device the actual template process is the same across all models.
I’ll also add links to my older, deep-dive posts when helpful along with mentioning my app, Simply Customize It, as an easier alternative if you don’t want to do this manually every time.
Some screenshots referenced in linked posts are from 2024 (or even earlier) so the UI may look slightly different depending on your current software version.
Important Notes
• This is not officially supported by reMarkable
• Custom templates will be removed during system updates
• You’ll need to reapply the templates after each update
• Creating a backup first is highly recommended
That said, if you follow the steps carefully this process is very safe and widely used.
Connection
Everything starts with connecting to your reMarkable. This is the only part of the process that differs slightly depending on your device and software version.
Step 1: Developer Mode
To upload templates, you'll need command-line SSH access to your device so the first step is to turn on developer mode, if needed, so you can find your credentials: username, password, and IP address.
reMarkable Paper Pro & Paper Pro Move
The credentials are hidden unless you enable Developer Mode. Doing so will factory reset your device (your notes will re-sync if you use reMarkable Connect). Once enabled Developer Mode will need to stay on as long as you want access to the credentials. If you change your mind you will need to disable it manually.
Full walkthrough for this and the next several steps can be found here.
reMarkable 1 & 2
Developer Mode is not required. SSH access is already available by default.
Step 2: Login Details
To find your login credentials you'll need to open Settings, Help, and Copyrights and Licenses. Then scroll down to GPLv3 Compliance.
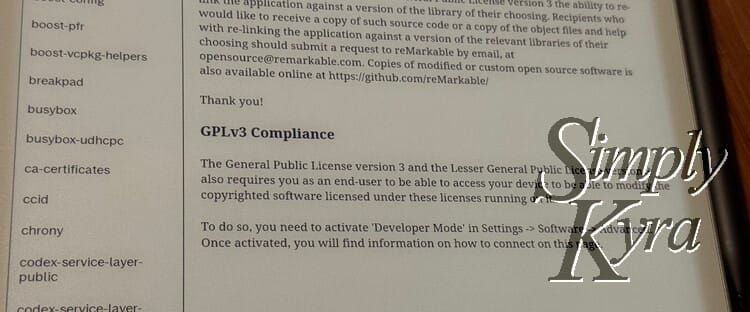
Here you'll see your username (root), password (unique to your device), and your IP addresses (may change later). Write these down. You’ll need them.
Step 3: Enable WLAN
This step may not apply to you. Starting with the reMarkable Paper Pro and Paper Pro Move (and on newer reMarkable 2 versions) WLAN is turned off. This means you can't access your reMarkable wirelessly, over WiFi, by default.
To turn on WLAN you'll need to first connect your reMarkable to your computer with a cable. Once connected a new IP address will appear (mine starts with a 10). Use this to do step 4 and connect via SSH.
Once connected go to your terminal and run:
rm-ssh-over-wlan onThis will turn WLAN on and then you won't need to connect via cable again. You can simply use the other IP address (mine starts with 192) to SSH over Wi-Fi as long as your device is awake and on the same network as your computer.
If you use Simply Customize It you can connect your reMarkable to your Apple device with a cable and, once you enter the credentials, use a button in your device settings to turn it on.

I went on to add the ability to enter a primary and secondary IP address so you can switch easily between cabled and wifi IP addresses OR two different connection points if needed.
Step 4: Connect via SSH
If this is your first time you may need to plug your reMarkable into your computer using a USB cable so a new IP address pops up (see step 3 above) otherwise you can use your regular host.
Note: You will need to be on the same network and your reMarkable needs to be awake.
On your computer, open a terminal and connect using ssh root@YOUR_DEVICE_IP so something like this:
ssh root@10.11.99.1Once entered, you’ll be prompted for your password. If the connection succeeds, you’re in!
The first time you connect, you may be asked to confirm the host. If you’ve connected to this reMarkable before and run into a warning, you may need to remove the old entry from your .ssh/known_hosts file before trying again.
This and more information can be found in this post here!
Preparation
Next, let’s get your reMarkable ready (if needed) and make sure your template image is set up correctly.
Step 5: Writable File System
reMarkable Paper Pro & Paper Pro Move
On the Paper Pro devices the templates directory is read-only by default. To make it writable, so you can upload files or edit the templates.json file, you will need to first run this command:
mount -o remount,rw /There's more information about this in both my How to Connect and Sleep Screen posts (these links go directly to that section).
Step 6: Template Image
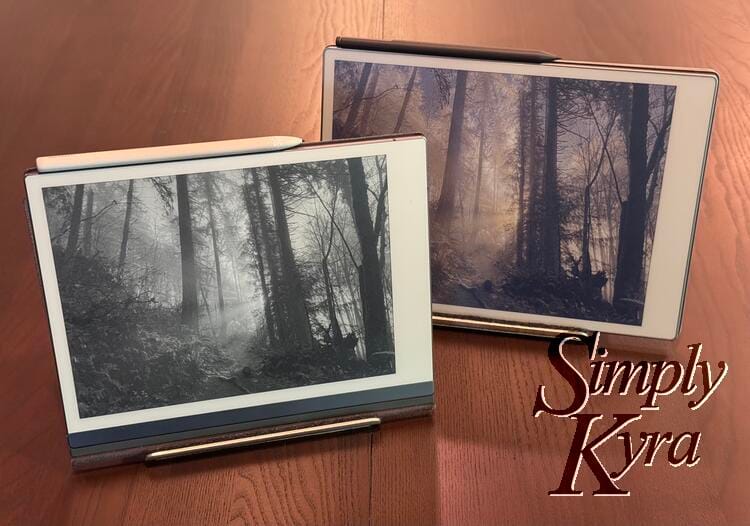
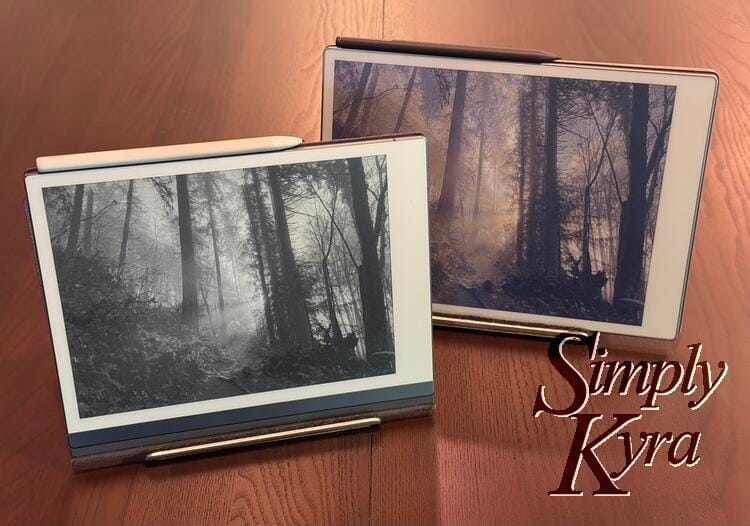
TL;DR: PNG-only templates still work perfectly... as long as they’re the correct resolution for your device.When I first bought my reMarkable 2 templates were simpler with each one was just being a PNG image. Over time, reMarkable added SVG files, then .template files backed by JSON, and eventually moved many built-in templates to an internal system.
I’ve experimented with all of these formats, and the good news is that PNG-only templates still work perfectly. I find reMarkable checks for templates in a specific order: it prefers its internal templates first, then .template files, then SVG files, and finally PNG images. As long as your` PNG` is present and the correct resolution for your device, it will work.
Device Resolutions
- reMarkable 1 & 2: 1404 × 1872 pixels
- reMarkable Paper Pro: 1620 × 2160 pixels
- reMarkable Paper Pro Move: 954 × 1696 pixels (official)
- Note: some people have reported better results using 814 × 1454 for templates depending on how the template is rendered; if 954×1696 looks off on your device try 814×1454.
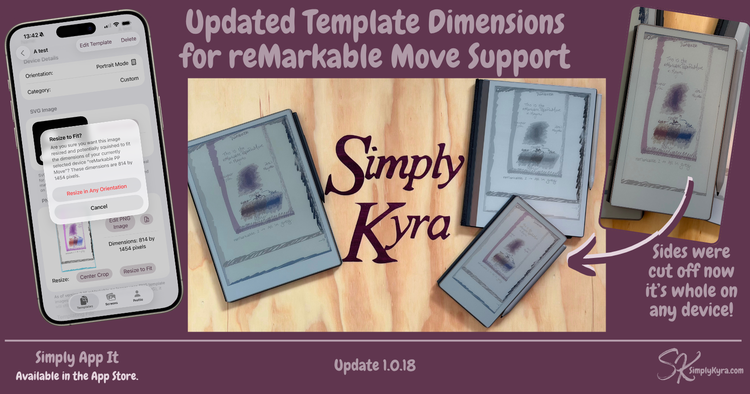
Officially the Move is listed at 954 × 1696 pixels but recently it seems 814 x 1454 pixels is better for templates,
On The ReMarkable
Now for the fun part! We’re going to upload your template, tell the reMarkable where to find it, and restart your device so it all shows up.
Step 7: Upload to Your reMarkable
Now that your image is ready it's time to upload it to your reMarkable! On your reMarkable all your template images live in the templates directory here: /usr/share/remarkable/templates/.
That said you don't need to go that directory right now. You can simply upload your template file using SCP from your computer. To do this open the terminal where your image file is stored (let's call it MyTemplate.png in this example) and use scp to copy your file and move it onto your reMarkable specifically into that directory by typing:
scp MyTemplate.png root@YOUR_DEVICE_IP:/usr/share/remarkable/templates/
You can confirm it worked by using ssh to access your reMarkable, cd into the directory, and use ls to see what's there.
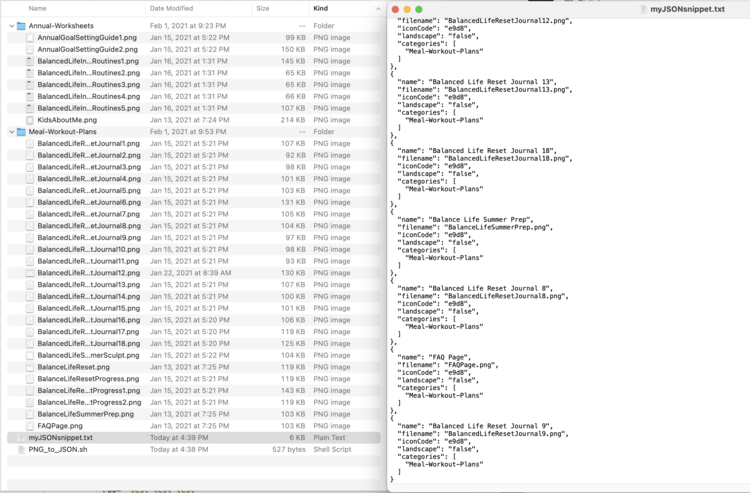
Step 8: Edit JSON
So now your image is on the reMarkable but it doesn't quite know it. To have your reMarkable recognize it we need to edit the templates.json file in that same directory. So again ssh into your reMarkable and you'll need to use vim to edit the file. To open in vim type in:
vim /usr/share/remarkable/templates/templates.jsonNote: Vim
Once in vim it's easiest to navigate with shortcuts on the keyboard and/or a variation of that and arrow keys (what I do) so if this is new I recommend looking up tutorials. Essentially it's a text editor that starts you out in navigation mode, press i to enter insert/edit mode, and esc to return to navigation. Some helpful commands (in navigation mode so esc first) are:
:wto save:qto quit:q!to force an unsaved quit (this saved me a lot at first):wqto save and quit
This looks intimidating at first, but once you’ve done it once it’s very repeatable.
Warning
Always back it up first. JSON files are picky on how you format so if you miss a bracket, comma, or something else it can break and reMarkable won't see any of your templates. If this happens there's a lot of JSON formatters online, like jsonformatter.org, but it's simpler to have a backup to go back to. One way I backup this file is by copying it to a backup cp templates.json templates_backup.json and I can always copy it back, to replace the broken file, when needed.
Editing
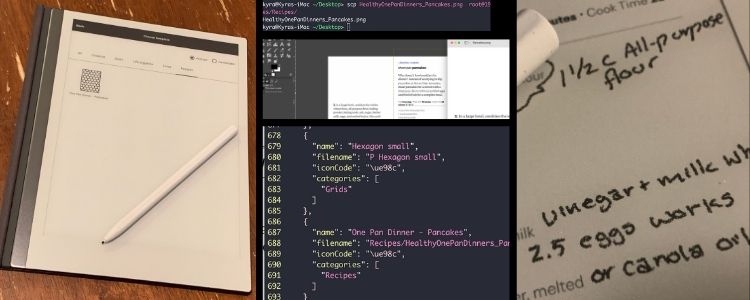
You can edit it directly on the device or copy it to your computer, edit, and upload it back. Whichever way you do it when you look at the file you'll see:
{
  "templates" : [
    {
      "categories" : [
        "Creative",
        "Planners",
        "Grids",
        "Lines"
      ],
      "filename" : "Blank",
      "iconCode" : "\ue9fe",
      "landscape" : false,
      "name" : "Blank"
    },
... CONTINUED ....
    {
      "categories" : [
        "Creative",
        "Planners",
        "Grids",
        "Lines"
      ],
      "filename" : "Blank",
      "iconCode" : "\ue9fd",
      "landscape" : true,
      "name" : "Blank"
    },
    {
      "categories" : [
        "Planners"
      ],
      "filename" : "LS Checklist",
      "iconCode" : "\ue9ab",
      "landscape" : true,
      "name" : "Checklist"
    }
  ]
}
What you want to do is create a JSON snippet matching that exact layout. With it in this file the reMarkable will see your new template, show it under the category you included it (can be in multiple), use the listed name and iconCode to display it on your reMarkable, use landscape to know if the template is in landscape true or portrait false mode, and use filename to look for the matching file you uploaded (don't include the extension here). An example is:
What you want to do is create a JSON snippet that matches this exact layout and add it to this file.
Once it’s there, the reMarkable will:
- Use the filename to locate the matching image you uploaded (do not include the file extension)
- Use landscape to determine whether the template is landscape
trueor portraitfalse - Use the name and iconCode to display it in the list of templates
- Show your new template under the category (or categories) you specified
Below is a simple example you can copy and customize. You’ll need one entry for each custom template you want to add and be sure to separate each entry with a comma.
    {
      "categories" : [
        "Custom"
      ],
      "filename" : "Filename",
      "iconCode" : "\ue9fe",
      "landscape" : false,
      "name" : "DisplayName"
}Tips
Each of these fields can be in different order BUT they must be in the right format within the curly brackets {}. Some important notes (from top to bottom) are:
- Categories:
- can be anything you want
- can have multiple categories (see blank above)
- square brackets
[]signify an array and you need a comma between each item inside it
- File Name:
- does NOT include any extension (example
.png) - must match your file's name
- if your file is in a folder use
FolderName/FileNameotherwise it won't find it
- does NOT include any extension (example
- Icon Code:
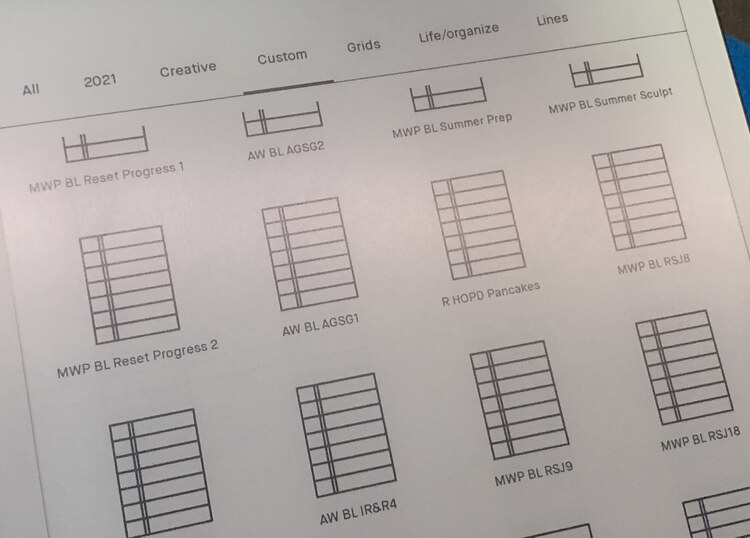
- can be copied from an existing template
- more information can be found in Simply Customize It's FAQs.
- Landscape:
- landscape mode uses
trueand portrait needs to still be labeledlandscapebut set tofalse - if you can't find your template on your reMarkable check if it's filtered by landscape/portrait and thus excluded from being shown
- landscape mode uses
- Name:
- can be different from your file's name
- what the reMarkable shows you for the name
Step 9: Restart
All the steps are done... but you need to restart so your reMarkable sees the changes. This can be done normally or you can run this command to restart xochitl:
systemctl restart xochitlOnce restarted your new templates should appear.
More Information?
Here was my original post detailing how to do this with the reMarkable 2. Once you turn on Developer Mode and WLAN it should be the same process for the newer devices too.
System Updates
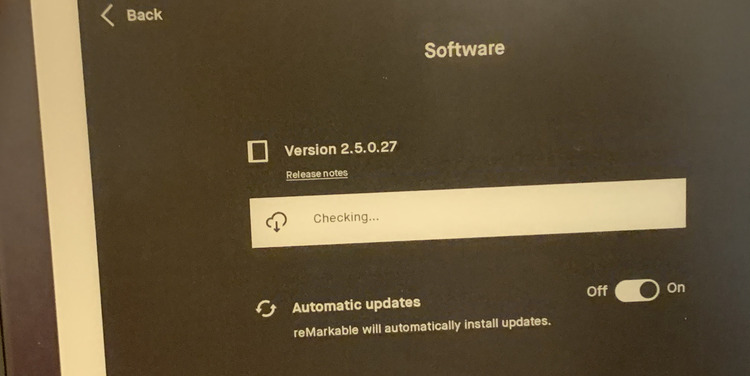
When your reMarkable updates it will lose your custom template files and any templates.json edits.
You’ll need to reapply them. This is normal.
Your notebook pages using the custom templates will still be in your notebooks but will have a blank page as they can't be found. If you keep the same filename when you re-apply your templates they will reconnect automatically. If you use a different name you'll need to manual set the template for each of those pages.
Here was my process back in 2021 when my reMarkable 2 updated.
When I started out I kept a folder of my custom templates' PNG files and a JSON file with the needed snippet to display all of them. That way I could easily upload the batch of files, using * to get all the file names, and simply copy and paste the entire snippet at once into the templates.json file.
Going Farther
I found the above process annoying and although I ultimately replaced this whole thing with Simply Customize It, before that, I sped this process up using a bash script resulting in a two part post on my new process.
This dealt with the layout of the files before sharing the script.
While this part came after and included making the template.
Next I added a few supporting posts including:

A video on how to do this (embedded Youtube) but used the captions to create a transcript for easy search ability.
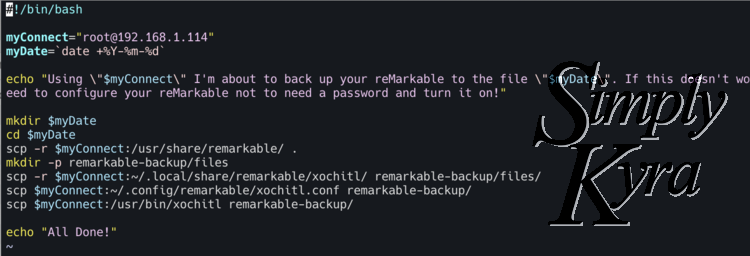
A way I backed up the files on my reMarkable. Note: Never needed to recover so not sure if complete but good way to start.
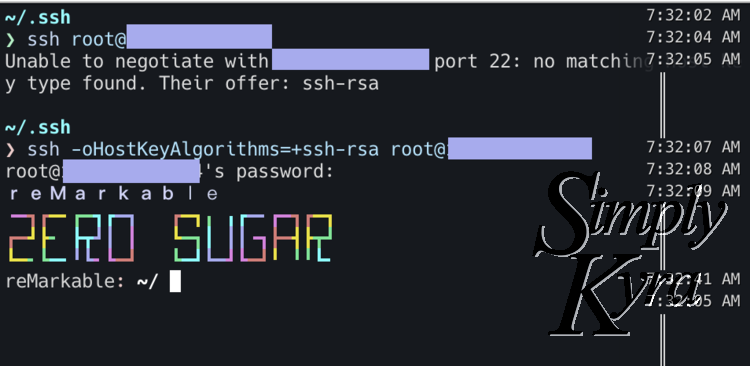
What happens when there was No Matching Host Key Type Found.
FAQs I've seen about the reMarkable 2 all in one post.
And even how I cleaned my case earlier this year.
Prefer the Easy Way?
If you don’t want to:
• SSH
• Edit JSON
• Reapply templates after updates
I built Simply Customize It to handle all of that for you.
It came about after a couple of requests for more help. I wanted there to be an easier way for both me and you. Added benefit... when reMarkable updates you can easily fix it regardless if you're at your computer or on vacation with your phone or iPad.
It lets you:
• Upload templates
• Manage sleep screens images
• Restore everything after updates
• Avoid manual file editing
You still need Developer Mode if you're on a Paper Pro or Paper Pro Move but after that it’s smooth sailing.
I shared the backstory here!
Final Thoughts
This post exists because templates are still one of the most requested and most-used customizations and because my original posts are still being referenced years later.
Whether you do it manually or use the app customizing your reMarkable is incredibly rewarding. If you choose to jump in I hope this guide makes the process clearer, calmer, and a lot less intimidating.
If you want up to date reMarkable-related tutorials, deep dives, video walkthroughs, or whatever might come next you can find them all here! Or you can sign up for future updates here!
And like always I hope you’re having a great day and happy templating!
If you’re interested in getting any of my future blog updates I normally share them to my Facebook page and Instagram account. You’re also more than welcome to join my email list located right under the search bar or underneath this post.
Did this save you time?