

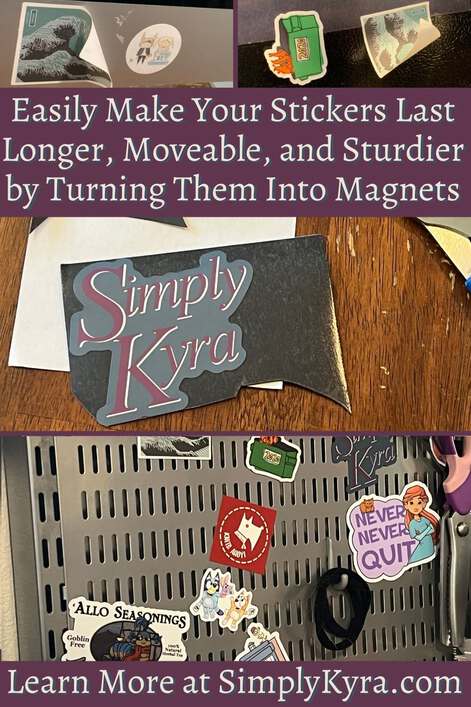
Easily Make Your Stickers Last Longer, Moveable, and Sturdier by Turning Them Into Magnets

A couple months ago I switched computers which led to me peeling off my favorite stickers from the computer monitor. I was sad to lose them but wasn’t sure how I could keep them as they weren’t as sticky once peeled off. One thing led to another and I remembered the 4×6 inch peel and stick magnet sheets I bought years ago for photos and never got around to using. I grabbed one of them, peeled the backing off, stuck the adhesive side of the magnet sheet and sticker together, and then cut the newly made magnet out. The resulting magnets turned out perfectly and I’ve since created several more magnets from stickers! I’m so glad I stumbled upon this idea as it’s so simple and knew I needed to share it with you!
This all came to pass when I switched from my main computer to my laptop. Over the last several years I had made a point of not adding anything to my computer monitor; recently though, after seeing Matt’s decorated laptop so frequently I finally gave in and added several stickers to the bottom. Some of these stickers I figured I could easily replace but a few of them I knew would be close to impossible and I was disappointed at the thought of losing them. Those particular ones I carefully peeled from the monitor and stuck them, temporarily, onto the side of the fridge until I could figure out how to save them.
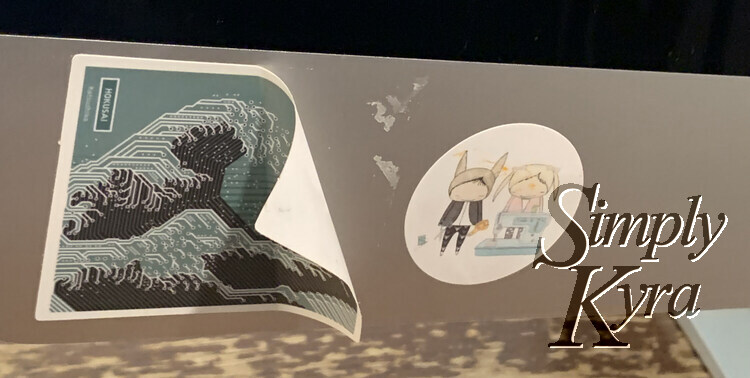
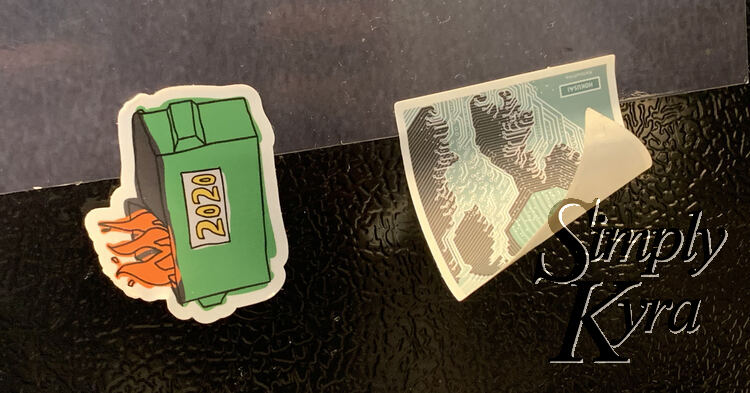
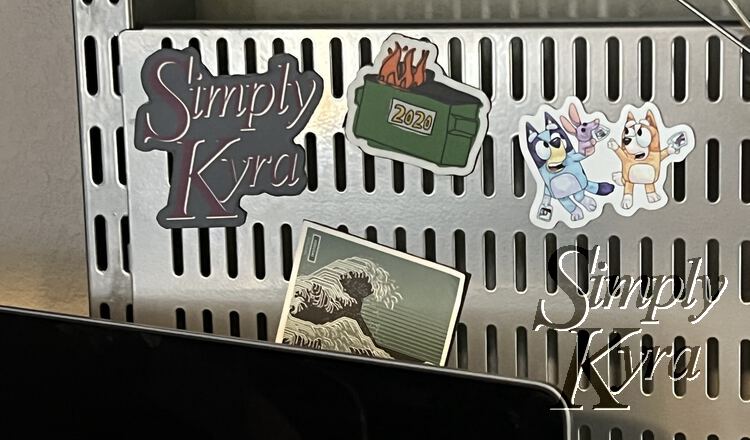
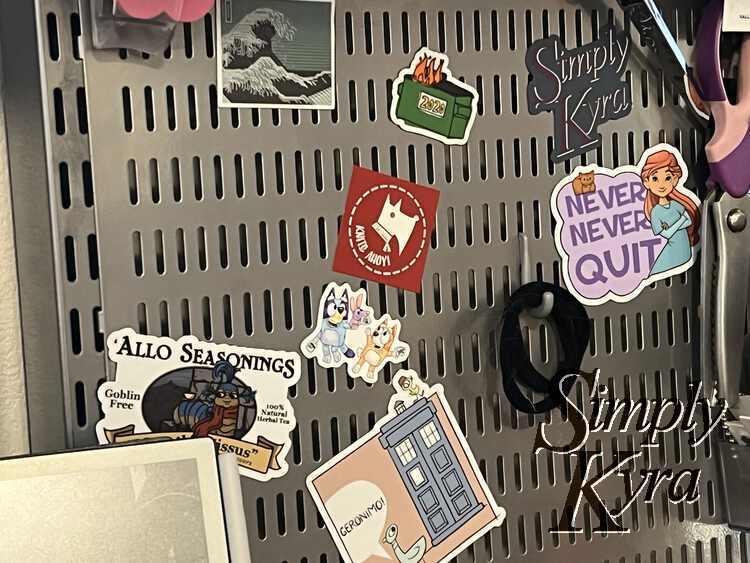
I had recently received a surprise Bluey-inspired magnet with my custom fabric order from Sweet Tickles Prints. At first I was slightly disappointed to realize it was a magnet as I had pictured it next to my other stickers on my computer monitor. Then Matt reminded me that I had a metal pegboard, bought from the Container Store, behind my computer and I stuck it there instead. I absolutely loved it there as I knew it would just get lost and ignored on the refrigerator door. Anyway, I wanted to share this quick magnet story with you as seeing it now made me wonder if I could turn my stickers into magnets. I knew I had a roll of skinny adhesive magnet tape and, once found, I also discovered an unopened package of 4 by 6 inch adhesive magnetic sheets I bought to attach to photographs. I realized this would work perfectly so I grabbed a sheet, removed the backing, and stuck the slightly less sticky stickers next to each other on the back of the magnet sheet.
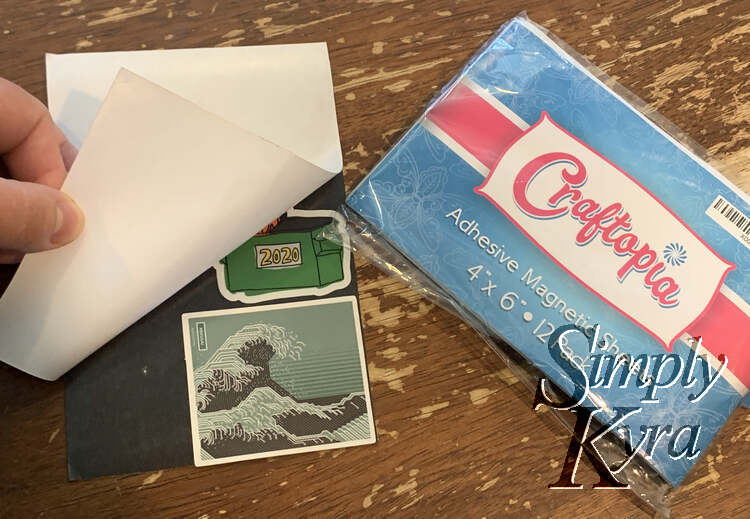
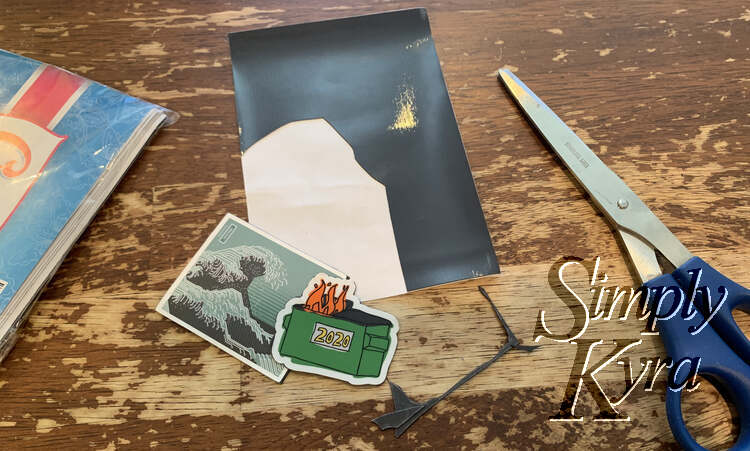
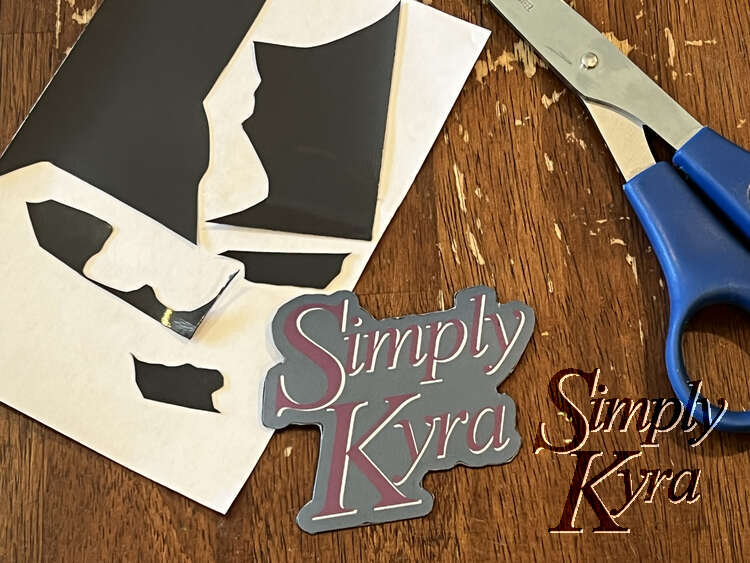
Once the stickers were secured to the back I cut them out from the rest of the sheet and then cut them apart from each other. I then, very carefully, trimmed around the outside of each sticker making sure that no black magnet showed beyond the sides of the sticker.
Once trimmed they were done! No waiting for glue to dry or any other awkward or lengthy steps. I immediately put them on the pinboard next to the Bluey magnet and loved how they all looked together. That said my favorite part was that I knew they could easily be moved without any potential damage unlike when they were stickers.
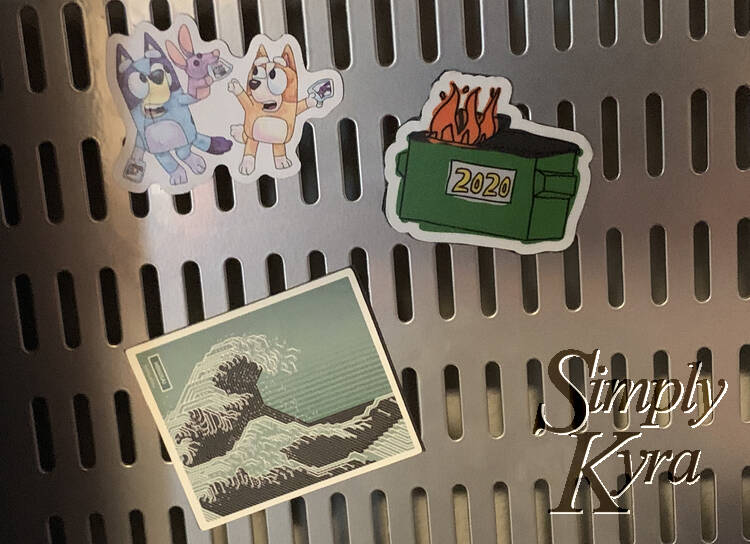
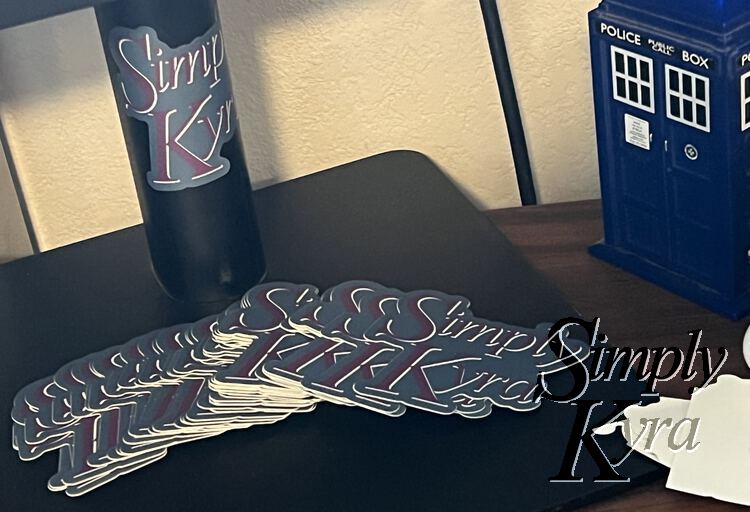
Sometime during or after this process Matt found a website, Make Stickers, that allows you to order custom stickers. He ordered a pile of SimplyKyra ones as a surprise for me. When they arrived I quickly put two on my laptop and one on the base of my computer monitor. I also wanted to make one of the stickers more permanent so I followed this process again turning one of the SimplyKyra stickers into a magnet. I loved having the SimplyKyra sticker on the pinboard next to the other three magnets!

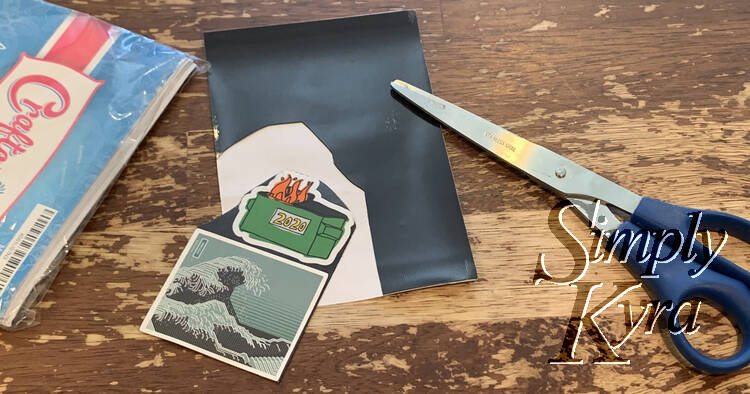
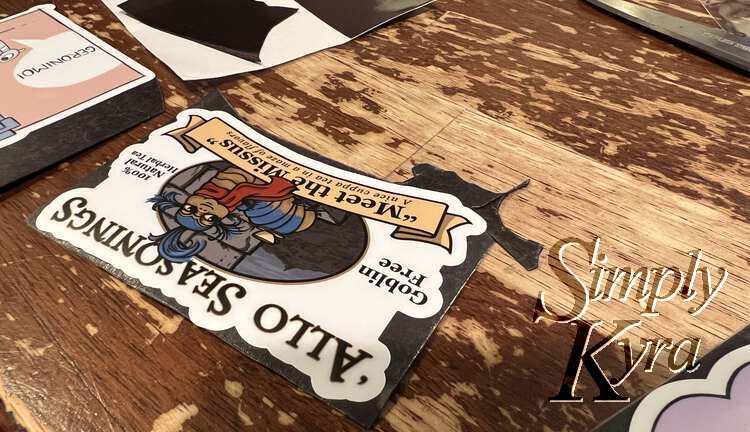
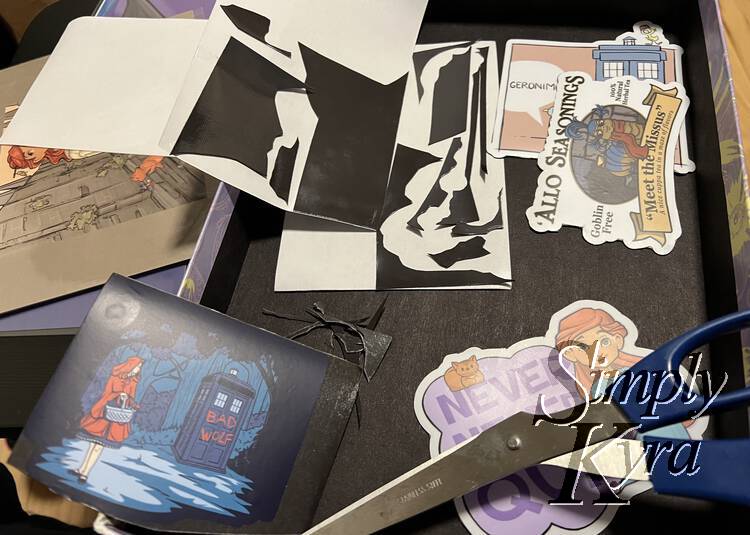
Back in mid-November I was browsing my Etsy recommendations and decided I wanted to buy more from Karen Hallion’s Etsy shop. I love her artwork and have bought from her shop previously along with following her Instagram page (karenhallionart) and backing her last two kickstarter projects. This time around I realized her magnets were a bit cheaper than her stickers but then quickly saw that I already owned the only two magnets in her shop. Instead I grabbed some postcards, a notecard that wasn’t available as a postcard that I needed to have, and several stickers that I knew I needed to turn into magnets for my pinboard. I then waited on edge until they arrived. They were gorgeous and I love that knowing this little trick meant that I had so many more designs from her shop to choose from.
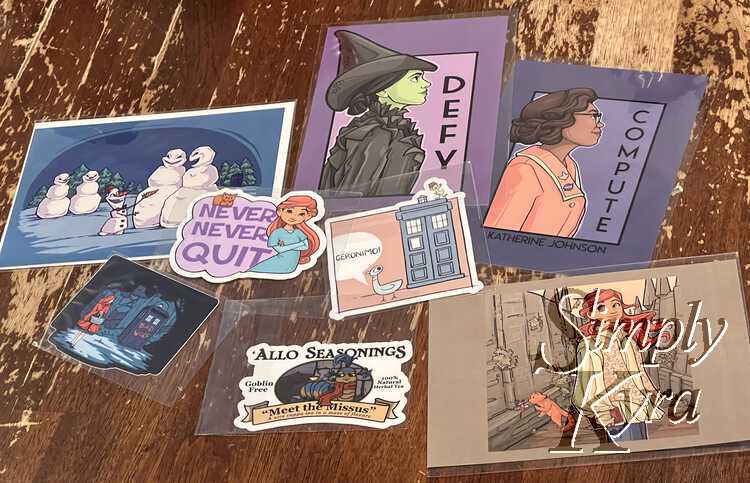
Two of her stickers fit perfectly together on one magnetic sheet. The other two stickers; however, were a bit larger and although I considered giving them each one magnetic sheet I instead decided to put them together on one sheet to save more of the magnets for later. This meant the edges of these two stickers overlapped so I curled the overlapping sticker back a bit to cut the two stickers apart and then grabbed two magnet remnants from before to back that sticker edge. I’m not sure, looking back, how long these smaller pieces will stay together… but it did work so far.
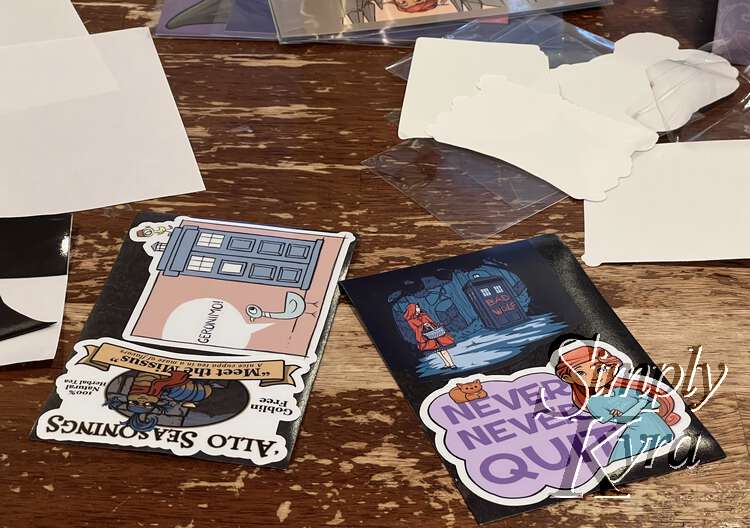
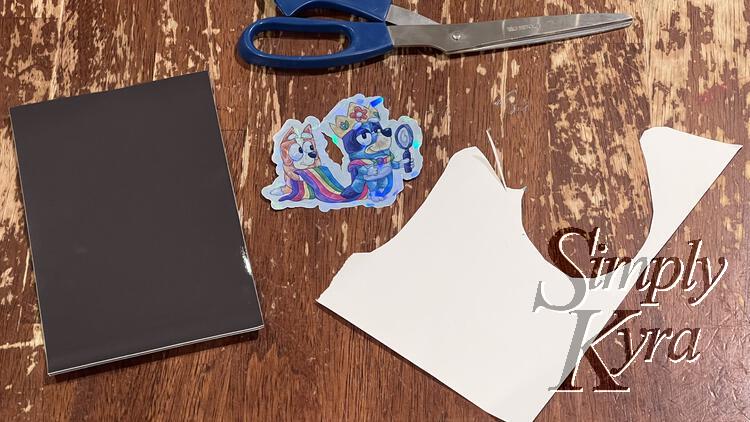
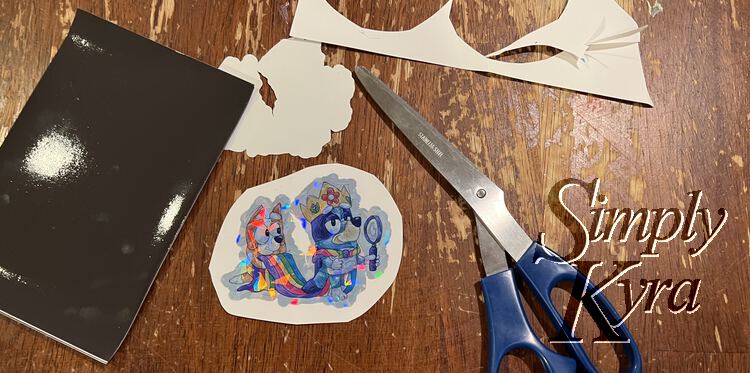
While writing this post I received another Bluey themed pre-order from Sweet Tickles Prints that came with a sticker rather than a magnet this time. The sticker included a small, planned, hole in the center so I knew turning it into a magnet would be a bit more complicated as it would be trifficult (link to correlating Bluey episode on YouTube) to cut out.
Since both the magnet and the sticker were sticky on the back I decided to use something else to go between the two items thus making it simpler as I wouldn’t need to carefully cut out the center or even along each dip on the edge. I wanted the item to be smooth and shiny but, after going through my recycling bag, I settled on using simple cardstock instead. After grabbing a piece a bit bigger than the sticker I was ready to go!
With the items ready I removed the backing from the sticker and stuck it to the cardstock. I didn’t want to waste too much of the magnetic sheet so I made sure to trim the excess cardstock around the sticker before peeling off the back of the magnetic sheet, sticking the cardstock to it, and, once again, trimming around the magnet.
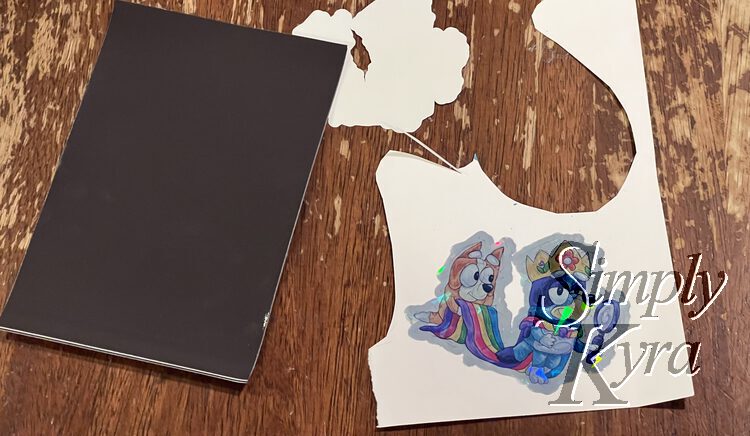
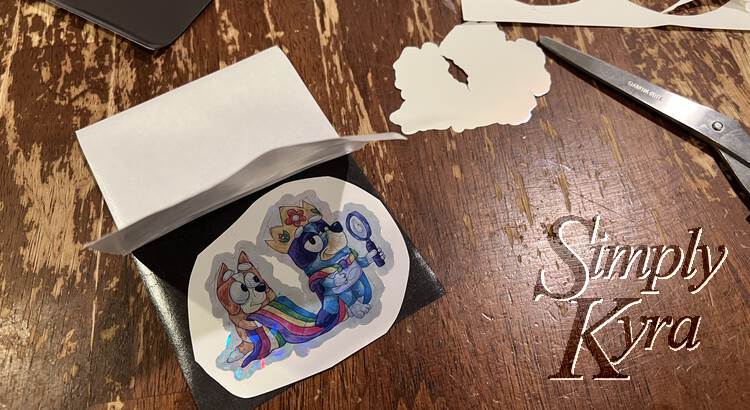
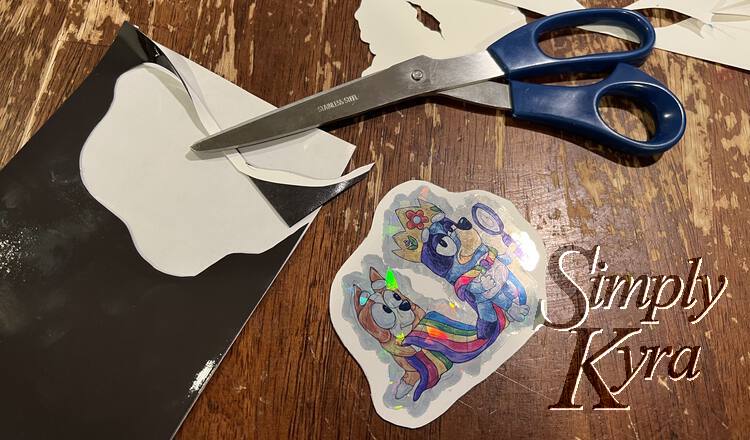
I love that the white cardstock allowed me to leave space around the sticker so it was easier to trim out. That said, I also didn’t like the little bits of paper fiber that pulled away from the edge so I could see using sharper scissors next time and/or using sandpaper or something to trim the little fibers away.
Anyway I absolutely adore my current pinboard and am debating whether I should move my sewing stuff elsewhere so I have more room to decorate. They all look amazing!
Have you ever turned a sticker into a magnet? Or turned anything into a magnet? If so how did it go and what did you use? I’d love it if you wanted to share what you did in the comments below. I hope your week is going great!
If you’re interested in getting any of my future blog updates I currently come out with a new one every second Wednesday and share them to my Facebook page and Instagram account. You’re also more than welcome to join my email list located right under the search bar or underneath this post.