
Simple and Incredible Baked Feta Bruschetta on Toast

A while back I came across several accounts on Instagram duplicating the famous TikTok baked feta and pasta craze and I knew I needed to try it for myself. This process then lead me to a baked brie version which, combined with the thought of bruschetta, resulted in this simple and incredible baked feta bruschetta on toast that turned out so good. I knew I needed to share this inspired dish with you and also thank Liemessä for coming up with the original uunifetapasta that started this all.

This started out when I came across the TikTok baked feta and pasta craze (originally by Liemessä) through several people I follow on Instagram. I quickly made sure to include the required ingredients in my next grocery order. Once the groceries arrived I did a last minute search online for better directions, since I couldn’t find the video I first came across, and then finally tried it out for myself. It was so good and my whole family adored it. I quickly attempted to make it again but our grocery store didn’t have blocks of feta available so I had to put off making it. Luckily, I then came across Just a Taste’s website and found her version of the baked feta pasta and, happily, her spinoff baked brie pasta. This meant the next time I ordered groceries and found the feta block unavailable I quickly pivoted to a slice of brie instead. Fortunately, looking back, I had read over the comments on the Baked Brie Pasta post and saw Amy’s comment about serving the dish on bread rather than mixed in with pasta. This comment lead me to serve our baked brie mix on toast which made for a delicious lunch. This meal also worked in Ada’s favor as she doesn’t like brie and was able to finagle a piece of toast spread with jam in addition to the reheated pasta I served up for both the kids. As both dishes were amazing I planned to attempt the first dish again once I purchases more feta; however, as that day came and progressed up to supper something made me think of bruschetta and this spin on the original idea was born. I needed to try it out and when it turned out incredible I knew I had to share this idea with you in case you also find this simple idea amazing.
The Process
This time around I had needed cherry tomatoes for a different recipe and had added lots of extra to my cart with the idea of making the original dish I had made before. The block of feta was still out so I bought brie instead but then kept putting off making the dish until I was finally able to buy feta once again. Luckily, I had stored my cherry tomatoes in a Stasher bag in the fridge so they were still in good shape and I realized, when making this recipe, that I had twice as many as I had used in the previous dishes. That grocery order had also resulted in some rye bread that I really wanted to try so I started wondering if I should forgo the pasta, once again, and serve the dish on toast. Then, for some reason, I thought of bruschetta so I started browsing over recipes online including this Best Ever Bruschetta on food.com and The Pioneer Woman’s bruschetta recipe. I next changed my search to include the word roast so I’d get ideas more similar to what I was imaging and thus looked over Rachael Ray’s Roasted Tomato Bruschetta and the Easiest Bruschetta through The Recipe Critic. After glancing over those recipes I combined the ingredients from the viral recipe I had made before with the toast from the brie version and then finally added some of the common bruschetta ingredients. I quickly jotted down my idea, since it was still a couple hours until supper, and waited impatiently to test it out.
Making The Recipe
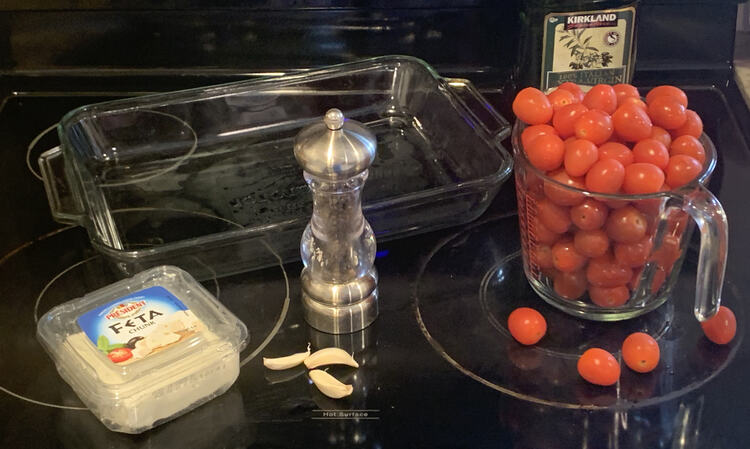
At the bottom I wrote out the recipe itself if you prefer that view. Otherwise I started out by setting my oven to 400° Fahrenheit so it can start preheating. I then gathered up all the ingredients that I needed for the oven and got started putting it all together. These needed items and ingredients included a 9 by 13 inch glass casserole dish, over four cups of washed cherry tomatoes, a block of feta, olive oil, black pepper, and a few garlic cloves. I could also see this being a good time to customize your dish with any dried seasonings you may want while saving any fresh herbs for after the roasting process completes.
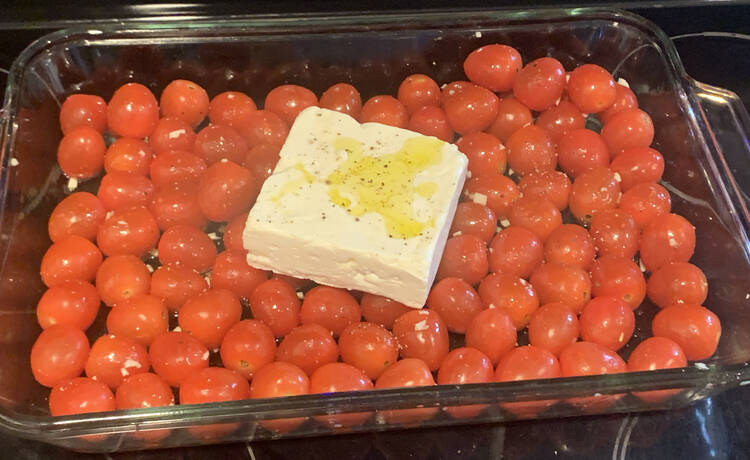
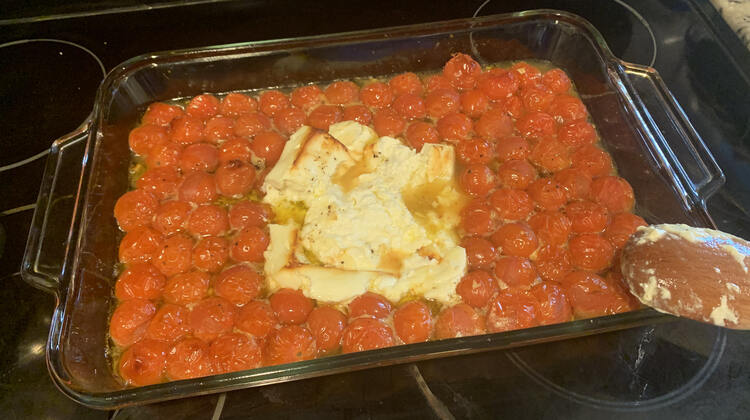
I then poured the tomatoes into the casserole dish and liberally drizzled olive oil over them. I next grabbed a cutting board and knife so I could peel and mince the garlic before sprinkling it over the tomatoes along with several twists of black pepper. With a spatula I mixed up the contents of the casserole dish until all the cherry tomatoes were coated with olive oil, pepper, and garlic. Next I opened the feta, plopped it in the center, drizzled some more olive oil over it, and ground a bit more pepper. Once the oven reached 400° Fahrenheit I pushed the dish in and set a timer so it wouldn’t get forgotten. I ended up baking this for just over 40 minutes but started checking on it after 30.
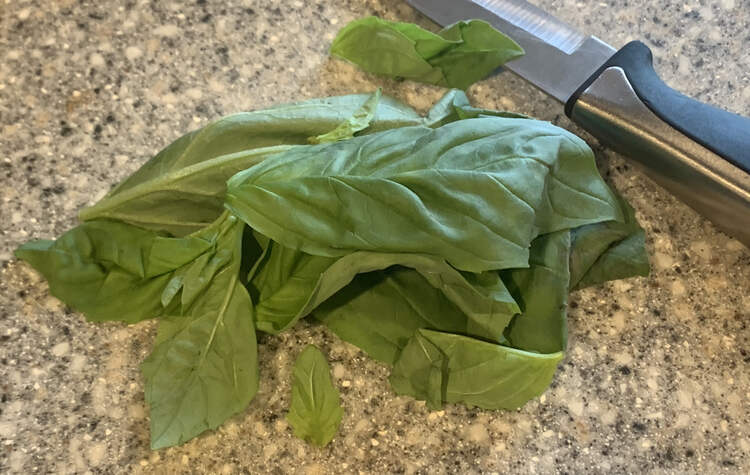
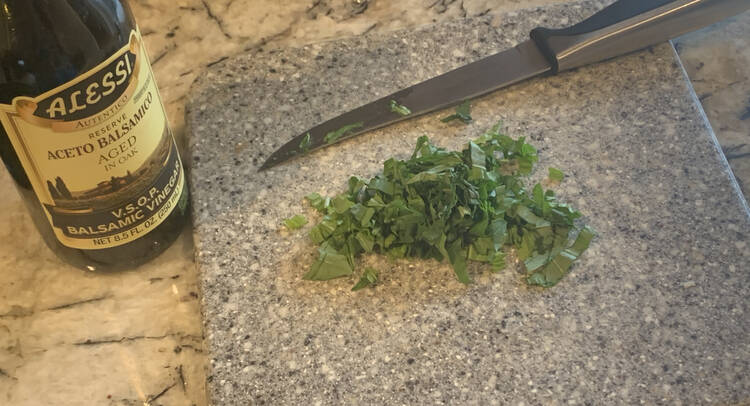
Once the casserole dish was tossed in the oven it was time to grab and prep the items I needed to top it with. I grabbed about ten fresh basil leaves, a cutting board, a knife, and my balsamic vinegar. I then stacked and folded the leaves before making small slices so I’d be left with small slivers of basil.

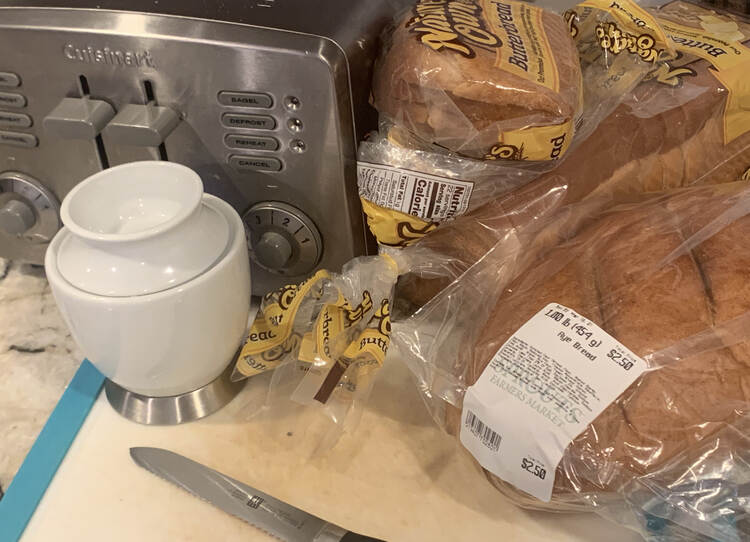
With the toppings prepped I pulled out my toaster, bread, another cutting board and knife, and, just in case it’s wanted, some butter. I put off cutting the bread into slices so it wouldn’t dry out while waiting but I loved knowing that everything was ready to jump into action once the dish was ready.
With everything prepped I sat on the couch, with my family, to read while smelling the incredible smell emanating out of the oven and waited for the timer to go off so I could check on it. I checked on the dish after 30 minutes and then decided to bake it another ten minutes so more cherry tomatoes would naturally pop. When I finally pulled it out of the oven I grabbed my wooden spoon to make sure the feta broke up easily and then used the back of the spoon to carefully burst all of the whole cherry tomatoes. I then sprinkled the slivered basil on top, drizzled the balsamic vinegar, and then mixed it all up. I chose to break up the tomatoes myself so the kids wouldn’t be surprised by a red hot tomato bursting in their mouth. If it was just Matt and I eating this I would’ve skipped that step.

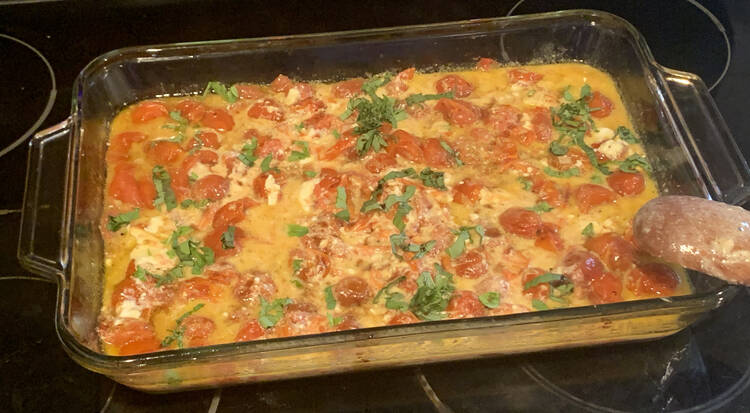
With it all mixed together and smelling amazing it was time to eat!
How We Served It
We all wanted to eat this on toast so I sliced the store-bought rye bread and threw that and some pre-sliced white bread into the toaster. I left all the pieces un-buttered and we got to work decorating each person’s bread.
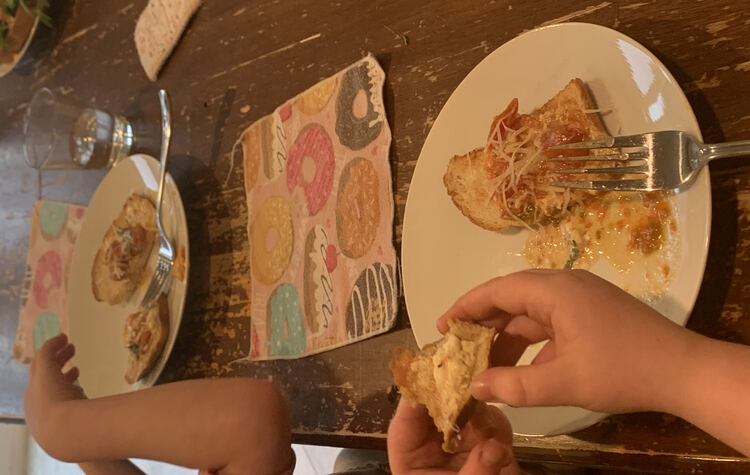
The kids got half of each kind of toast for their first plate so they could decide which they liked better… one only liked the white bread while the other loved the rye. We then spooned the mixture over top of the bread before sprinkling it all with some shredded parmesan cheese. With less sauce they were able to easily pick it up and take bites from the end. The next helping of food was served similarly but eventually the girls chose to eat the toast plain rather than top it with the feta and tomato mixture
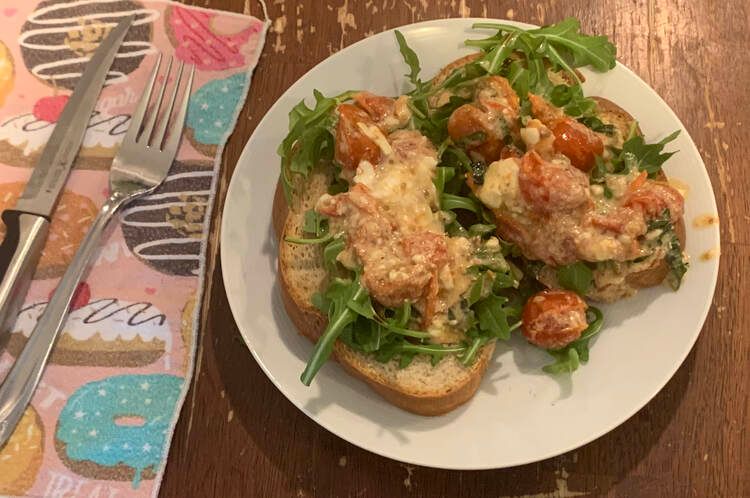
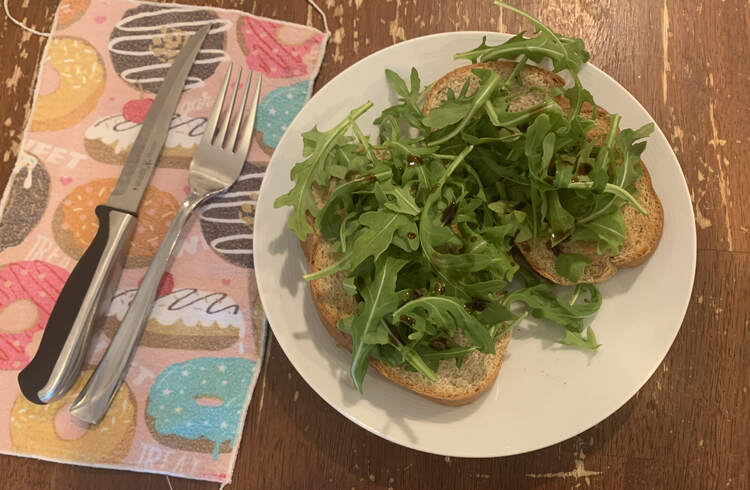
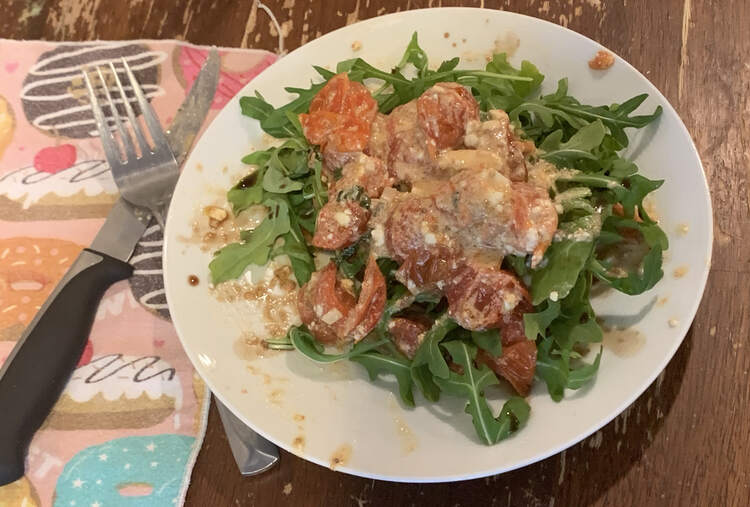
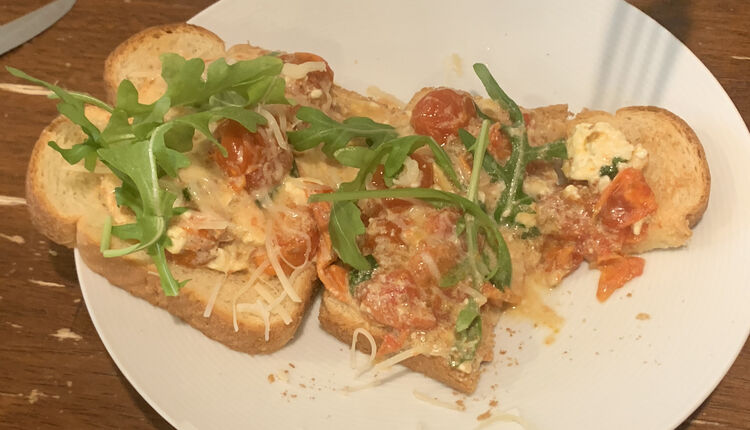
For me I took my toast to the table, grabbed handfuls of the arugula we had leftover in our fridge, drizzled the top with some extra balsamic vinegar, and then finally took my plate over to the stove to top it all with the hot fragrant mixture. With so many toppings I knew going in that the dish was going to be messy to eat so I attacked it with a fork and steak knife. And boy was it good.

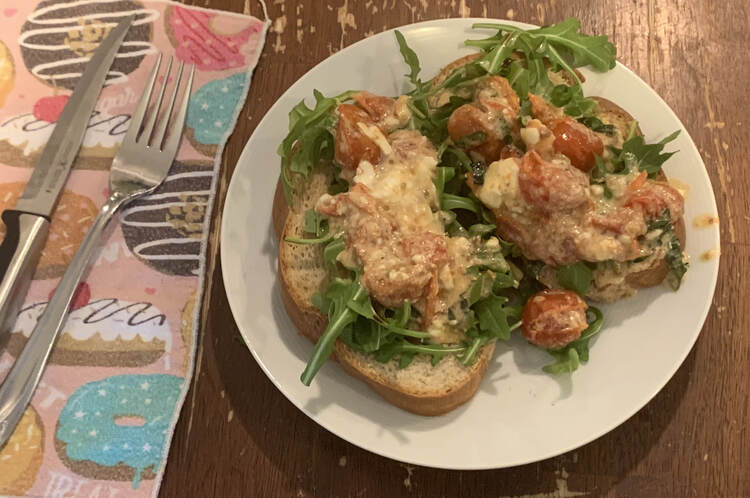
Matt ended up going for a combination between both the girls and my version. He toasted his bread, topped it with the mixture, sprinkled a bit of arugula, and then added the shredded parmesan cheese on top. He loved my fork and knife idea and had already dug in before I thought to take a photo of his food.

For my seconds I made a single piece of toast, used the same amount of arugula as before, and then topped it with the mixture. With the toast hidden underneath it ended up looking like a salad so I could see the next time I make this, if I wasn’t feeling the bread option, using more greens and eating it as a salad instead of on toast. I could see using the balsamic vinegar on it’s own as a dressing and maybe add small chunks of mozzarella and/or croutons to it.
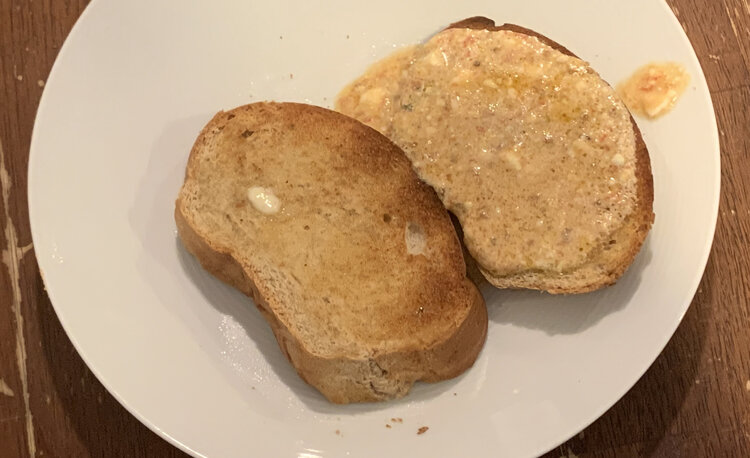
As the meal progressed we ate up all of the larger chunks of feta and tomatoes in the casserole dish and was left with the smaller bits caught in a sauce. I was feeling the bread so I toasted another piece and used the serving spoon to coat it’s top with the remnants. Ada did the same and then Matt finished it off by dragging some toast through the remnants left on the glass casserole pan. It was sooo good then we ended up eating every scrap of this incredible dish.

This meal was incredible and we’re definitely making it again… the only question is whether I should mix some pasta in or if we should have it on toast again. We have another block of feta in the fridge that’s calling to me but unfortunately I’d need to buy some more cherry tomatoes first.
Simple and Incredible Baked Feta Bruschetta on Toast
Are you looking for a simple recipe that packs a flavorful punch? Why not one that you can easily throw together, set a timer, and wait as the oven roasts away? This dish is amazing on toast and I'm guessing great with pasta. Overall delicious so come try it yourself!
Lunch, Main Course, Salad, Oven
Prep Time: 10 Minutes
Cook Time: 40 minutes
Total Time: 50 minutes
Servings: 4
Ingredients
To Bake
- 4 cups cherry tomatoes
- 3 tbsp olive oil
- black pepper to taste
- salt to taste
- 1 block feta
Topping
- 10 leaves basil fresh
- balsamic vinegar to taste
To Serve
- toasted bread: white, rye, pumpernickel, etc
- parmesan cheese (optional) to taste
- salad greens (optional)
- balsamic vinegar (optional)
Instructions
- Preheat the oven to 400° Fahrenheit.
- In a 9 by 13 inch casserole dish, or some other edged baking pan, combine the cherry tomatoes, oil, minced garlic, pepper, and any other dried seasonings to customize the dish. Toss to coat.

- Place the block of feta in the center of the pan before drizzling some more olive oil and grinding a bit more pepper over top.

- Bake the dish in the oven for 40 minutes but start checking on it at 30 minutes. Remove from the oven when the feta starts to brown and the tomatoes have started bursting.
- OPTION: Toast several pieces of toast at once by placing on a cookie sheet, buttering the tops, and tossing it into the oven while the feta and tomatoes bake.
- OPTION (with kids): Use the back of a spoon to carefully break the cherry tomatoes.
- Top the dish with fresh slivered basil and a drizzle of balsamic vinegar.
- Stir the contents of the casserole dish all together while also breaking apart the feta.

- Make some toast by popping the bread into a toaster.

- Dish up!
Recipe Notes
The Kids' Version
- Top the piece of toast with the feta and tomato mixture. Sprinkle with shredded parmesan cheese. Blow and bite in!

Matt's Version
- Similar to the kids' but also top each piece with some arugula or other green.
Kyra's Version
- Top some toast with a heaping amount of arugula so you can hardly see the bread before drizzling it more balsamic vinegar and adding the hot feta and tomato mixture to the top. Then dig in with a fork and knife.
Just the Liquid Left
- Pour a spoonful of the leftover liquid onto a plain piece of toast. Once that's gone grab some bread and sop up all the remnants in the dish.
No Bread?
- Have it as a salad using greens or go back to the original way and mix some boiled and strained pasta into the casserole dish once it comes out of the oven.
I hope this helps you out if you were looking for a quick and simple meal idea that tastes great. Have you tried Liemessä’s original uunifetapasta recipe, or a variant of it, that took the world by storm? Let me know in the comments below if you try my version and, if so, what did you do differently to make it fit your family. I can see our household keeping this recipe in regular rotation so I’d appreciate knowing any ways to change it up and keep it fresh. I hope you’re doing well and your week is looking up. Have a great day.
If you’re interested in getting any of my future blog updates I currently come out with a new one every Wednesday and share them to my Facebook page and Instagram account. You’re also more than welcome to join my email list located right under the search bar or underneath this post.